Tuesday 20 May 2014

Creative Colors Challenge#11

Welcome this Tuesday to a new challenge at Creative Colors Challenge. This time around we have a very soothing color palette - 


Bugaboo Digi Stamps are our sponsors this time - 


I made a gatefold card with this beautiful digi & our colors - 

Chase your Dreams


Another view of the distress ink (peacock feathers) colored butterflies. Added some shimmer on these with the Wink of Stella glitter brush.


Please Visit CreativeColorsChallenge blog and play along with us.

Linking this to - 

Thank you so much for visiting & taking the time to comment on my blog. I love to hear from you & truly appreciate your feedback. Have a crafty day!!

Tuesday 13 May 2014

Mixed Media Journal

Hey lovely ladies!
Very delighted to share my first try at art journaling. I actively participate in the Friendship Swap organised by Riti & this time round the theme was to create the cover for an art journal, here is the altered journal cover I made - 
The sentiment is from a print ad & I think it was apt for the journal cover.


Used a coordinating pattern paper for the back - 


The spine -


Closer look at the details, plenty of colors, textures, stamping, stenciling, washi tape, rub ons, gesso, texture paste here - 


Sharing this at - 

Thank you so much for visiting & taking the time to comment on my blog. I love to hear from you & truly appreciate your feedback. Have a crafty day!!

Monday 12 May 2014

Coloring with Bleach - A Tutorial

Good Afternoon lovely ladies! 
Sharing the tutorial for a very simple bleaching technique that I did for the Color Conceptions Challenge Blog.  I am sure many of you would have already seen or tried this earlier but for me this was a first attempt & I loved the effect. So sharing a small pictorial with you all.
These are the supplies you will need for this - card stock (darker colors give better results), embossing powder (clear/white/black), stamp, embossing buddy, versmark inkheat tool, bowl, applicator brush, fabric bleach (I have used Rin fabric bleach. Please make sure you use fresh bleach for best results ).


Heat emboss the image.

Pour a small amount of bleach in the bowl from the bottle.
Apply bleach using a paintbrush to the portion of the embossed image you want. It is magic to see the color change almost immediately!
Continue to add bleach until the entire image is bleached out.


Here are the final images. 


Each color & card type will give varying results. By bleaching we are actually taking away color from the image. See how it reacts with a fuchsia CS. 


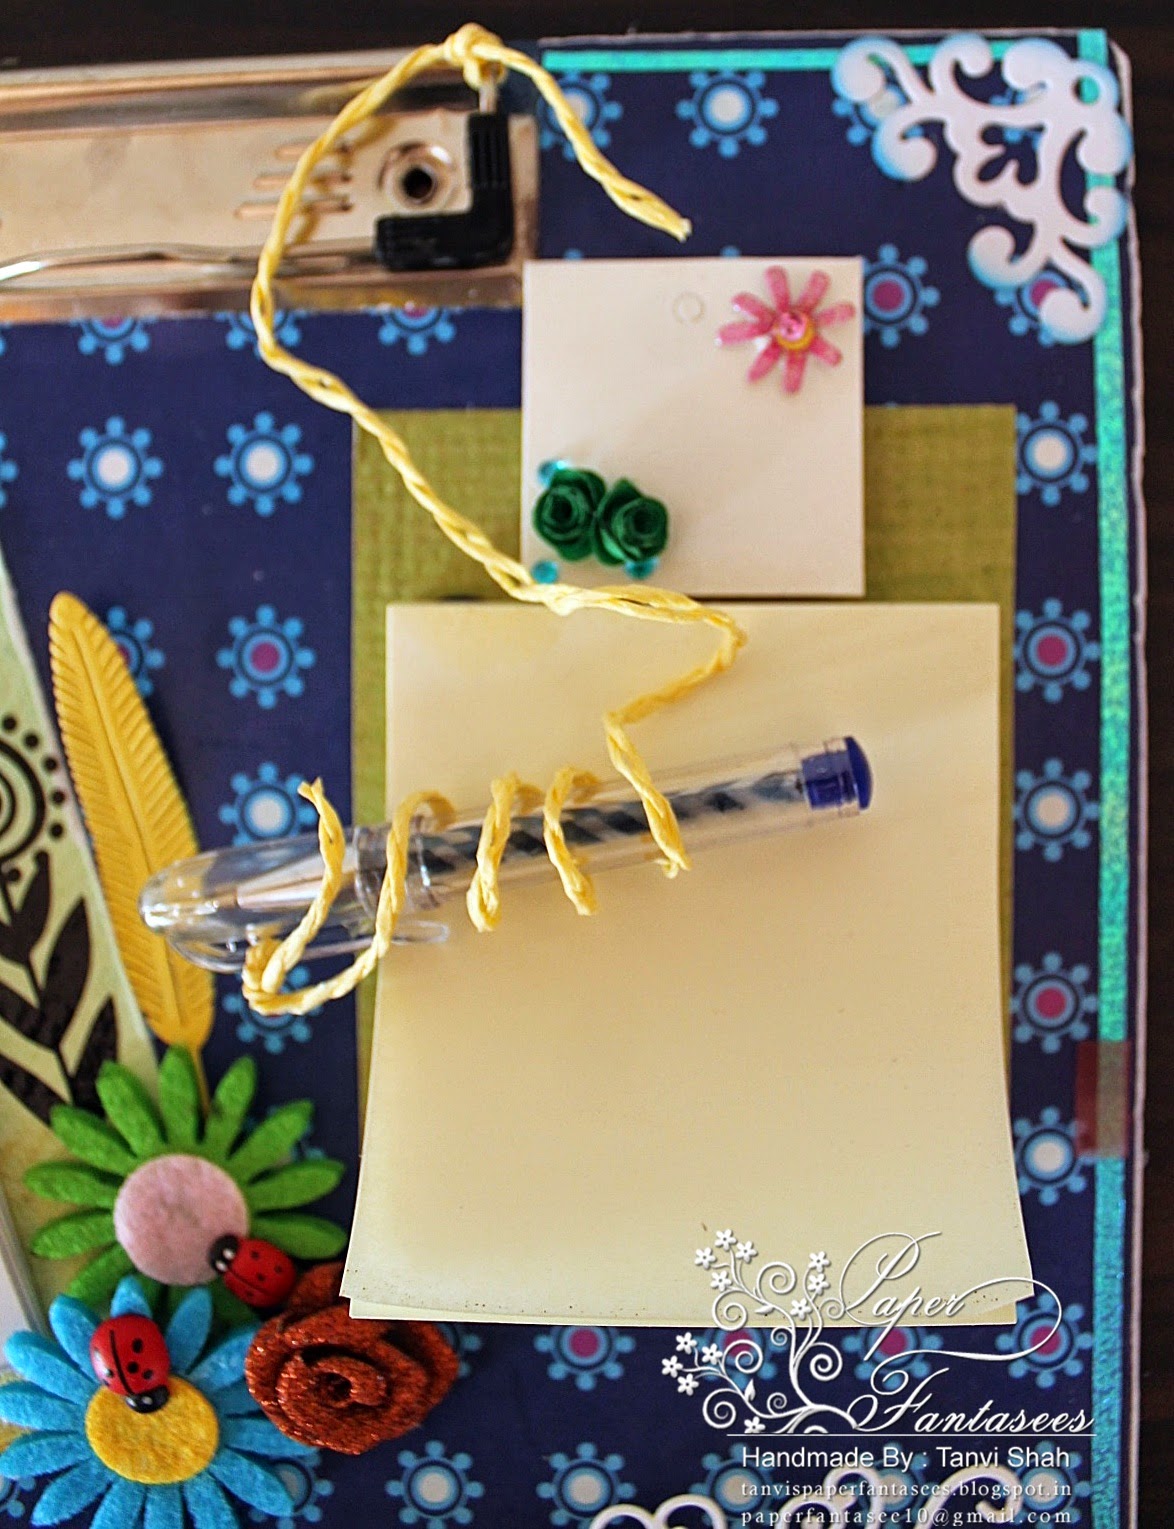
Let dry & your image is ready. Use it to make a card, a tag, a bookmark anything you want. 
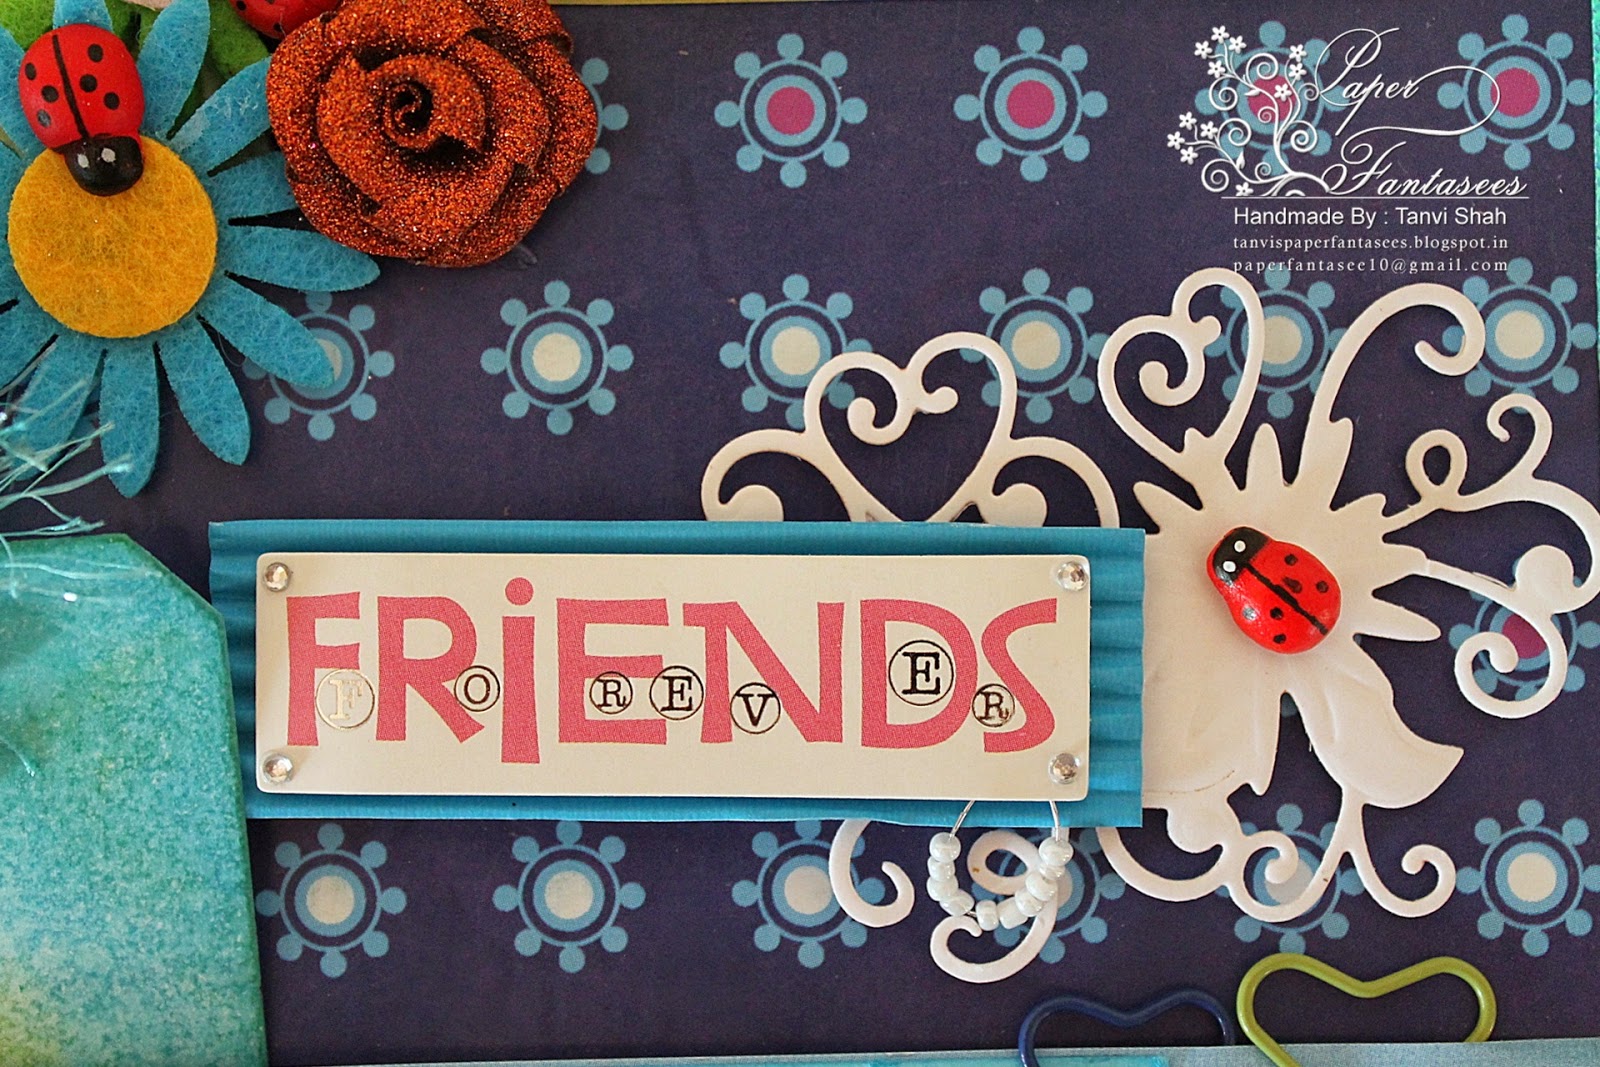
Here is a completed card in which I have used brown cardstock.

Thank you so much for visiting & taking the time to comment on my blog. I love to hear from you & truly appreciate your feedback. Have a crafty day!!

Saturday 10 May 2014

Justrite Challenge #120

Good Morning!!
This weekend I am sharing a lovely card in black & red using Justrite Stamps. 


The heat embossed sentiment is from the Grand Sentiments set. To create the chalkboard look around this I used a paper towel to blend white pigment ink (color box).


The fussy cut lily is colored using Steadler Luna water color pencils & is from the Frog & Water Lily set.


Playing this at - 
http://cutscropscreativity.com/2014/04/iron-craft-challenge-week/(used the first collage baord - Trends from Julie - Water color)

Thank you so much for visiting & taking the time to comment on my blog. I love to hear from you & truly appreciate your feedback. Have a crafty day!!

Tuesday 6 May 2014

Creative Colors Challenge#10

Good evening friends!
I am here with another card I made for Creative Colors Challenge blog. This time again we have some bold colors to use. Here they are - 


Play along to win digis of your choice from our sponsors - 


This is my take on this challenge palette - 


I have used the ink pot , sentiment & the quill pen  from this digi set - 


Some more snap shots - 


Participating in the following challenges - 


Thank you so much for visiting & taking the time to comment on my blog. I love to hear from you & truly appreciate your feedback. Have a crafty day!!

Saturday 3 May 2014

An Altered Clipboard

A very happy weekend to you all.
Schools shut here for a summer break, exams over & time for a good break for all. 
I altered an old clipboard from my daughters school stash & re purposed it into handy utility item.
For this project I stared off with a used clipboard, with mod podge I covered the board with pattern paper (this is from a stack designed by Divya Thallap).


 I have provided a pocket at the bottom to hold tags (die cuts from cereal boxes) for birthdays, reminders, paper clips, etc.


The clipboard also holds a post it pad & a mini calender. 
Tie a small pen to the clip & no more looking out for a pen when you need it the most! To match the pen with the colors of the PP I have cover the cartridge with washi tape.


Have you used the mini misters from the Craft Shop? I love them! Look at the amazing misting effect you can create – 


Some more snap shots of the altered clipboard, plenty of die cuts & embellies used here - 


Sharing this at - 

Thank you so much for visiting & taking the time to comment on my blog. I love to hear from you & truly appreciate your feedback. Have a crafty week!!

Thursday 1 May 2014

CSCC#3

We have a new masculine theme challenge at Create Something Catchy. To participate please visit the challenge blog here. This is the inspiration pic - 


And this is my interpretation - 


The sentiment is stamped on the inside - 


Sharing this at - 

Thank you so much for visiting & taking the time to comment on my blog. I love to hear from you & truly appreciate your feedback. Have a crafty day!!
Related Posts Plugin for WordPress, Blogger...