Showing posts with label Craftslane. Show all posts

Friday, 15 June 2018

Decoupage Serviette Holder

Hello Friends!

Decoupage is a very versatile craft & the possibilities it offers is endless. I enjoy giving a makeover to old objects as much as turning new decoupage blanks into unique home decor items.
This is the serviette holder that I have in my post today -


To create the texture I have used FolkArt Home Decor Squeegee/Comb
Let me take you through the steps briefly -
  1. Lightly sand the tissue box. This gives the paint and glue some teething.
  2. Paint the sides with Papericious - Duck Egg chalk paint & the top of the box with white acrylic paint using a sponge brush.
  3. Next add a layer of red acrylic paint on the sides & carefully run the squeegee through it while still wet & you get a beautiful striped texture. Let dry.
  4. Tear the select tissue to size & glue it on the top of the box with Mod Podge Matte. Seal with another layer of Mod Podge.
  5. Follow this with 2-3 layers of varnish. Sand between layers for a smooth finish.


Thank you so much for visiting & taking the time to comment on my blog. I love to hear from you & truly appreciate your feedback. Have a crafty day!

Monday, 20 February 2017

Decoupage Kitchen Caddy & Coasters

A quick post to share some decoupage work!
I have used chalk paints & the same tissue in both the projects & loved how each has a different look.
First is a kitchen caddy painted with chalk paint (Prima - antique pink) & decoupaged with these yummy cupcake paper napkins. 


Next is a set of coasters painted with chalk paints, a very soft pink (pink ballet) from Itsy Bitsy. This time I carefully fussy cut the cupcake images on the napkin & decoupaged these in one corner of all the six coasters. Stamped my new coffee image from Stamplorations, making sure I overlap a bit on the cupcake image. I loved the contrasting black & white stamped image & the colorful cupcake image. 


This is a fridge magnet I shared in my previous post here, again using the same paper napkin!


Thank you so much for visiting & taking the time to comment on my blog. I love to hear from you & truly appreciate your feedback. Have a crafty day!

Friday, 3 February 2017

Decoupage - Book Box

Welcome Crafty Friends!

You all know my love for decoupage, I have shared some of my recent work in the posts here, here & here.

I am hoarding a couple of items I picked for decoupage from my trips to Bali & the famous Chatuchak market, Bangkok. 

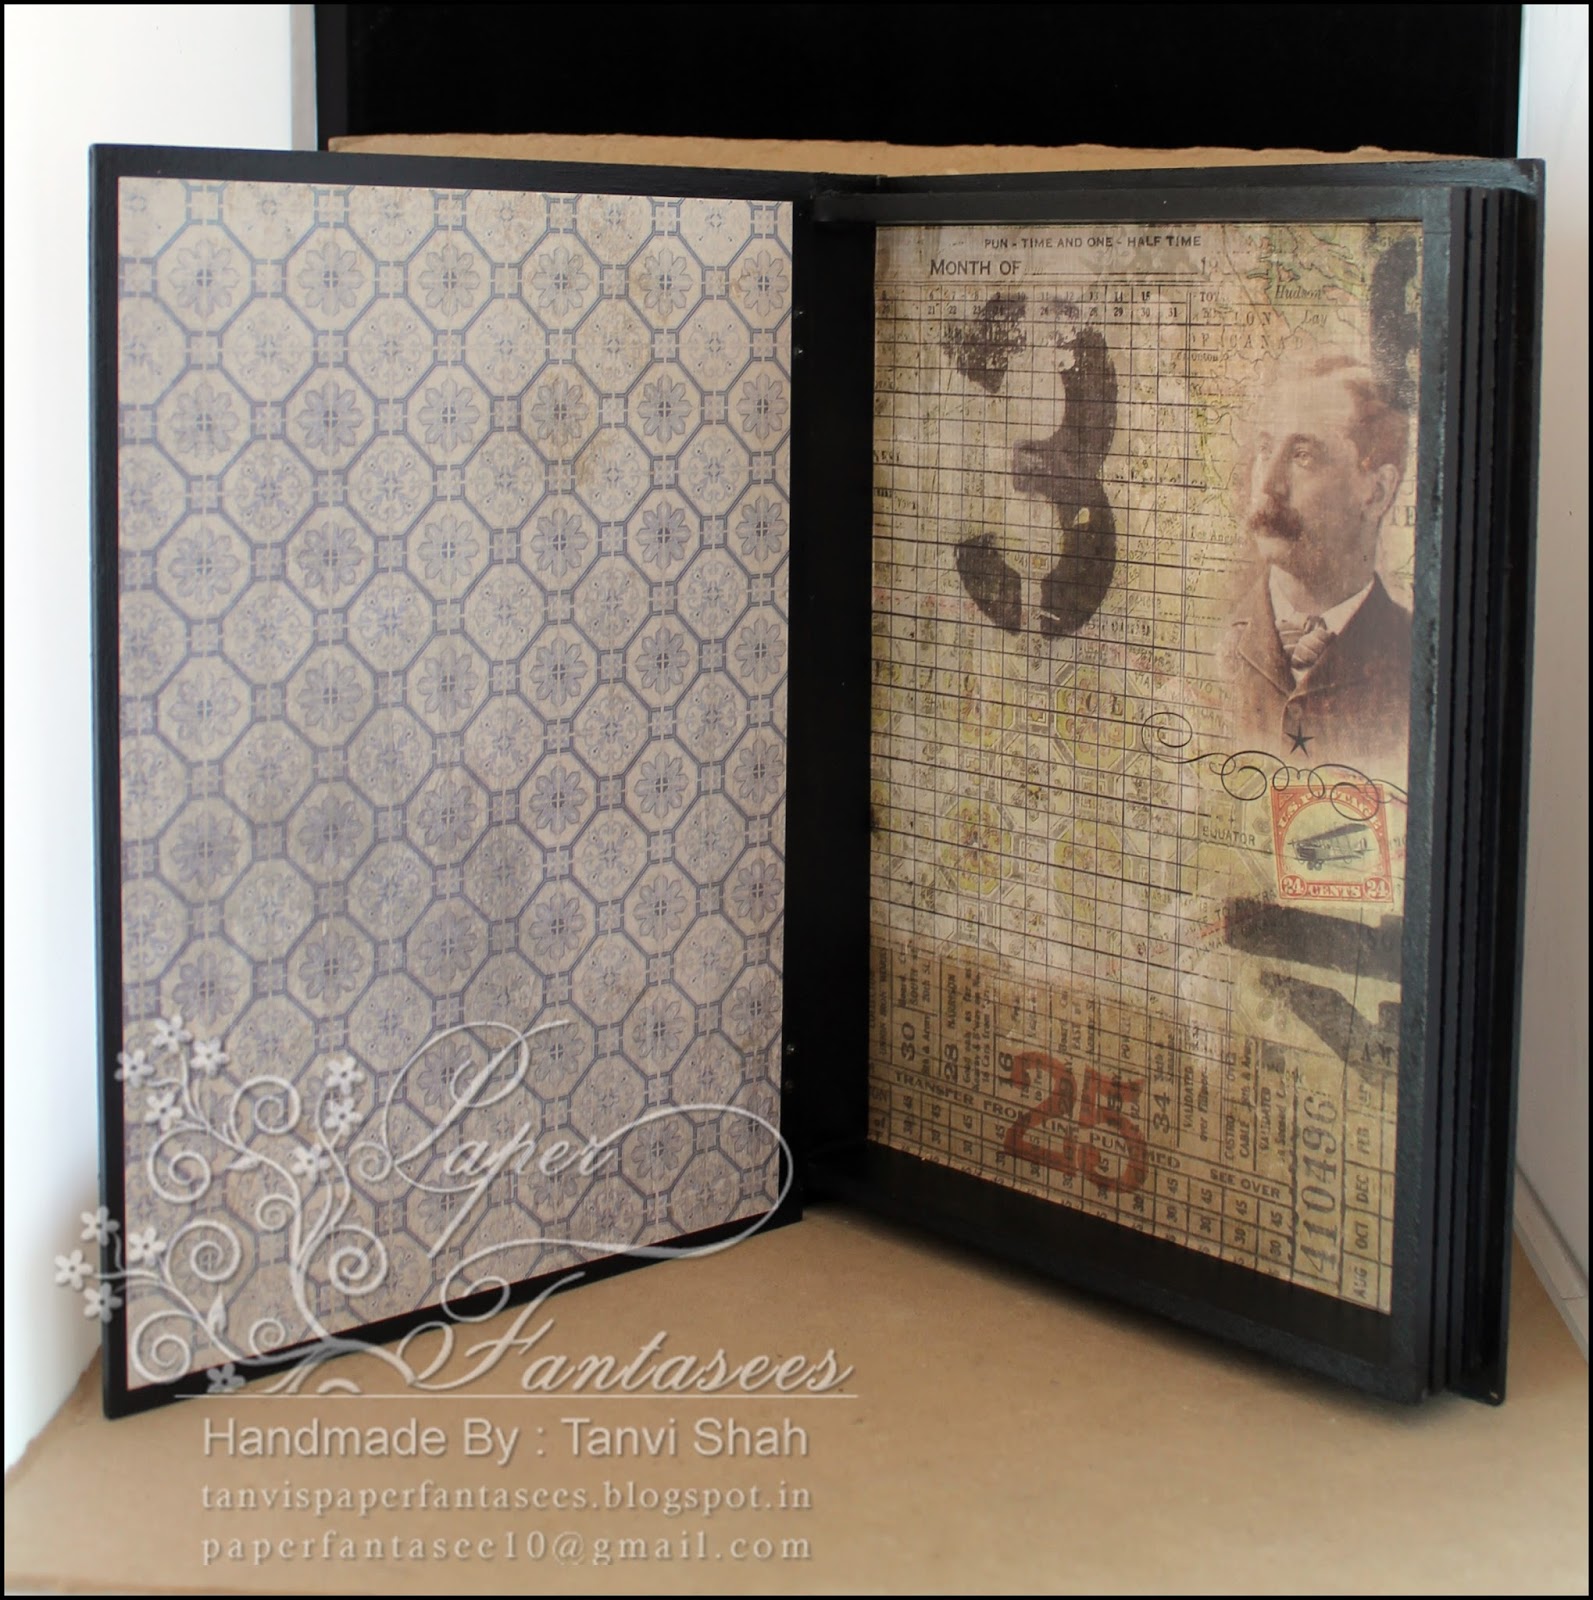
One such was this book box - 


Briefly here is how I worked on the box - 

1.   Unscrew all hinges & locks on the box.

2.   Lightly sand the decoupage base to smoothen the surface.

3.   Apply a coat of Black Gesso & let dry. Sand the primed surface.

4.   Next paint only the edges of the box & sides (which will not be decoupaged, in this case the inner sides of the box). Once dry, sand again to get a smooth finish.

5.   Select coordinating patterns from the paper stack (I used Antiquities Paper Pack) & trim to the required size.

6.   Glue the papers on the box using Itsy Bitsy Decoupage Glue, one side at a time & let dry. Take your time & press the paper gently using a sponge, avoiding air bubbles. Seal with another layer of Decoupage Glue over the paper.

7.   I wanted to give a metallic finish to the box so as to coordinate it with the gorgeous colors of the paper I chose. For this I buffed Mont Marte Metallic copper on the edges of the box.

8.   Apply 2-3 coats of Itsy Bitsy Decoupage Glue to varnish the box. Sand between two coats for a smooth finish & let dry between each coat.

9.   Assemble the box by screwing back the hinges/locks etc. & you are done!


Another book box I made for a dear friend, who is a 'no flowers' girl! These papers by Tim Holtz were perfect to give the book box a makeover. 


I have shared a few book boxes earlier. Hop over to the posts here & here, if you missed them.

Thank you so much for visiting & taking the time to comment on my blog. I love to hear from you & truly appreciate your feedback. Have a crafty day!


Friday, 8 July 2016

Mini album - I AM

Happy Friday & welcome here again!
Its been a while since I shared a mini album here! I have made many & will share these soon!
This is a trifold mini I made for my daughter. If you love pattern papers like I do (never can have enough!!!) you will enjoy this mini. I have combined papers mainly from 'My Minds Eye - I am' stack & 'Crate Paper - Style Board' by Maggie Holmes
Left the chipboard cover rather simple  & made a belly band closure. This mini measures - 8x41/4"


Both the left & the right sides have pockets for several tags. 


The central panel has a waterfall insert & love the coordinated papers I used here!


Sharing this at - 
Citycrafter#319.html - 11.7 - WINNER

Thank you so much for visiting & taking the time to comment on my blog. I love to hear from you & truly appreciate your feedback. Have a crafty day!

Saturday, 2 July 2016

Decoupage - Frames


Hello & good afternoon friends!
A quick post to sharing some decoupage friends I made for a friend.


The blooms in this frame are handmade :-)


Thank you so much for visiting & taking the time to comment on my blog. I love to hear from you & truly appreciate your feedback. Have a crafty day!

Sunday, 24 April 2016

Decoupage - Set of Drawers

Good Morning!
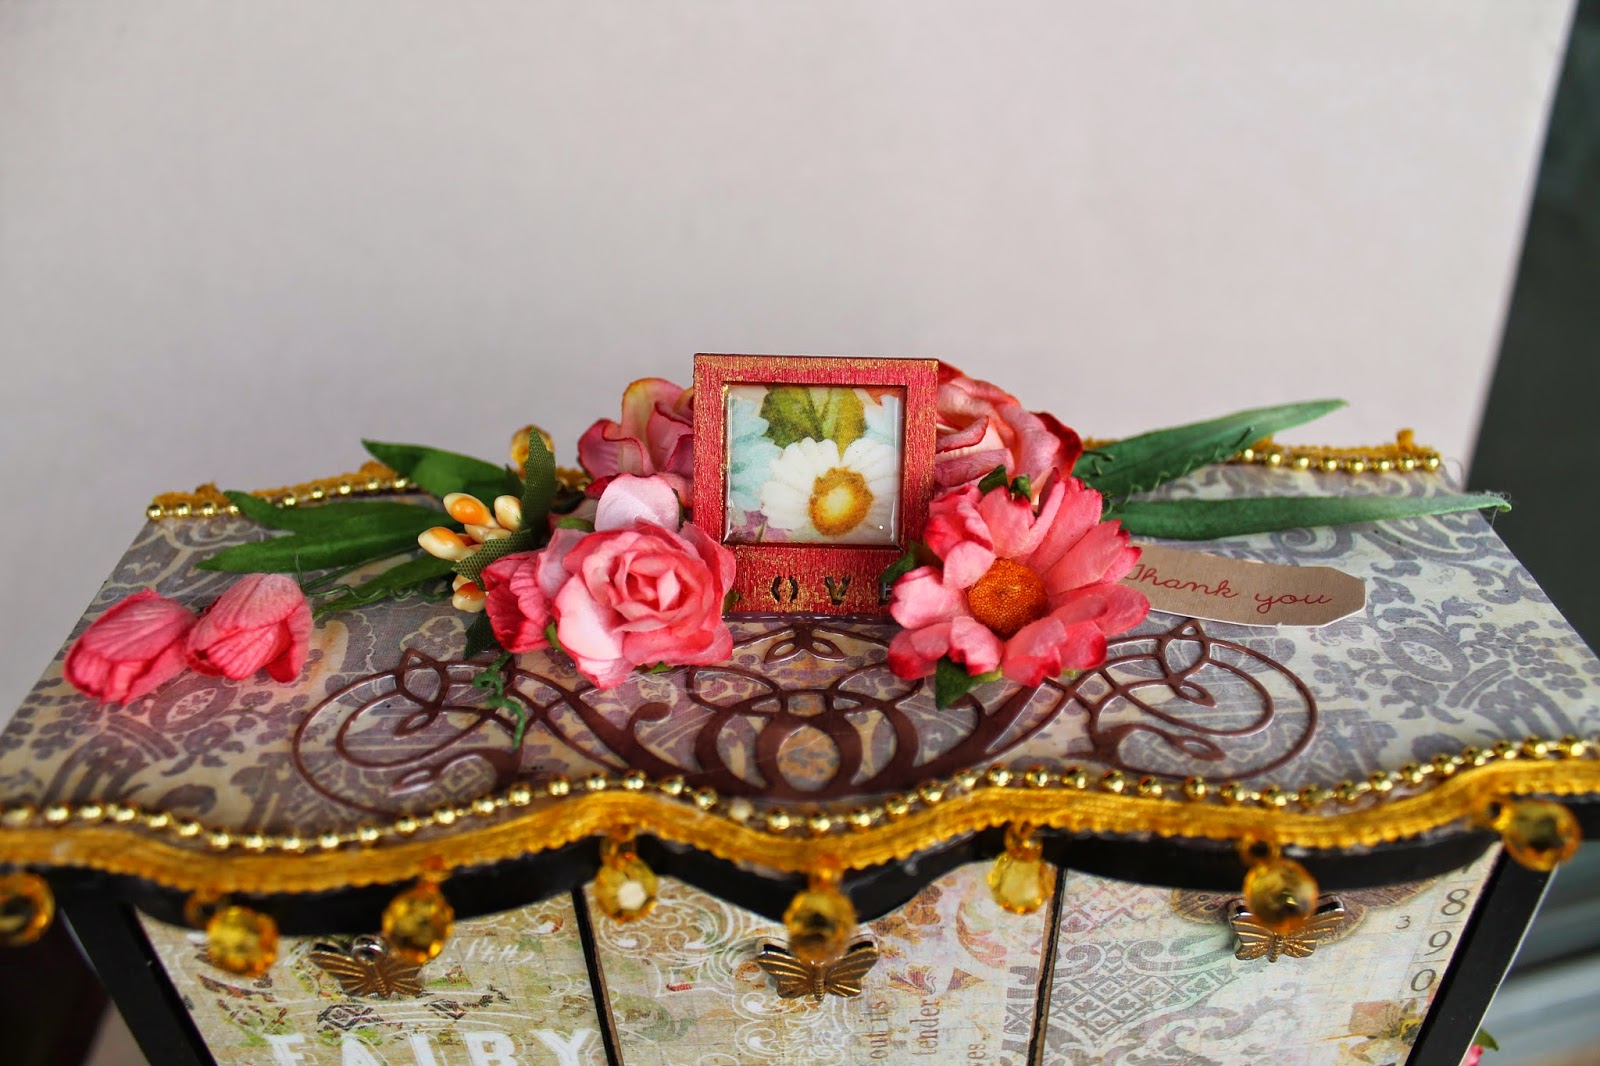
Played around with a pattern papers & loads of embellishments to transform a plain set of drawers.
The edges of the unit were painted with acrylic paints. The pattern papers are decoupaged with mod podge.


The little frame here is a Kaisercraft embellishment colored with markers. The fussy cut pattern paper is  covered with mod podge dimensional magic to give a faux glass effect.


You can view such drawers I shared earlier on my blog here & here.

Sharing this at - 
Cards Galore Challenges - 30.4 - DT Favorite

Thank you so much for visiting & taking the time to comment on my blog. I love to hear from you & truly appreciate your feedback. Have a crafty day!!

Wednesday, 23 March 2016

Letter Rack

Wishing all my friends in India a very happy & colorful Holi! 
Working on masculine projects is always a challenge for me, however, if you have the right papers & embellishments to work with it is not just easy but fun too! Sharing one such decoupage project today - a letter rack.


Decorated the sides using some stamped handmade embellishments & charms - 


Sharing this at - 


Here's another one......I told you it was fun!


And another.......but back to my florals again!!!


Thank you so much for visiting & taking the time to comment on my blog. I love to hear from you & truly appreciate  your feedback. Have a crafty day!


Related Posts Plugin for WordPress, Blogger...