Friday 29 April 2016

Decoupage - Wine bottle

Good Morning! Sharing an altered bottle today & my love for blues & teals is obvious with another one in this color. Check the older ones here & here

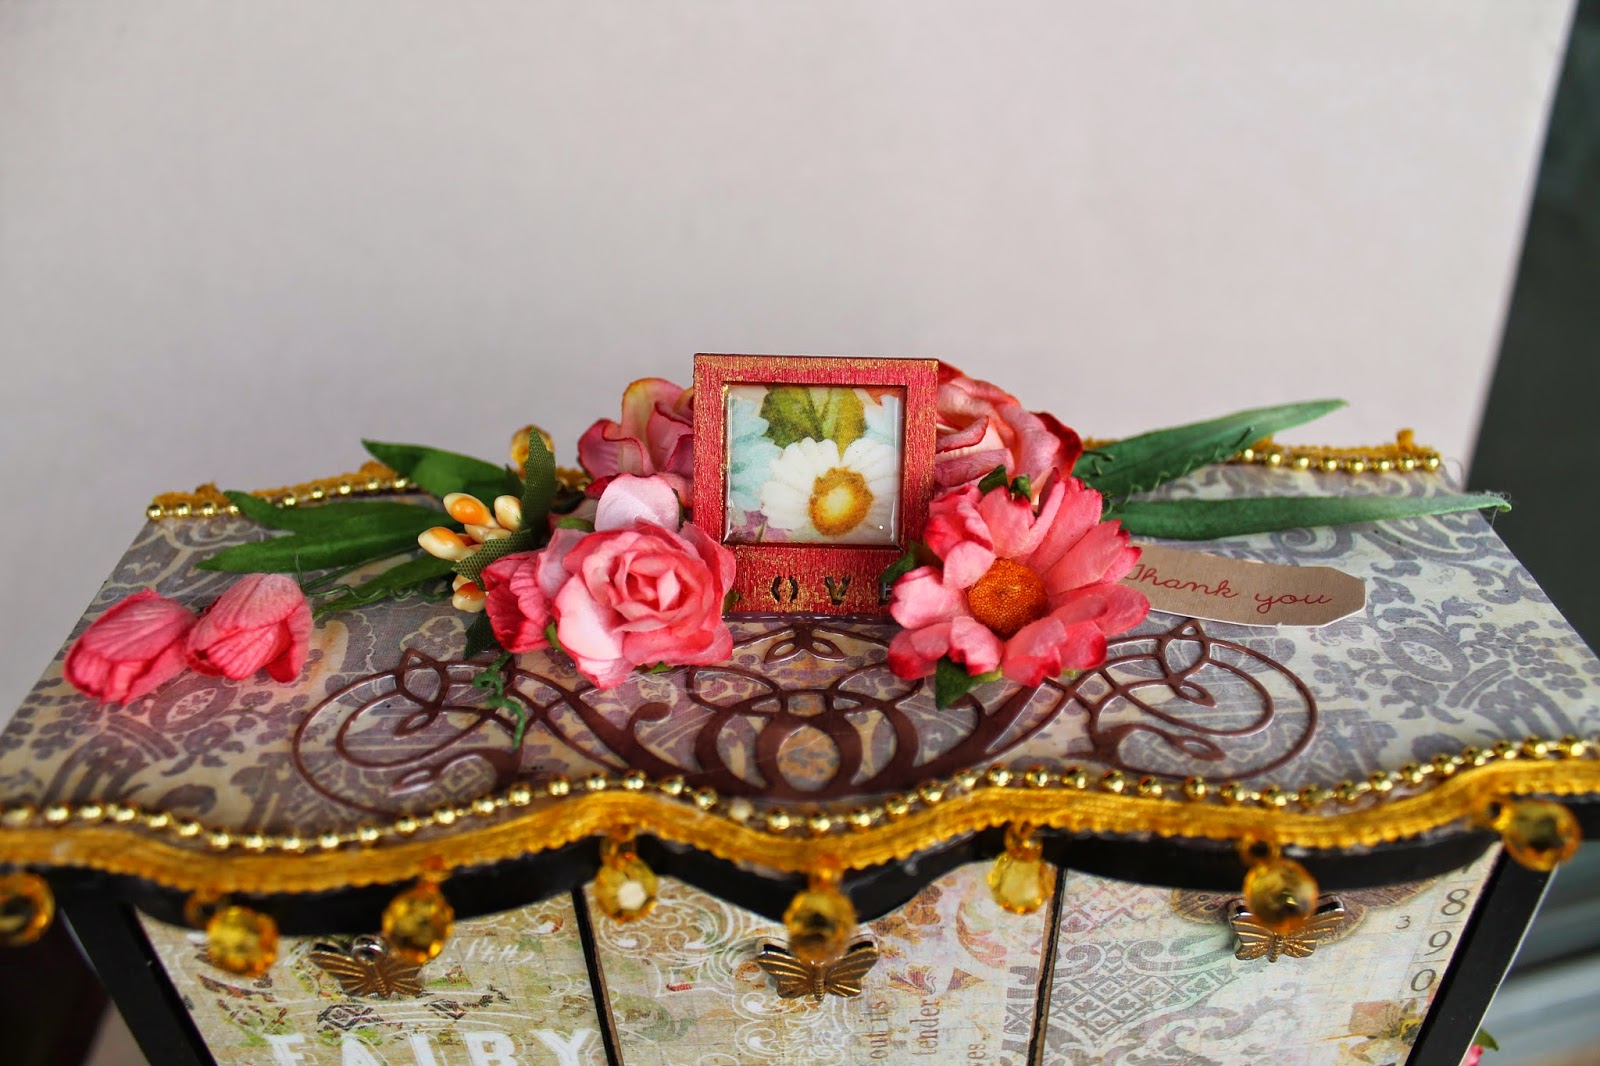
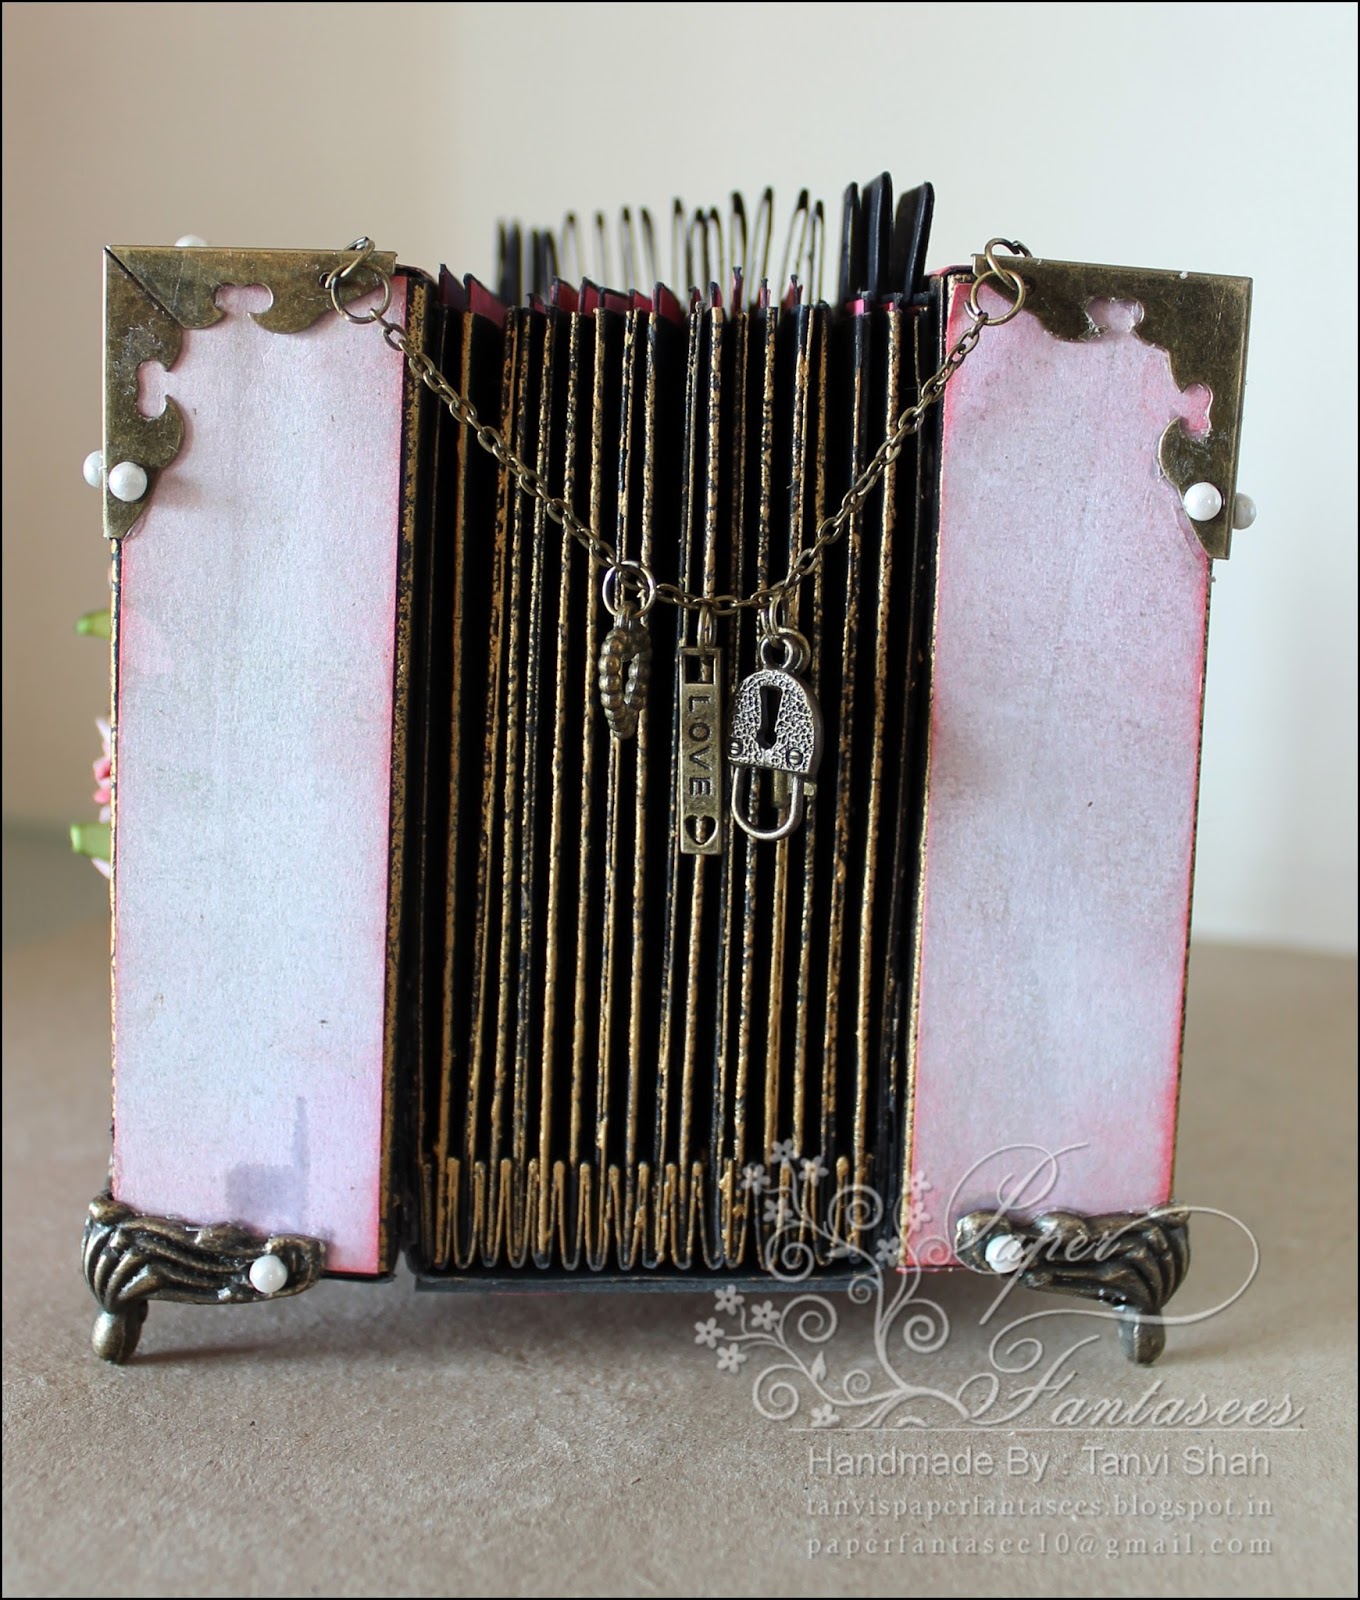
 I have used mod podge to decoupage a tissue napkin to this bottle. The butterflies, tiny blue flowers & text are stamped. 

   Here are some close ups - 


LINKING THIS TO - 
Clear it Out Challenge - 1.5 (stash item - tissue napkin)
Inspiration Destination - anything goes

Thank you so much for visiting & taking the time to comment on my blog. I love to hear from you & truly appreciate your feedback. Have a crafty day!

Sunday 24 April 2016

Decoupage - Set of Drawers

Good Morning!
Played around with a pattern papers & loads of embellishments to transform a plain set of drawers.
The edges of the unit were painted with acrylic paints. The pattern papers are decoupaged with mod podge.


The little frame here is a Kaisercraft embellishment colored with markers. The fussy cut pattern paper is  covered with mod podge dimensional magic to give a faux glass effect.


You can view such drawers I shared earlier on my blog here & here.

Sharing this at - 
Cards Galore Challenges - 30.4 - DT Favorite

Thank you so much for visiting & taking the time to comment on my blog. I love to hear from you & truly appreciate your feedback. Have a crafty day!!

Tuesday 19 April 2016

Altered Wooden Tray

Good morning peeps!
A dear friend of mine approached me with a beautiful but worn out wooden tray which was very special to her. This is how I salvaged the old tray into a new one!
To begin I smoothened the surface as much as I could using fine grain sand paper & then applied a layer of gesso. I wanted to give it a shabby & distressed look, so used a base coat of gray acrylic color. Once that dried I randomly rubbed the surface with a candle followed by Prima chalk paint. Once the pink dried I used sand paper to distress the color & out popped the gray from beneath!
Random stamping using archival ink completed the transformation! To finish I varnished the tray several times.


The back of the tray - 


Closer look at the distressing - 


Now can you believe this was the tray that got a makeover!


Sharing this at - 

Thank you so much for visiting & taking the time to comment on my blog. I love to hear from you & truly appreciate your feedback. Have a crafty day!

Monday 11 April 2016

Accordion Tag Box

Happy Monday Friends!
I love making albums & this popular Accordion Tag Box has been on my to do list for long.
Sharing the one I made for a couples' 25th Anniversary. For the accordion tag box I have combined papers from two stack - Papericious - Infinty stack & Prima - Firefly stack. Mulberry flowers, charms & chains, metal corners & high lights with inkagold all coordinated perfectly to make this gorgeous box. 
Here are some close ups - 


Linking this to - 

Thank you so much for visiting & taking the time to comment on my blog. I love to hear from you & truly appreciate your feedback. Have a crafty day!

Monday 4 April 2016

DREAM Banner

Hello Friends!

My DT project for Bob N Betty this time is a "DREAM" banner which originated in a quote I once read  'IMAGINATION is the soil that brings DREAMS to life'. When I received the DT kit I was awestruck with these Made in India papers, absolutely enticing! 

For making this banner I used die cut pennants for the base. I glued together 4 card stock die cuts for each pennant to make the base sturdy. 

I selected papers from the Floral Logs collection & trimmed them to size to layer over the die cuts. These designs are have so much of layering & textures in the patterns, so I wanted minimal embellishments!


I colored the Prima DREAM letter resins with black soot distress ink with a dash of gold acrylic paint. To coordinate the pennants & also the Tim Holtz word bands, colored them similarly.


Once I had the letters D R E A M placed on the pennants, I embellished them & look at the magic created using these papers! Fantabulous!
The metal word bands have some inspiring words which were just perfect to for the theme I had in mind - Imagination & dream! 
I wanted these to standout clearly on the banner, so added these to square die cuts to the base of the banner.
The glass beads & tassels were just perfect to complete the banner.


The Ornate Annie collection has some sheets with tags, envelopes, frames, etc which can be easily fussy cut & I thought it would be perfect to add some interest & provide a good contrast  for the resin letters.


Linking this to - 
Craft for the Craic   - 30.4
ABC-Challenge - 13.4

Thank you so much for visiting & taking the time to comment on my blog. I love to hear from you & truly appreciate your feedback. Have a crafty day!
Related Posts Plugin for WordPress, Blogger...