Thursday 26 April 2018

Decoupage Tray

Hello Friends!
Sharing my first post on the Letz Craft blog, so happy to join a bunch of talented ladies.
Here is look at my first project - 


Please visit the blog HERE for more details.

Thank you so much for visiting & taking the time to comment on my blog. I love to hear from you & truly appreciate your feedback. Have a crafty day!

Tuesday 17 April 2018

Bridal Shower Banner

Here today with a bridal shower banner.
Rinea foil papers are available in a variety of packs & colors, however, for this banner, I have used only the silver/gold glossy foil paper & yet absolutely love the simple & classy outcome. I have layered several die cuts on a chipboard base to make it sturdy. 

The glossy banner was extremely difficult to capture on camera, hope the pictures do justice to this beauty!


Thank you so much for visiting & taking the time to comment on my blog. I love to hear from you & truly appreciate your feedback. Have a crafty day!

Wednesday 4 April 2018

Easter Home Dcor

Hello! 
Today, I am here with an Easter inspired decor idea. 


For this hanging Easter egg, I drew an egg template & cut 4 of these eggs from  Pastels Foiled Paper Variety Pack from Rinea & glued them from edge to edge to form a 3D egg.
Used some embellishments from my stash & fussy cut images from the Sweet Sentiments paper pack by G45 to decorate this lovely hanging Easter egg. Here are some close-ups....

Thank you so much for visiting & taking the time to comment on my blog. I love to hear from you & truly appreciate your feedback. Have a crafty day!

Bag Charm using Rine Foil paper

Hello & Welcome back!
Rinea foil papers are very versatile & I love the ease with which they can be used in many paper craft projects. 
Today I have a quick pictorial to make a carrot favor box for Easter.
This cute favor box was perfect for the bag accessory I made using some charms & die cuts from Rinea foil paper.
For my post today I have used the following foil papers - 
Thank you so much for visiting & taking the time to comment on my blog. I love to hear from you & truly appreciate your feedback. Have a crafty day!

Altered Cookie Can


Hello & I am here with my inspiration for Bob N Betty.
For my project today the inspiration was the "Cottage Blush" collection so floral & so shabby.

cottage-blush-1140x6591

I worked my way to making a flip album using these gorgeous papers,  half way through & I realized it looked very similar to the wallet mini I made earlier! So while that incomplete project sits on my table an alternative 3D project came to life & am so glad it did! That's the story of the altered cookie can I share today. 
Here are some close ups of the cannister - 

F18036

I used distress crackle paint for some textures over the distressed folds here - 

F18037

Flowers & charms from my stash added much to the shabby look - 

F18038      F18039   


F18040          F18041  

    F18043  

                           F18044                                

F18045

The gorgeous altered can makes a unique box to hold a gift, an invite or even a letter or simply fill it up goodies & candies! 


Thanks for visiting today & have a wonderful week!


Thank you so much for visiting & taking the time to comment on my blog. I love to hear from you & truly appreciate your feedback. Have a crafty day!

Tuesday 3 April 2018

Decoupage Box using Bob N Betty "Meadows"

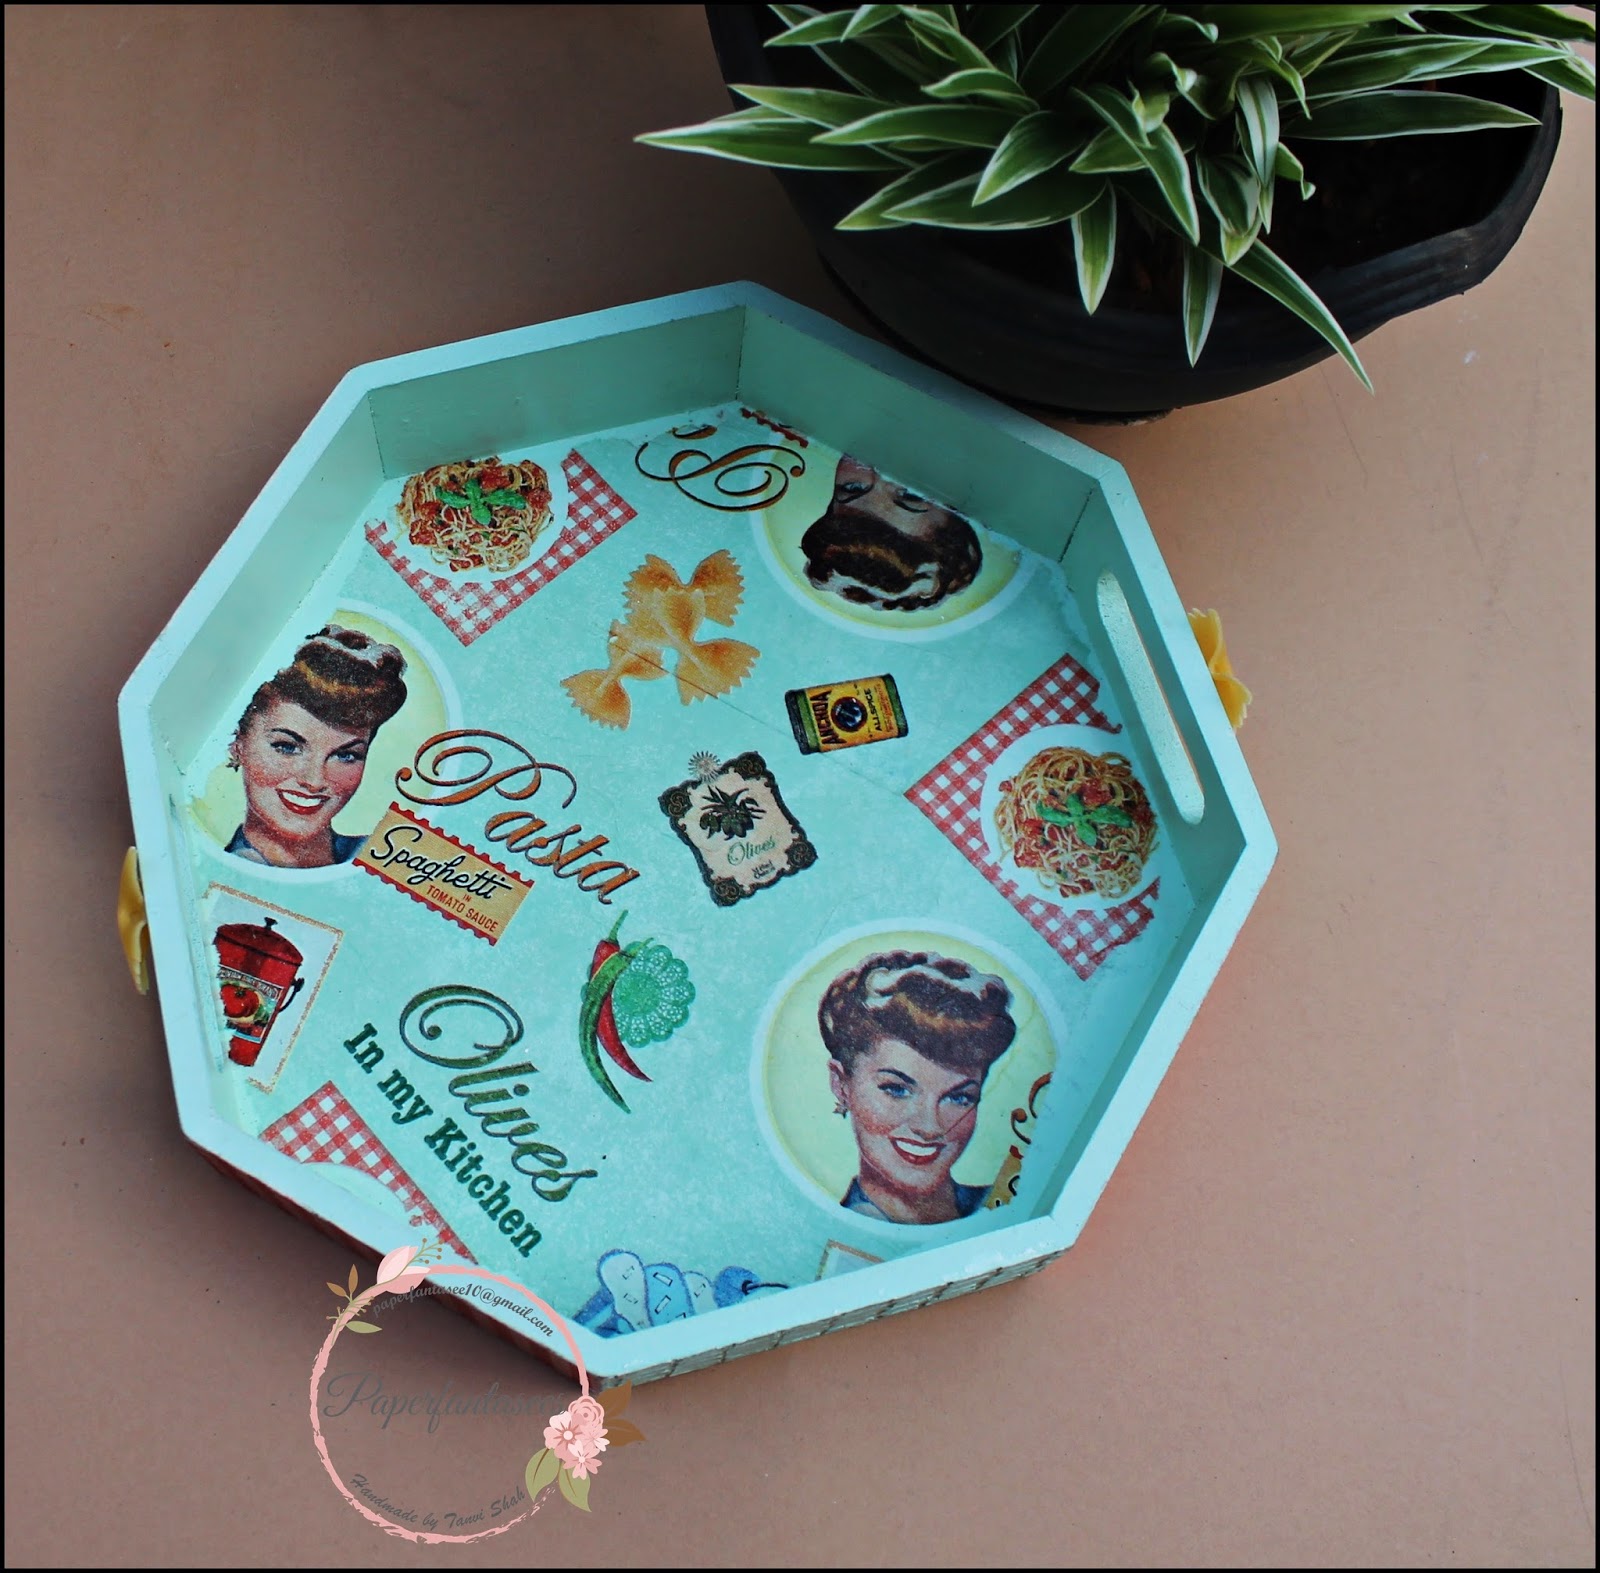
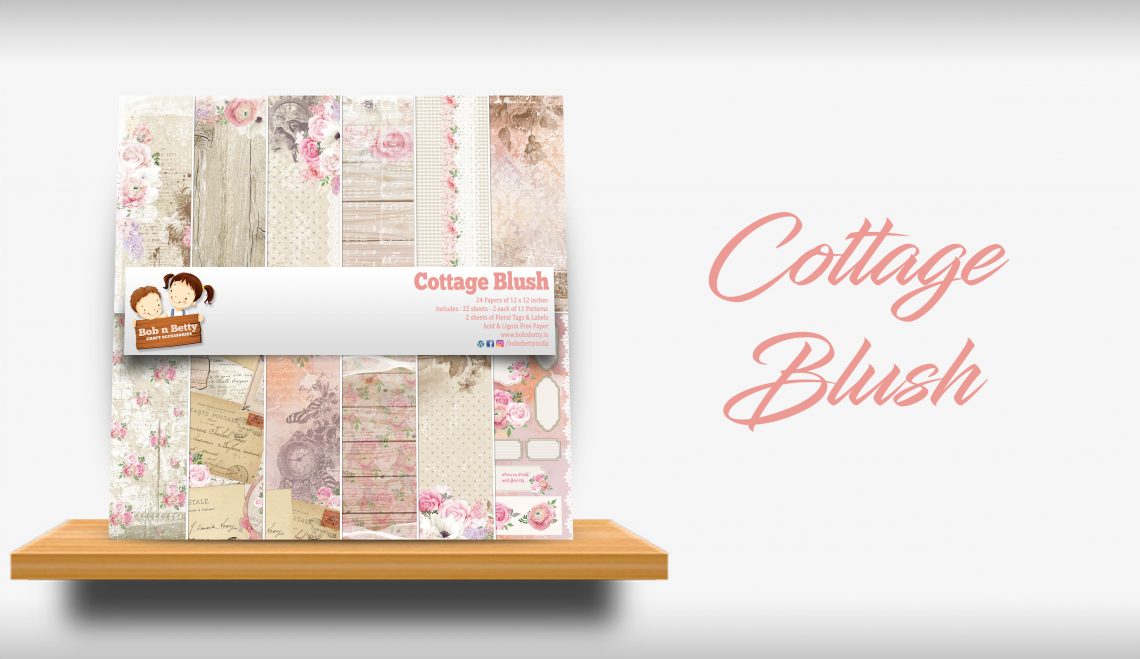
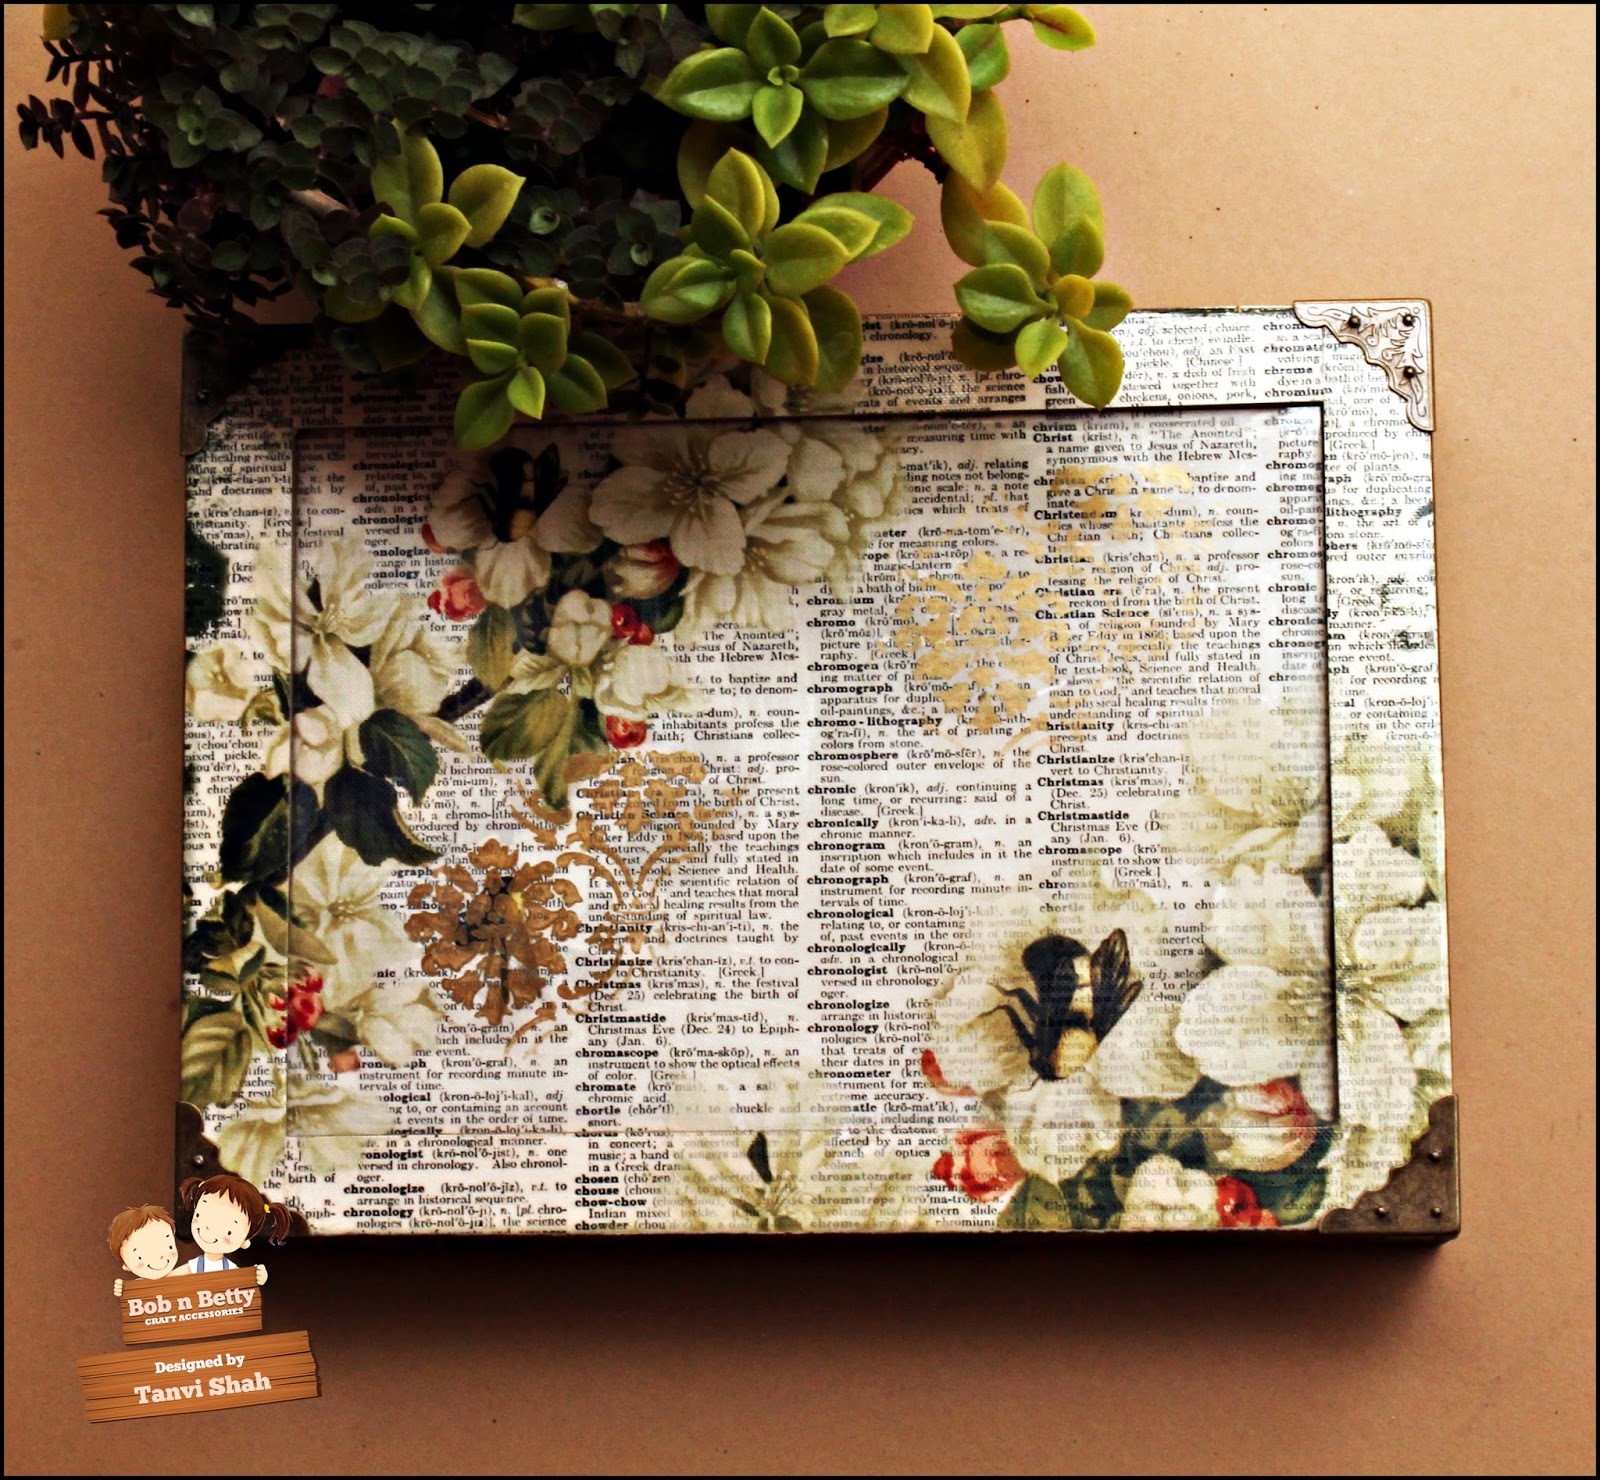
Hello, am here to feature another awesome release MEADOWS, a set of eight delicate floral designs with a vintage touch in our range of decoupage specialty papers. This is a perfect collection for someone like me who loves vintage but always looks out for a dash of happy colors in vintage too! Each design is gorgeous!

bnb1.jpg

I will be sharing a decoupage box using my favorite print from the collection in which I have combined decoupage with reverse decoupage for the glass lid of this box.


Let me explain briefly -
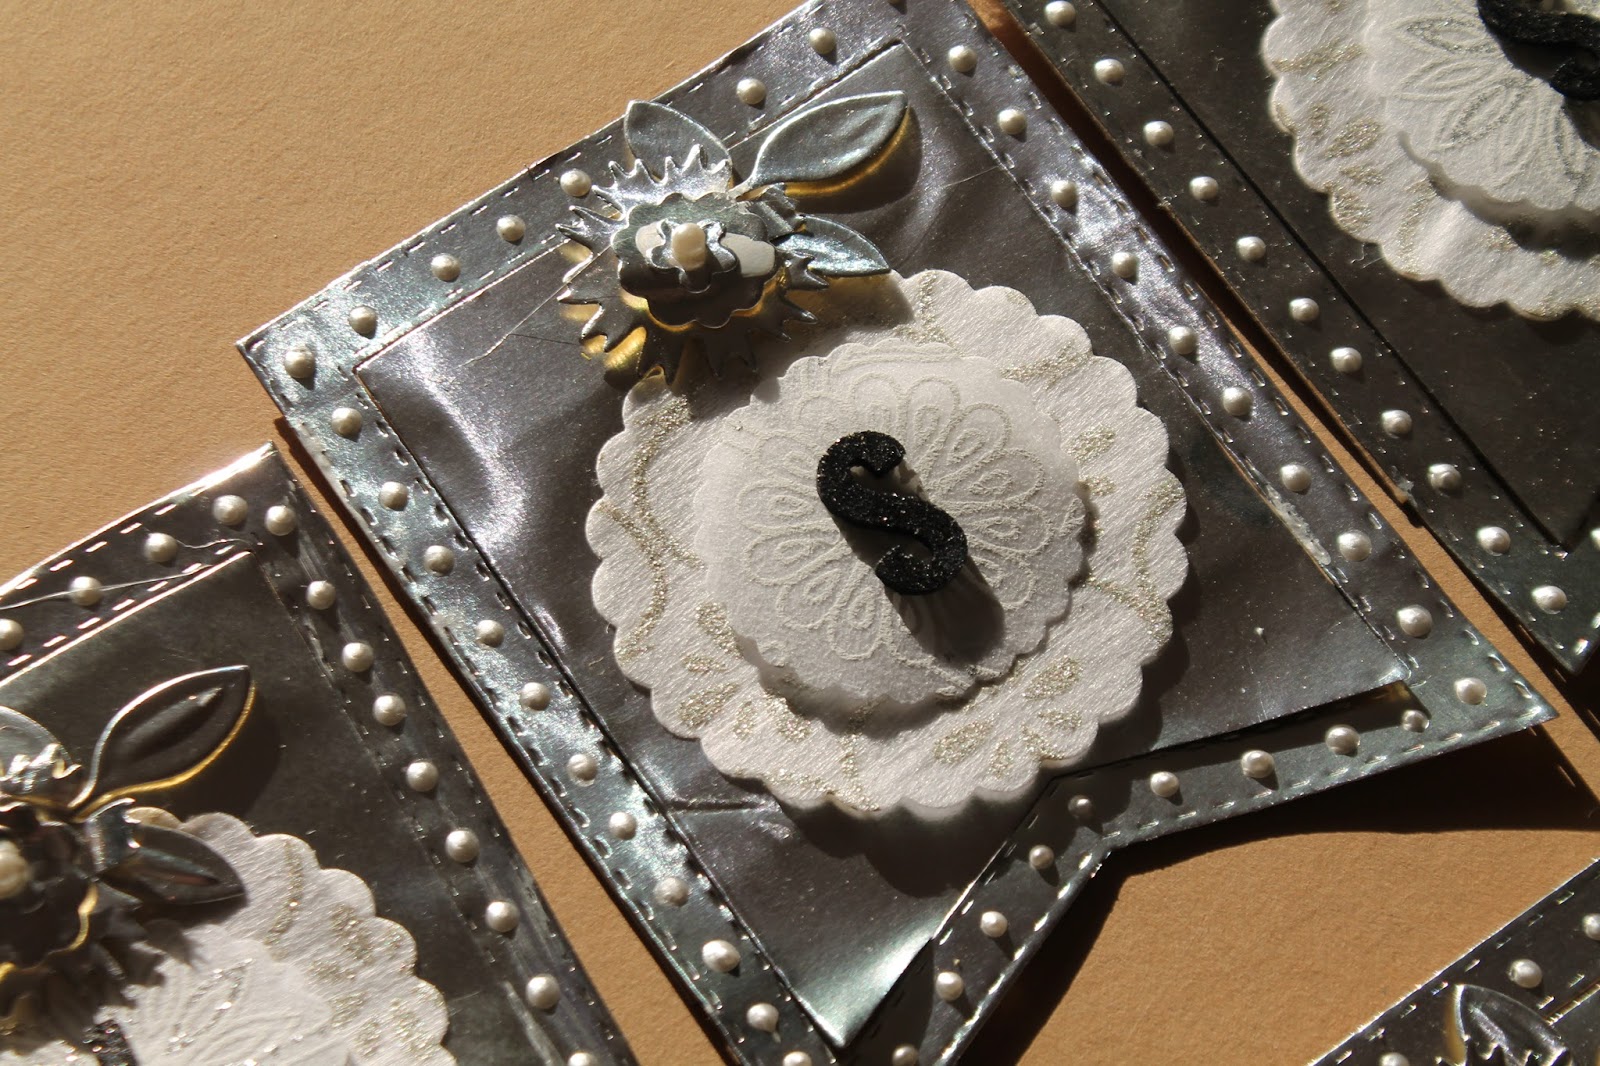
  1.  First I did some stenciling with gold acrylic paint on the backside of the glass lid.
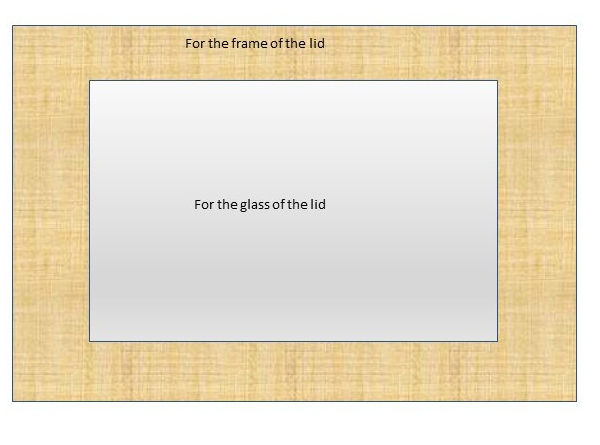
  2. Next I trimmed the specialty decoupage paper to the size of the lid & cut off a rectangle the size of the glass piece from this.
box
3. Glue this piece on the backside of the glass right side facing down  (reverse decoupage) & the left over to the frame of the lid. Seal with decoupage glue.
4. The base of the box was painted in antique gold acrylic paint. Once dry used masking tape to create bands & stenciled over the open bands with gold paint. Loved the stenciled bands.
5. Varnished & sanded the box to finish.
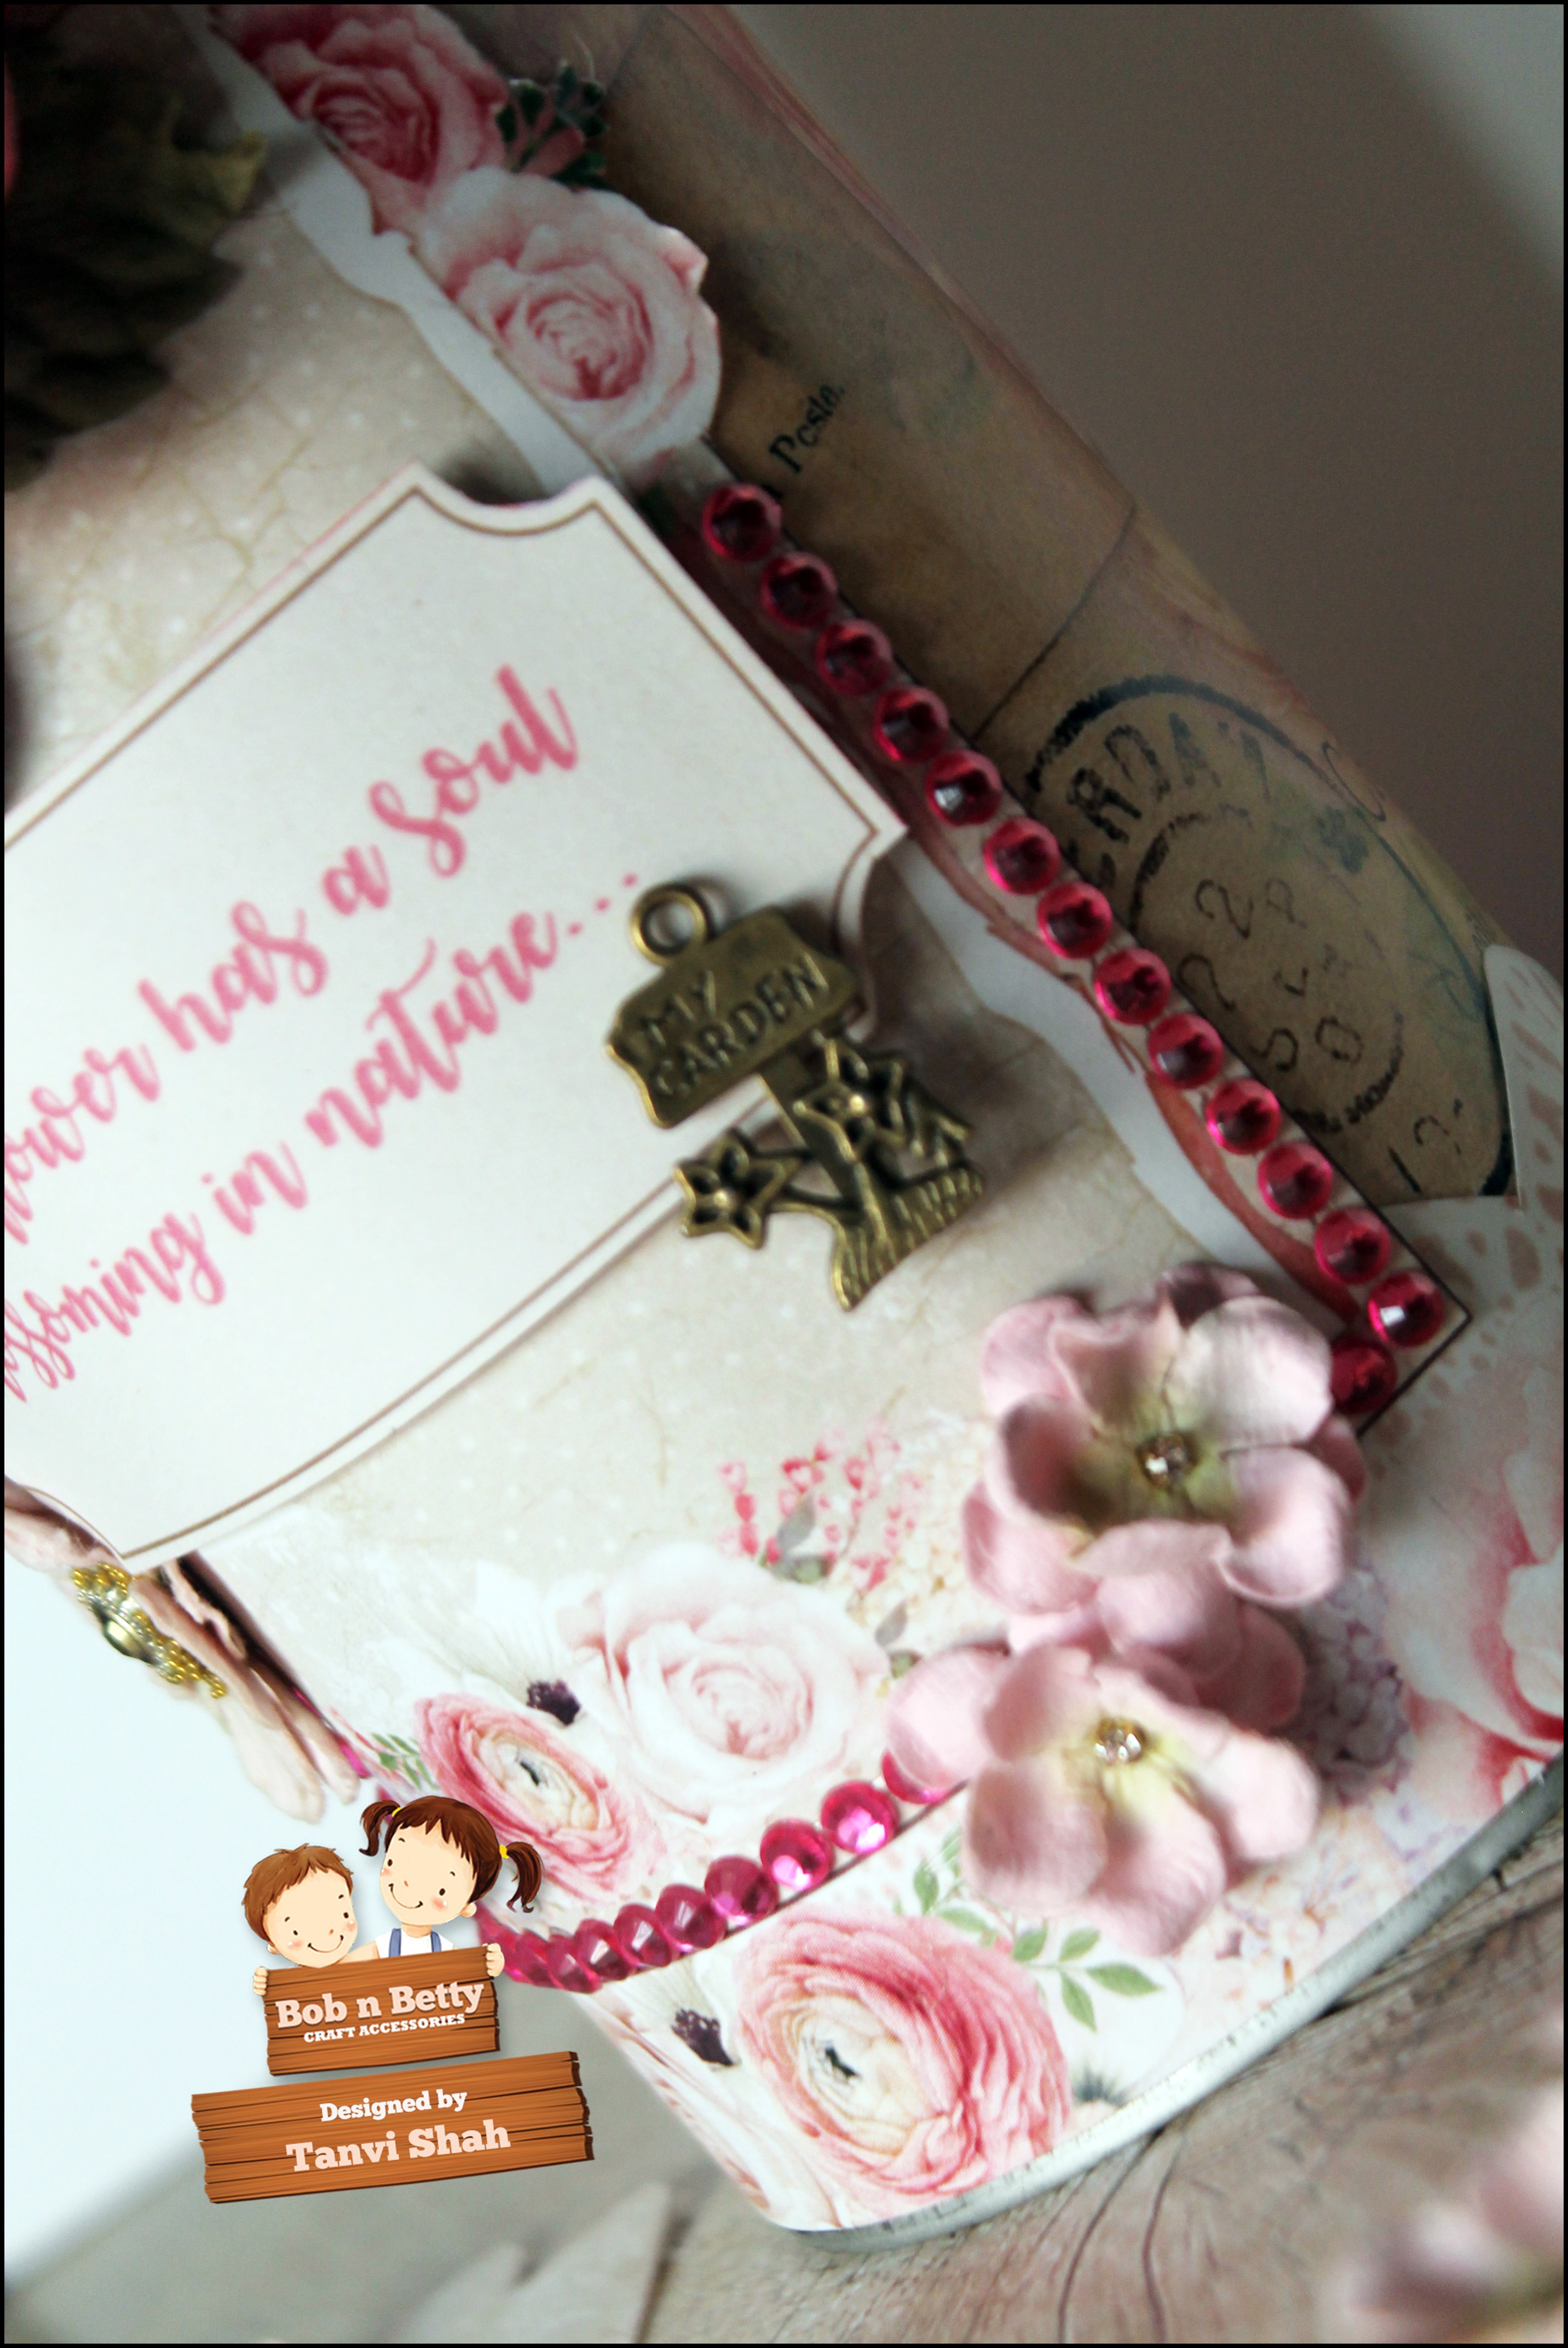
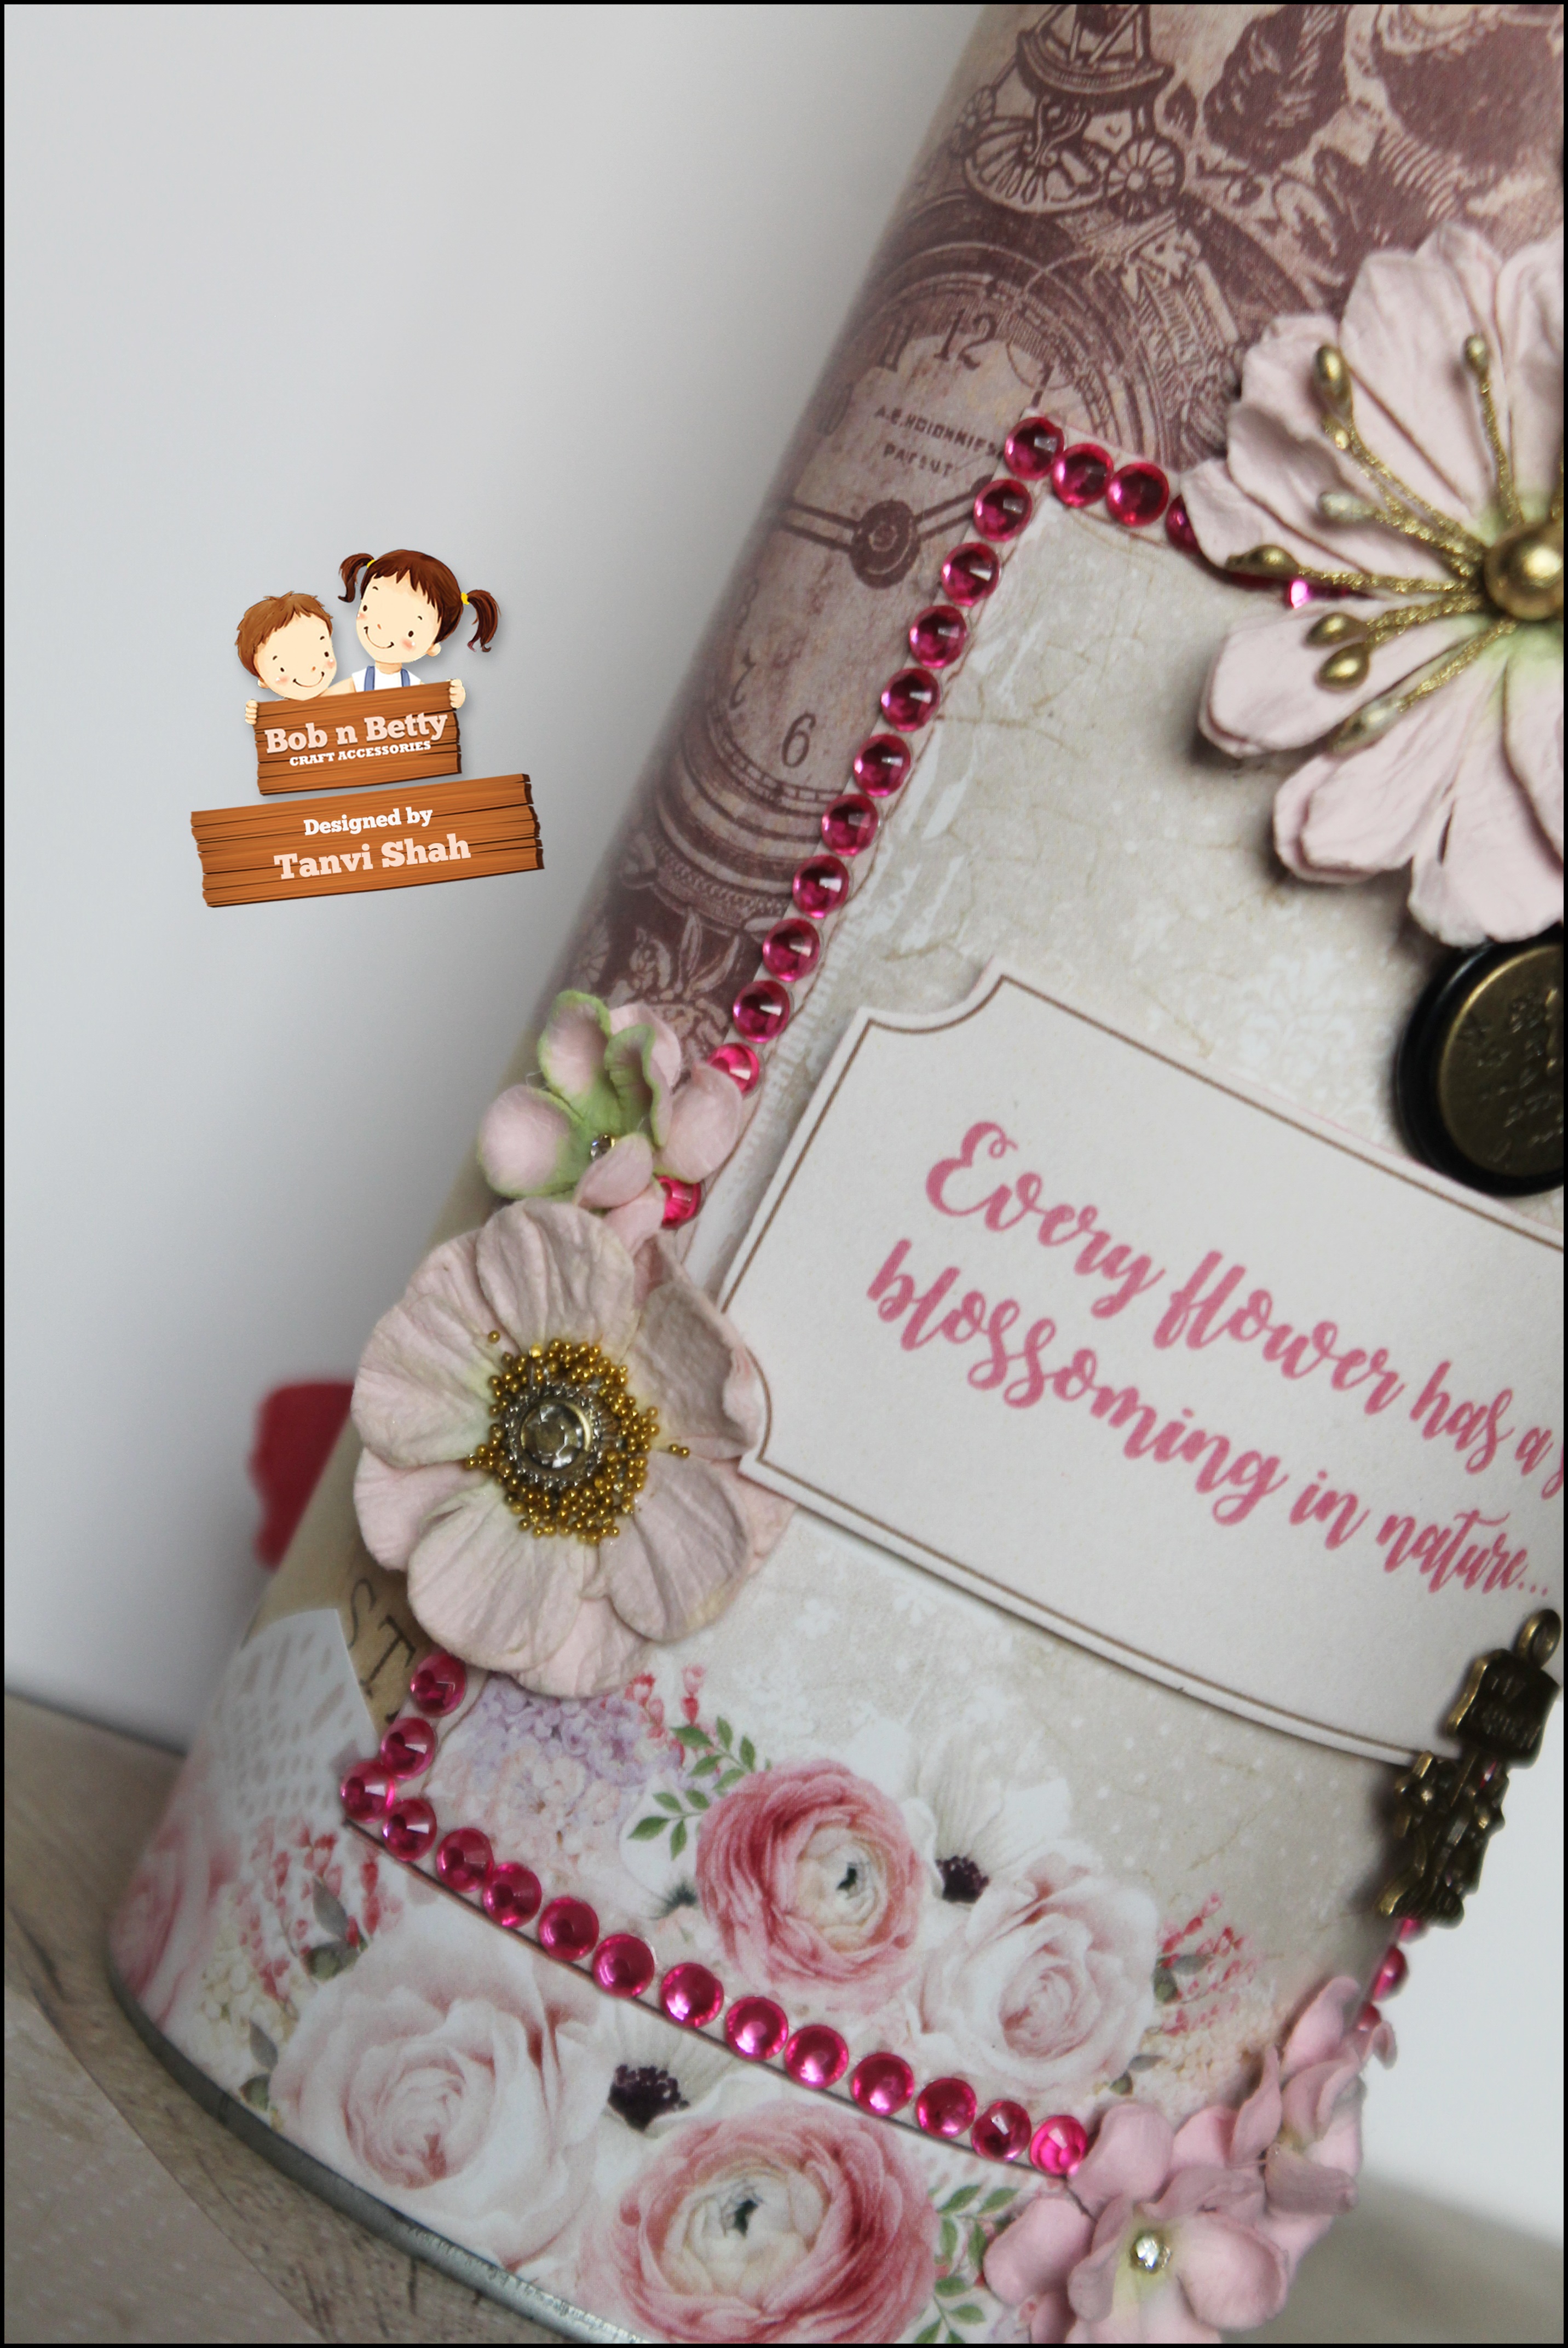
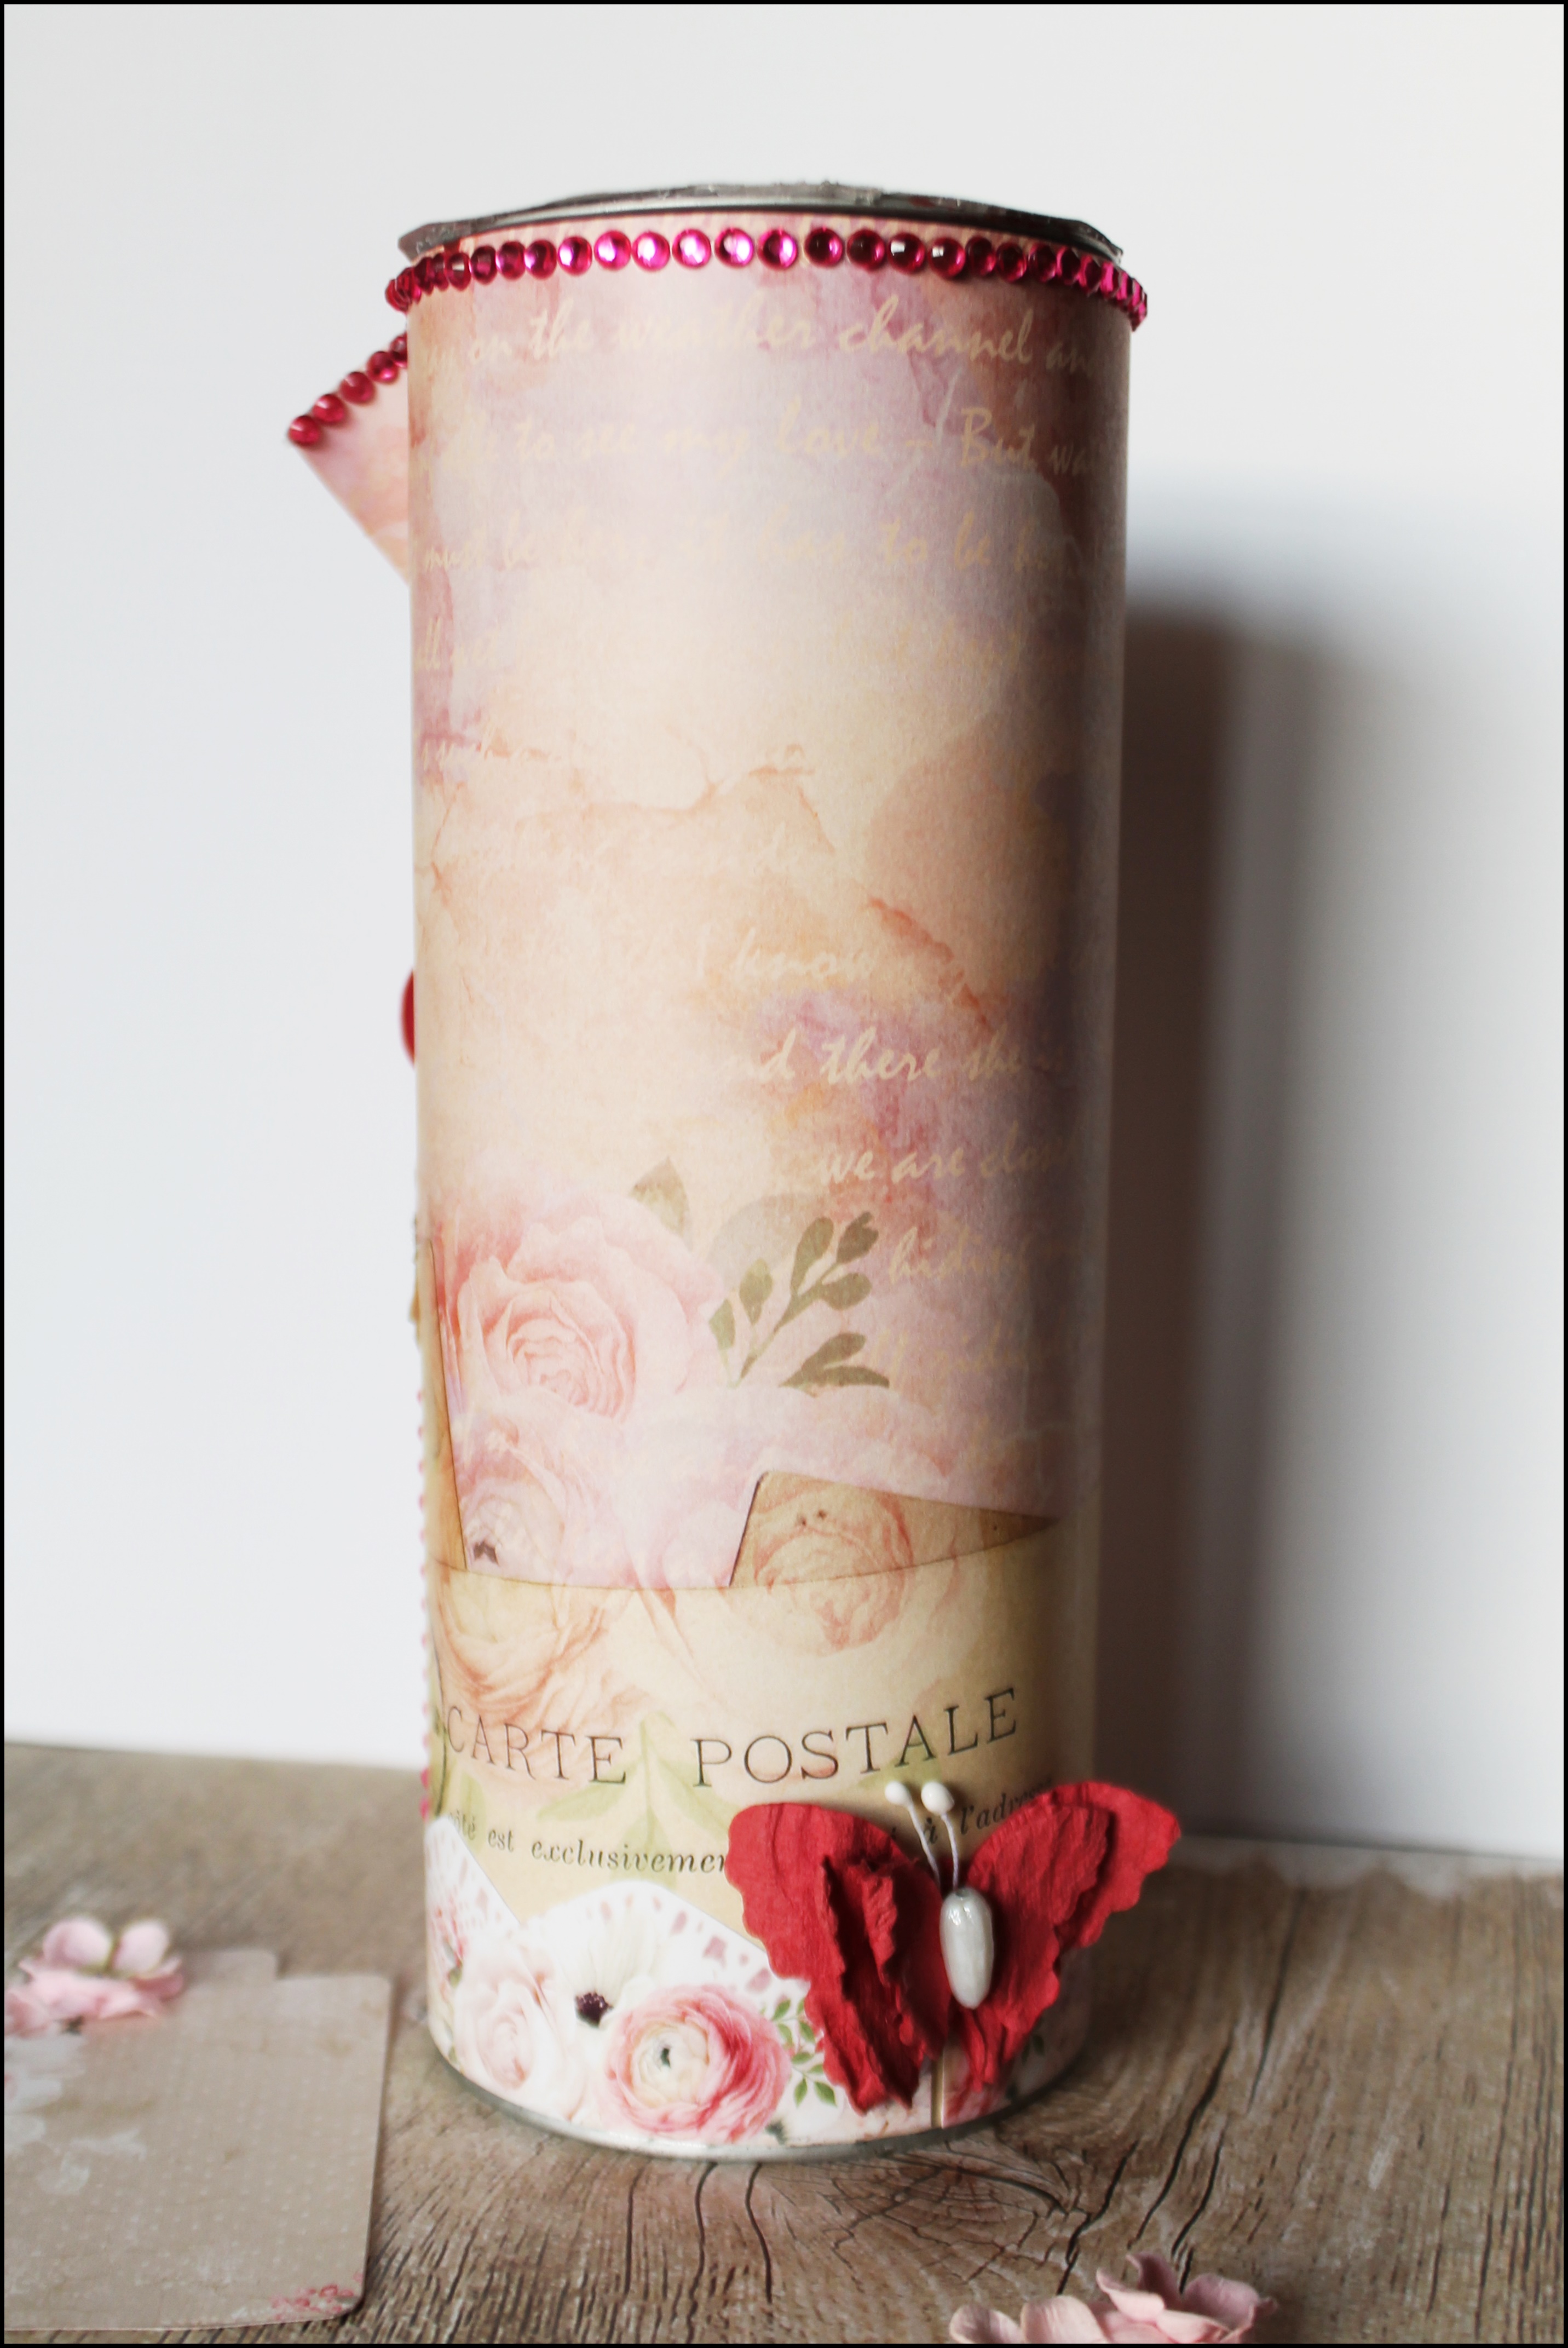
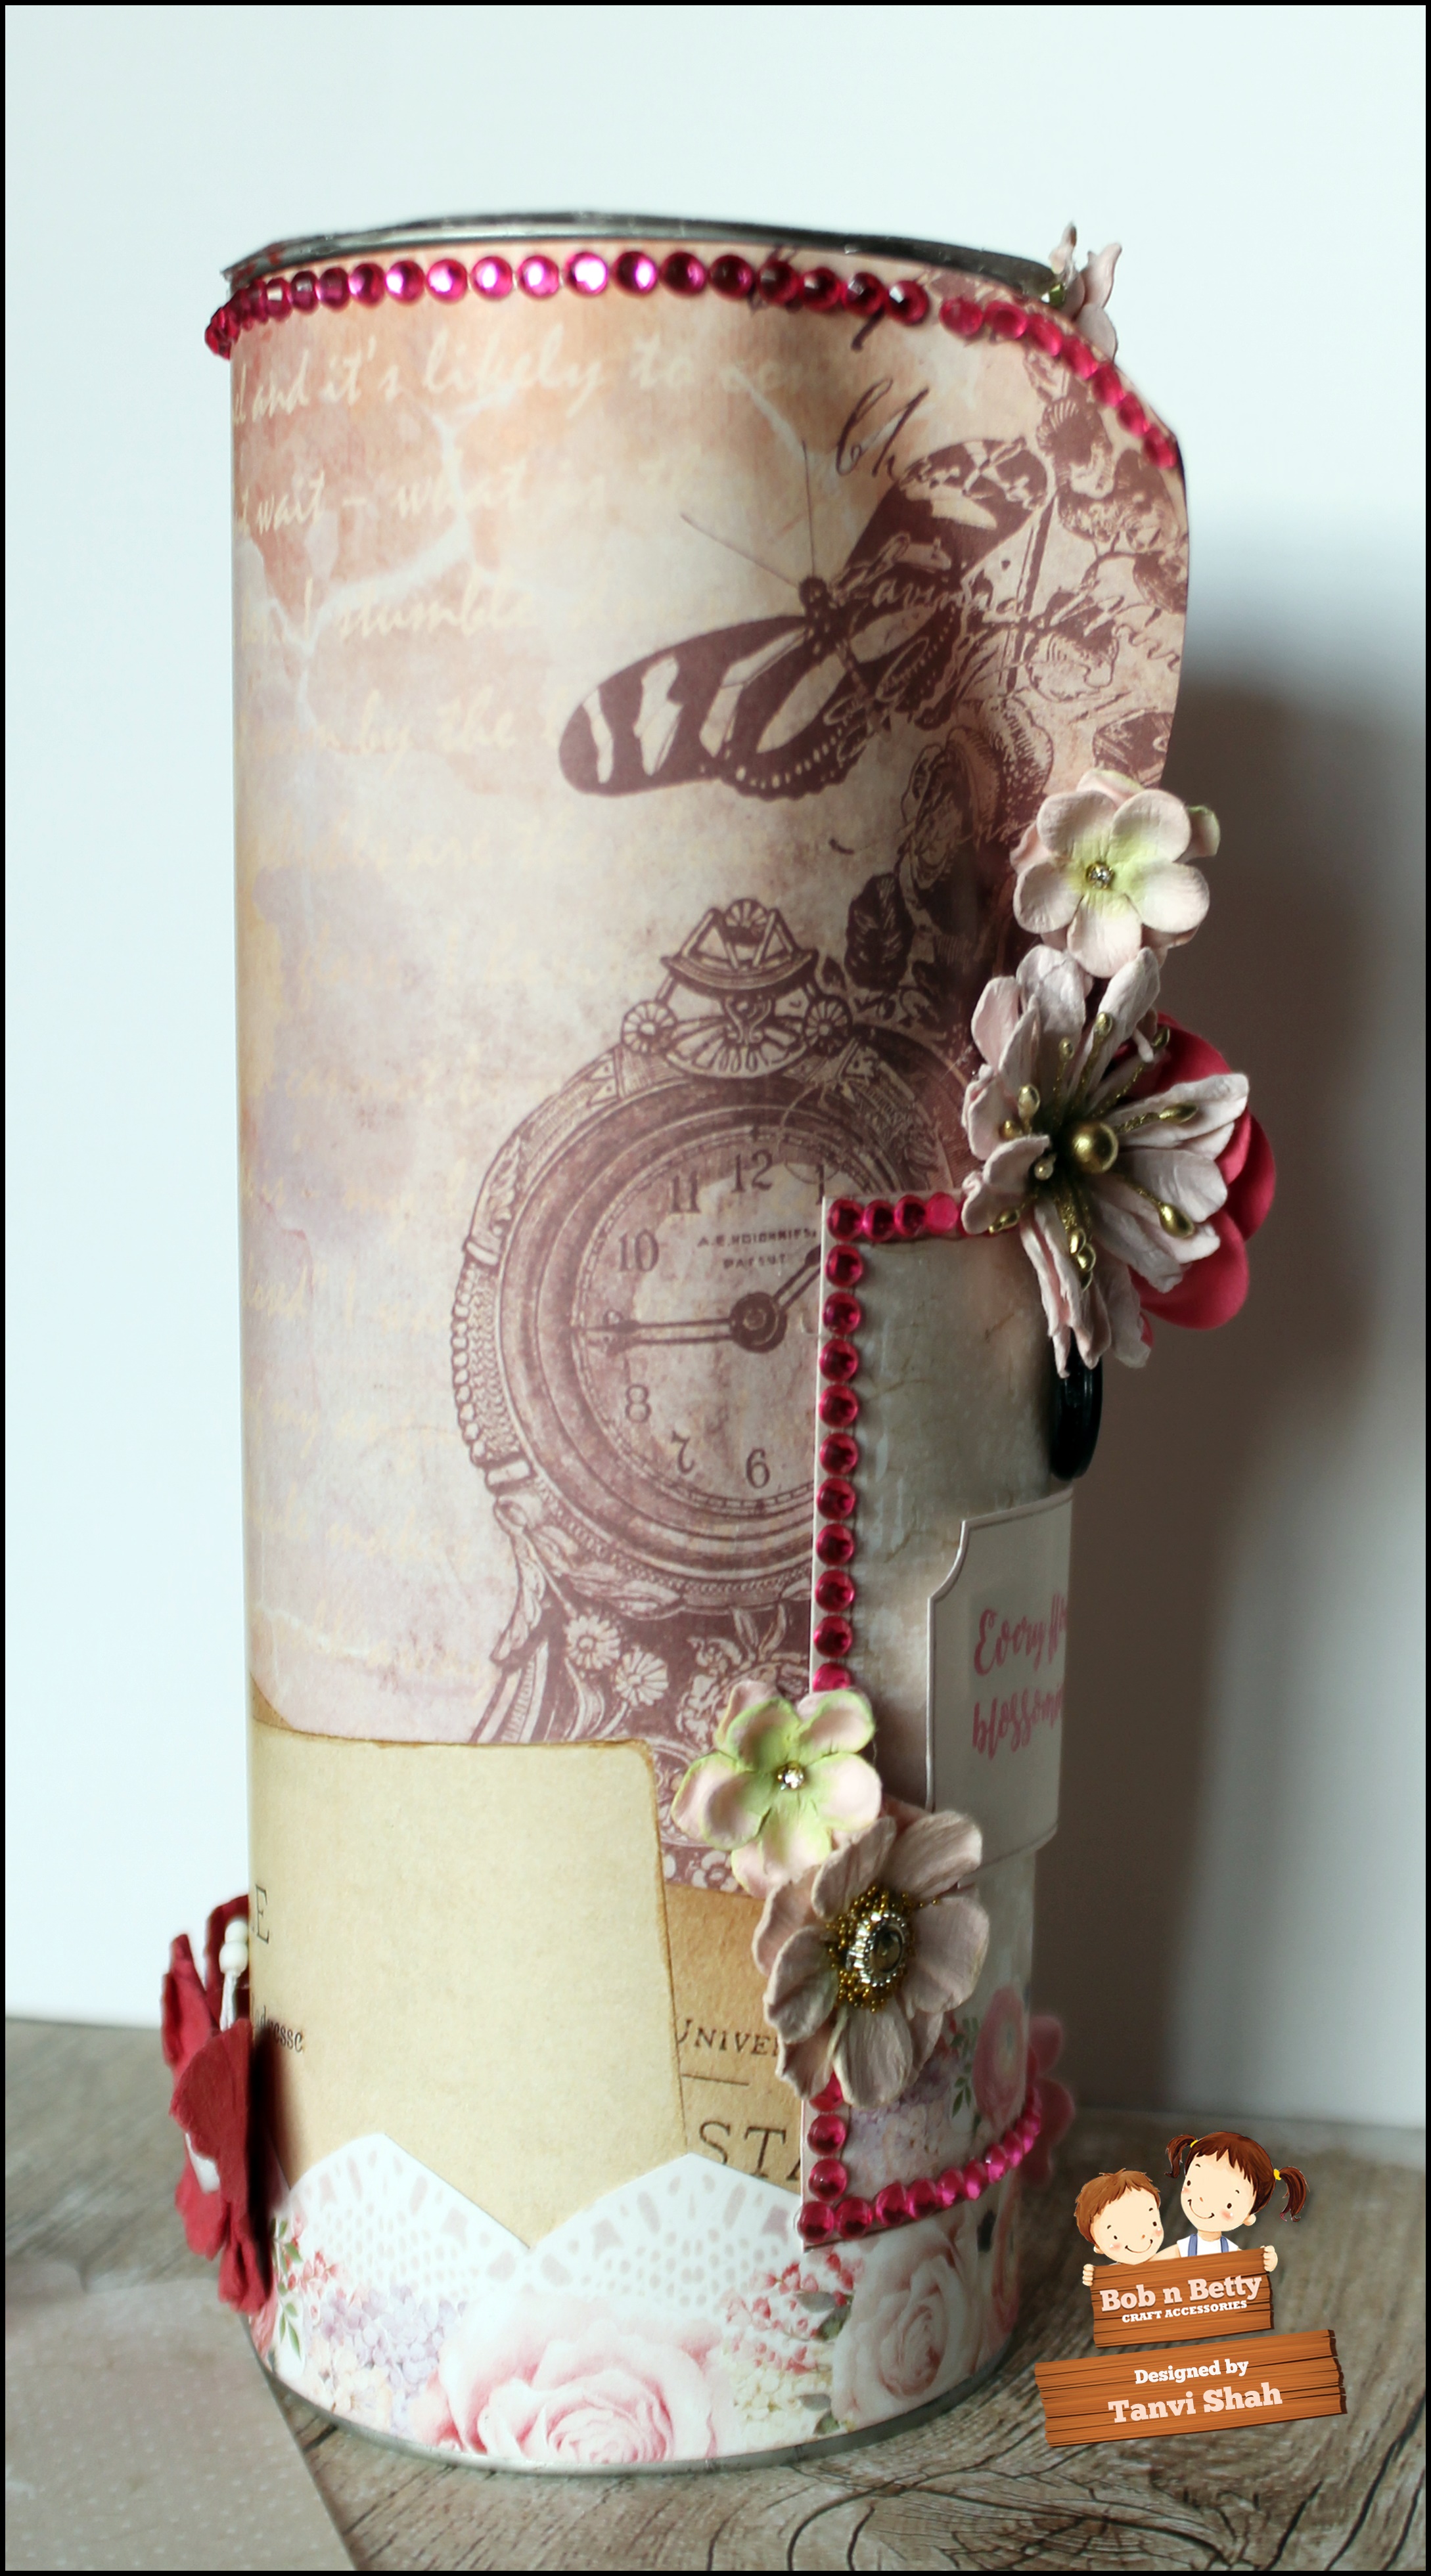
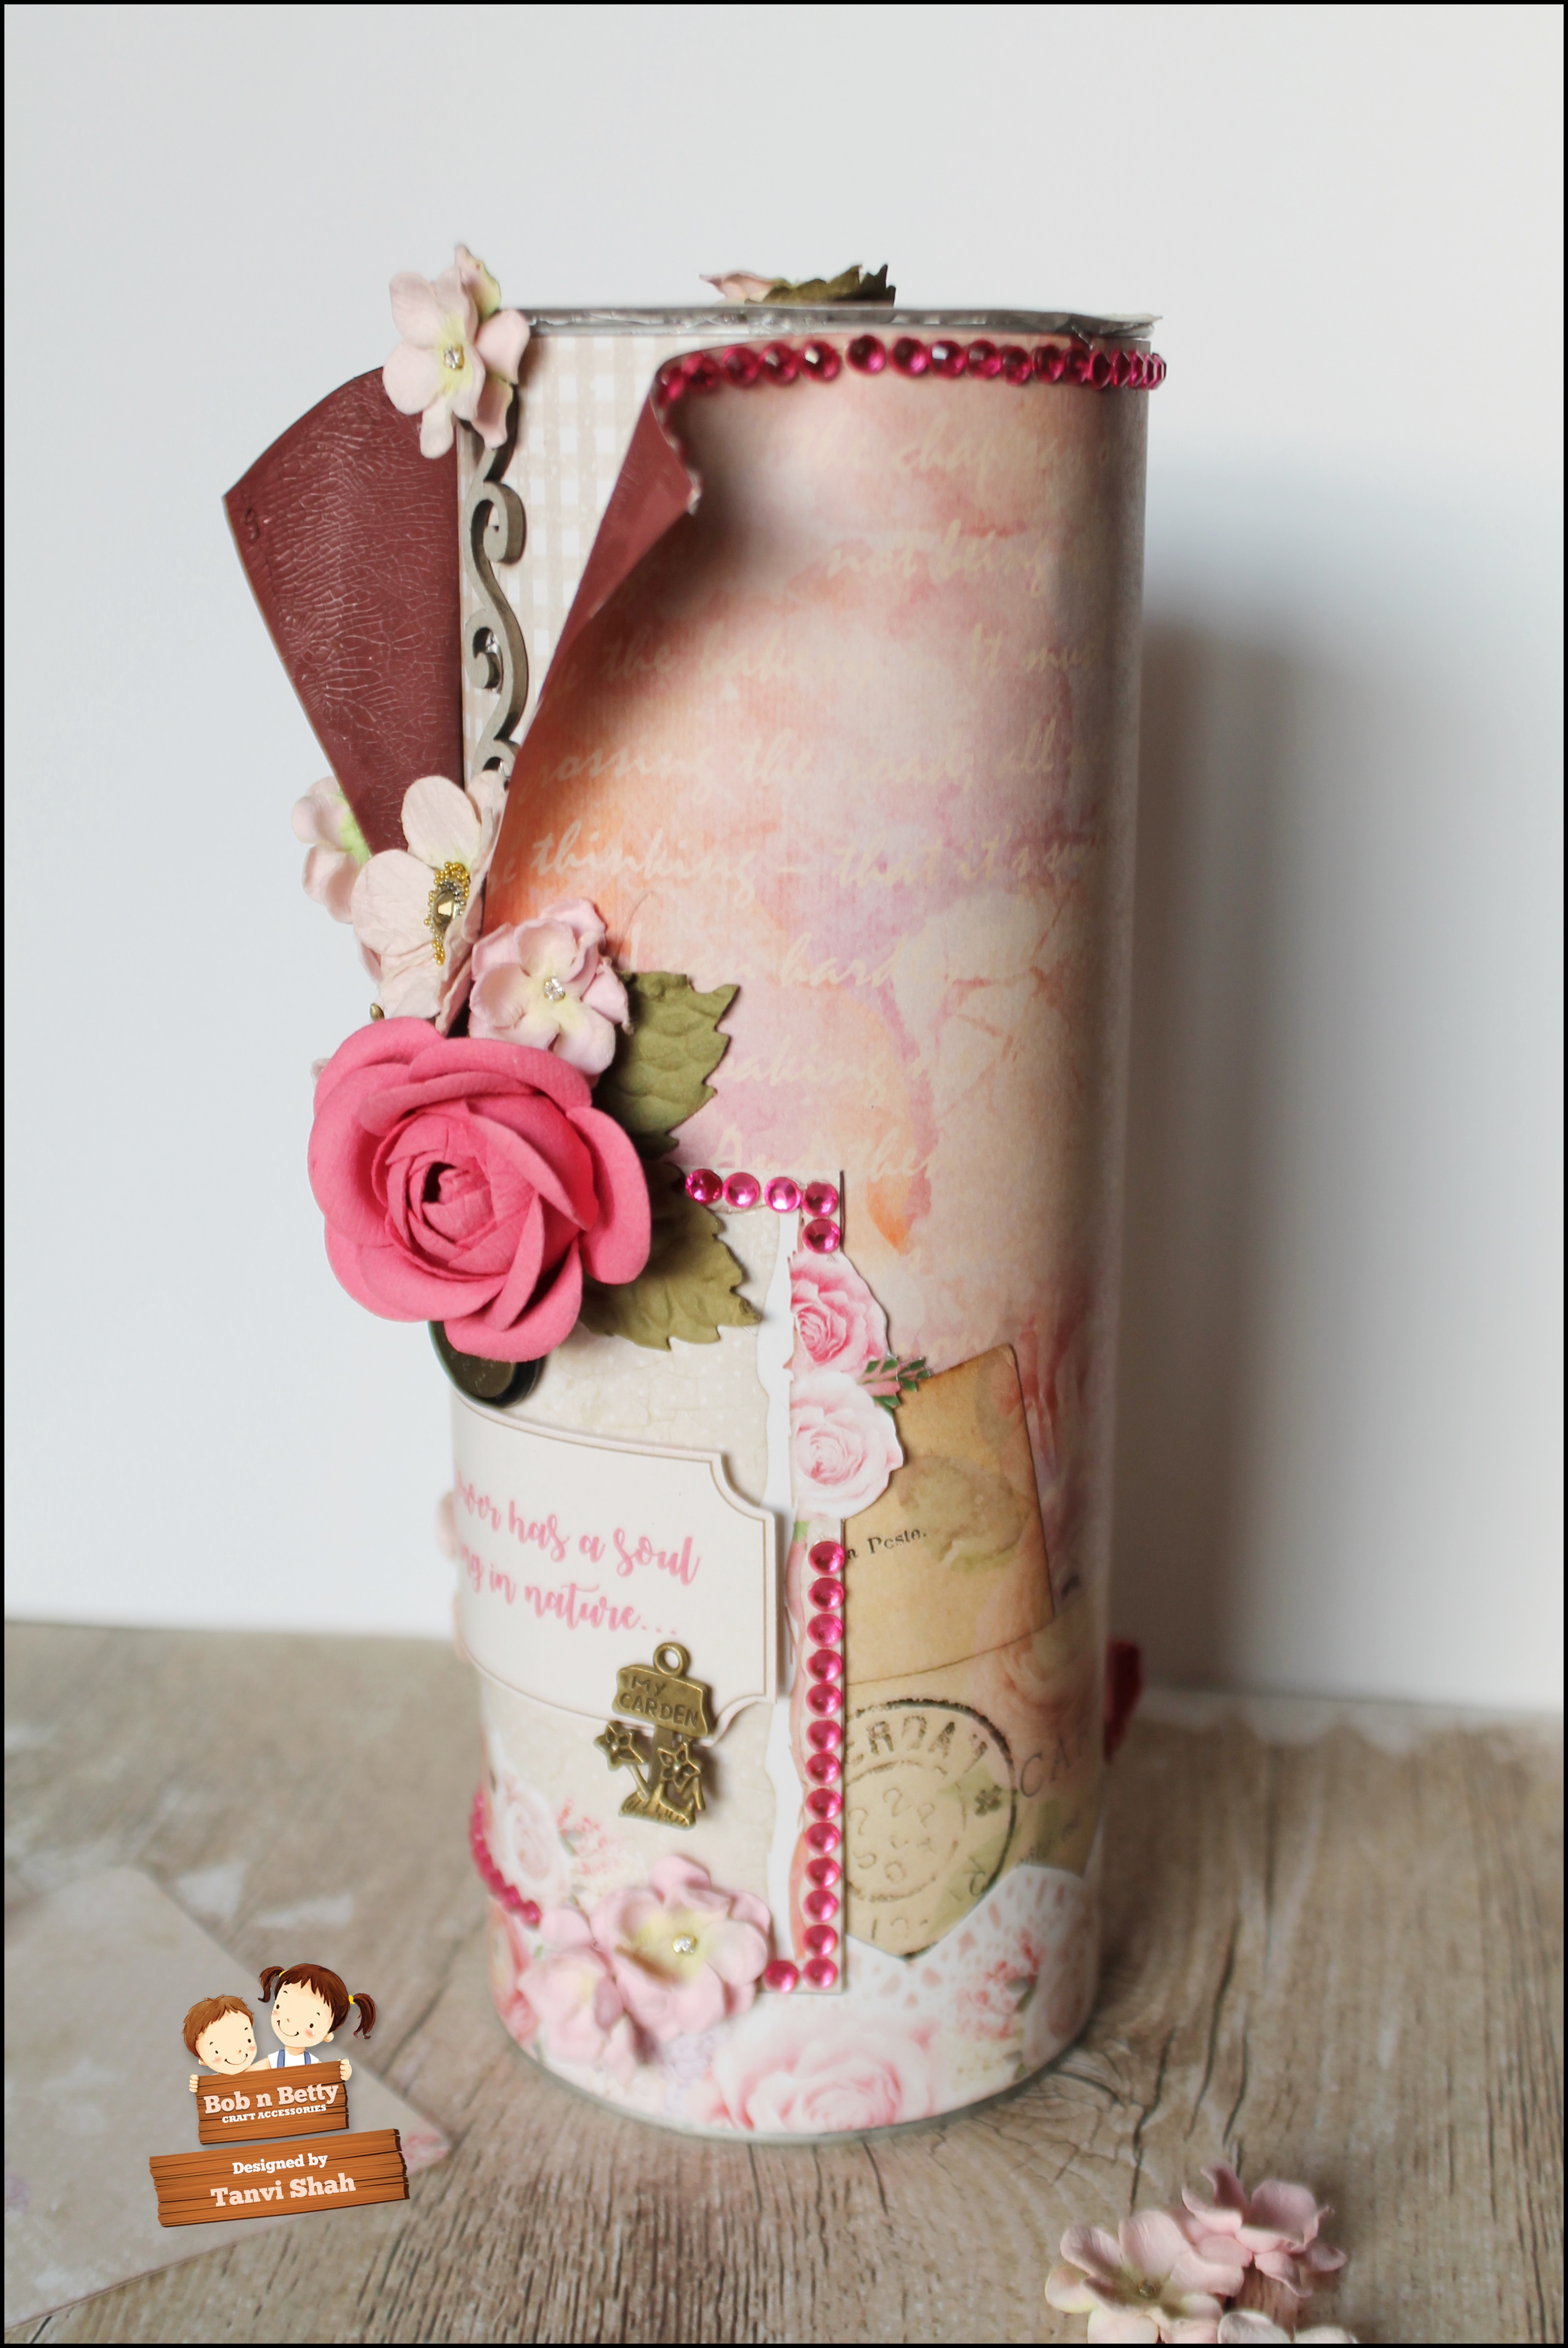
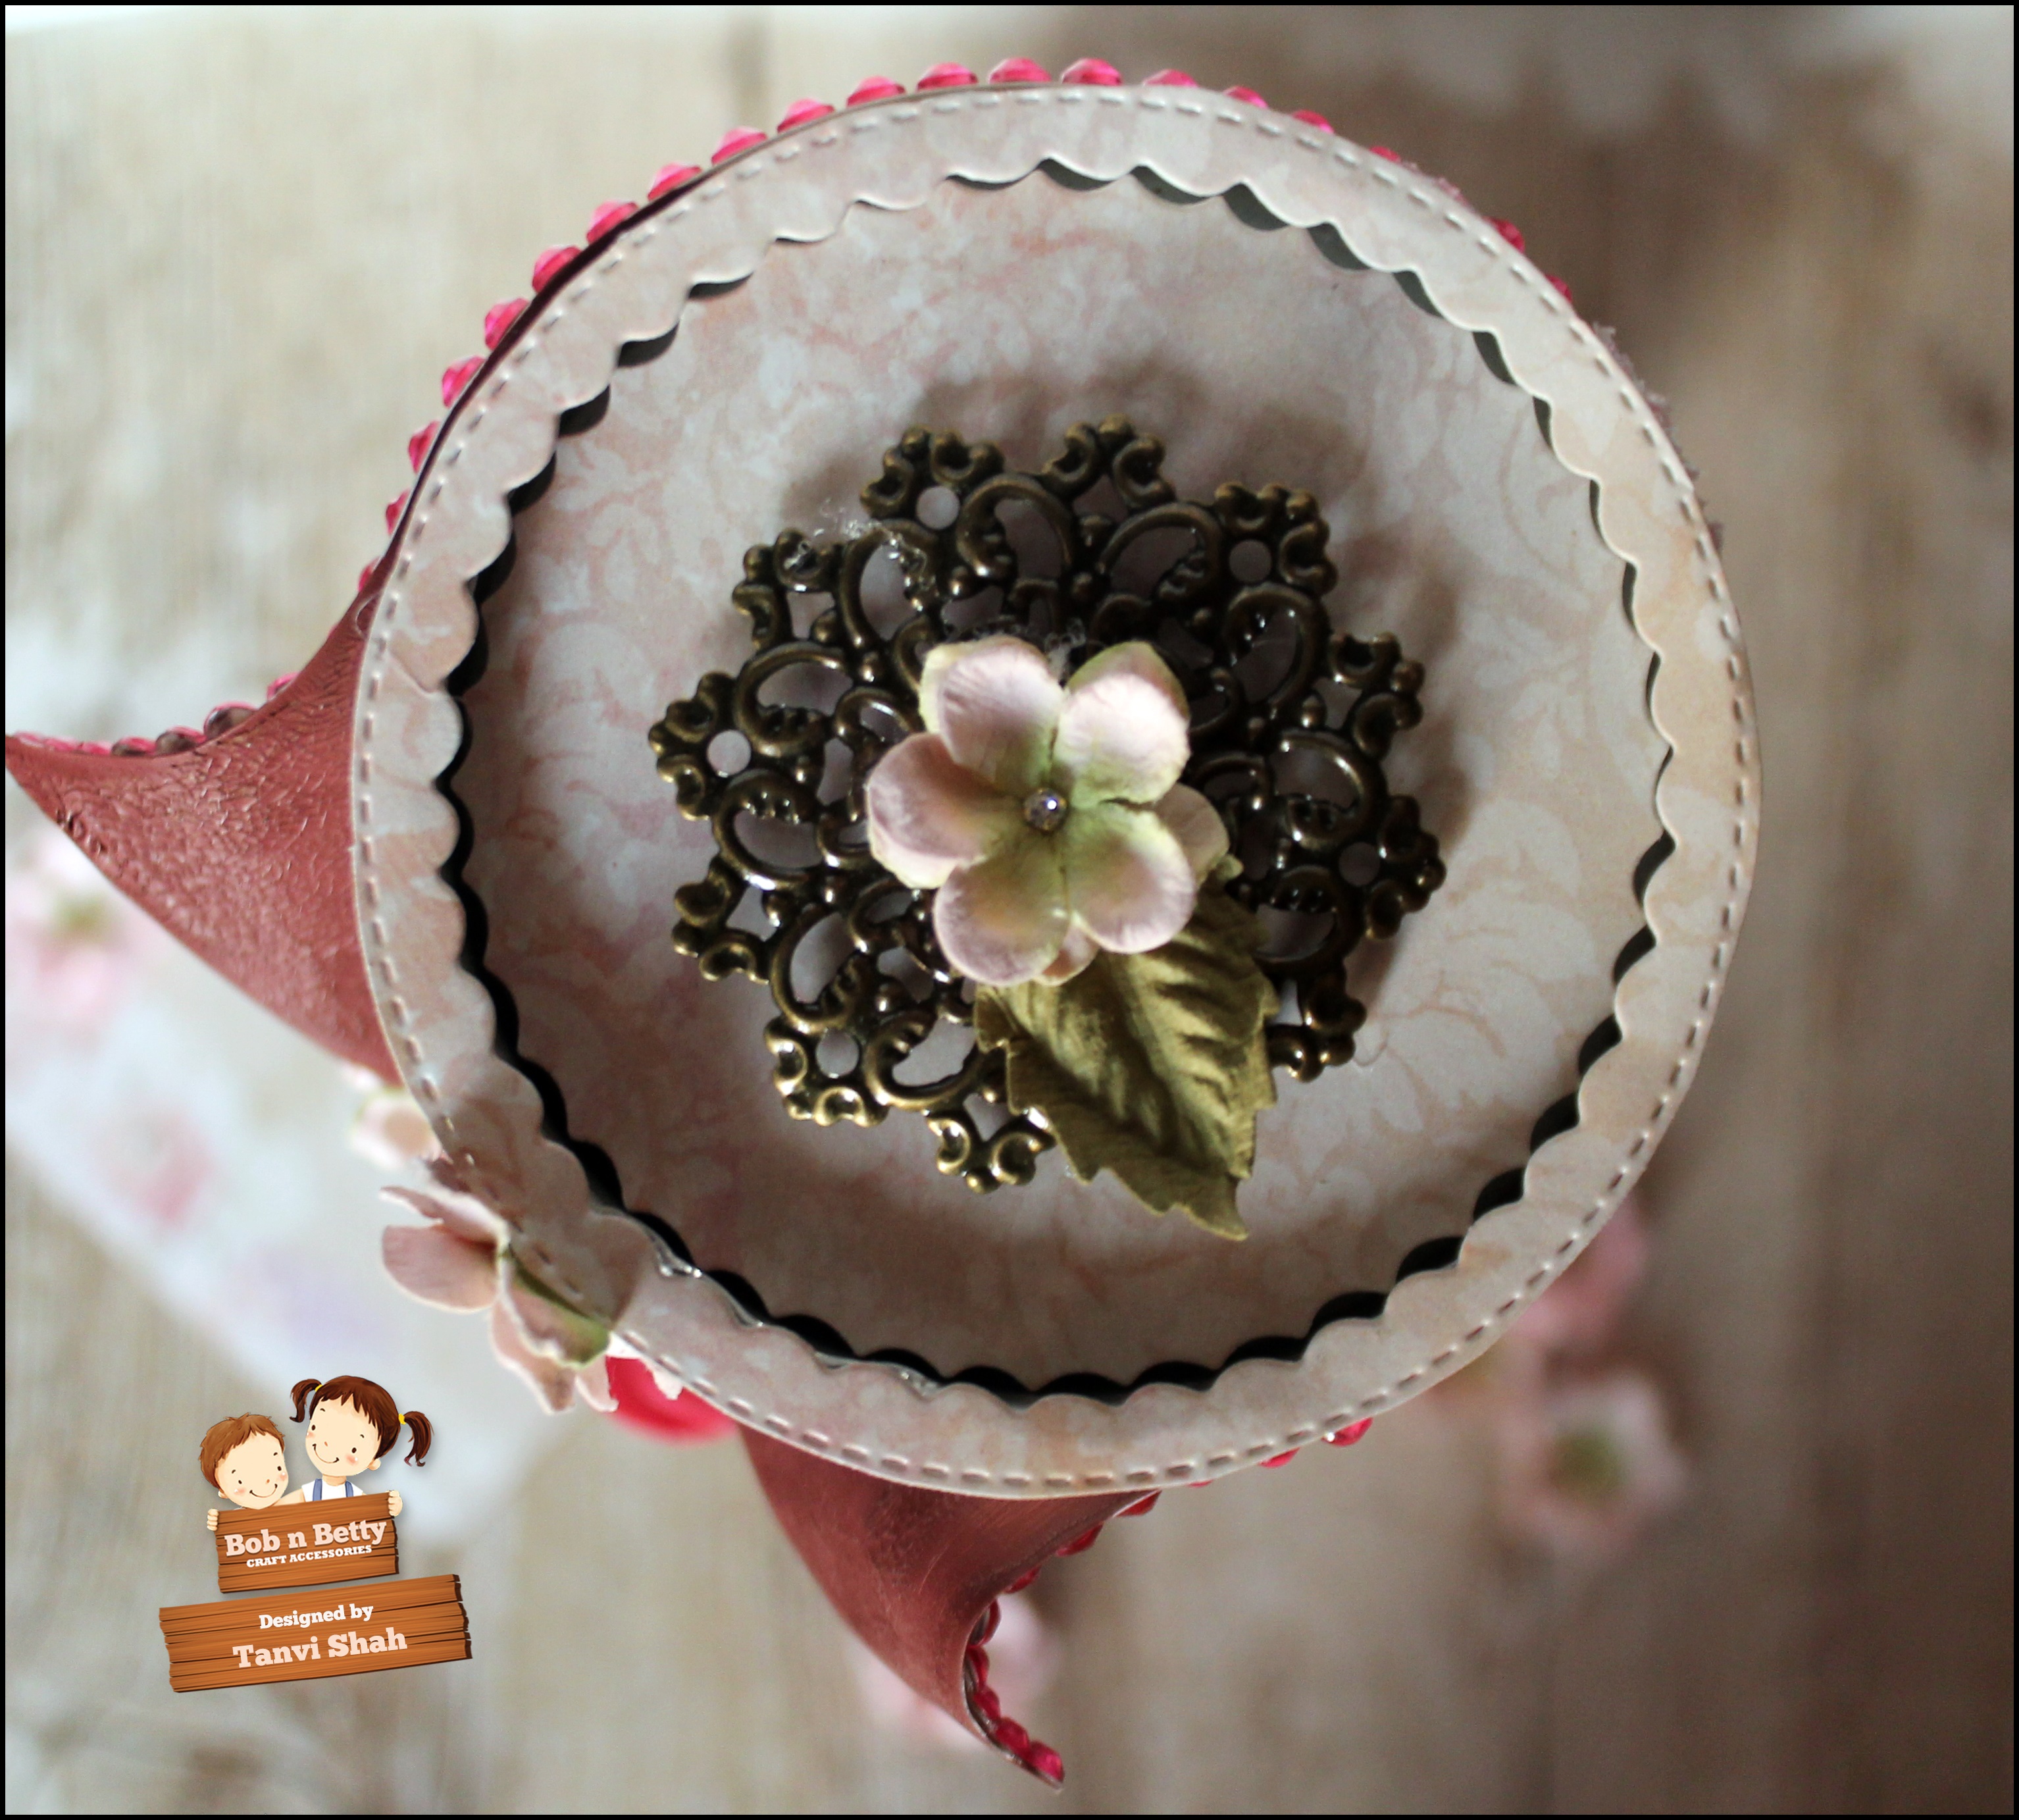
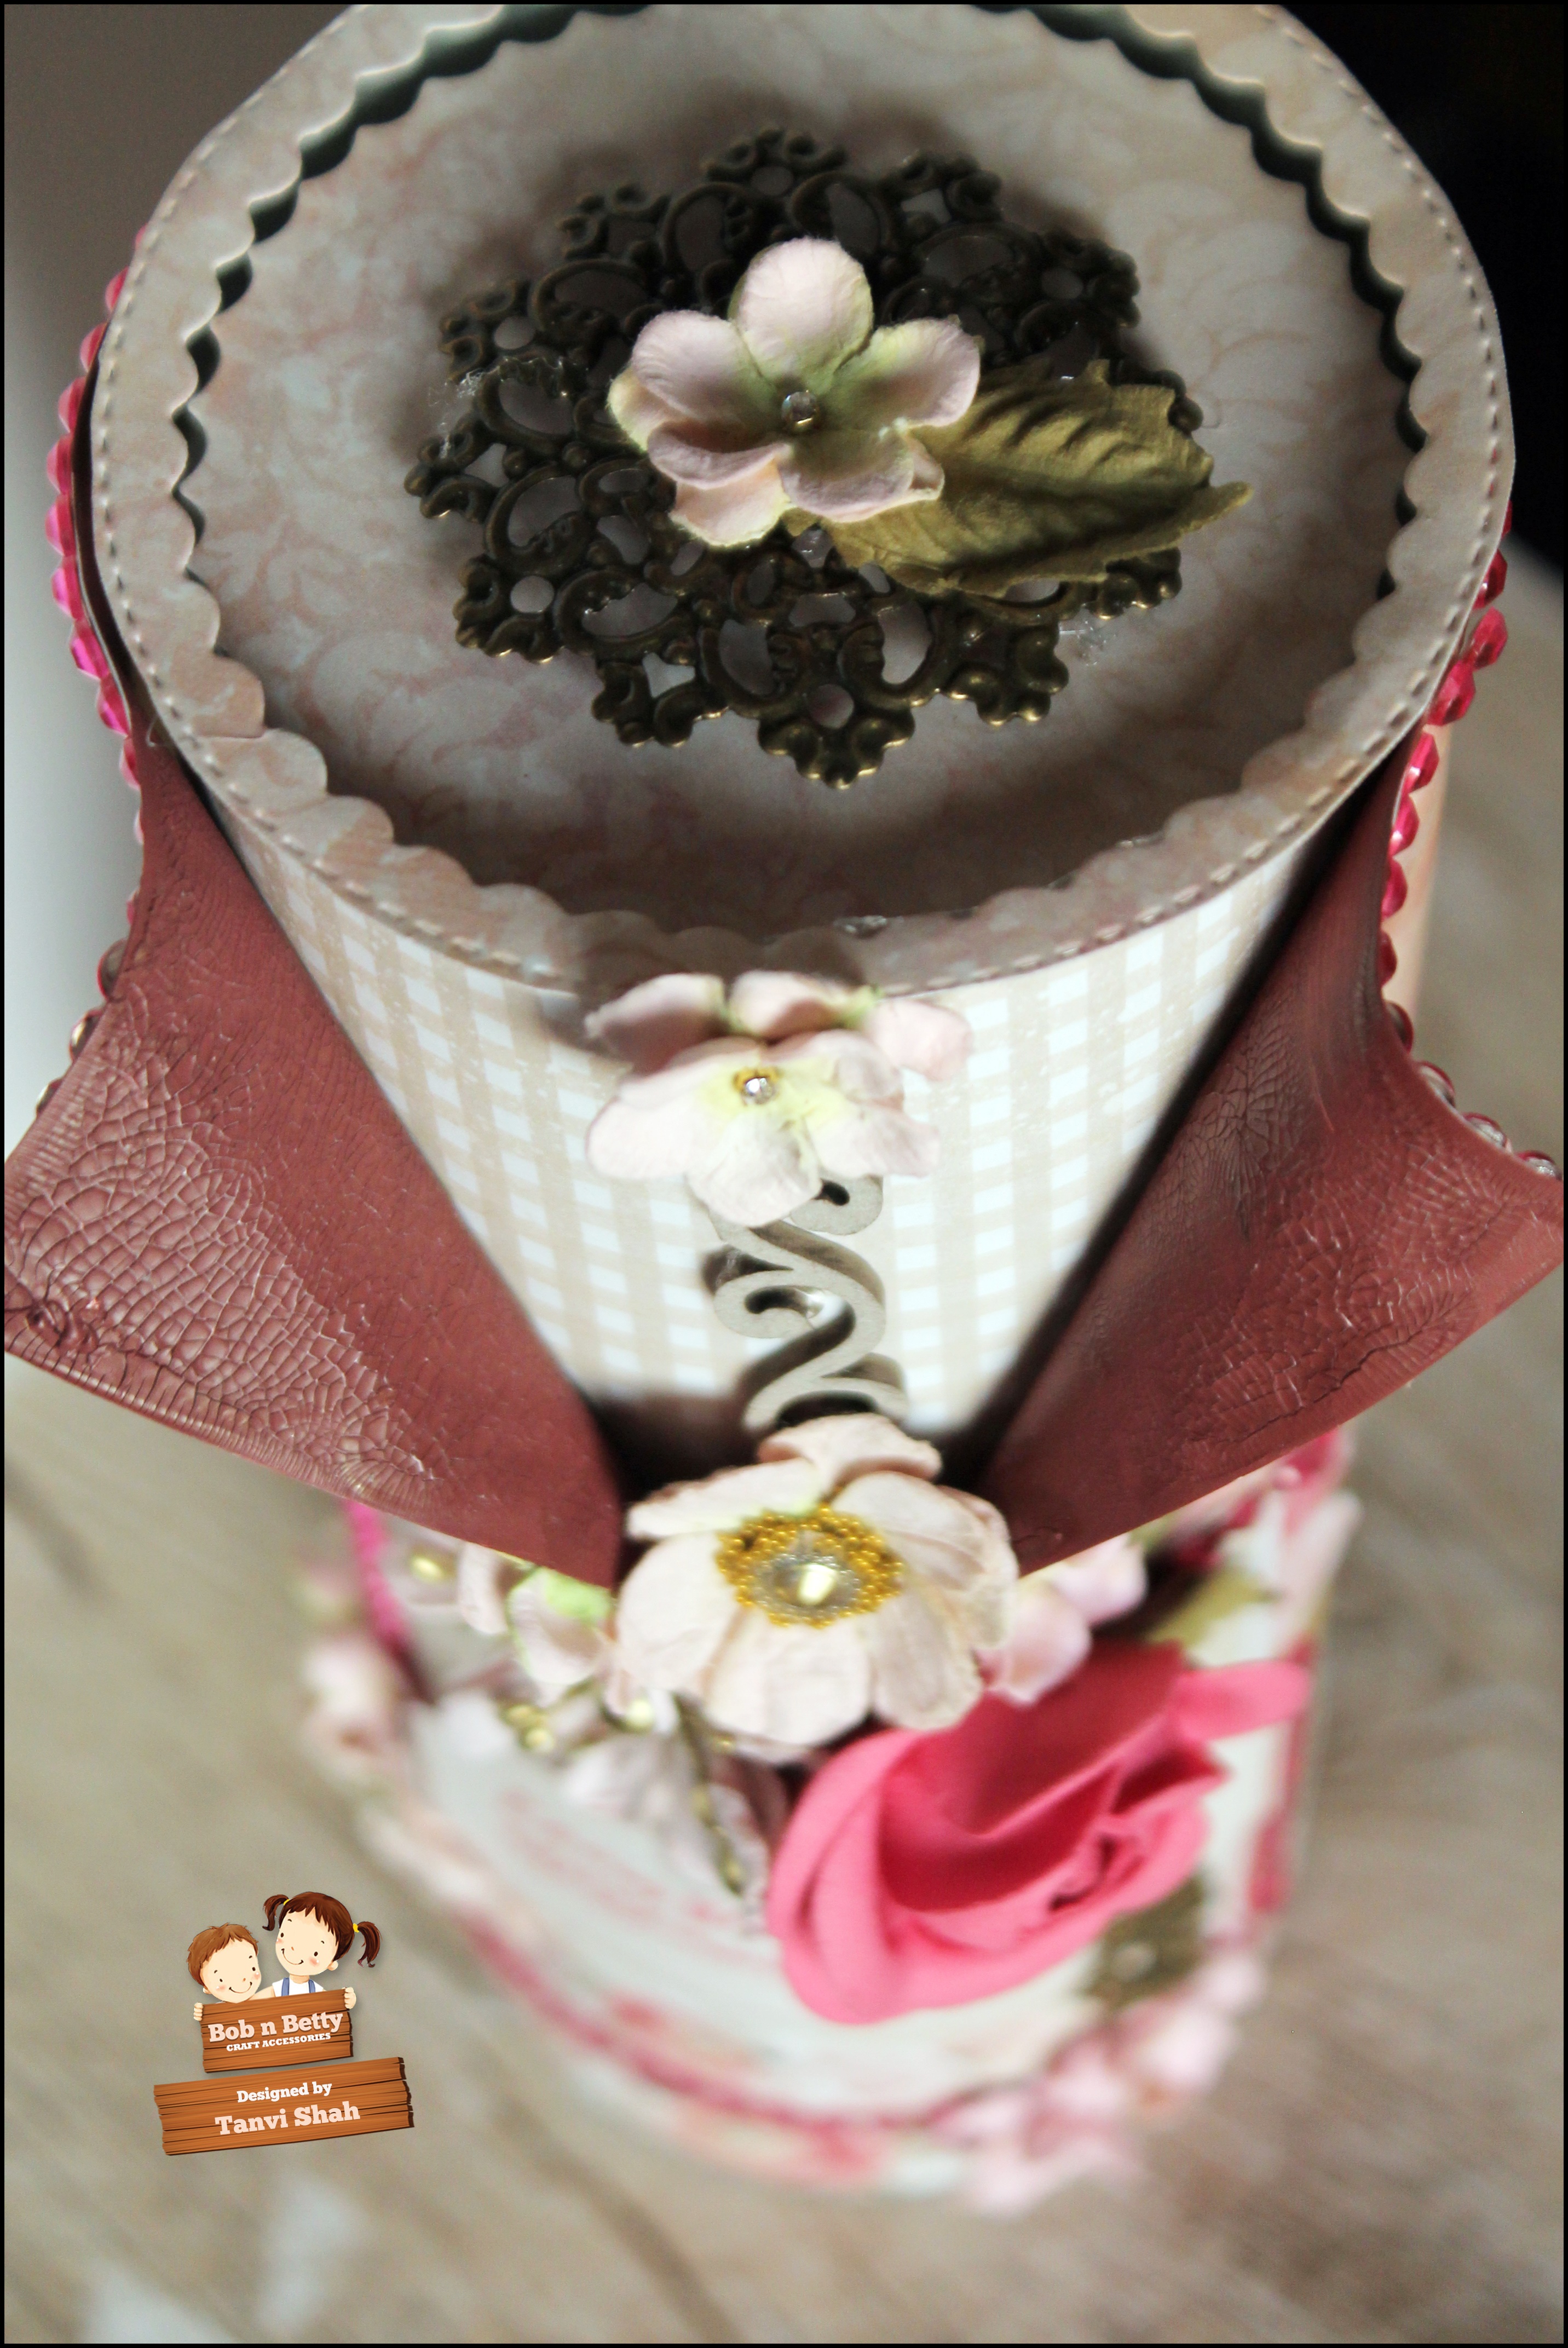
Here are some close ups of the box -


Hope you like this "twist" of combining both decoupage techniques in one project.
We are also having a MEGA CONTEST for our third anniversary. Do check our FB page for details.
Thats all for today!

Thank you so much for visiting & taking the time to comment on my blog. I love to hear from you & truly appreciate your feedback. Have a crafty day!
Related Posts Plugin for WordPress, Blogger...