Showing posts with label bobnbetty. Show all posts

Tuesday, 9 October 2018

Explosion Box Album

Hello & welcome back!
When I received the gorgeous Roseate Pack pack in my DT kit, I was sure it would remain in my stash forever,my heart aches to cut papers I love!
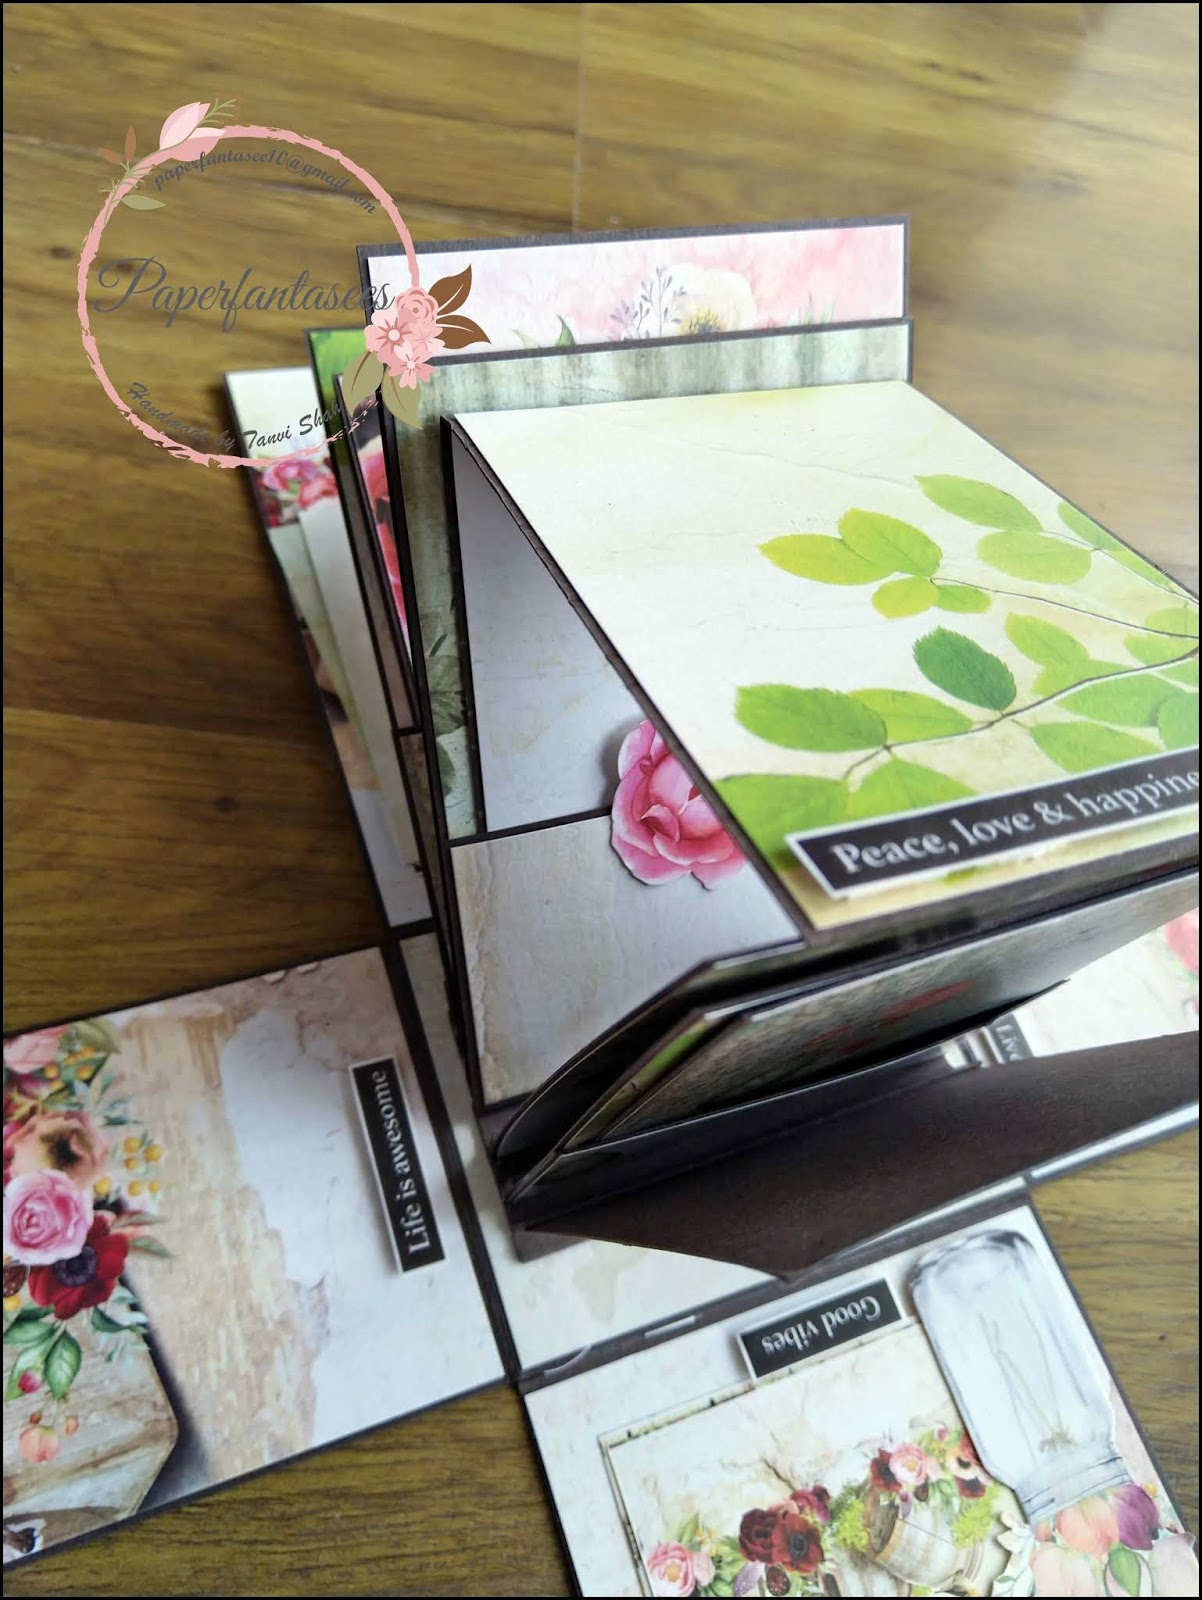
I have made an explosion box mini album using this paper pack, the base of the album is Beirut Black card stock


Some elements from the collage sheet were fussy cut for embellishing the lid.


This is a tall box measuring  5x7", three of the 6 pages have pockets for additional inserts & tags.


 I have also fussy cut the floral motifs & used these are pockets on the inside of the box.


Thank you so much for visiting & taking the time to comment on my blog. I love to hear from you & truly appreciate your feedback. Have a crafty day!

Thursday, 16 August 2018

Decoupage Coffee Table

Hello Everyone! This post is a very special one in which I bring together my love for coffee & decoupage! This is a picture heavy post, stay with me through the end & am sure who will not be disappointed.
Hubby recently replaced his car tyres. I was looking forward to put them to good use & what can be better than a coffee table for my terrace garden. Since this will be outdoors I reverse decoupaged the glass top, with the BobNBetty Roseate decopatch papers that came in my DT kit.

I selected some elements from this paper & fussy cut them, decided the layout & glued them (right side facing down) on the under side of the glass with Mod Podge Matte, followed this by another layer of decoupage – this time a newspaper print gift wrapping paper from my stash. The squeezee tool is a boon when decoupaging large surfaces like these to get rid of all the air bubbles & creases.

I love experimenting with reverse decoupage as it allows me to get two different looks on the same item (like this bottle I shared here).
This is the other side of the glass top, so perfect for a coffee lover in me!
Loving the newsprint peeking beneath this perfect coffee cup, the stamping and stenciling on & around the cup.
Loads of my coffee stamps (Tim Holtz – Fresh Brewed) were inked & I loved the outcome!
Loving the newsprint peeking beneath this perfect coffee cup, the stamping and stenciling on & around the cup.

Some more close ups –
Thank you so much for visiting & taking the time to comment on my blog. I love to hear from you & truly appreciate your feedback. Have a crafty day!

Tuesday, 10 July 2018

Decoupage Bottle featuring Decopatch Papers by Bob N Betty

Hello crafty souls, back with my love – DECOUPAGE & DECOPATCH PAPERS.
These papers are very thin & blend easily into the background to give a seamless finish. I wanted to use these papers on a curved surface like a bottle. The papers are 50gsm, just perfect for use on such surfaces too. I fussy cut the gorgeous lady (Floral Adornments) & decoupaged her over on the BIRDS & BUTTERFLIES background paper. Do you see how easily she blends over the background!

For some dimension I covered the lady with glossy accents & the glass like look was hard to capture on camera.


I covered the neck of the bottle with crackle paste & once dry rubbed metallique wax paste for a subtle metallic sheen.

Added some dangling resin embellishments too –


Thank you so much for visiting & taking the time to comment on my blog. I love to hear from you & truly appreciate your feedback. Have a crafty day!

Monday, 14 May 2018

Decoupage Mixed Media Canvas


Hello Friends!
 I am loving the new range of Bob N Betty decopatch papers - very high quality 50gsm papers, a dream for all decoupage artists. You can check my previous posts with this awesome release here & here.


These papers are very thin & blend easily into the background to give a seamless finish, they truly do! Check the canvas I share today -


Stay with me as I take you through the steps to combine decoupage & mixed media to create unique wall decor for your homes.
The USP of these papers is the ease with which you can use them on surfaces, just like rice papers & tissues. To highlight this I started by creating a textured base for the 12x12 canvas.


Next I fussy cut a section (OLD WORLD CHARM sheet) & also some elements from the FLORAL ADORNMENTS sheet. I decided on the layout & decoupaged them on the textured canvas.


Here is a close up to show how easily it blends on the textured background.


Next I colored the canvas with coordinating chalk paints.


Some random stencilling & stamping over the textures -


To add some more textures I stenciled clear crackle paste on the edges & added some paste with the palette knife too.


To finish the canvas I splattered acrylic paint.  The Crackle paste dries clear over the textures to reveal the background through. the cracks, perfect for the image I selected! Spray with acrylic varnish to seal the canvas.


 You can grab these papers from any of our Sales Buddies   &  share your gorgeous creations using Bob n Betty papers with us on our facebook group Bob n Betty Buddies. 
Thank you for visiting & happy crafting!
Thank you so much for visiting & taking the time to comment on my blog. I love to hear from you & truly appreciate your feedback. Have a crafty day!

Wednesday, 4 April 2018

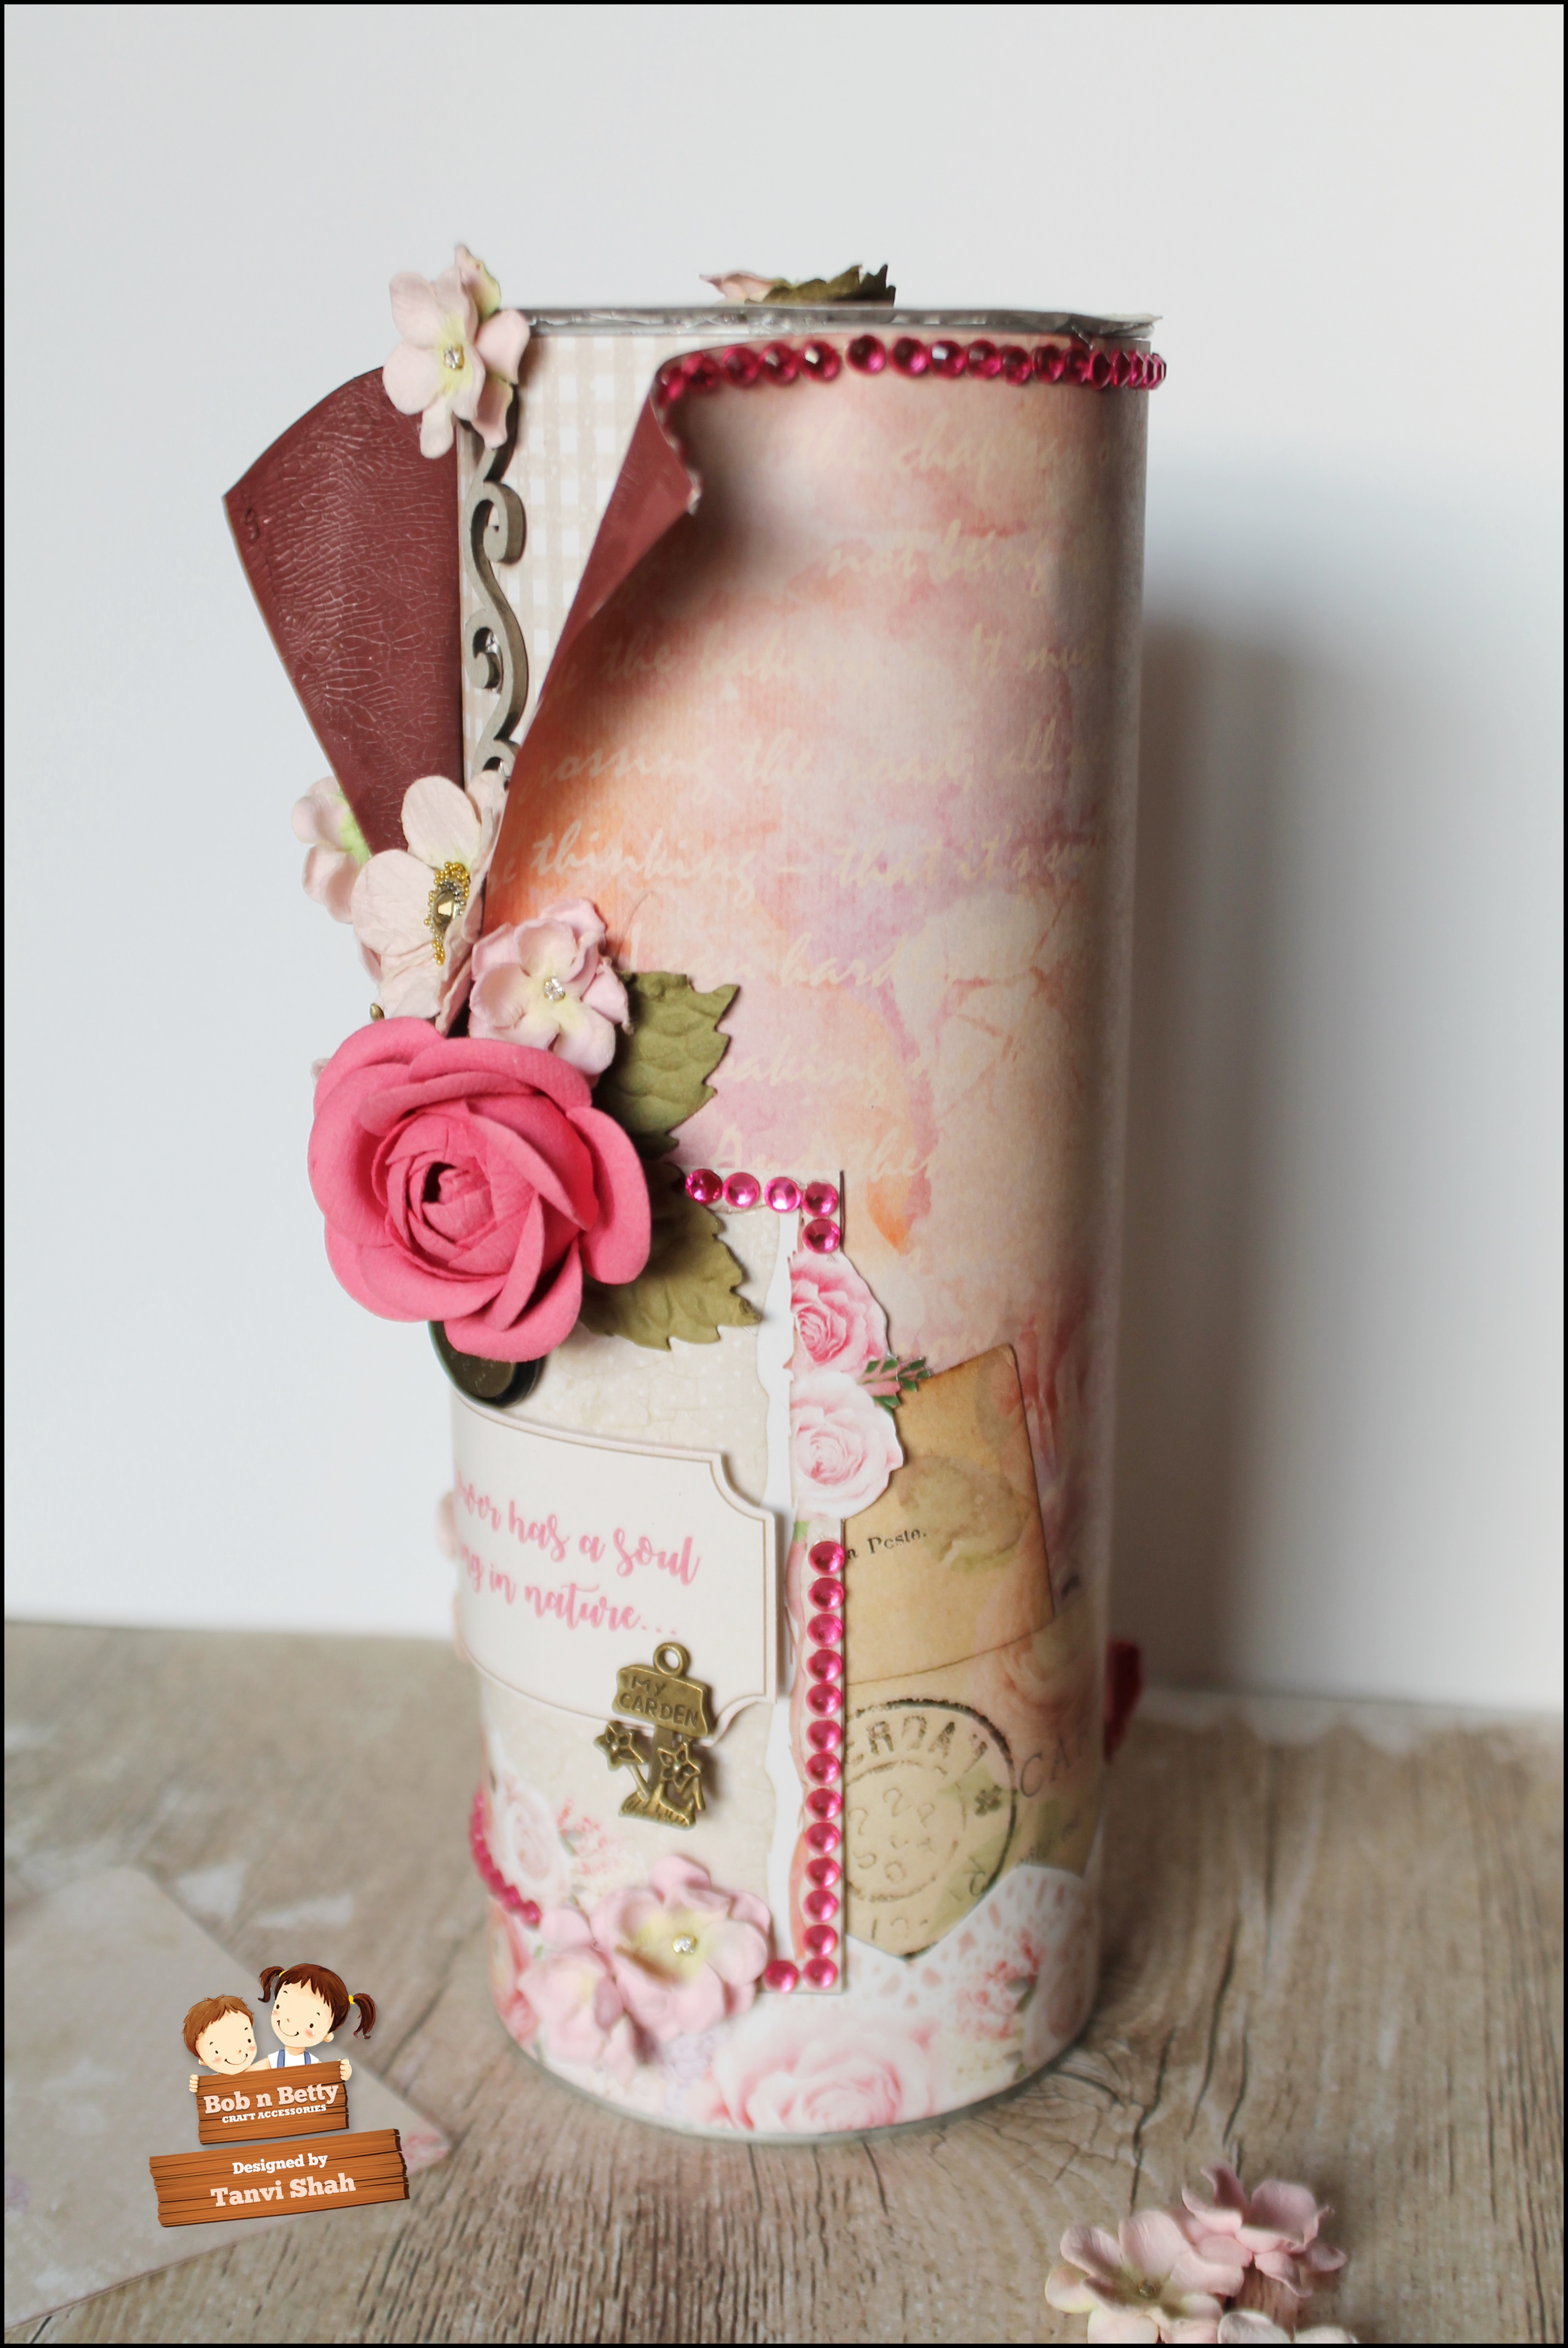
Altered Cookie Can


Hello & I am here with my inspiration for Bob N Betty.
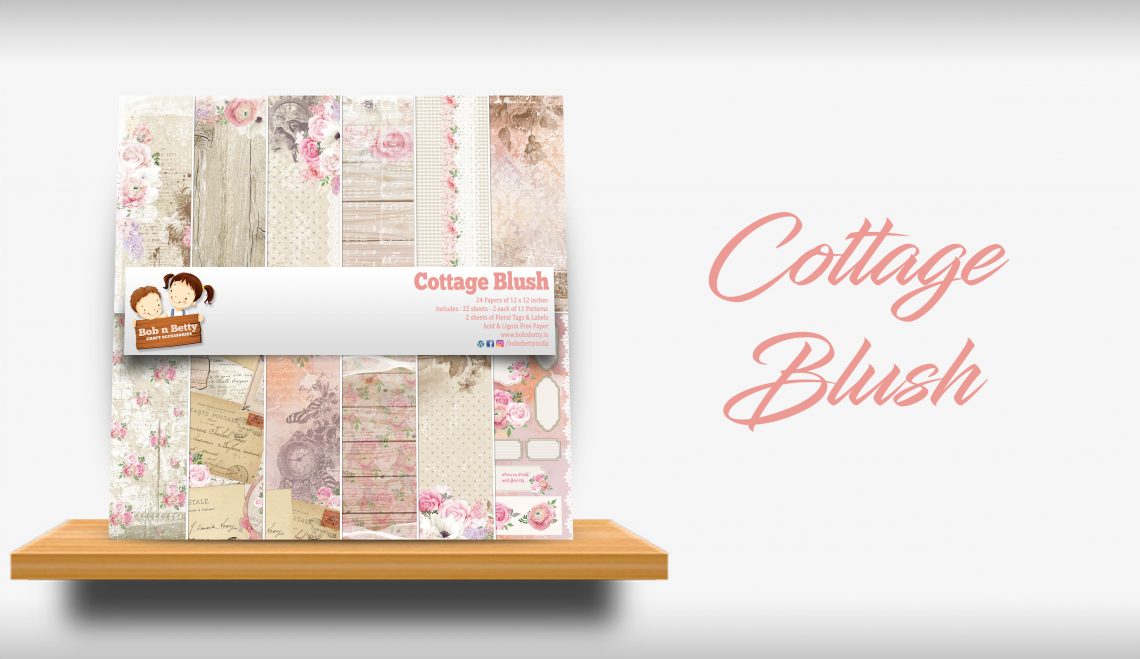
For my project today the inspiration was the "Cottage Blush" collection so floral & so shabby.

cottage-blush-1140x6591

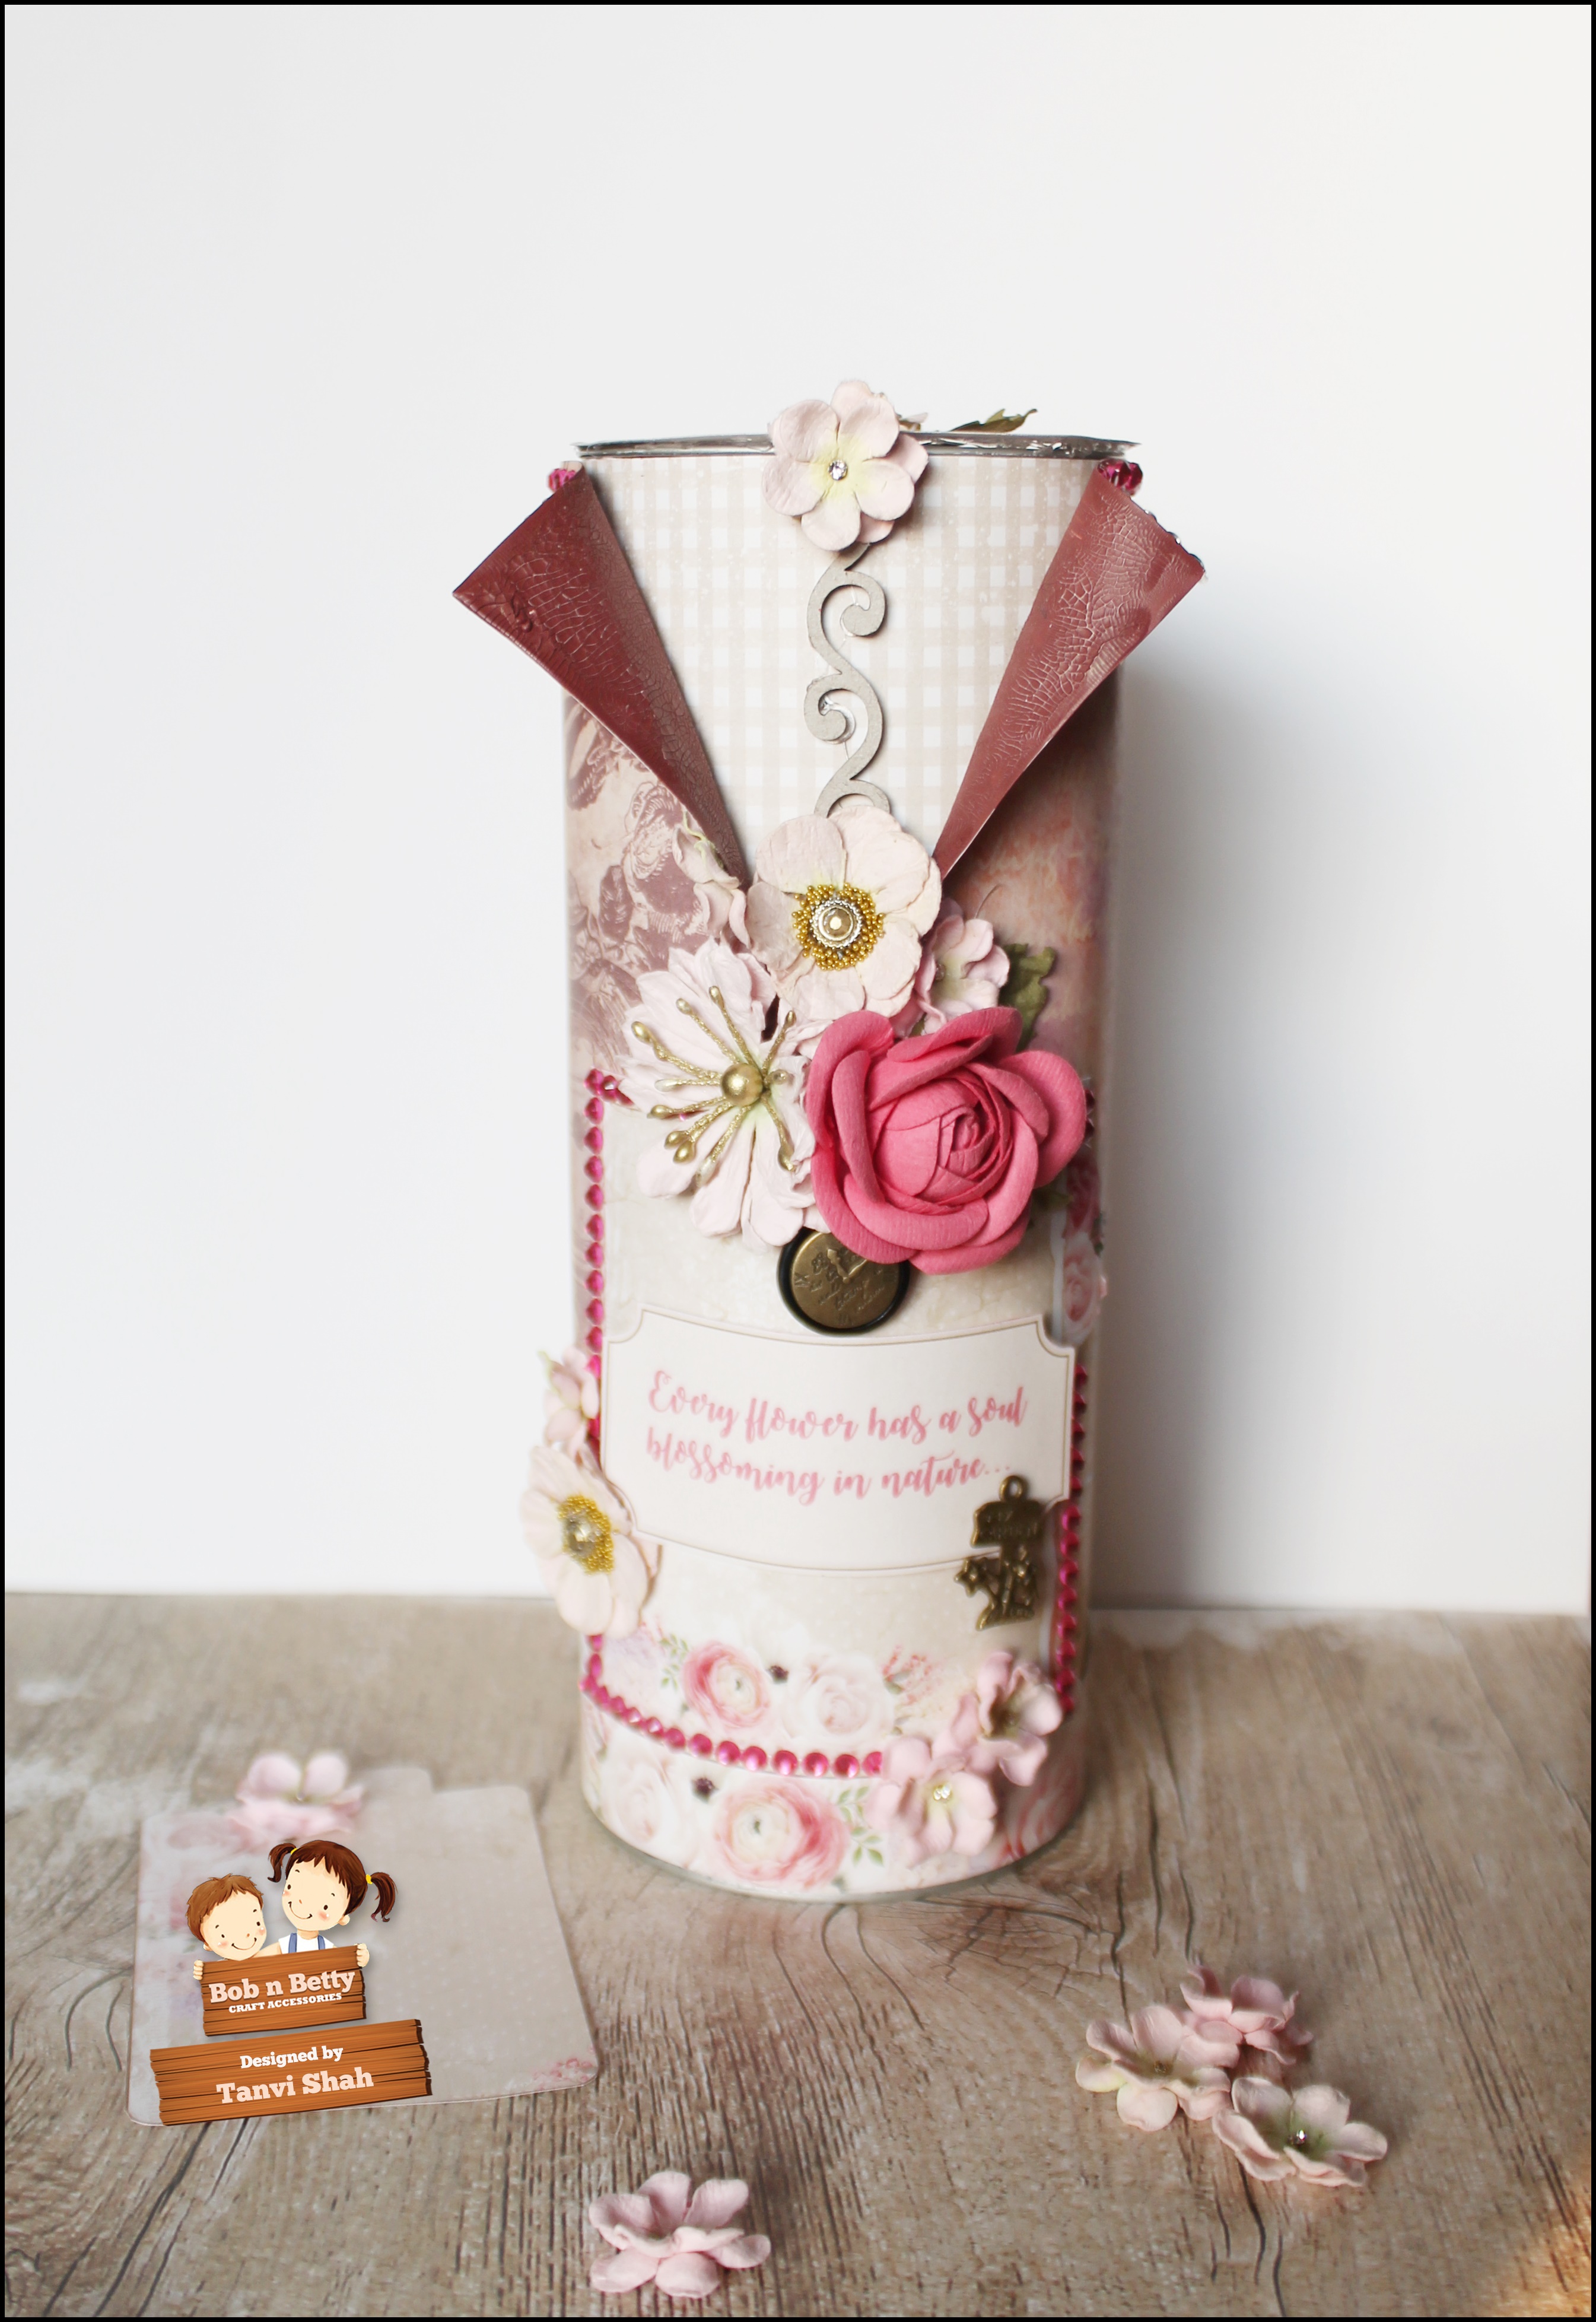
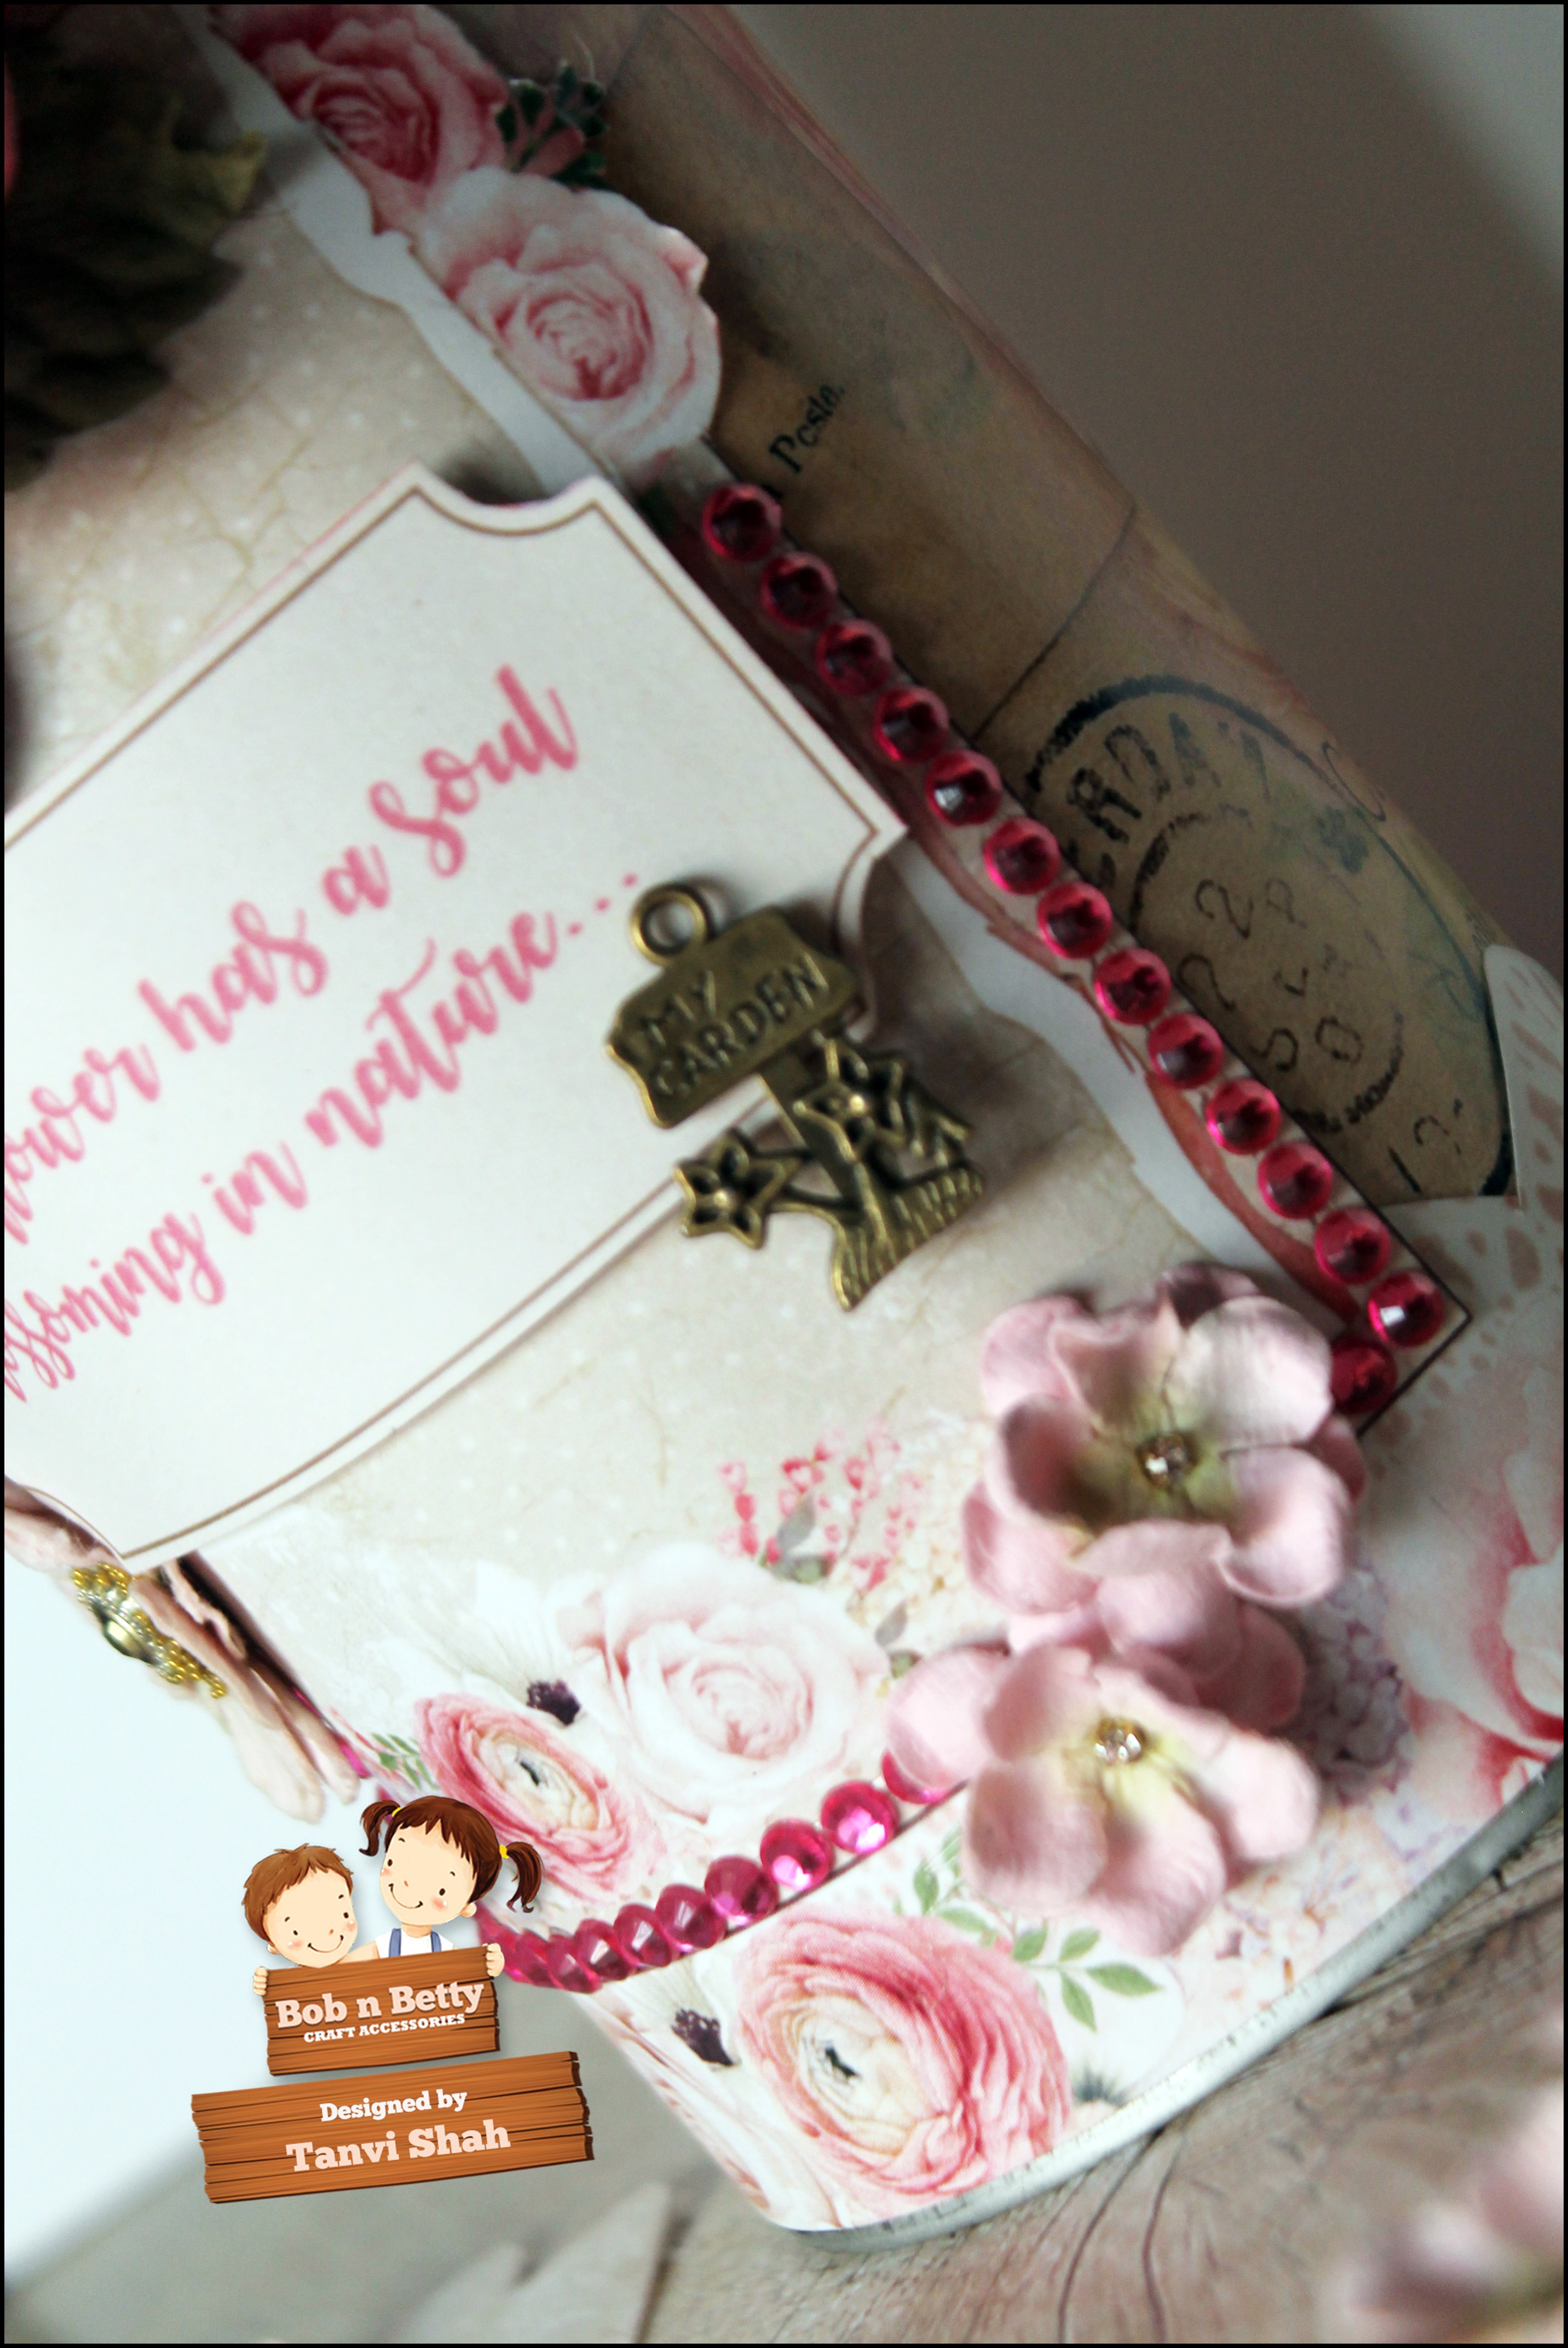
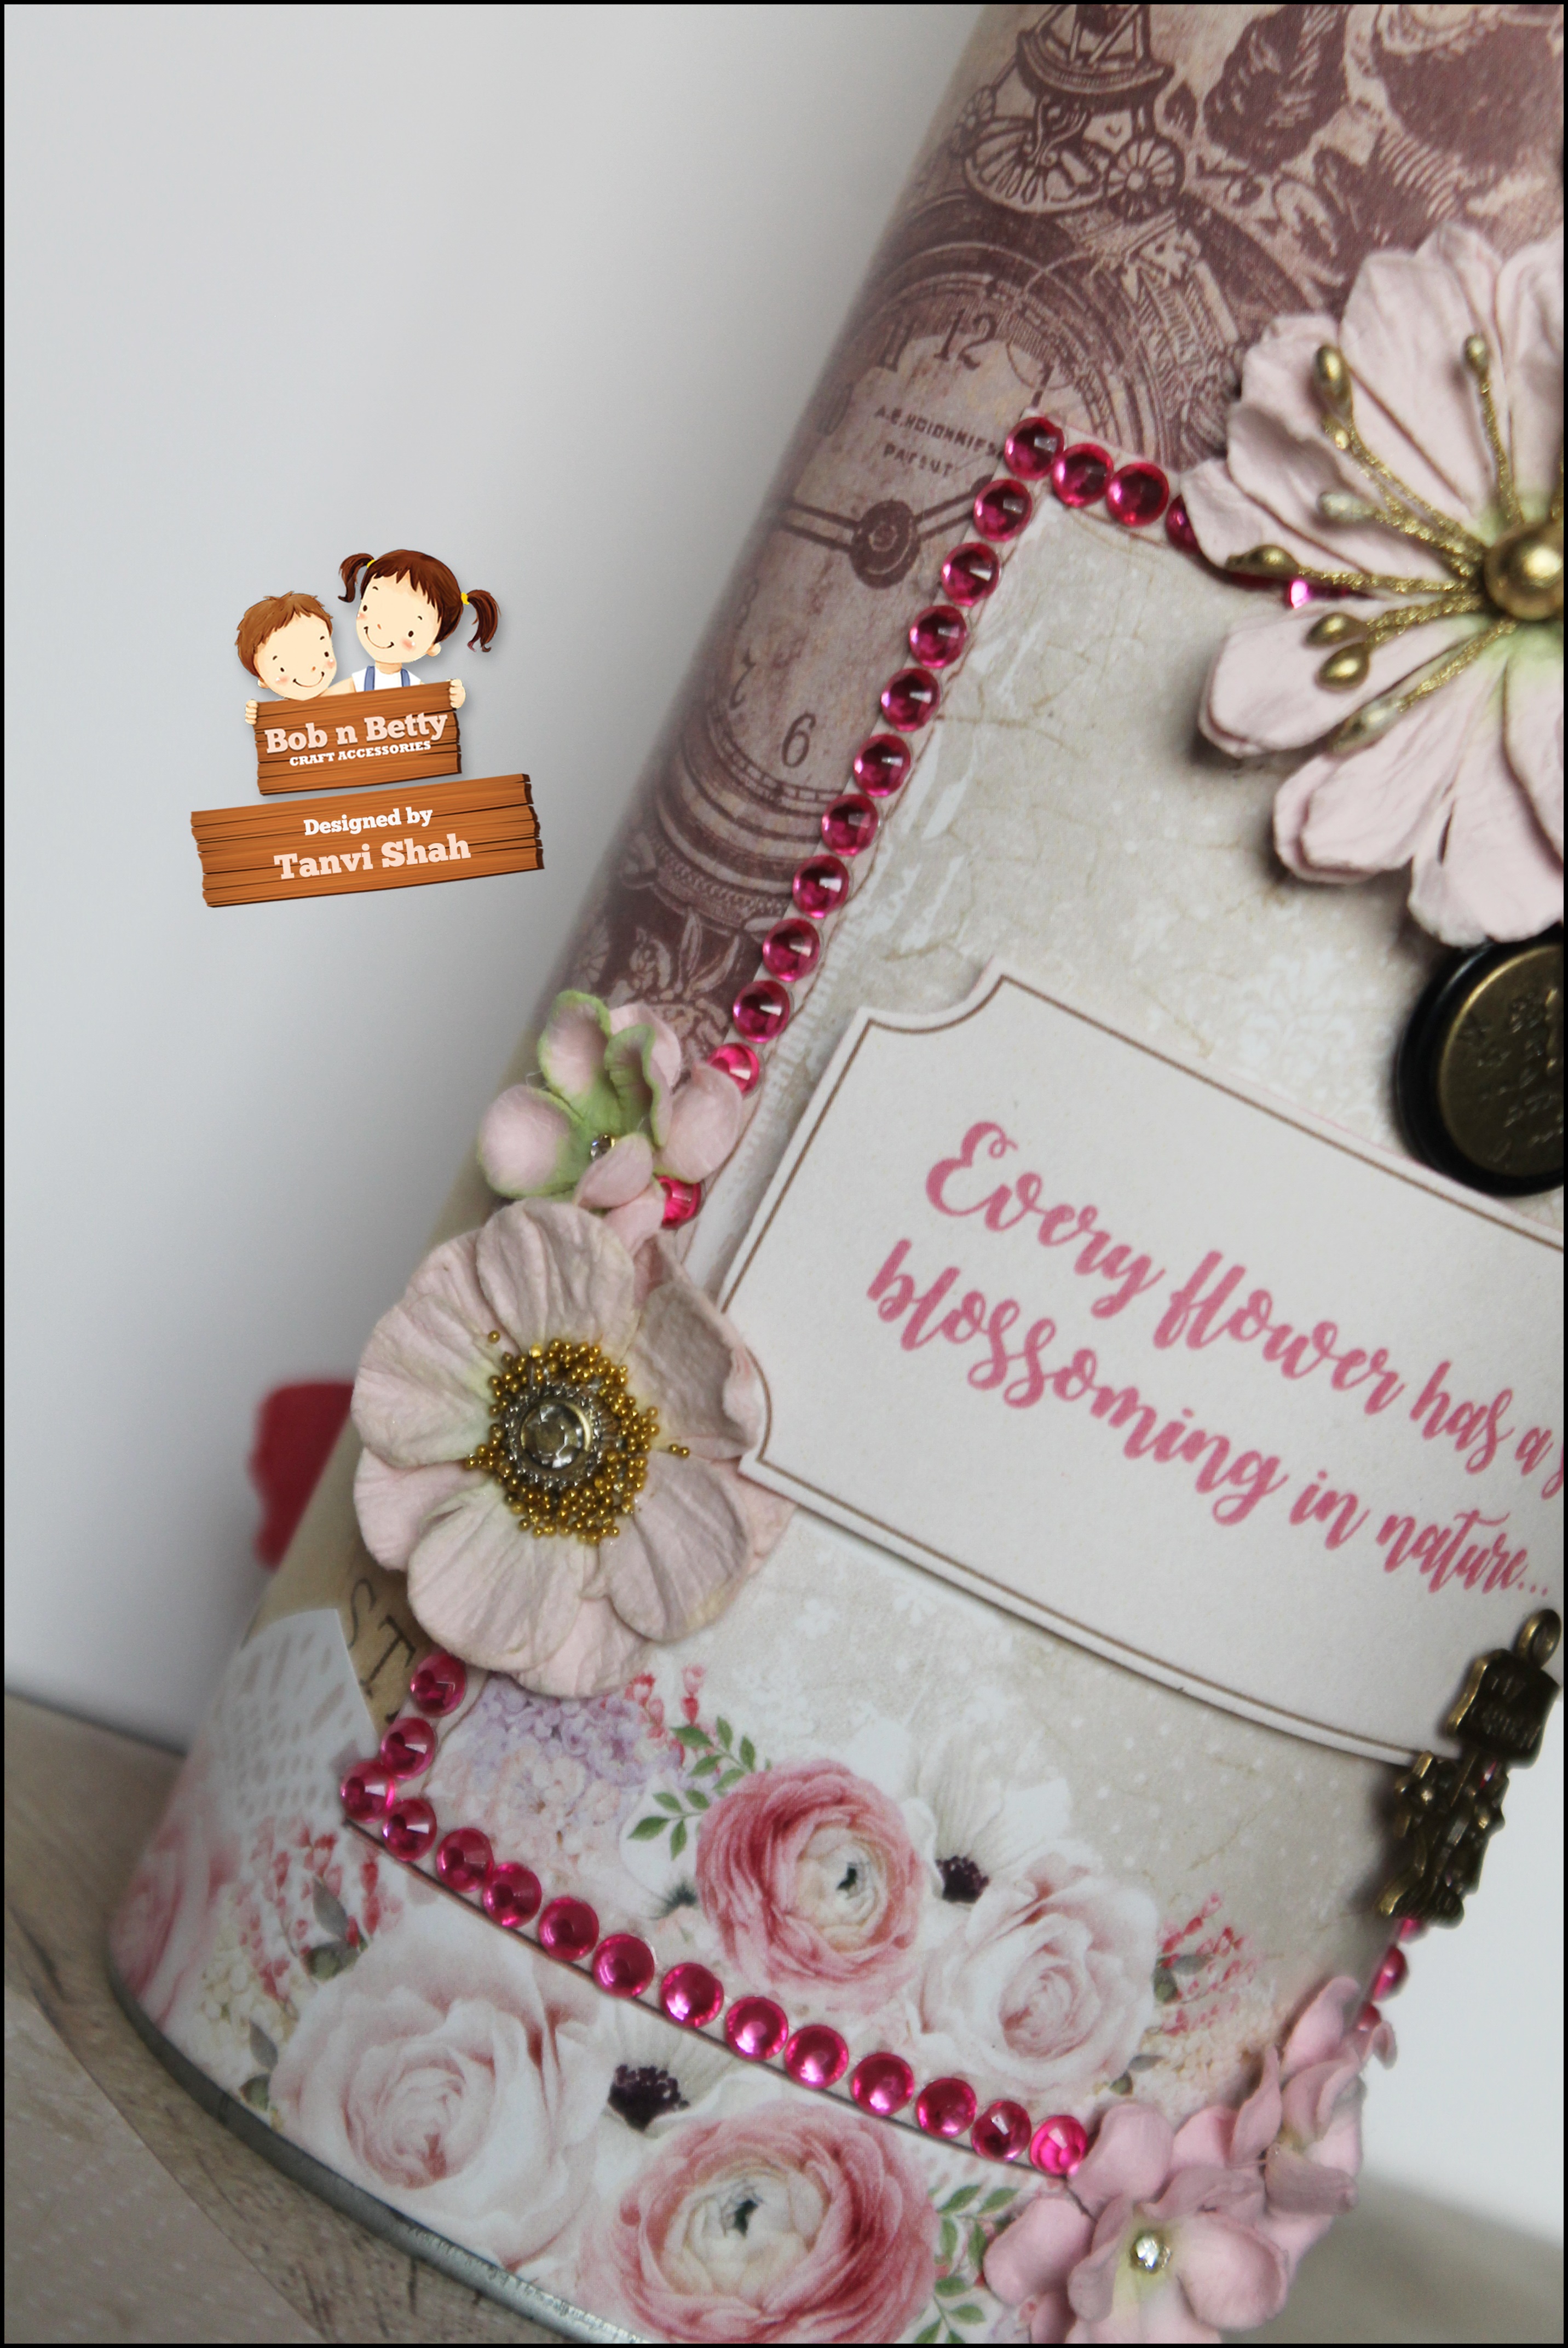
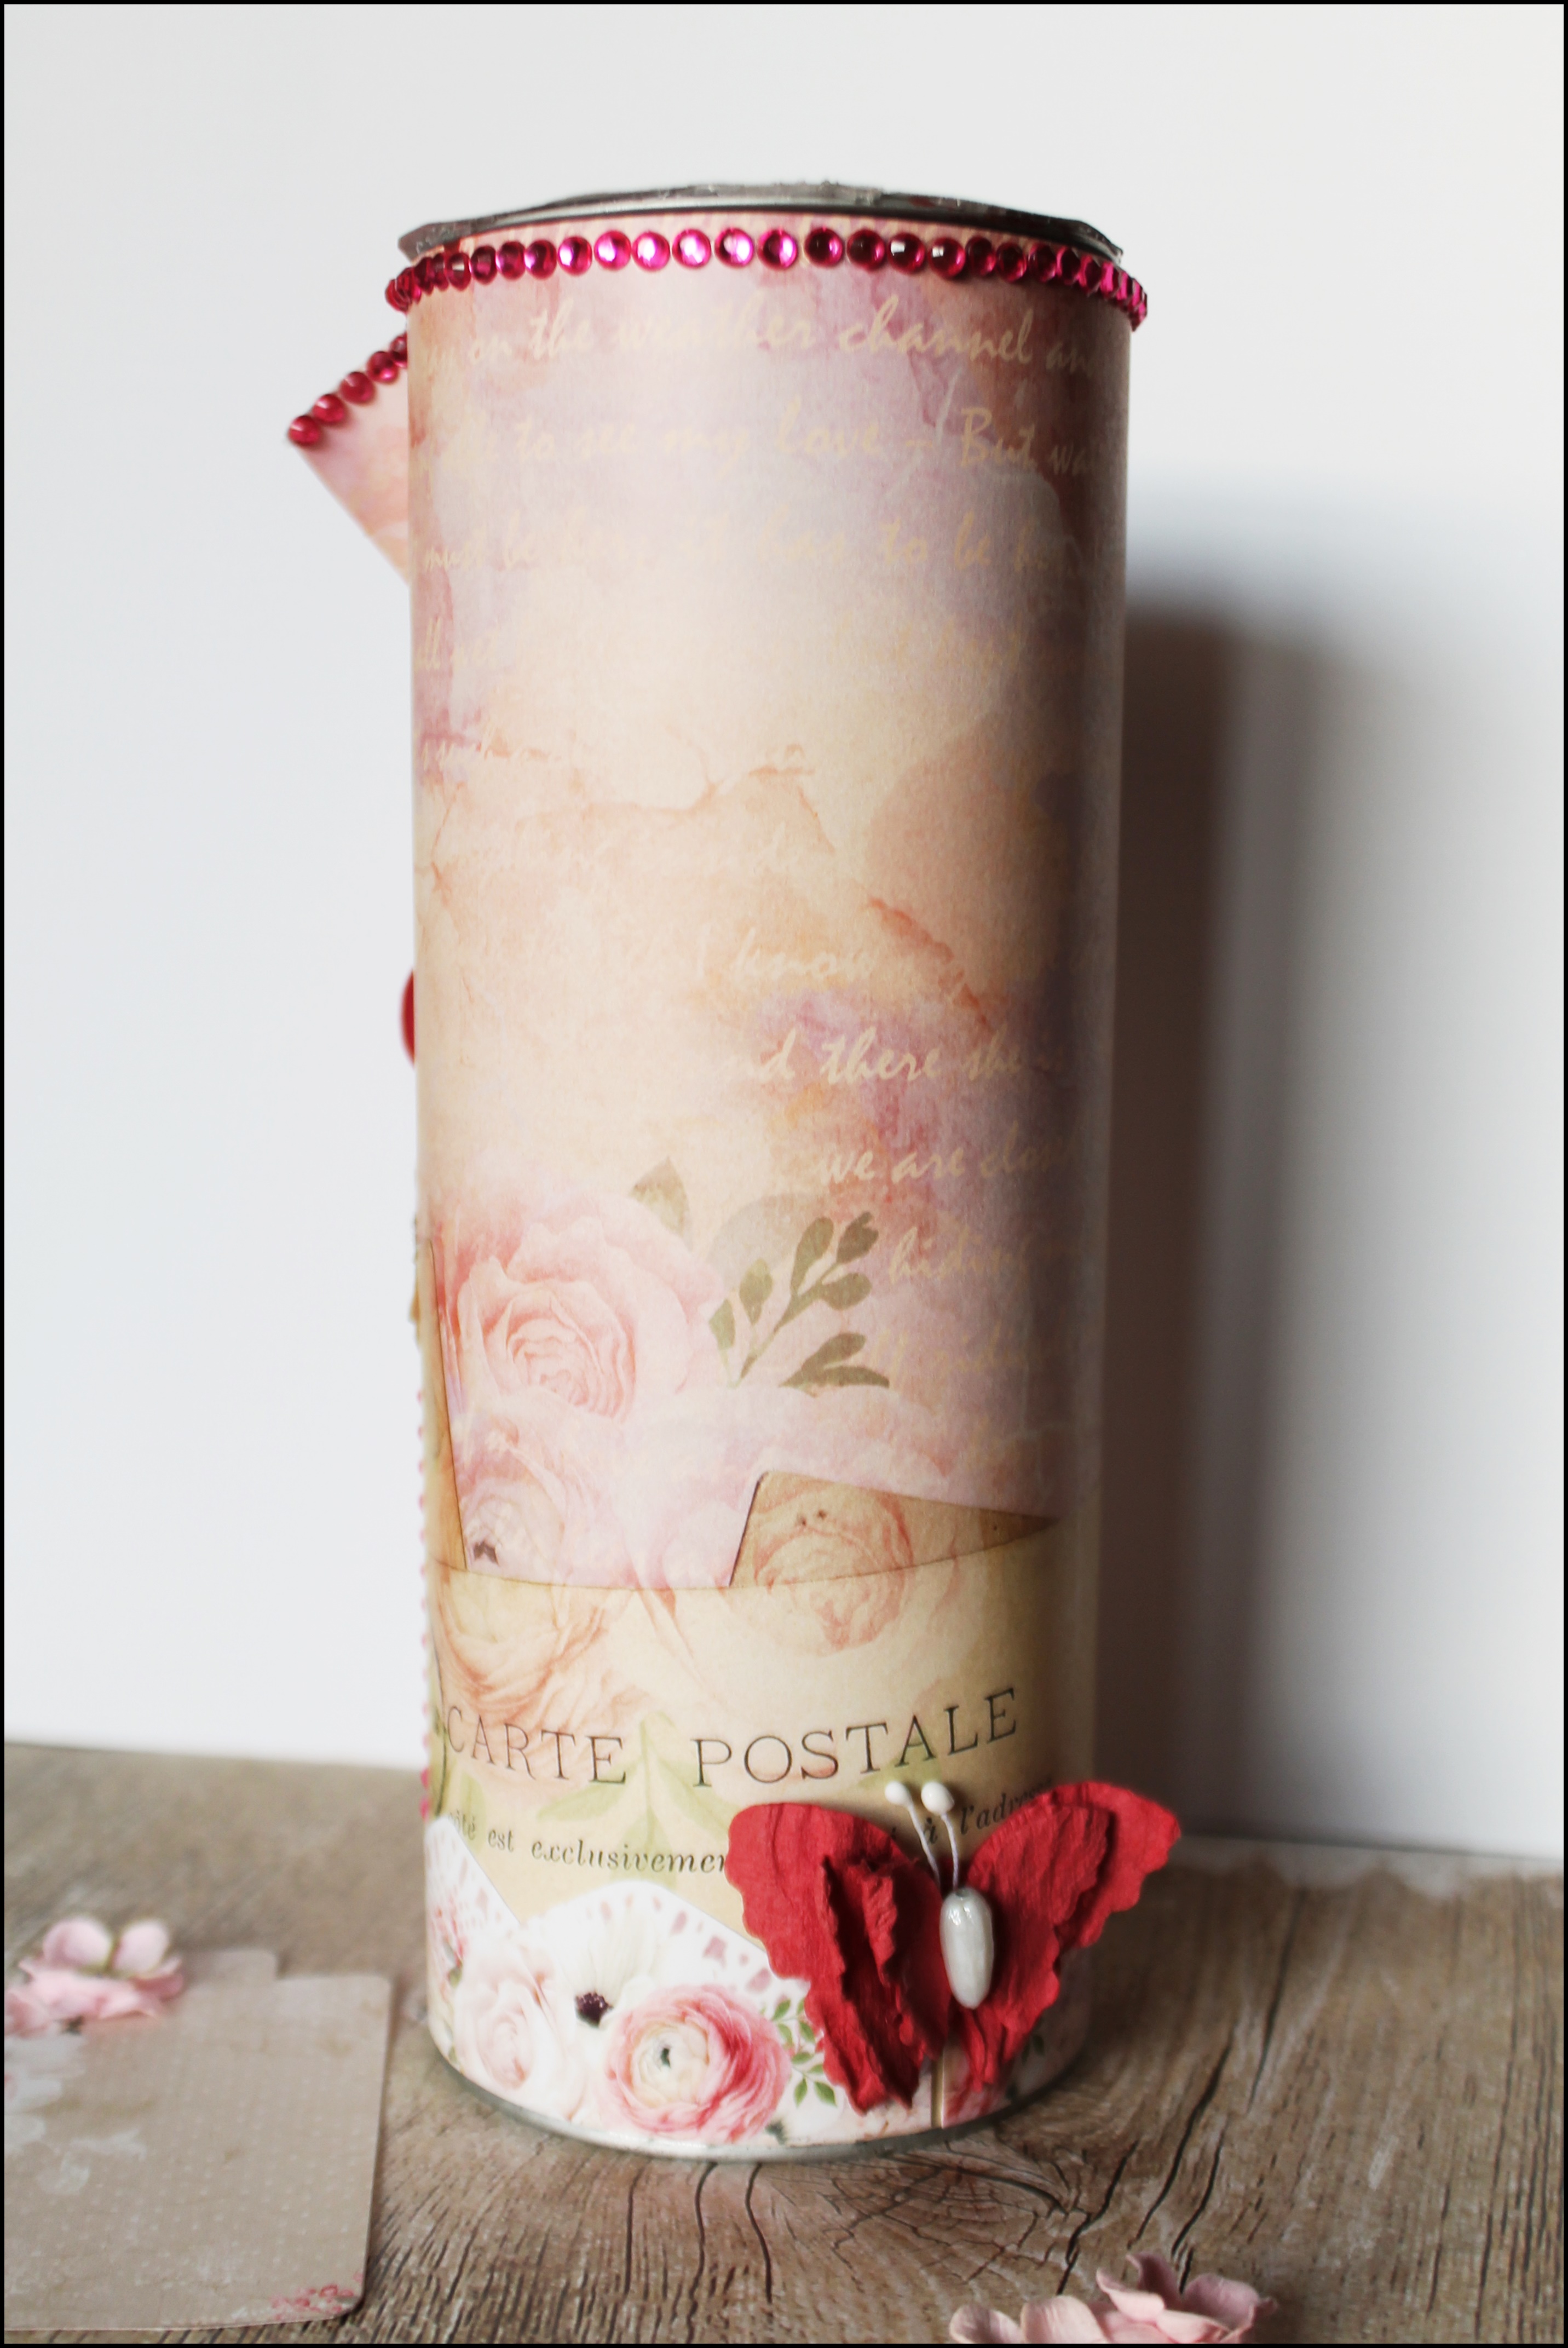
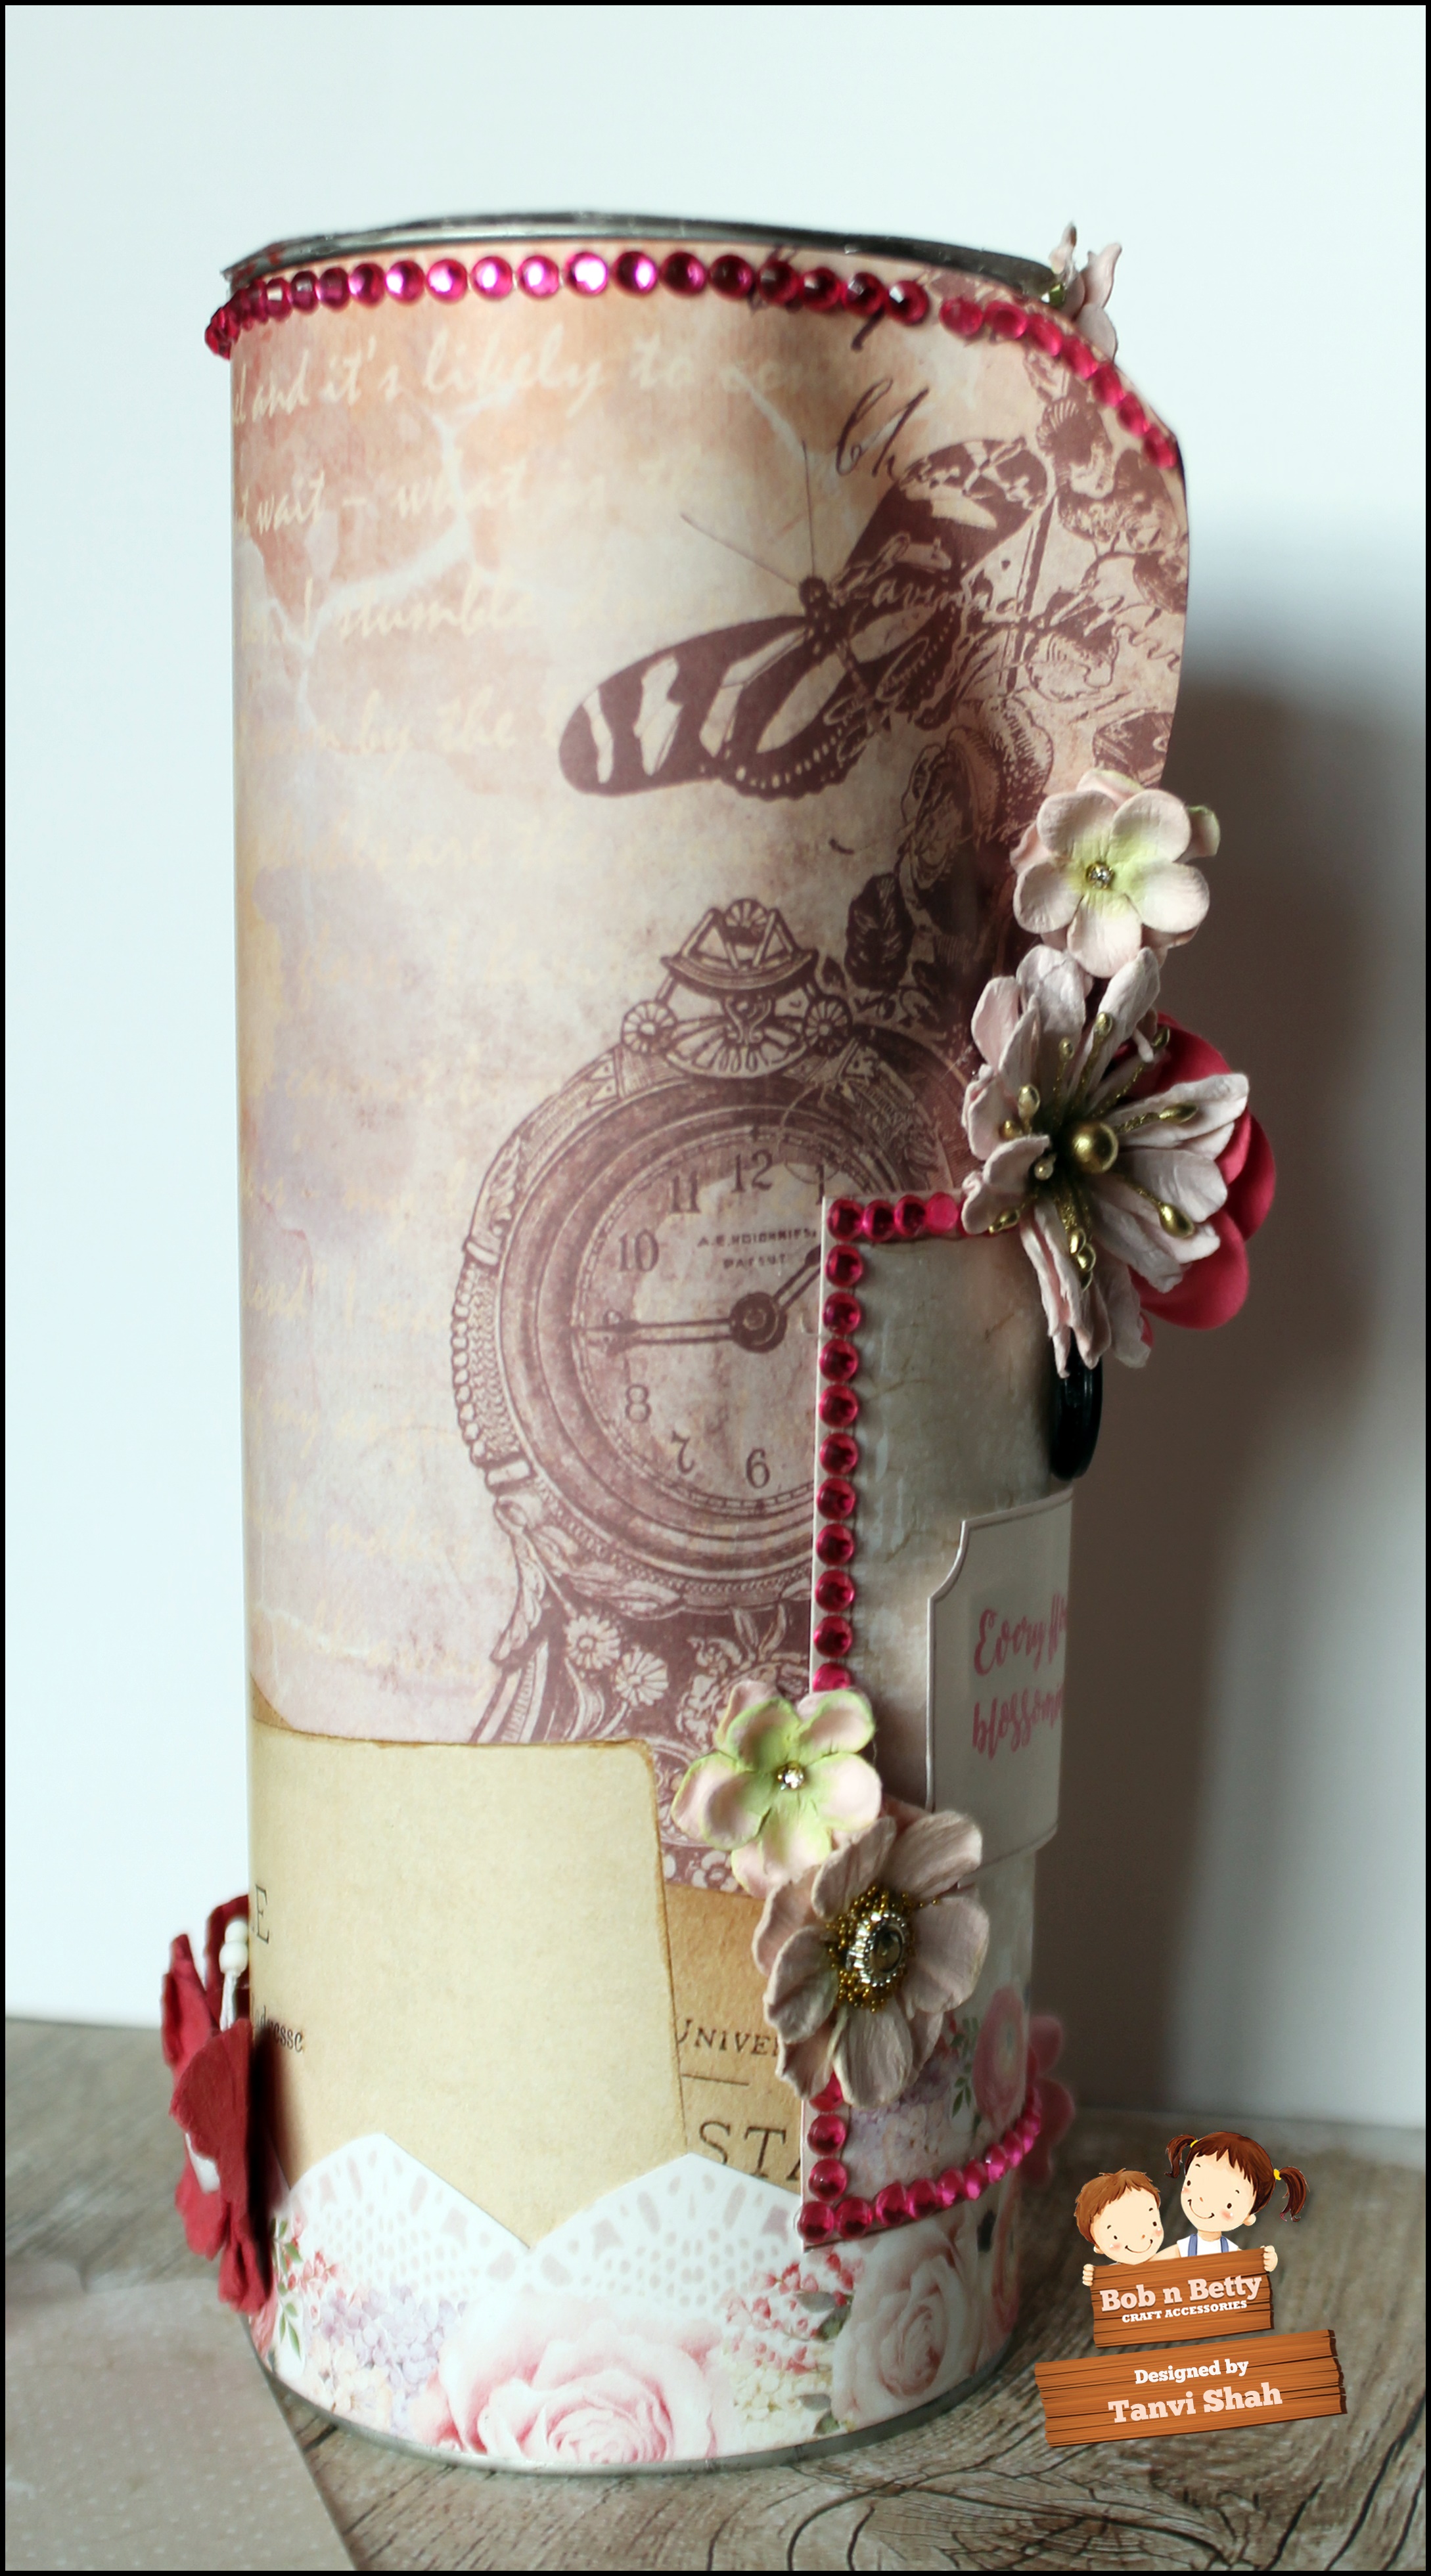
I worked my way to making a flip album using these gorgeous papers,  half way through & I realized it looked very similar to the wallet mini I made earlier! So while that incomplete project sits on my table an alternative 3D project came to life & am so glad it did! That's the story of the altered cookie can I share today. 
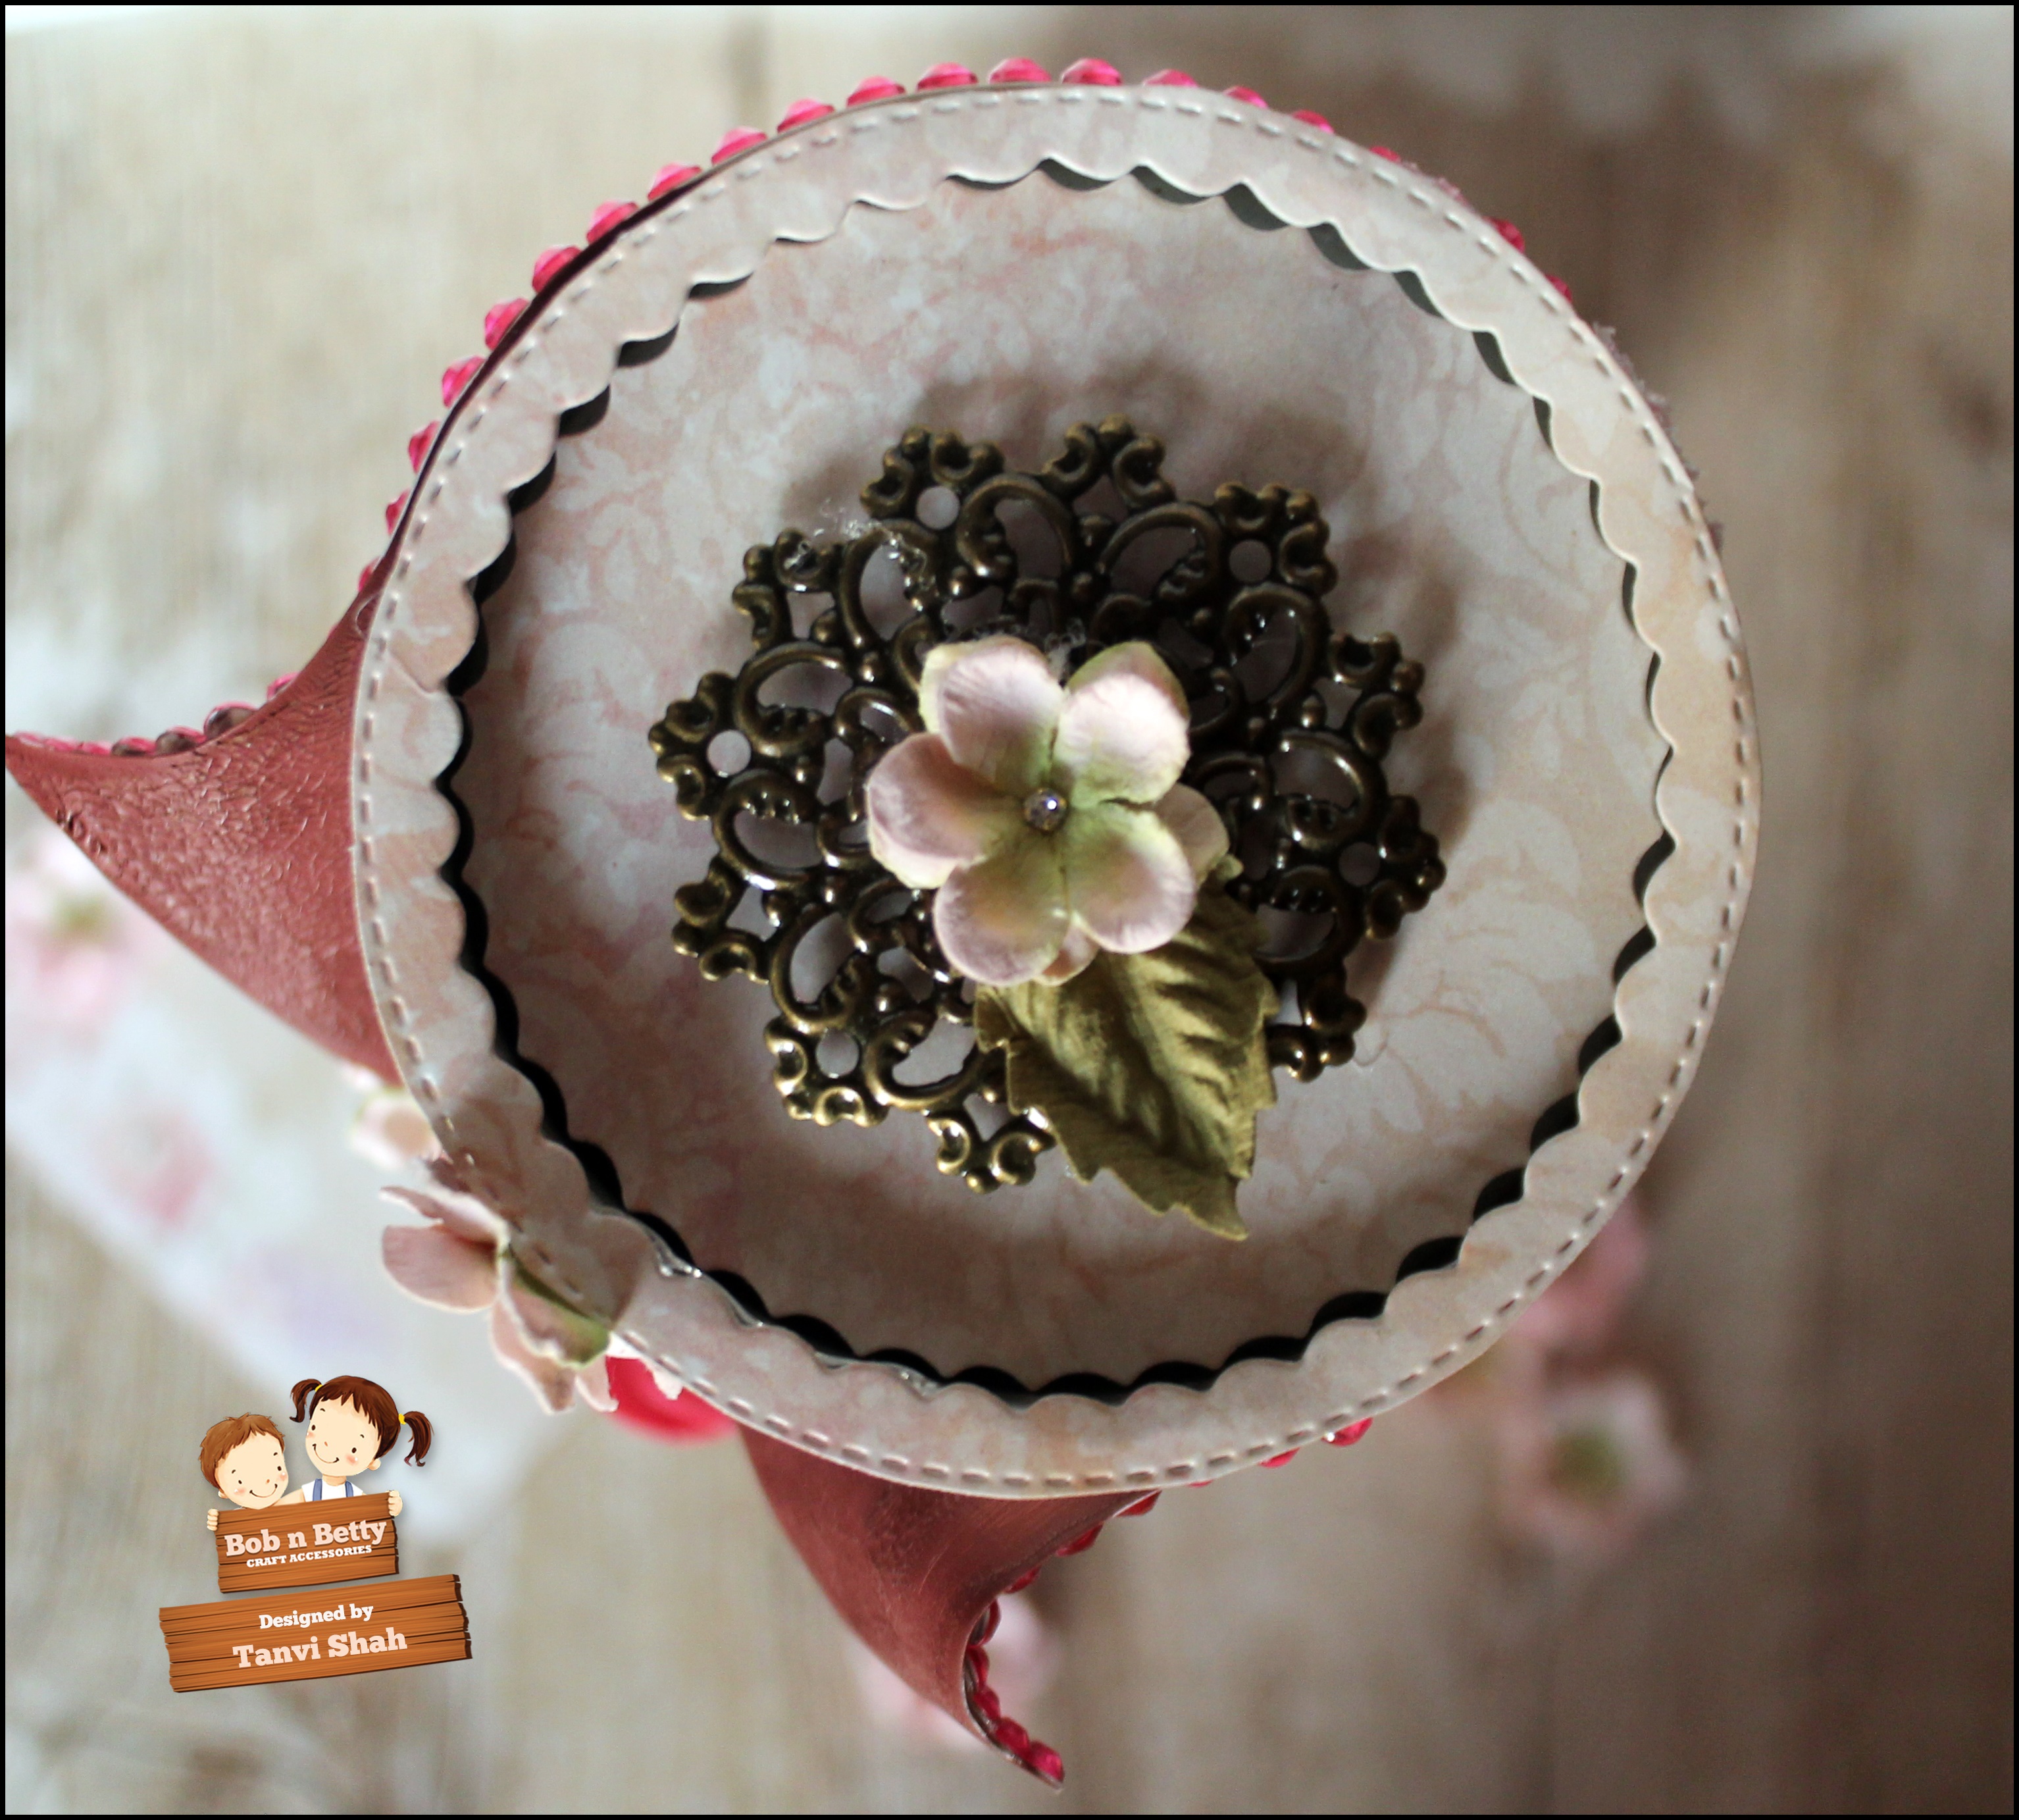
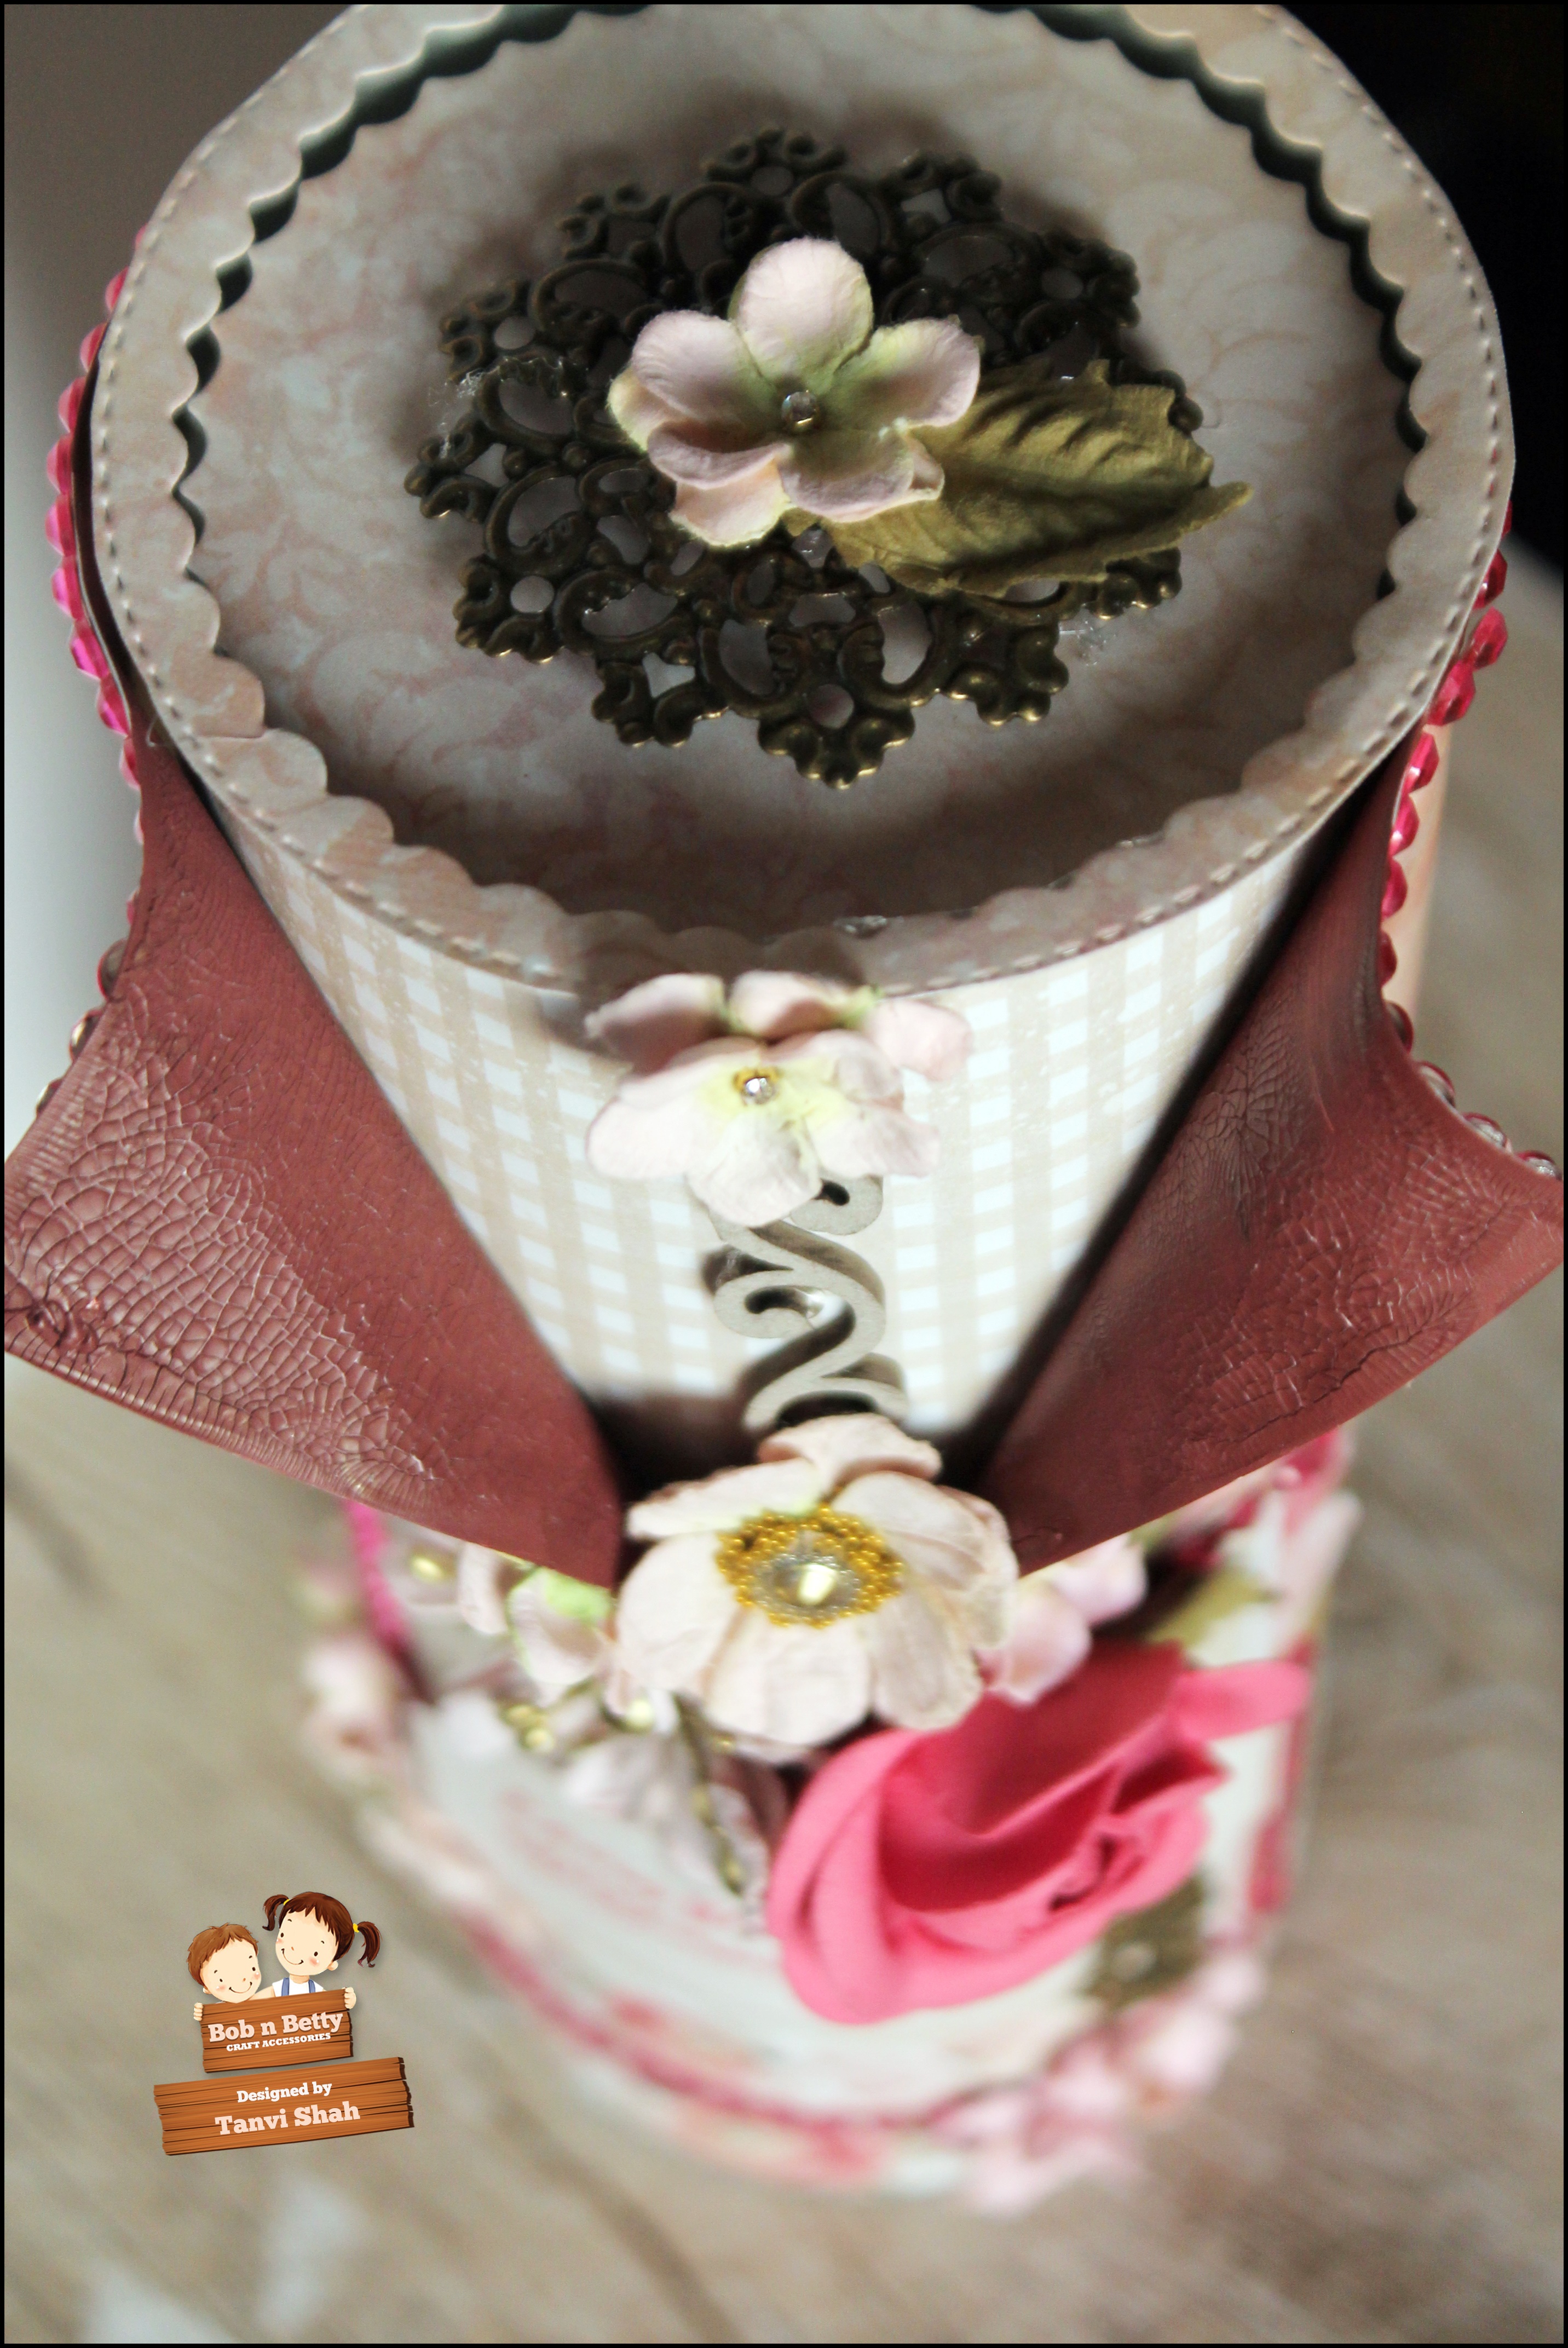
Here are some close ups of the cannister - 

F18036

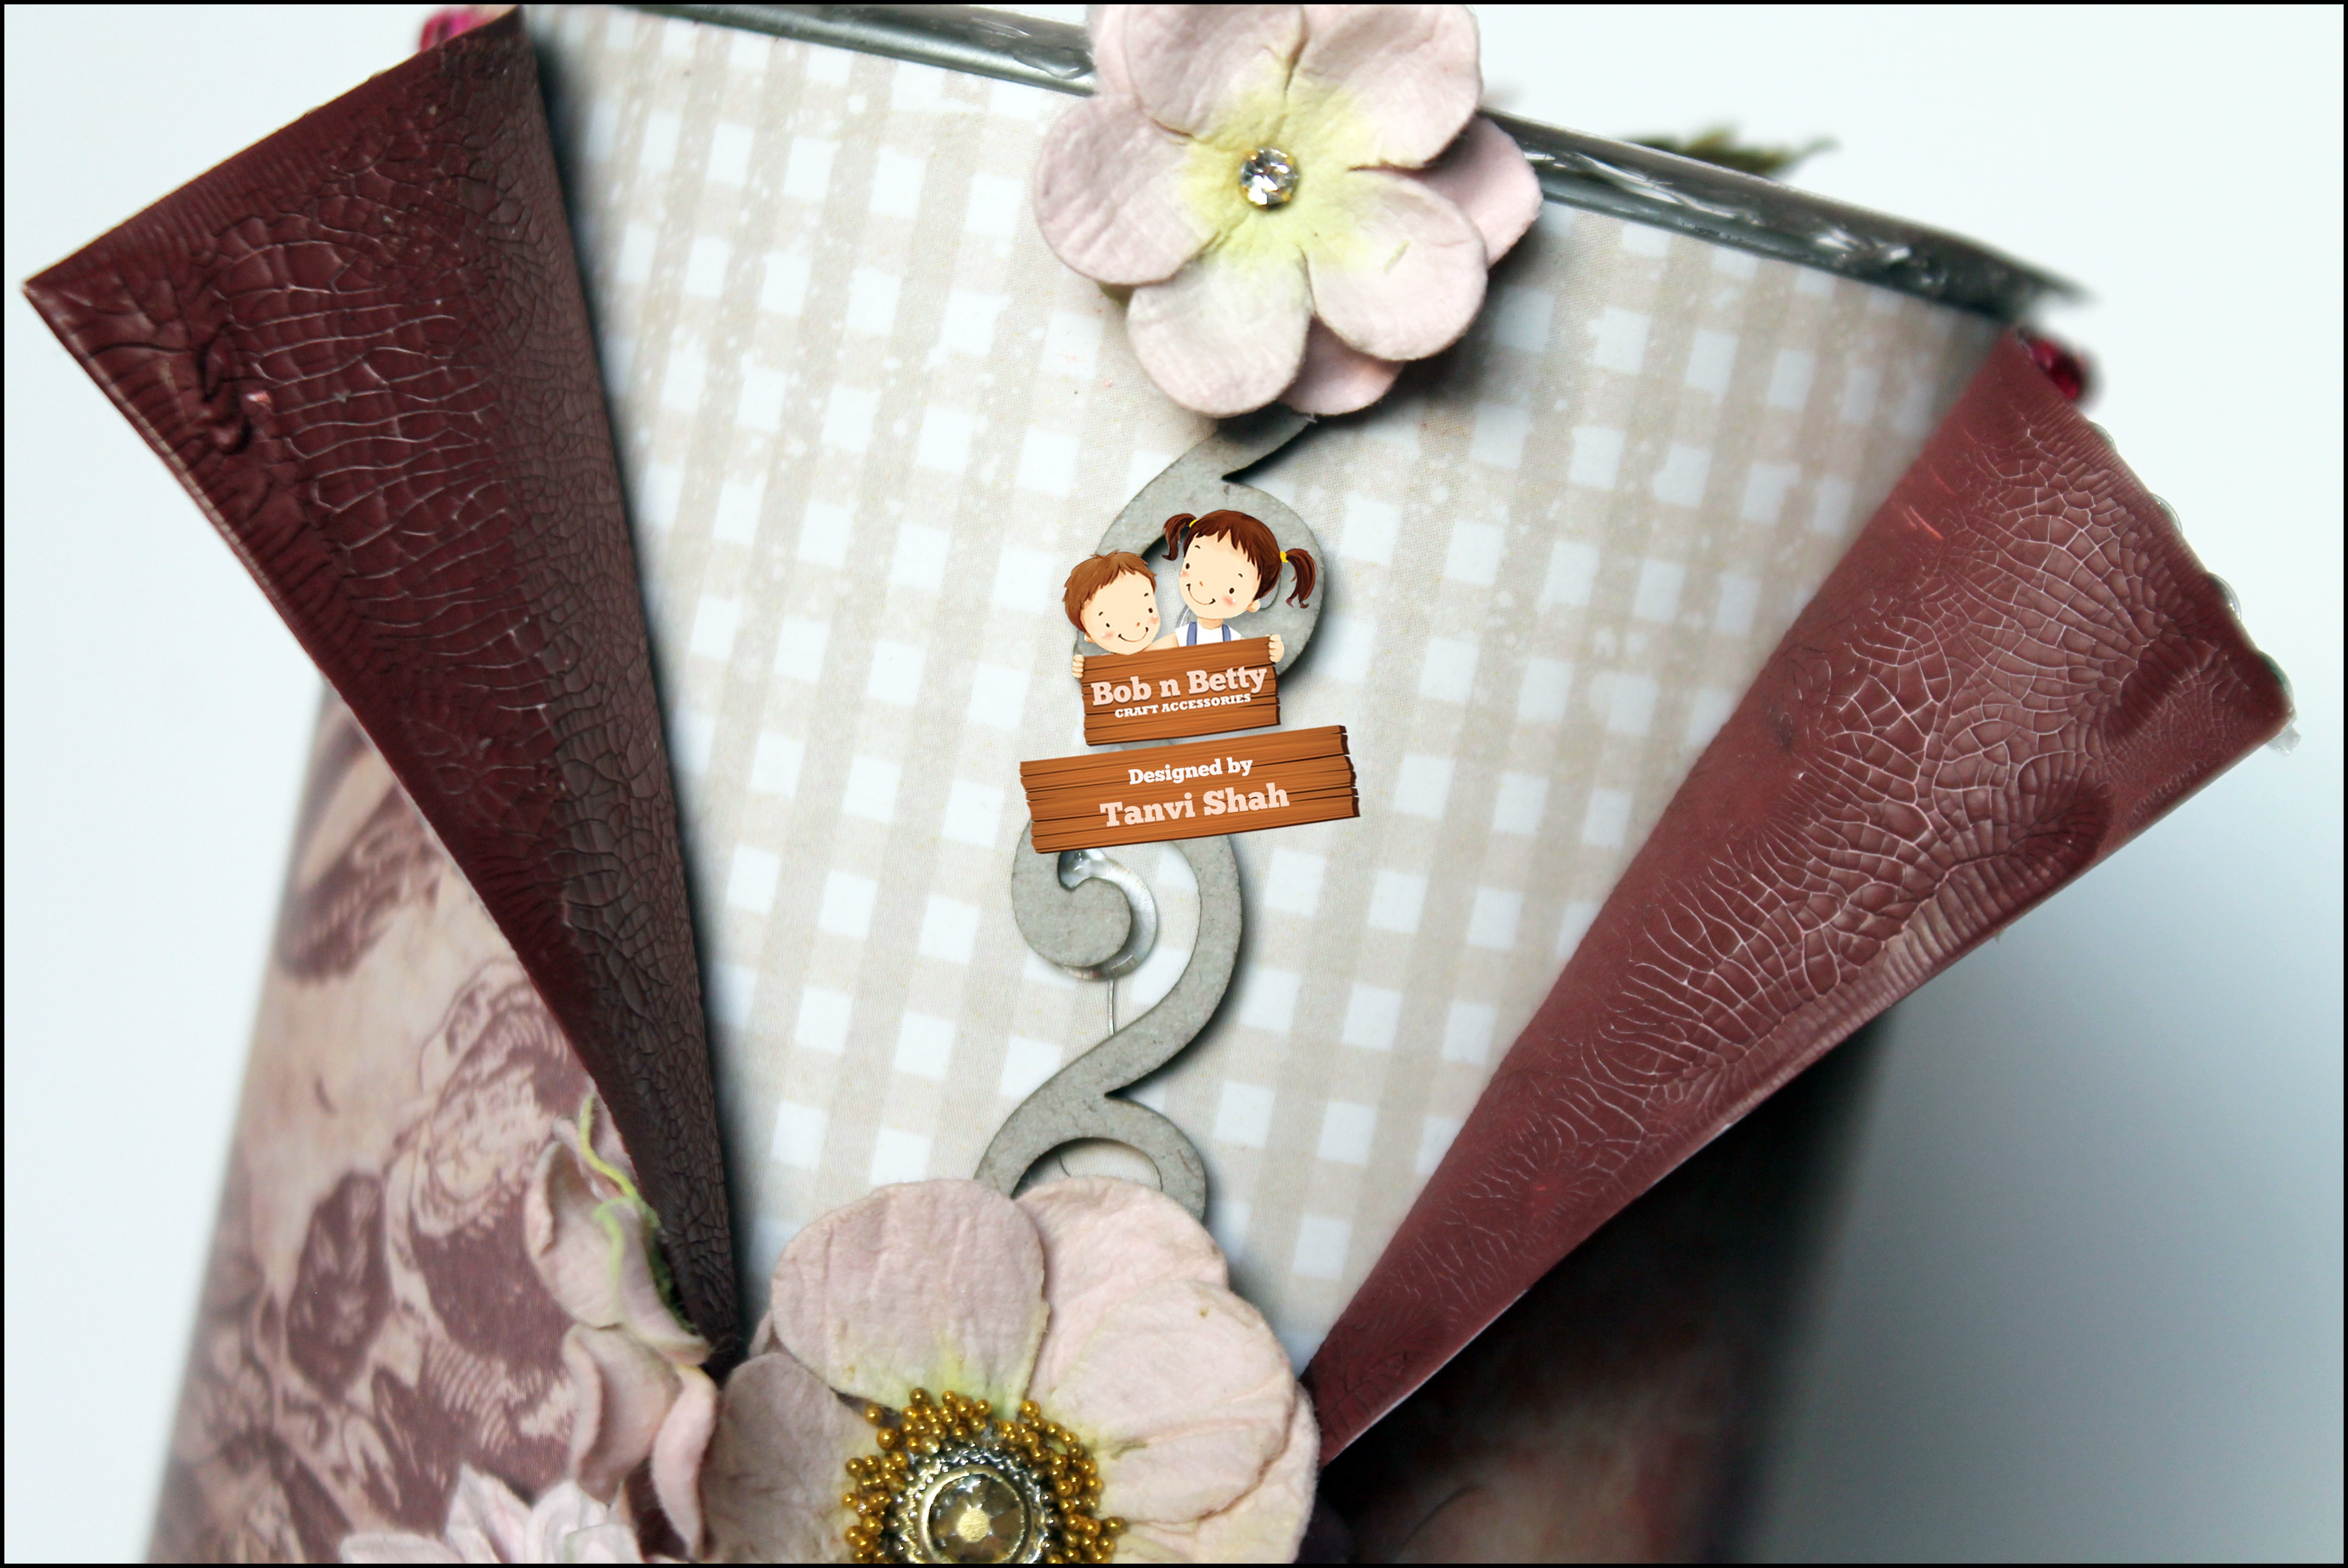
I used distress crackle paint for some textures over the distressed folds here - 

F18037

Flowers & charms from my stash added much to the shabby look - 

F18038      F18039   


F18040          F18041  

    F18043  

                           F18044                                

F18045

The gorgeous altered can makes a unique box to hold a gift, an invite or even a letter or simply fill it up goodies & candies! 


Thanks for visiting today & have a wonderful week!


Thank you so much for visiting & taking the time to comment on my blog. I love to hear from you & truly appreciate your feedback. Have a crafty day!

Tuesday, 3 April 2018

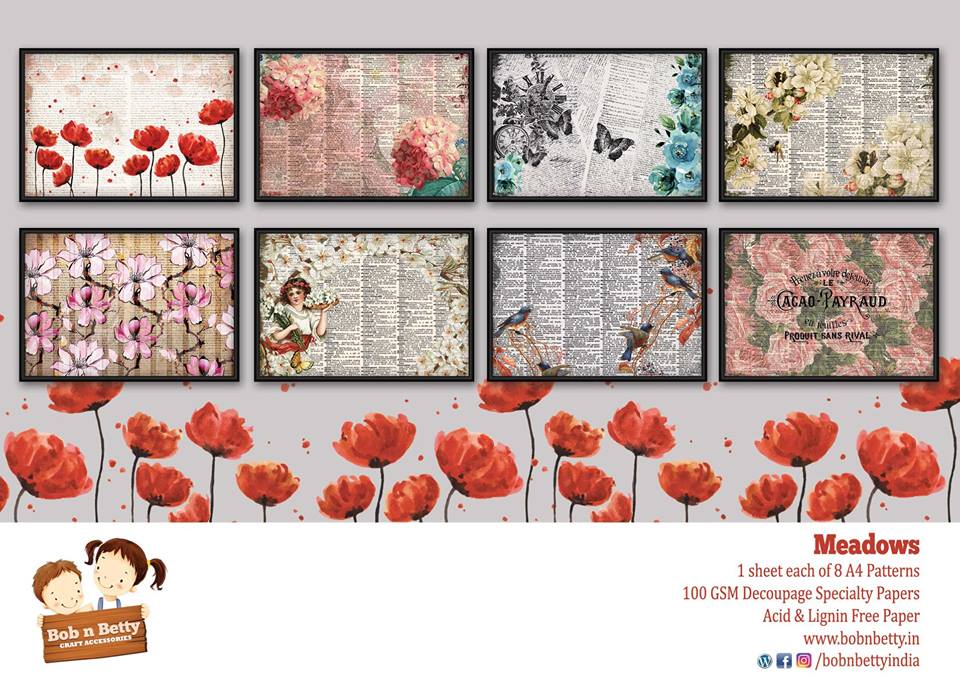
Decoupage Box using Bob N Betty "Meadows"

Hello, am here to feature another awesome release MEADOWS, a set of eight delicate floral designs with a vintage touch in our range of decoupage specialty papers. This is a perfect collection for someone like me who loves vintage but always looks out for a dash of happy colors in vintage too! Each design is gorgeous!

bnb1.jpg

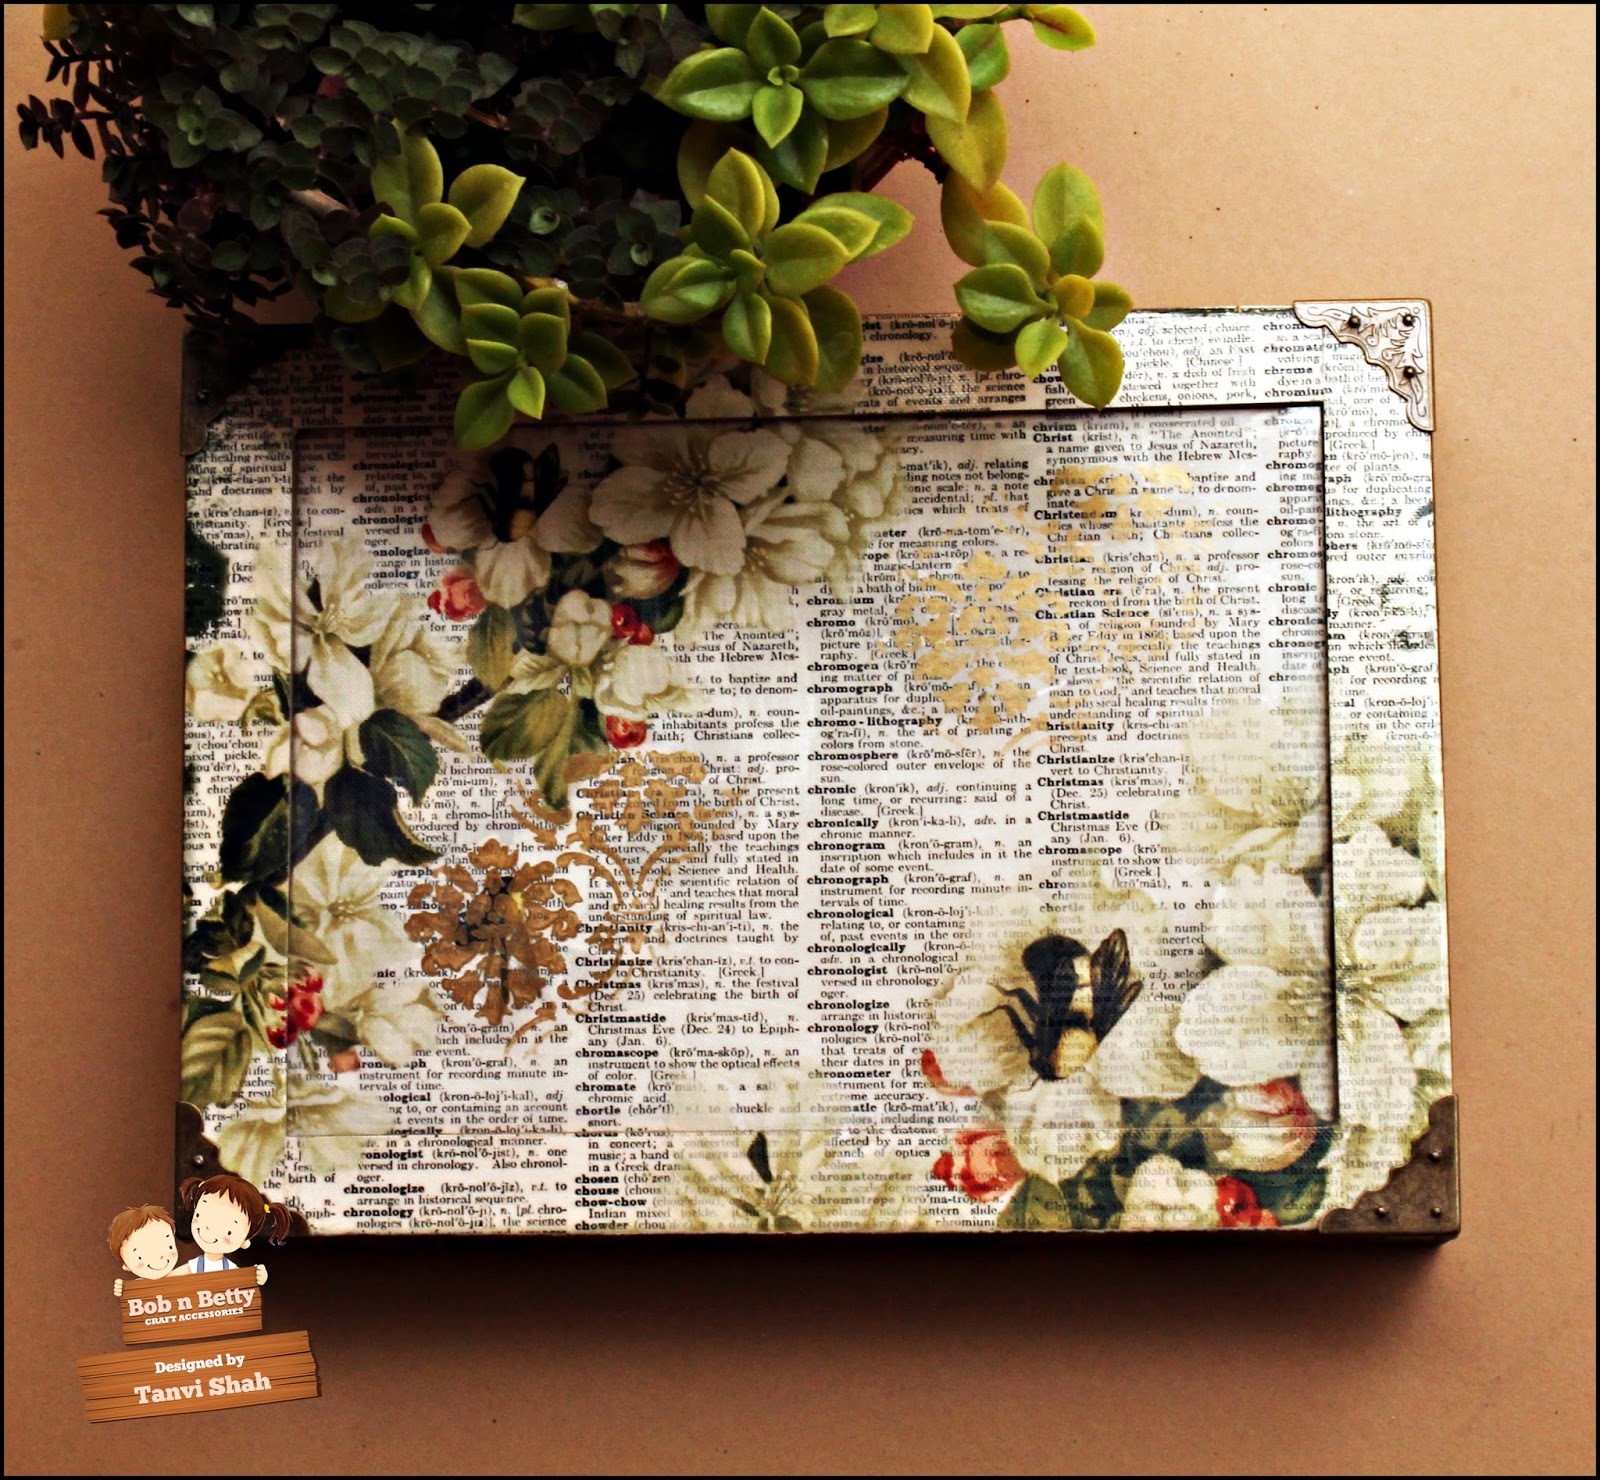
I will be sharing a decoupage box using my favorite print from the collection in which I have combined decoupage with reverse decoupage for the glass lid of this box.


Let me explain briefly -
  1.  First I did some stenciling with gold acrylic paint on the backside of the glass lid.
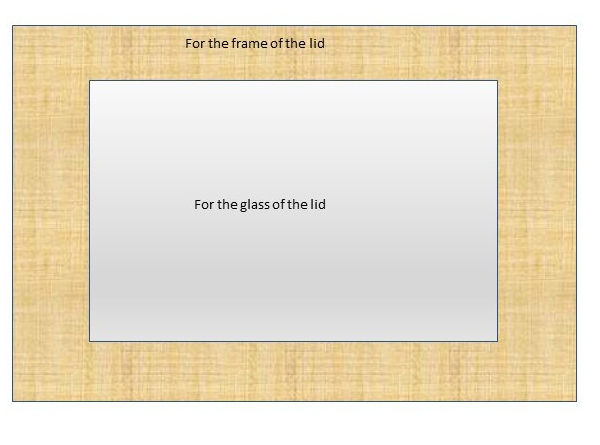
  2. Next I trimmed the specialty decoupage paper to the size of the lid & cut off a rectangle the size of the glass piece from this.
box
3. Glue this piece on the backside of the glass right side facing down  (reverse decoupage) & the left over to the frame of the lid. Seal with decoupage glue.
4. The base of the box was painted in antique gold acrylic paint. Once dry used masking tape to create bands & stenciled over the open bands with gold paint. Loved the stenciled bands.
5. Varnished & sanded the box to finish.
Here are some close ups of the box -


Hope you like this "twist" of combining both decoupage techniques in one project.
We are also having a MEGA CONTEST for our third anniversary. Do check our FB page for details.
Thats all for today!

Thank you so much for visiting & taking the time to comment on my blog. I love to hear from you & truly appreciate your feedback. Have a crafty day!
Related Posts Plugin for WordPress, Blogger...