Showing posts with label chalk paint. Show all posts

Thursday, 26 April 2018

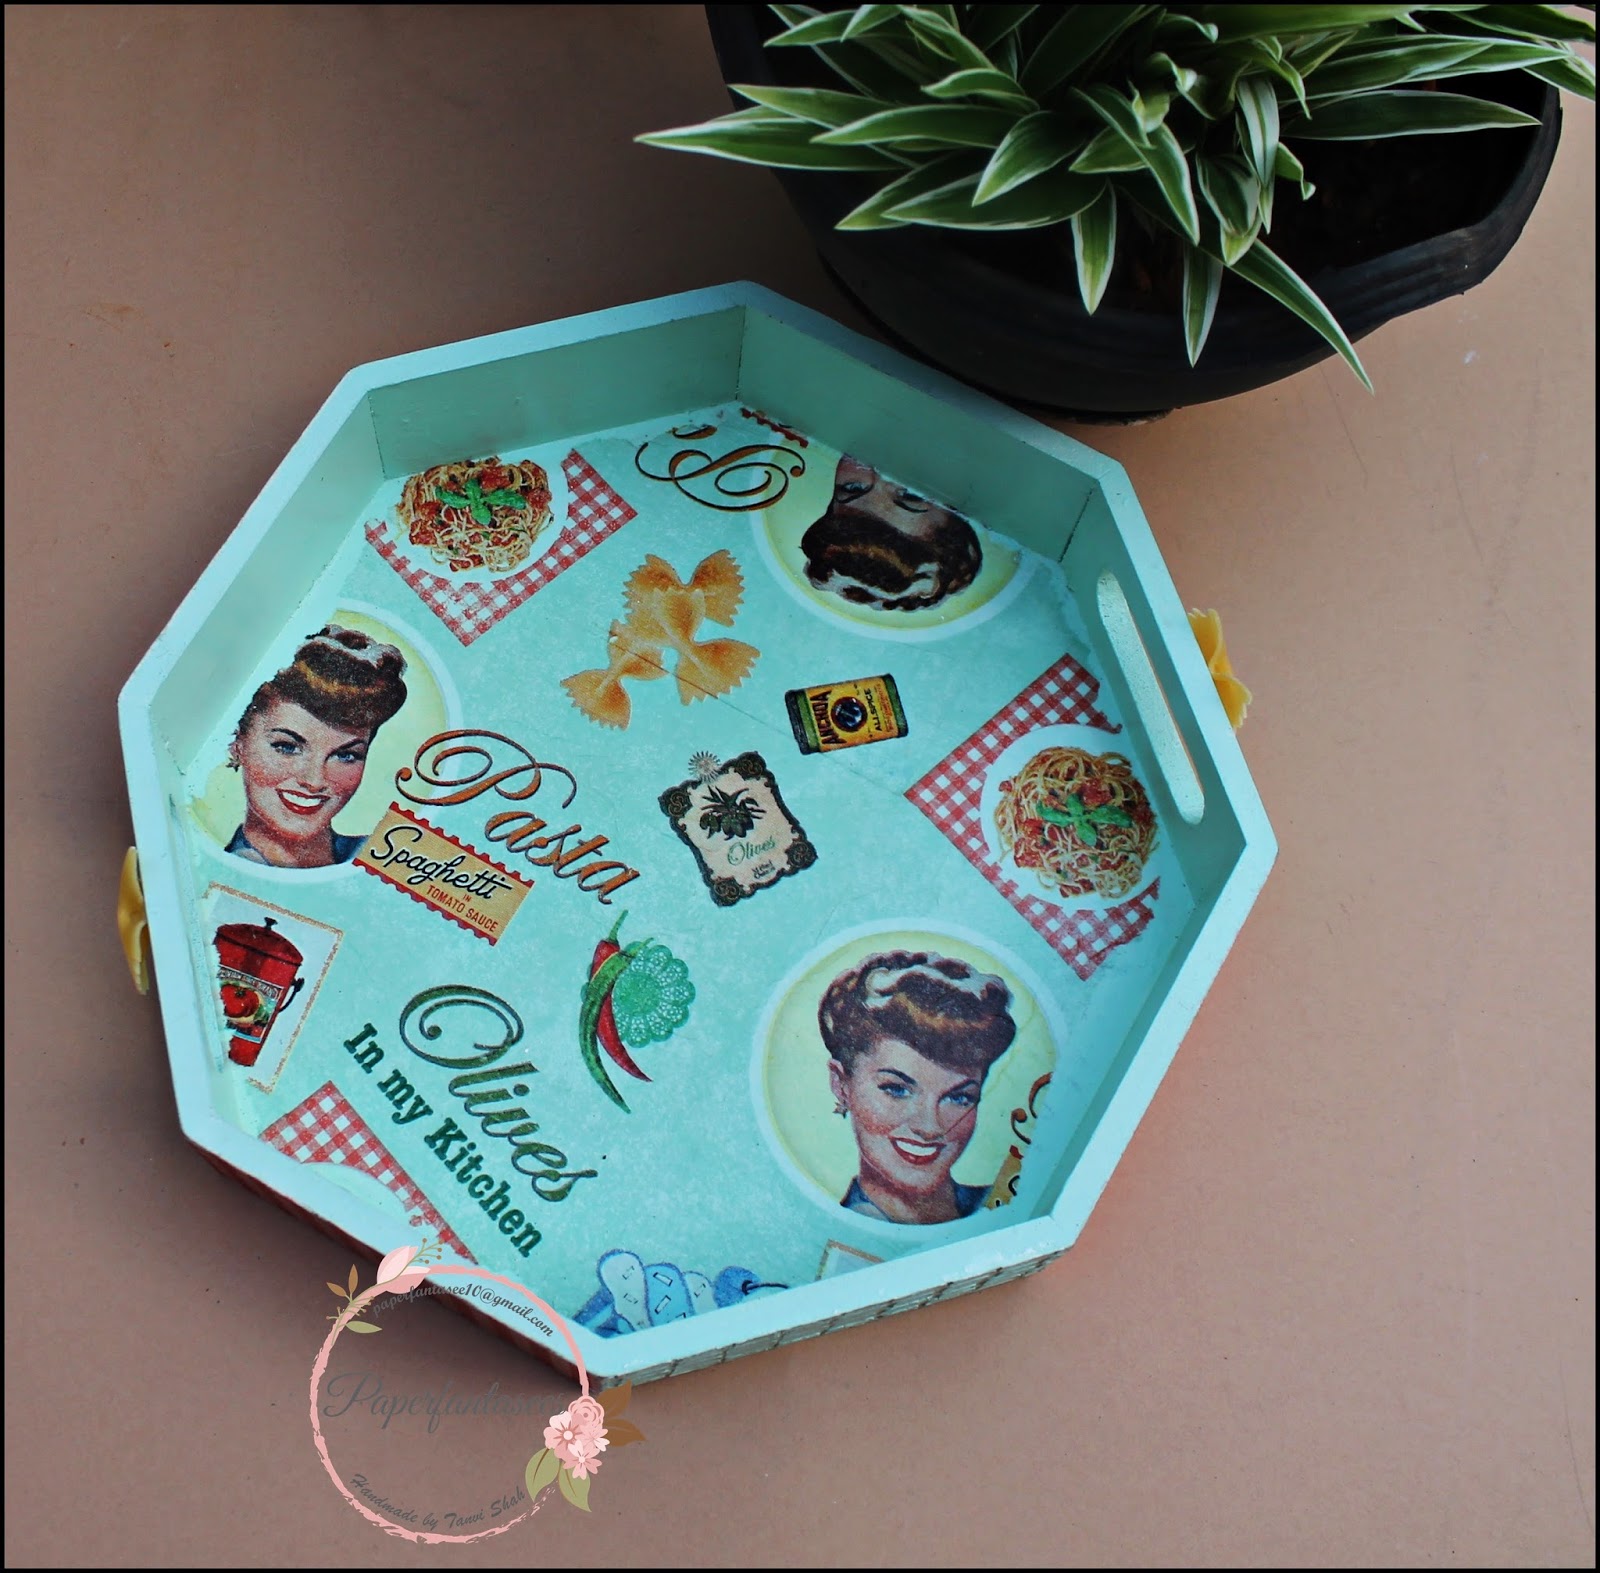
Decoupage Tray

Hello Friends!
Sharing my first post on the Letz Craft blog, so happy to join a bunch of talented ladies.
Here is look at my first project - 


Please visit the blog HERE for more details.

Thank you so much for visiting & taking the time to comment on my blog. I love to hear from you & truly appreciate your feedback. Have a crafty day!

Monday, 5 March 2018

Decoupage trays - Birds series

Hello Everyone!
A quick post today to share a few decoupage trays - the bird series as I call them.

For the first one I have used decoupage papers from BobNBetty - Exotic Birds.
I loved the beautiful print, so many layers & textures to it!


The second tray also uses a design from the Exotic Birds collection. Used chalk paints & the conventional decoupage technique on the sides of the tray for the band/striped look to enhance the shabby pattern.


For the last one in the series I have used rice paper. The pattern had a gorgeous doily print & I tried to extend the same by stenciling & totally loved the effect. To add some more texture, splattered some acrylic paint randomly in the background. 


Close up of the doily stenciling - 


Here is a look at the splattering - 


Thank you so much for visiting & taking the time to comment on my blog. I love to hear from you & truly appreciate your feedback. Have a crafty day!

Wednesday, 11 October 2017

Fun with New shades of Chalk paints - 1

Hello Friends!


This is Tanvi here & its a pleasure to be back with some decoupage inspiration using the new shades of chalk paint. In all there are 24 shades, perfectly selected for a decoupage lover like me to make shabby & distressed projects. Thank you Itsy Bitsy for introducing the first Made in India chalk paints.

These were the 14 shades launched earlier this year - 


The10 new additions to the matt chalk paint range are -


When it comes to decoupage these paints score over acrylics because
  • they give very good coverage
  • are easy to blend & sand to give a super smooth finish
  • Consistency is just right for use with a roller, sponge or brush
  • they work on glass, wood, metal, mdf & acrylic too
  • being lead free they are also eco friendly
    I have a few projects to share today using these 4 shades in my post - sand stone, whipped seafoam, wild wasabi & muted teal.


    Lets begin with a quick reverse decoupage tutorial on an acrylic coaster.

    1.Select the tissue & tear the design you want to use.
    2. Decoupage the tissue on the backside of the coaster (right side facing the coaster). Remove any air bubbles/wrinkles & let dry.
    3. Apply another coat of decoupage glue to seal the tissue. Let dry completely.
    4. Next, stencil a pattern over the tissue, using a sponge blender.


    5. Paint the coaster (whipped seafoam). This is the final layer of paint. Once it is dry, seal with several coats of varnish. Sanding in between layers for a smoother finish.


    6. Now the coaster is finished & this is how it looks.


    I was not able the capture the subtle stencilling on camera but I loved the muted pattern.


     I love the ease with which I can paint over a metal surface with chalk paints. Sharing a metal planter, in which have used sand stone, this shade was so close to the tissue background.


    Next I have a tray with a distress finish. in which I have used fortune cookies, not from the recent release but nevertheless my favorite shade.


    Distressed base of the tray.


    Stay tuned for my next post where I share an easy tutorial to get this distressed look.

    Thank you so much for visiting & taking the time to comment on my blog. I love to hear from you & truly appreciate your feedback. Have a crafty day!
    Monday, 7 August 2017

    Mason Jar Shaped Chalkboard


    Hello!

    Welcome to another post in which I have used Rinea Foiled Paper to make a mason jar shaped chalkboard for the kitchen. Here are the pictures  -

    Mason Jar Chalkboard with Rinea Foiled Paper

    To decorate this piece I embossed some Glossy Ruby/Gold Foiled Paper using an embossing folder & loved the result............ isn't the texture amazing!!! Added some flowers & burlap lace to bring it all together, and this chalkboard is perfect for daily reminders!


    Happy Crafting!

    Thank you so much for visiting & taking the time to comment on my blog. I love to hear from you & truly appreciate your feedback. Have a crafty day!

    Sunday, 16 April 2017

    Decoupage - Letter cum Key Holder

    Hello Friends!
    If you are following me you know of y love for decoupage! I love altering & creating home decor items using serviettes & papers..........................the transformation of ordinary mundane objects with decoupage is priceless.
    Today's post the transformation of a MDF letter cum key holder. The color of this dinner napkin with the bird house print is so pleasing & is sure to bring cheer.

    Here are the steps in brief - 


    • I started with a base coat of Itsy Bitsy chalk paint charcoal on the sides & lower part of the holder.
    • Once dry I added crackle medium randomly on the two sides & over the bottom panel with hooks. This was followed with a coat of chalk paint - frozen ice.
    • Next I tore the word 'welcome' from the tissue & decoupaged it on top for a faux a hanging plaque & the bird houses were decoupage at the bottom of the slots.
    • After this I used the paint to merge the tissue with the background.
    • I added some more textures to this project by dry brushing with black paint & stenciling (rolling stones) with snow chalk paint.
    • Several coats of varnish with sanding in between completed this key holder.


    You can see my other key holders here & here.

    Sharing this at - 


    Thank you so much for visiting & taking the time to comment on my blog. I love to hear from you & truly appreciate your feedback. Have a crafty day!

    Tuesday, 19 April 2016

    Altered Wooden Tray

    Good morning peeps!
    A dear friend of mine approached me with a beautiful but worn out wooden tray which was very special to her. This is how I salvaged the old tray into a new one!
    To begin I smoothened the surface as much as I could using fine grain sand paper & then applied a layer of gesso. I wanted to give it a shabby & distressed look, so used a base coat of gray acrylic color. Once that dried I randomly rubbed the surface with a candle followed by Prima chalk paint. Once the pink dried I used sand paper to distress the color & out popped the gray from beneath!
    Random stamping using archival ink completed the transformation! To finish I varnished the tray several times.


    The back of the tray - 


    Closer look at the distressing - 


    Now can you believe this was the tray that got a makeover!


    Sharing this at - 

    Thank you so much for visiting & taking the time to comment on my blog. I love to hear from you & truly appreciate your feedback. Have a crafty day!

    Friday, 18 March 2016

    Magnetic Chopping Board

    Hi Friends!
    I am here with my second post for Stamplorations. You can check the first post post here & the challenge details here. The sketch for March is this - 


    Stamps & Textures is the theme this month.


    For my project I altered a mini chopping board into a magnetic one! 
    My project started with a black base coat on the MDF surface. Wanted to add lots of textures here, so gave a coat of crackle medium followed by chalkboard paint. Loved the resulting cracks!


     Keeping in mind the theme stamps, I used the Big on Words - Mom digi that Shery sent me as a focal point here. 


    I then glued a magnetic sheet to the prepared surface & selected a pattern paper with wood pattern for some more textures. The large magnetic rhinestones can hold those little to do notes or reminders. Perfect for the kitchen!


    These teapot & spoon charms dangling over a mini handle & blooms were perfect coordinates for the magnetic board! 


    Sharing this at - 


    Thank you so much for visiting & taking the time to comment on my blog. I love to hear from you & truly appreciate your feedback. Have a crafty day!

    Wednesday, 3 February 2016

    Decoupage Tray

    Good Morning!
    Sharing a sneak peek of a fabulous decoupage tray I did for the Bob n Betty design team using the gorgeous Vintage Blooms paper collection. Do visit the blog here for details, you won't be disappointed :-)


    Thank you so much for visiting & taking the time to comment on my blog. I love to hear from you & truly appreciate your feedback. Have a crafty day!


    Friday, 4 December 2015

    Altered Bottle


    Good Morning!
    Today I am at the Lulupu blog sharing this altered bottle.


    Some more pictures - 


    My love for this Prima Chalk paint Sea weed is never ending, first a clock, a tea chest & now this bottle! Many more to come for sure!

    You can find all the details about this in the the blogpost here.

    Sharing this at - 
    Crazy Challenge#211 - 7.12 - TOP 3
    Southern girls challenge - love the color! - TOP 5

    Thank you so much for visiting & taking the time to comment on my blog. I love to hear from you & truly appreciate your feedback. Have a crafty day!

    Related Posts Plugin for WordPress, Blogger...