Hello friends!!
Last week as I was going through some of my blog pictures I realized I had made many handmade flowers. By altering the technique, color, assembly, embellishment on the same die cuts you can have a new bloom to coordinate every project. I thought it would be a good idea to recap all these in a post.
1.I had purchased some flower die cuts locally (back then I did not even own a big shot). I have followed the tutorial link
here which Rajni shared in her post for the
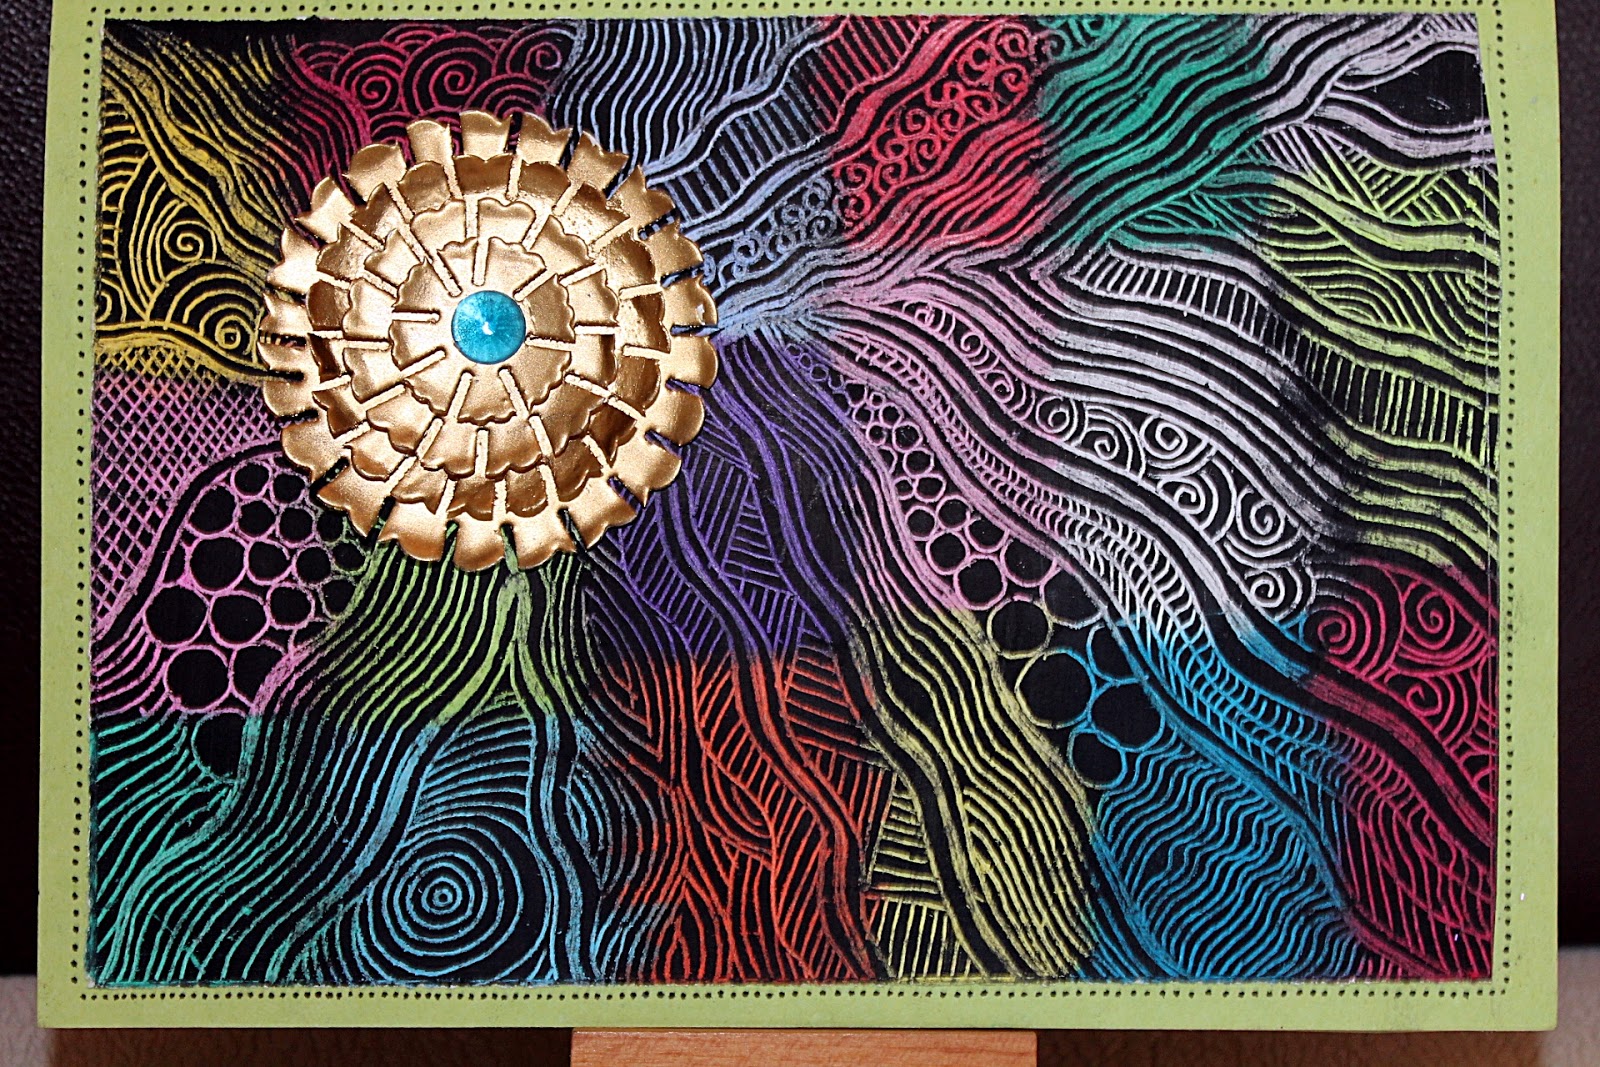
Color Conceptions blog. Layering & pinching the petals resulted in this gorgeous bloom. For the shimmer I have sprayed Lindys Gang Spray.
You can view the projects on which I used these
here,
here,
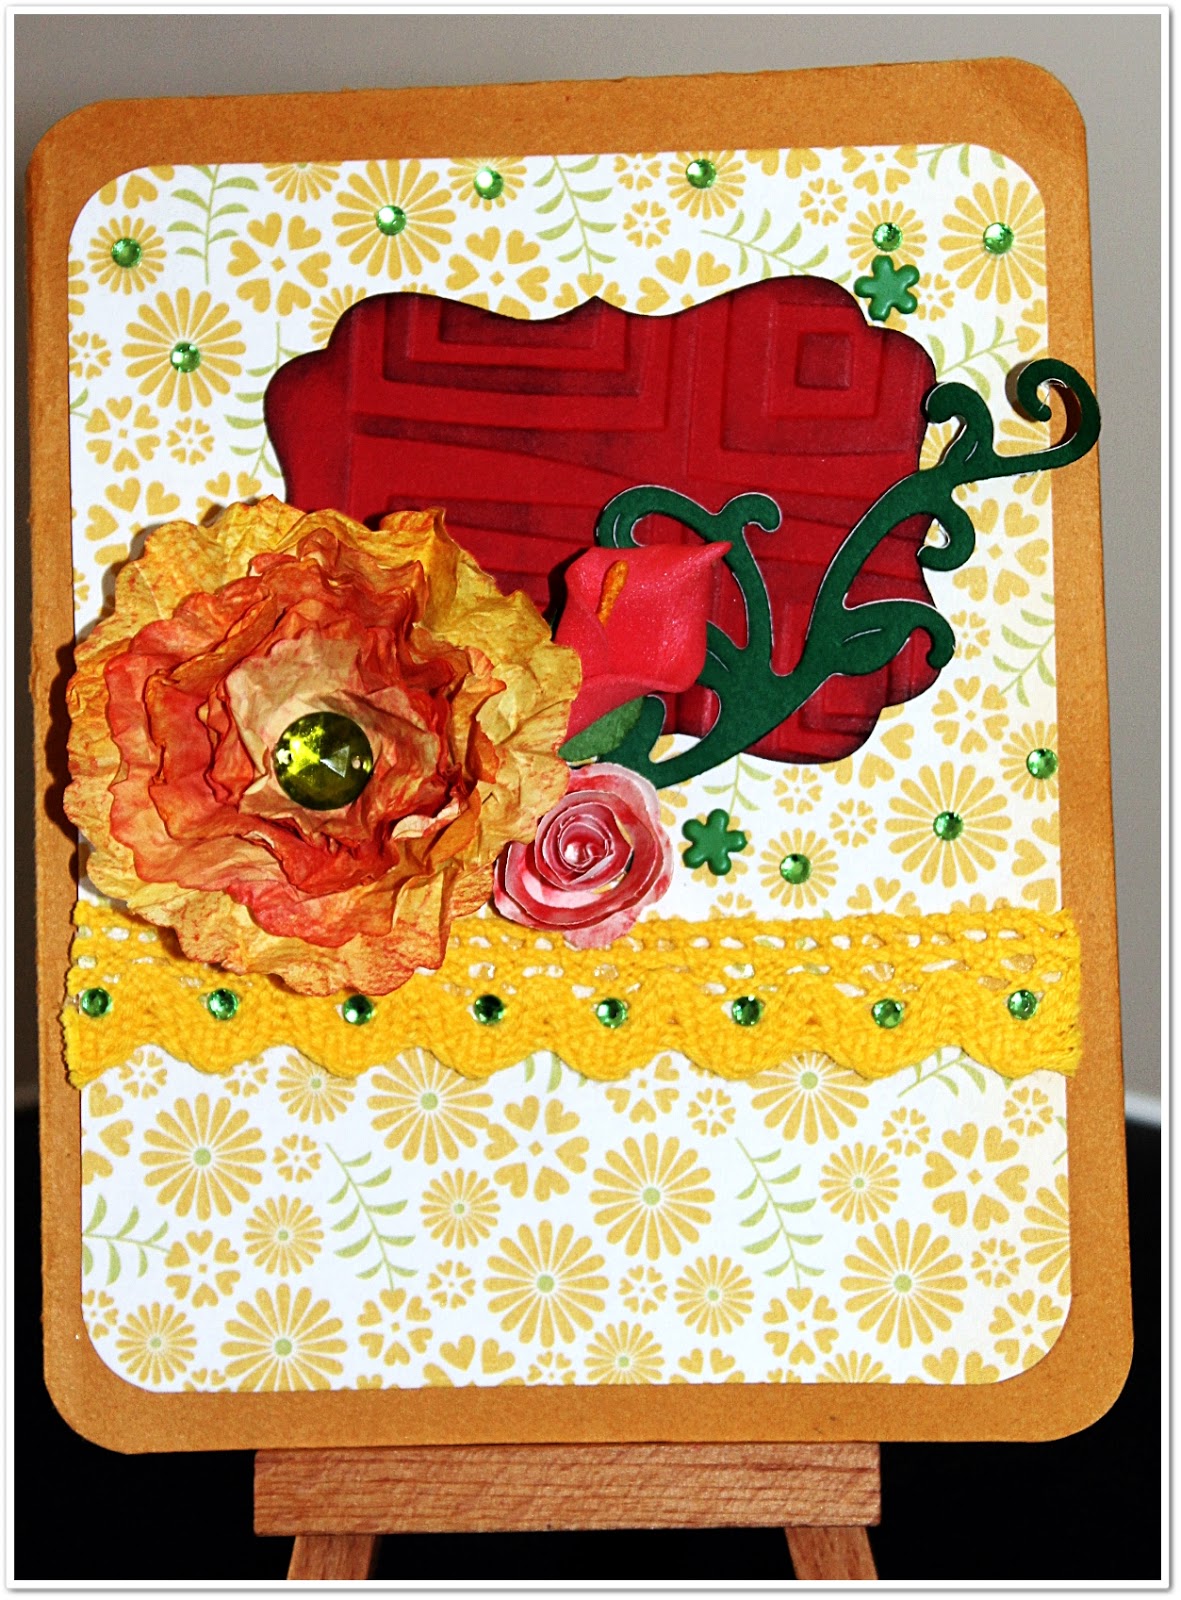
2.These shabby chic blooms are again from ready die cuts - FabScraps, a rolled flower & paper rose.
3.Here I have used the same technique as the first using Tim Holtz tattered florals die cuts (pink) & the other one is FabScraps.
4.This one too is the same FabScraps die cut but note the variation - layering & curling.
5.Next up are some flowers using Cheery Lynn - Build a flower#3 dies, scallop circles & tattered floral die cuts.

I have used some of these blooms in the hanging keepsake
here & also on the card
here.
6.In the following pictures you can see the variation that can be obtained by changing the colors, embellishment used in the centre, layers, cupping the petals (inside/outside) on die cuts.
All these adorn the note-pads I made for my daughters' teachers which can be seen
here.
I have some more to share in my next post so stay tuned.
Thats it from me today....................thank you so much for visiting & taking the time to comment on my blog. I love to hear from you & truly appreciate your feedback.
Have a crafty day!!