Showing posts with label shabby chic. Show all posts

Sunday, 29 September 2013

Shabby Chic Fridge Magnet

Hello friends!!!
The current challenge at DCAM is Shabby Chic & I decided to try a mixed media project. It surely is not my style but I am loving this first attempt in true shabby chic style, for which I always had a fancy. Gorgeous projects in soft shabby chic colors with lots of layers & textures adorned with embellies dazzled me & I never gathered the courage to try this beautiful style until now. Here's the altered (wooden) fridge magnet -


Lots of products used in the making of this - gesso, Lindy's  Spray, texture paste, pattern paper, embellishments, pearl strings, blooms, etc. Also created loads of layers & textures with lace, paper, stencils, diecuts, etc.


 Linking this to - 
Itsy Bitsy - Pretty with P (pattern paper, posy, pink, pearls)

 Thank you so much for visiting & taking the time to comment on my blog. I love to hear from you & truly appreciate your feedback. Have a crafty day!!

If you have any queries regarding this post/ supplies used etc. do leave a word in the comments & I shall reply.

Sunday, 30 June 2013

Shabby Chic Card

Another post from me today & am so glad I made it in time for the Lets Get Trendy Now!3 - Day 4 - Stitching. Never done stitching in my cards/LO earlier so I definitely wanted to attempt this. This is also my last card for the series & I genuinely thank - Julie, Amy, Yvonne for their efforts in compiling this series to inspire us all! Had it not been for this I would never have made a card with neons & stitching.

Coming to my card................its a shabby chic style. The base is a kraft CS & DP used is from DCWV - distressed in vintage photo ink & also a distressing tool. The cage is heat embossed in gold. I have stamped the sentiment FLY HIGH on distressed burlap..........perfect for the LO of the card.


The bird is also distressed & then heat embossed in clear EP (well its not a diecut, but I have stamped the image on the wrong side of the DP & then fussy cut!!!).
Now coming to the stitching, its the black line you see along the small birds of the DP so that it appears like a branch (does it???)


Also linking this to -
Docerela Stamps Challenge
Ruby's Rainbow #57
Charisma Cardz #25 (3-small sequins blue flowers, 2-roses, 1-cage)
For the Love of Crafting

Thank you so much for visiting & taking the time to comment on my blog. I love to hear from you & truly appreciate your feedback. Have a crafty day!!

Saturday, 11 May 2013

Altered Tissue Box

Hi All,
The challenge this month at Crafters Corner is a recipe challenge along with this photo inspiration.


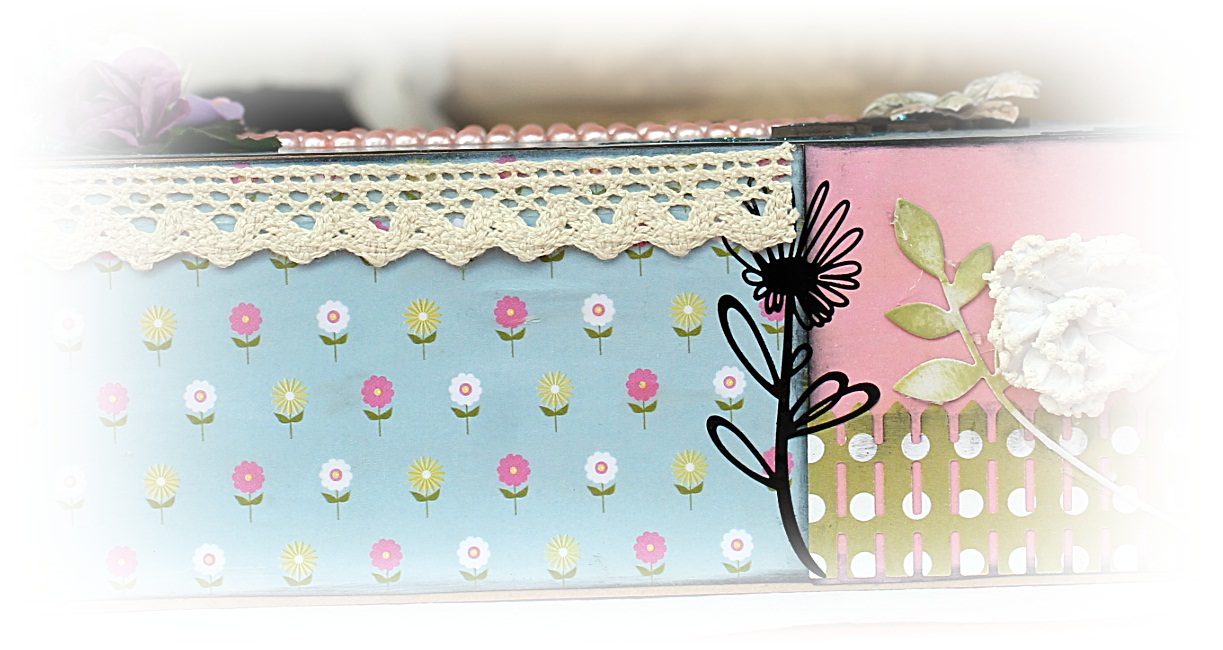
These pastel shades were perfect for me to alter a MDF tissue box which I have been hoarding for sometime now. What do you think of the transformation????? Does it not have a very shabby chic look?

Instead of using a single color I have covered all the four sides in a combination of PP & plain color.


This is one of the corners................


Take another look at the gorgeous embellishments used.


Followed the ‘recipe’ given below.
1. One die cut/Punch: the picket fence, bird, leaves, corners
2. Two different pattern papers: blue PP & green used for the fence
3. Three embellishments: flowers, pearls, chipboard flourish, lace, rub on stickers (black flowers), wooden flower charm.
4. A sprinkle of glitter:blue glitter, pink flower

Also linking to the following challenges-
As You Like It Challenge#1
Happy Campers Challenge#16
OLLCB
Milk Coffee Challenge
Fashionista Challenge

Thanks for your visit & enjoy the weekend!!!


Related Posts Plugin for WordPress, Blogger...