Showing posts with label Altered art. Show all posts

Thursday, 23 January 2020

Distressed Book Box

Hello Crafty Souls!
Wishing you all a very HAPPY & CREATIVE 2020!
Though I have been creating regularly I missed sharing the post here on my blog & participating in challenges. 
So here I go with my first blogpost of 2020, a book box I have decoupaged using the newly launched rice papers by DRESS MY CRAFT. I wanted the distressed door to be the focal image for the box & recreate all the textures of the beautiful printed paper using my mixed media stash. Hang in there as I reveal all the details -
I carefully tore the door image & pasted it using Mod Podge Matte on the box, built on the background with chalk paints. 
The first texture I created around the arched door was concrete (Folkart Painted fnishes - Concrete)

Next I used Itsy Bitsy 2 step crackle medium, this added to the aged look I wanted.
Also used images from the rice paper for the inside of the box & continued to build on textures using sea sponge, stencils & stamps. Finally enhanced the aged look using antique wax.
For the box spine & back I chose a distressed look to coordinate with the focal image of the door & some random stamping with a crackle stamp.
This was a rather satisfying outcome, loaded with techniques to create textures for a complete aged distressed look.
Sharing this at the following challenges - 

Thank you so much for visiting & taking the time to comment on my blog. I love to hear from you & truly appreciate your feedback. Have a crafty day!

Tuesday, 9 October 2018

Patina Effect Paste

Hello Al!
If you love the look of patina & would like to effortlessly AGE your artifacts in a few hours hang in here as I share how! This was my inspiration post for the LetzCraft Blog.


For the patina I used CrafTangles Patina effect paste which is a thick matte textured paste that gives results on  almost any surface like canvas, wood, paper, metal etc. & Finnabair metallique wax.

This is the lantern BEFORE ageing ðŸ˜‰


To begin I carefully removed the glass pieces on the lantern & cleaned it thoroughly with a wet wipe. For the faux patina  sponge all the four patina shades in the set till you get the desired effect, simple isn’t it! Such an amazing effect, with layers of blue & green over the metal.


Thank you so much for visiting & taking the time to comment on my blog. I love to hear from you & truly appreciate your feedback. Have a crafty day!

Wednesday, 4 April 2018

Altered Cookie Can


Hello & I am here with my inspiration for Bob N Betty.
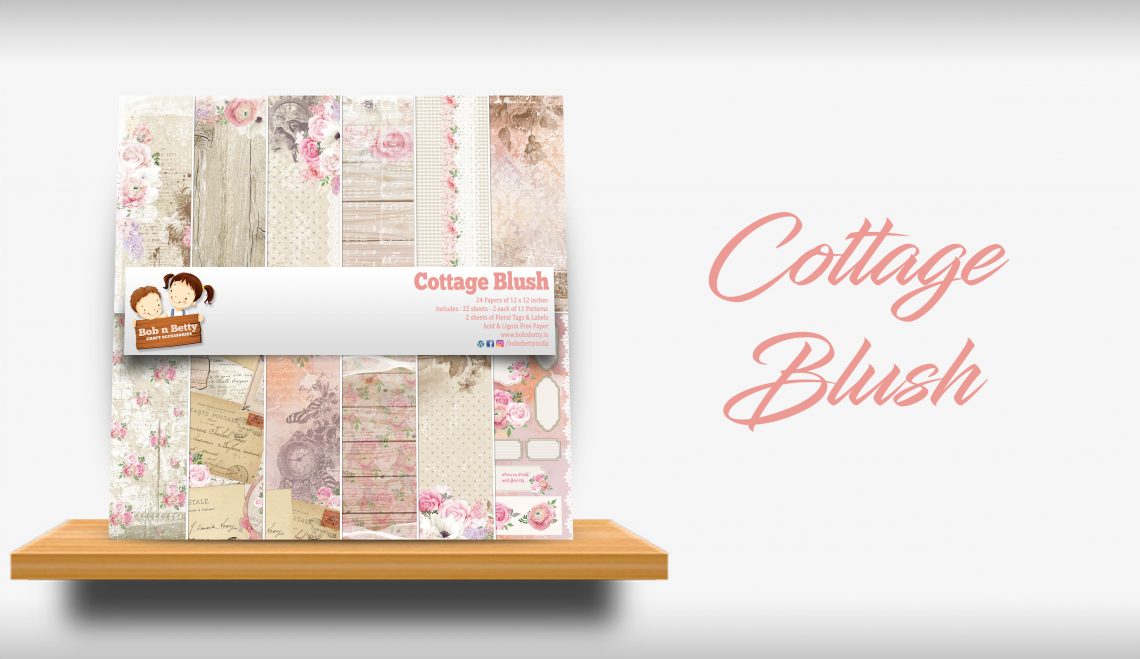
For my project today the inspiration was the "Cottage Blush" collection so floral & so shabby.

cottage-blush-1140x6591

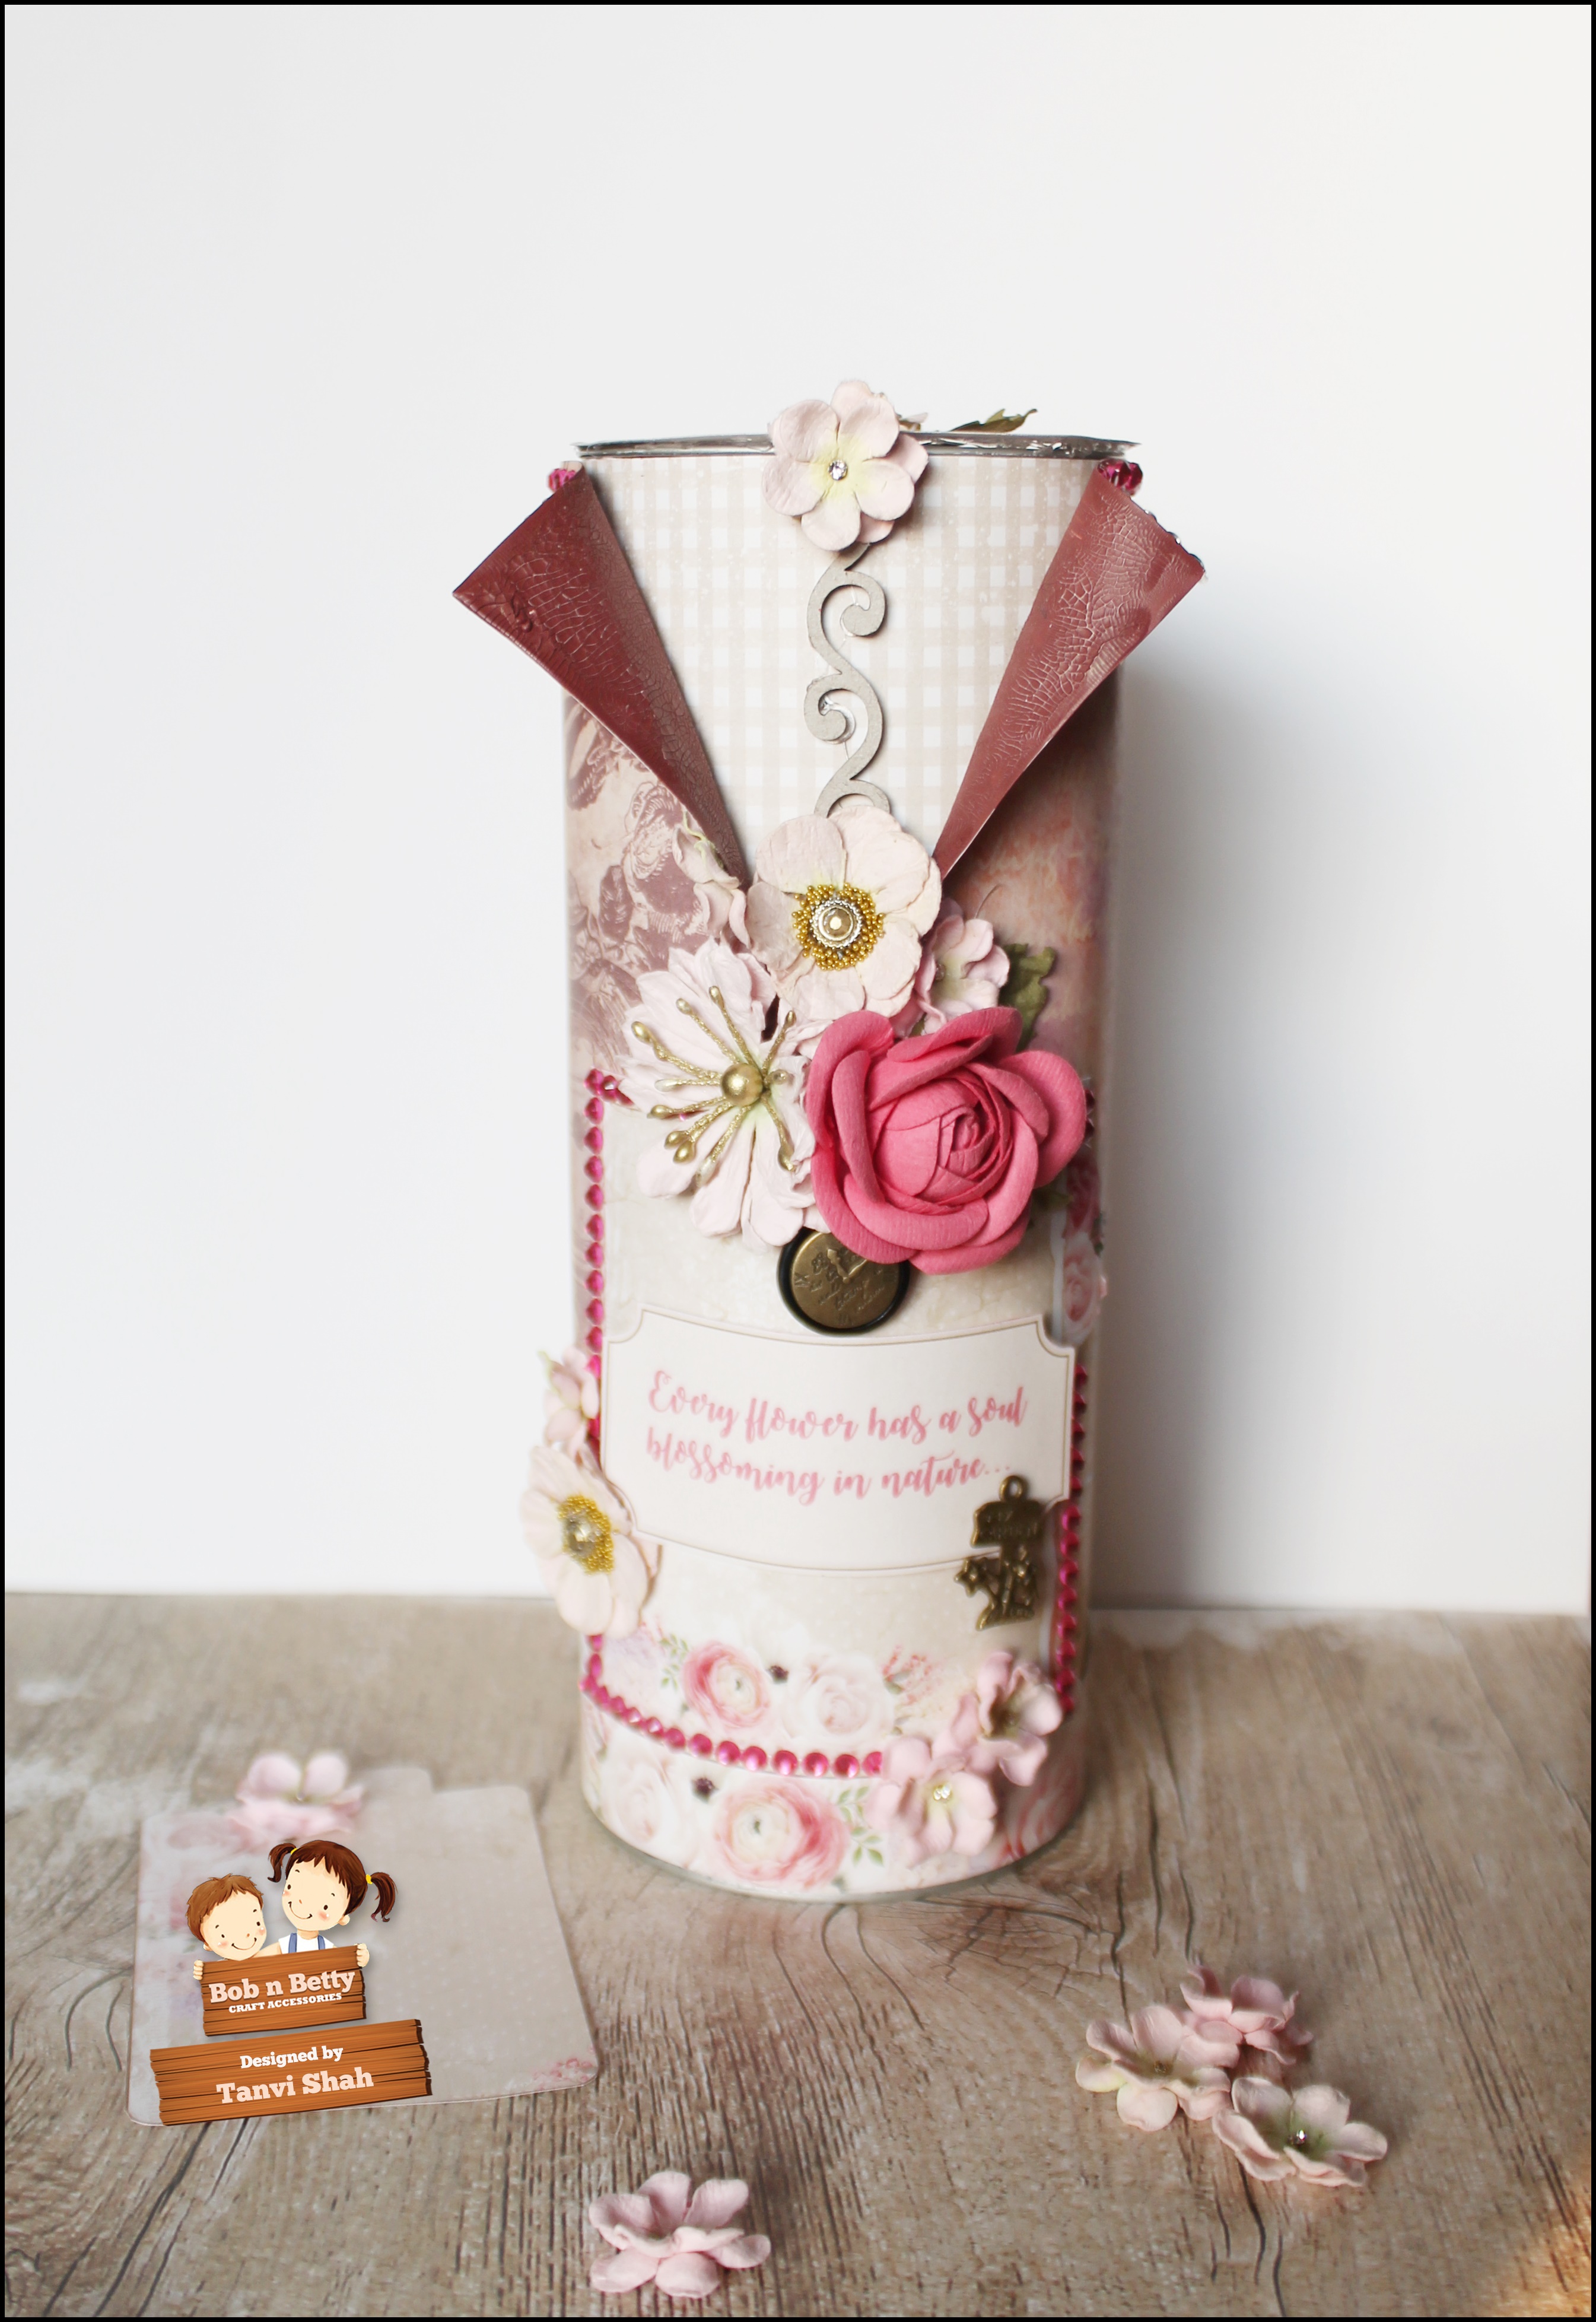
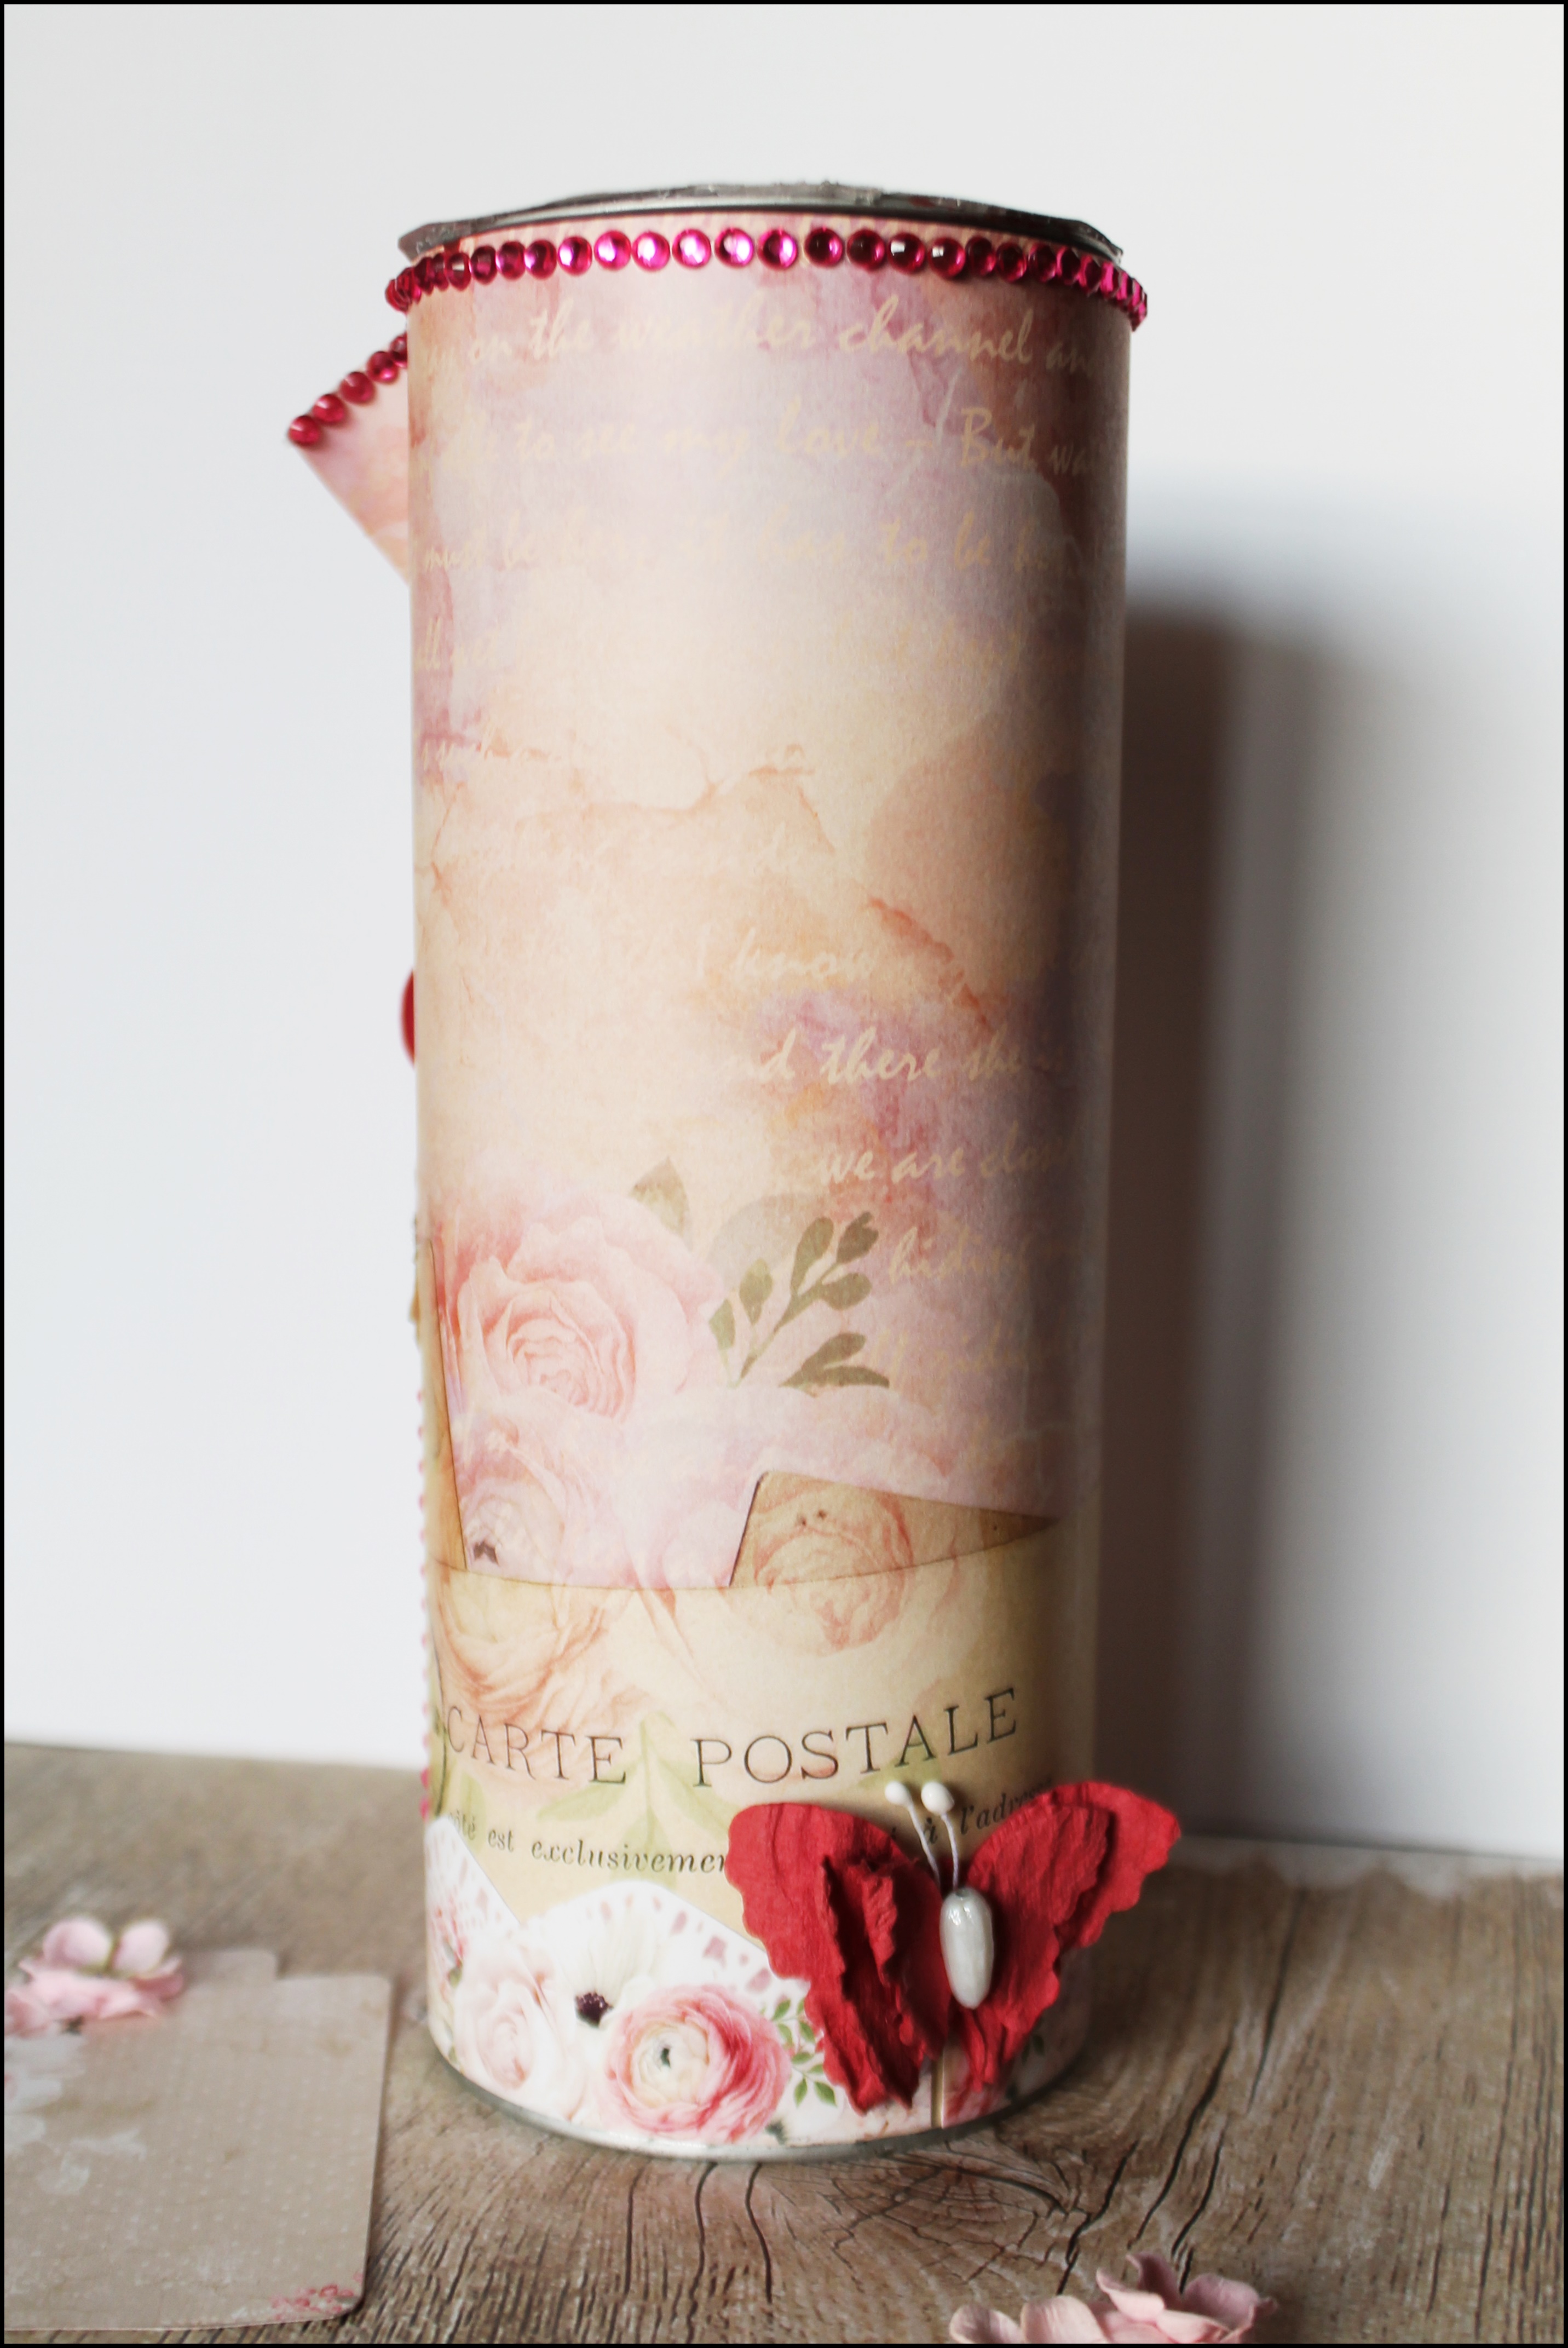
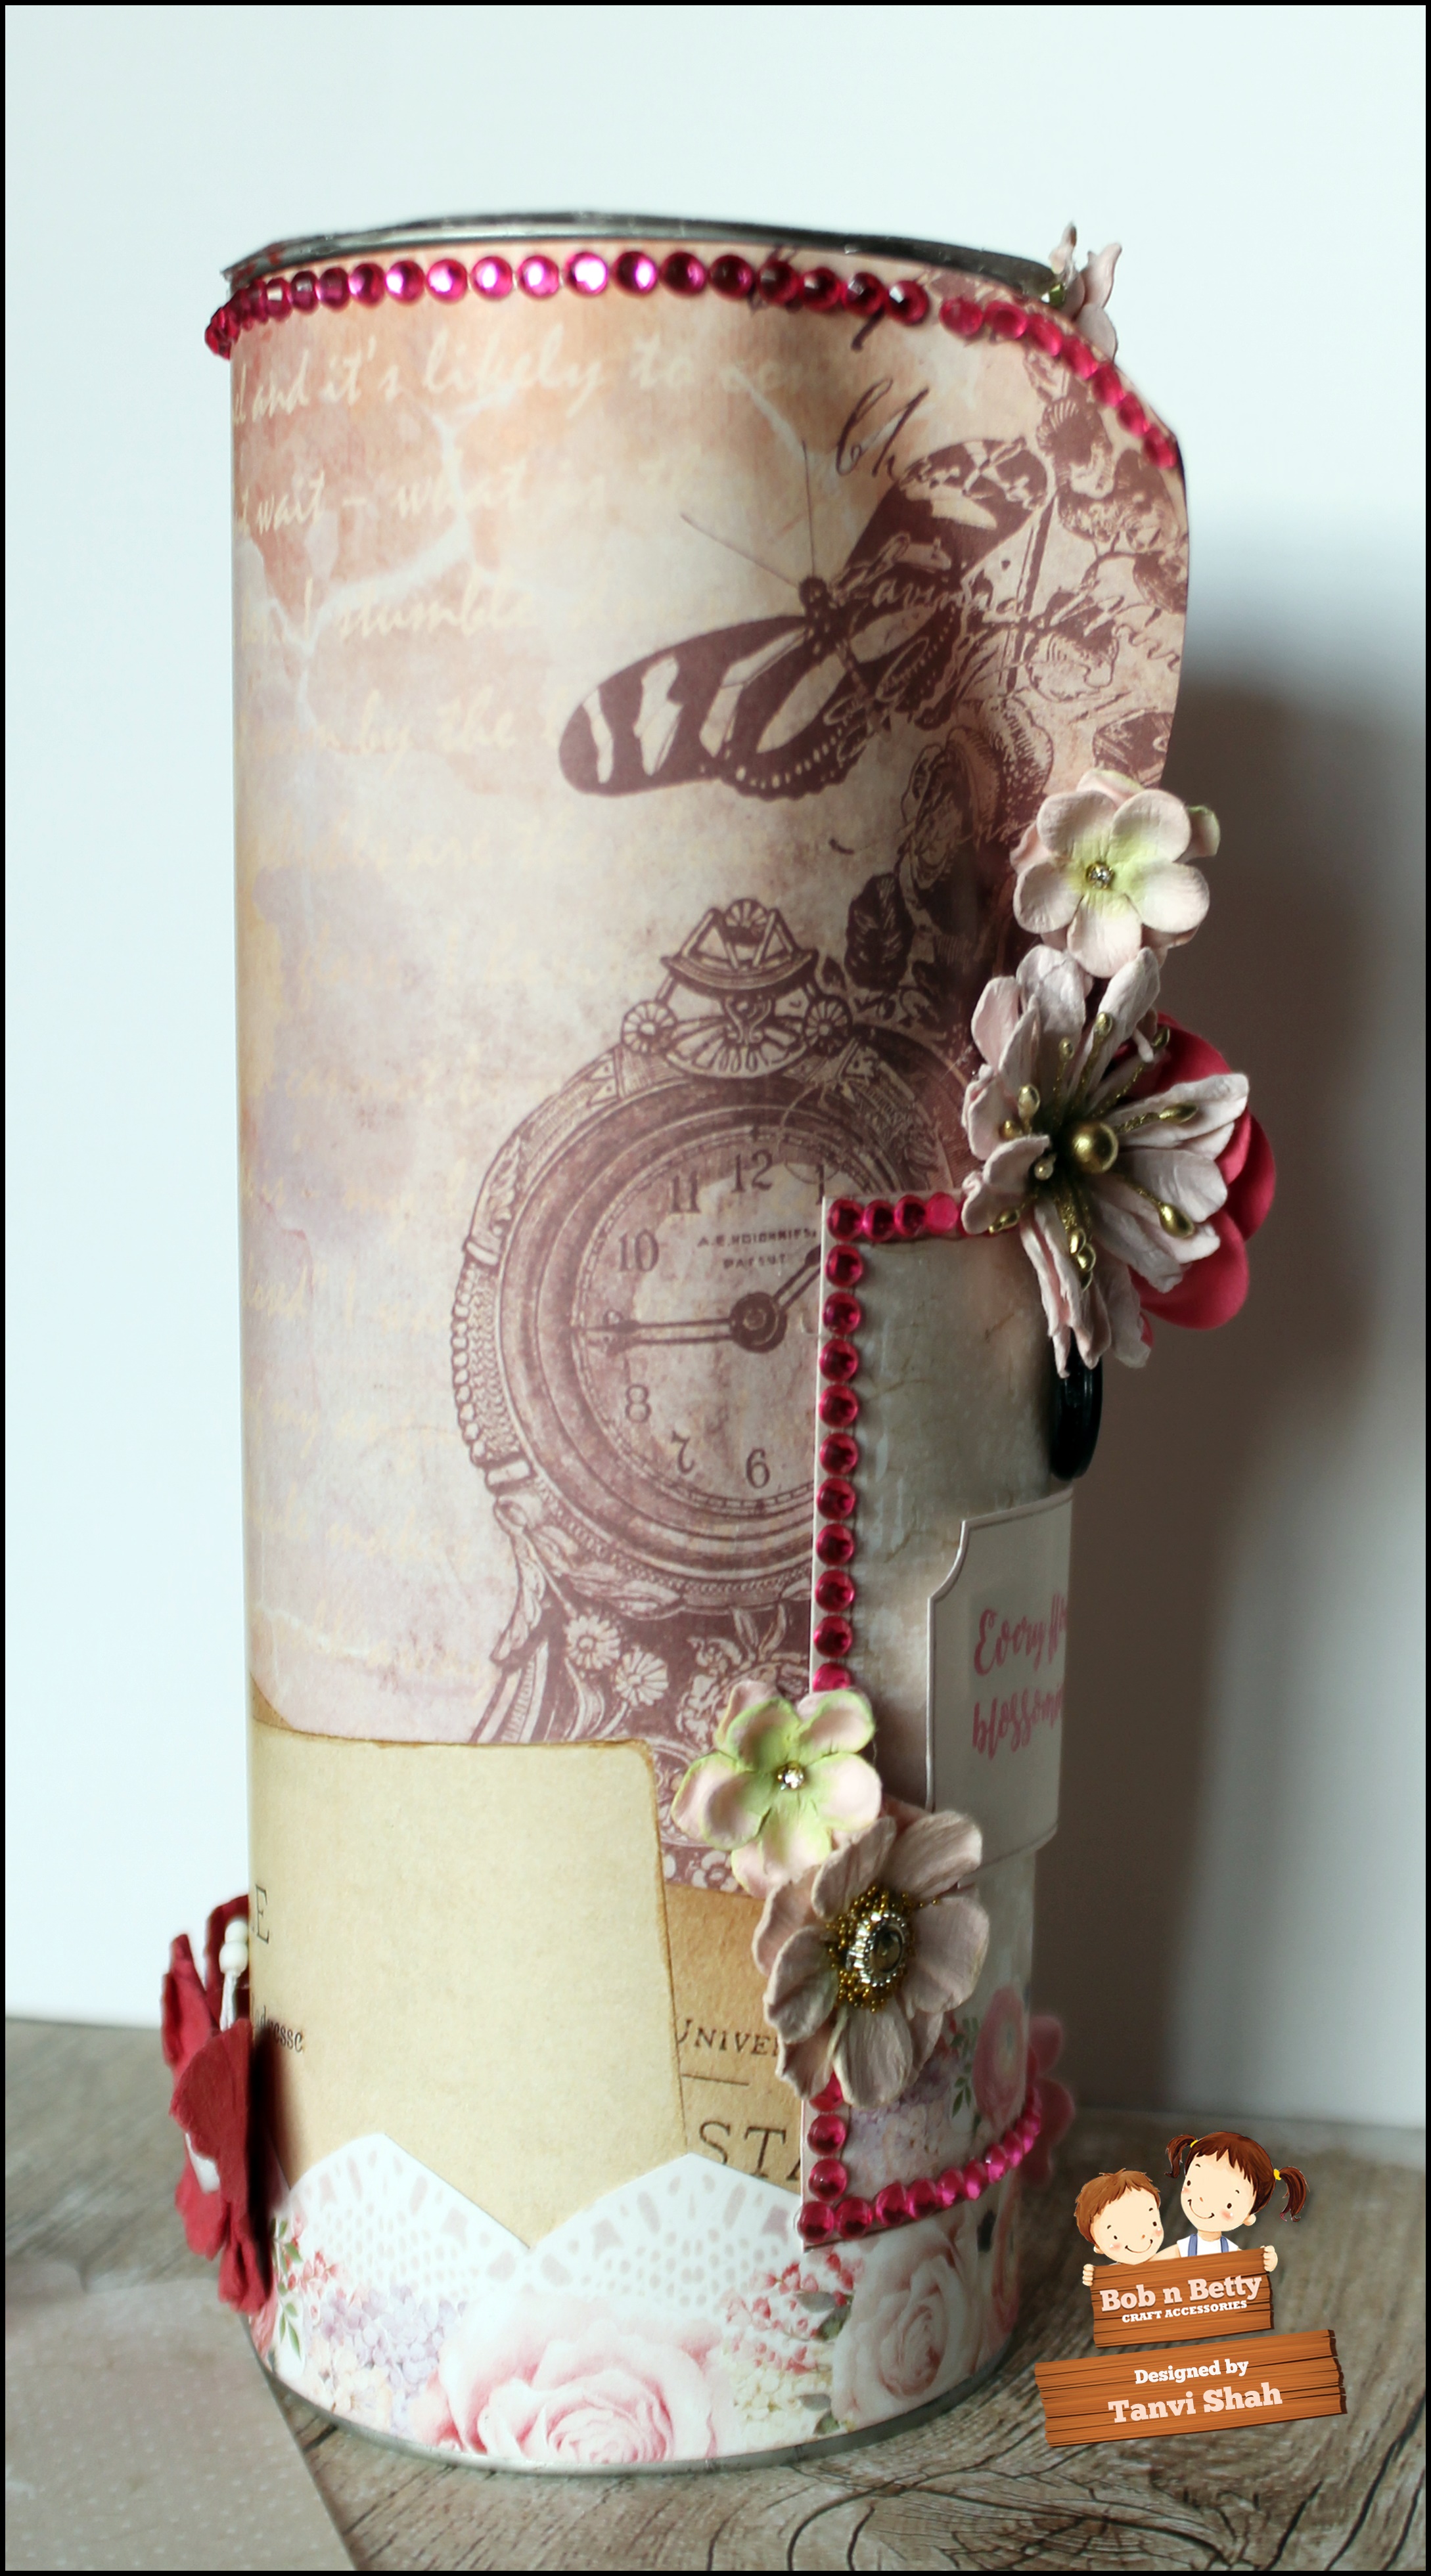
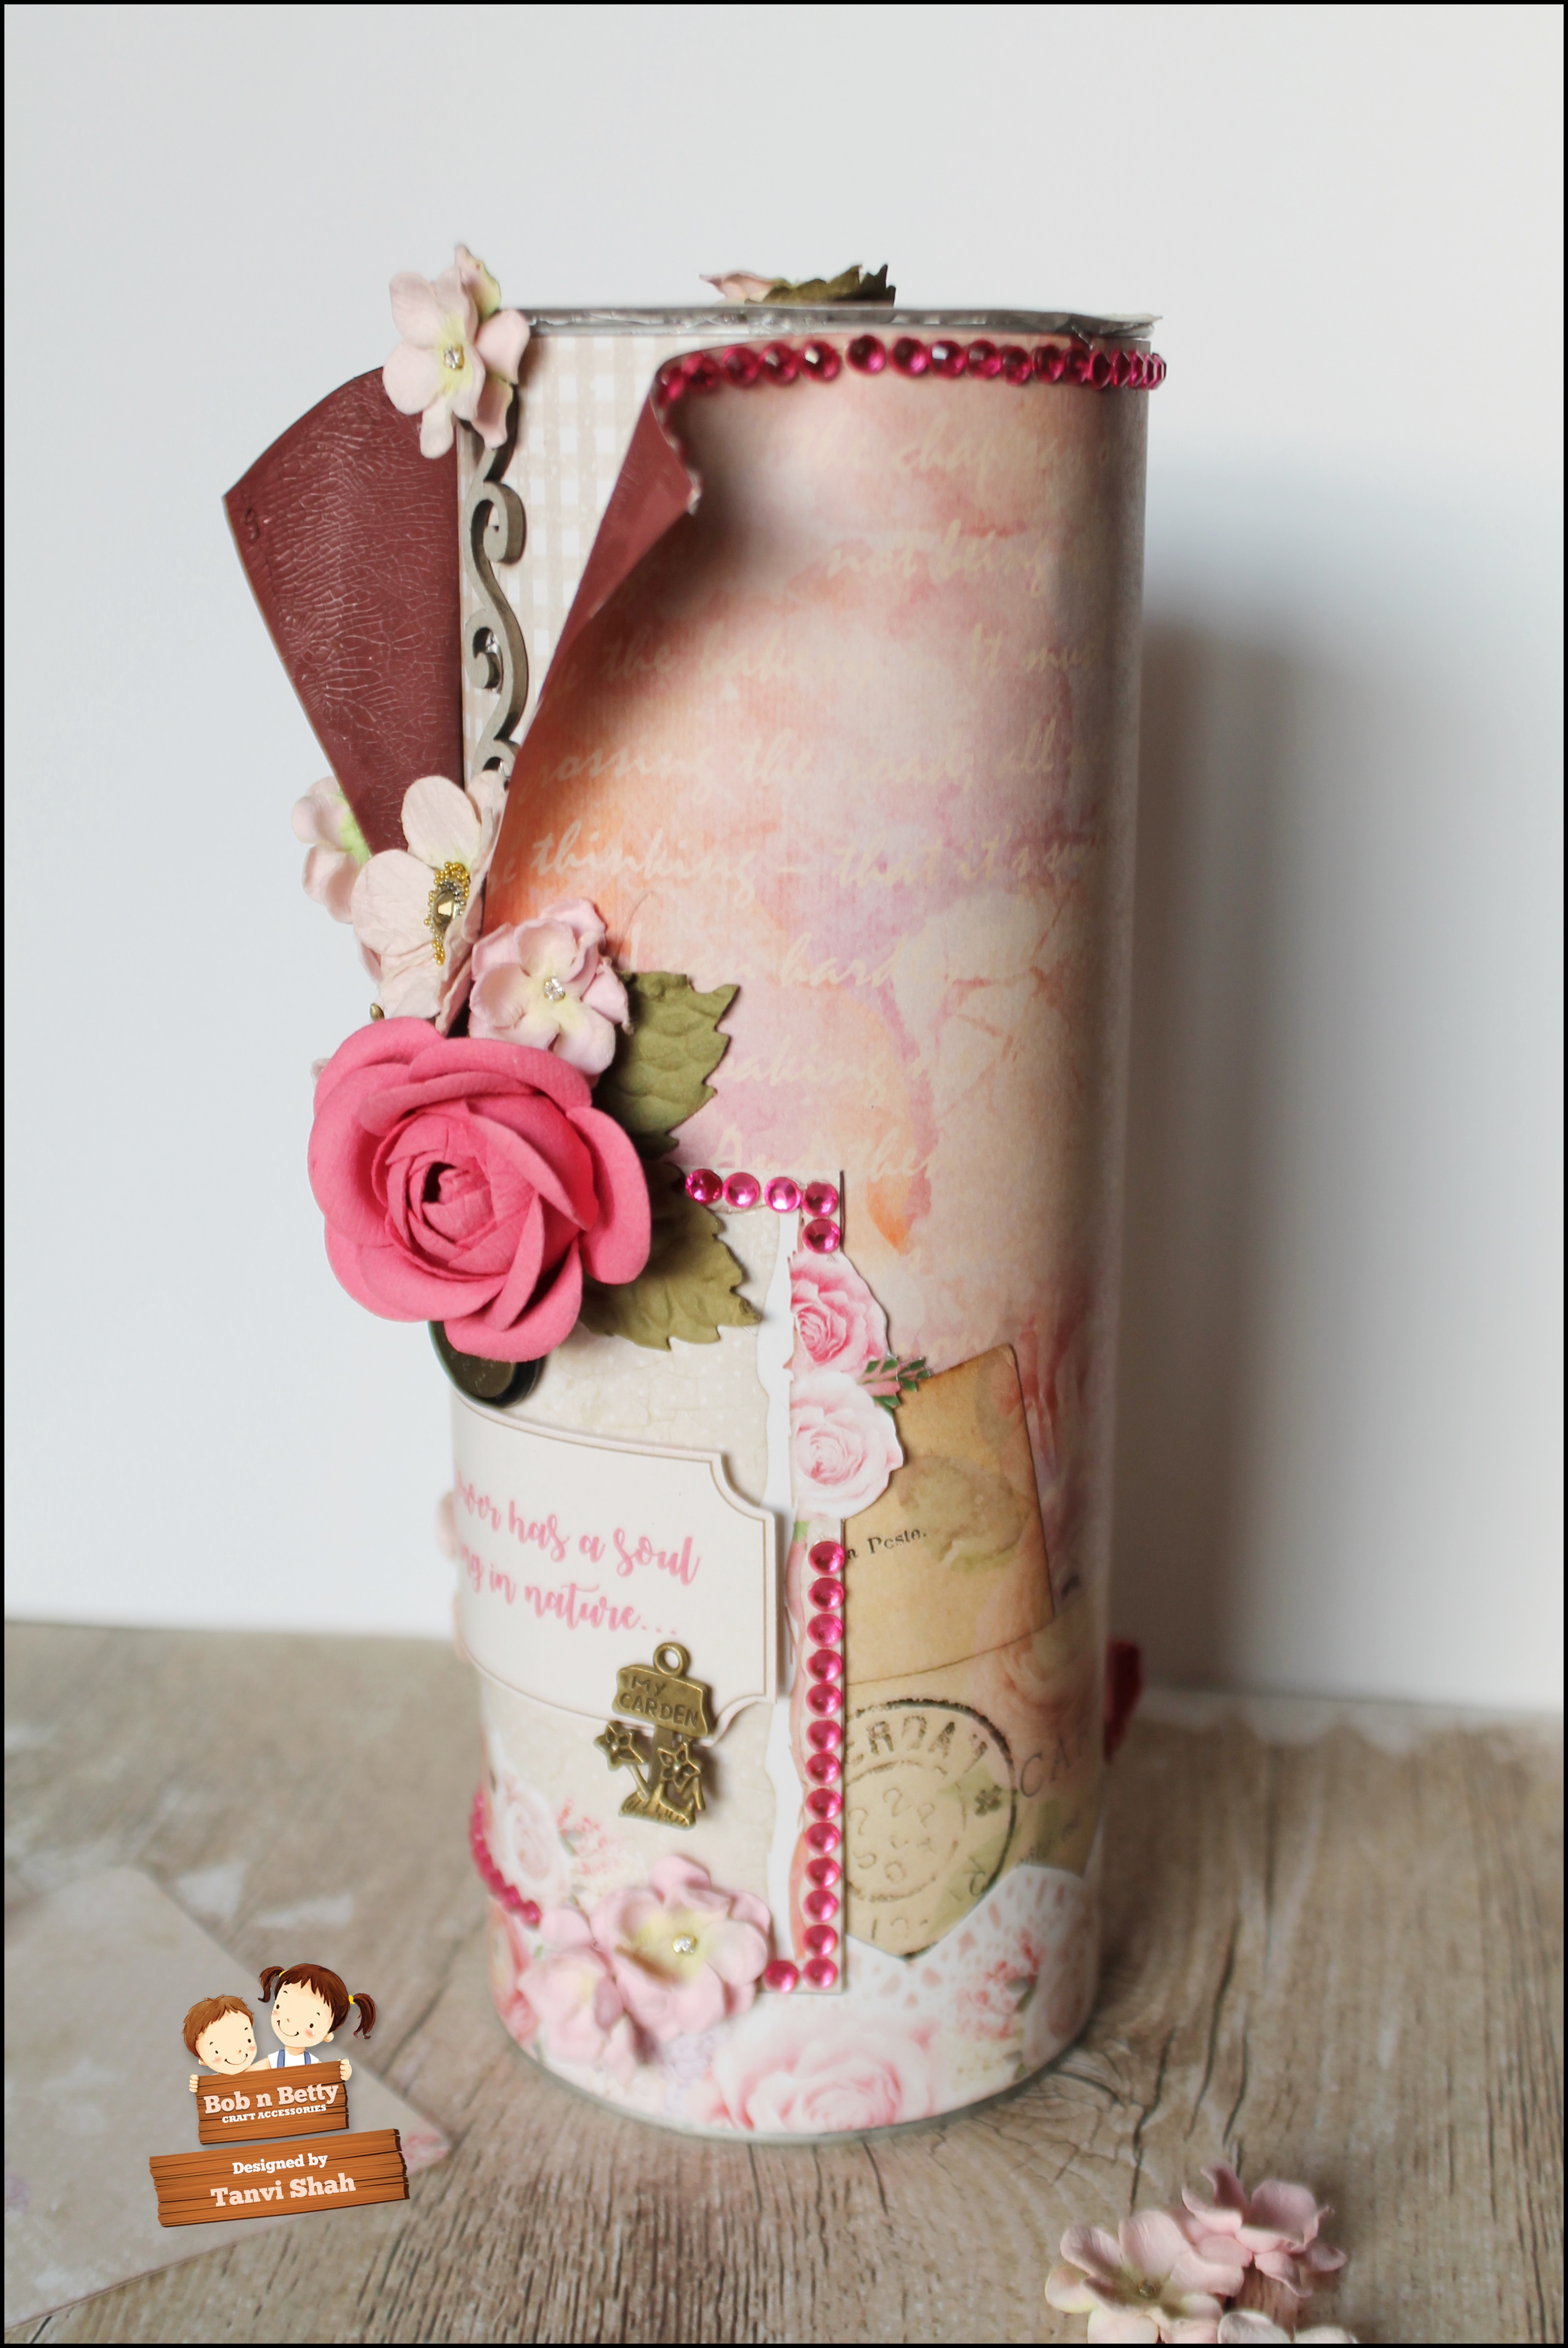
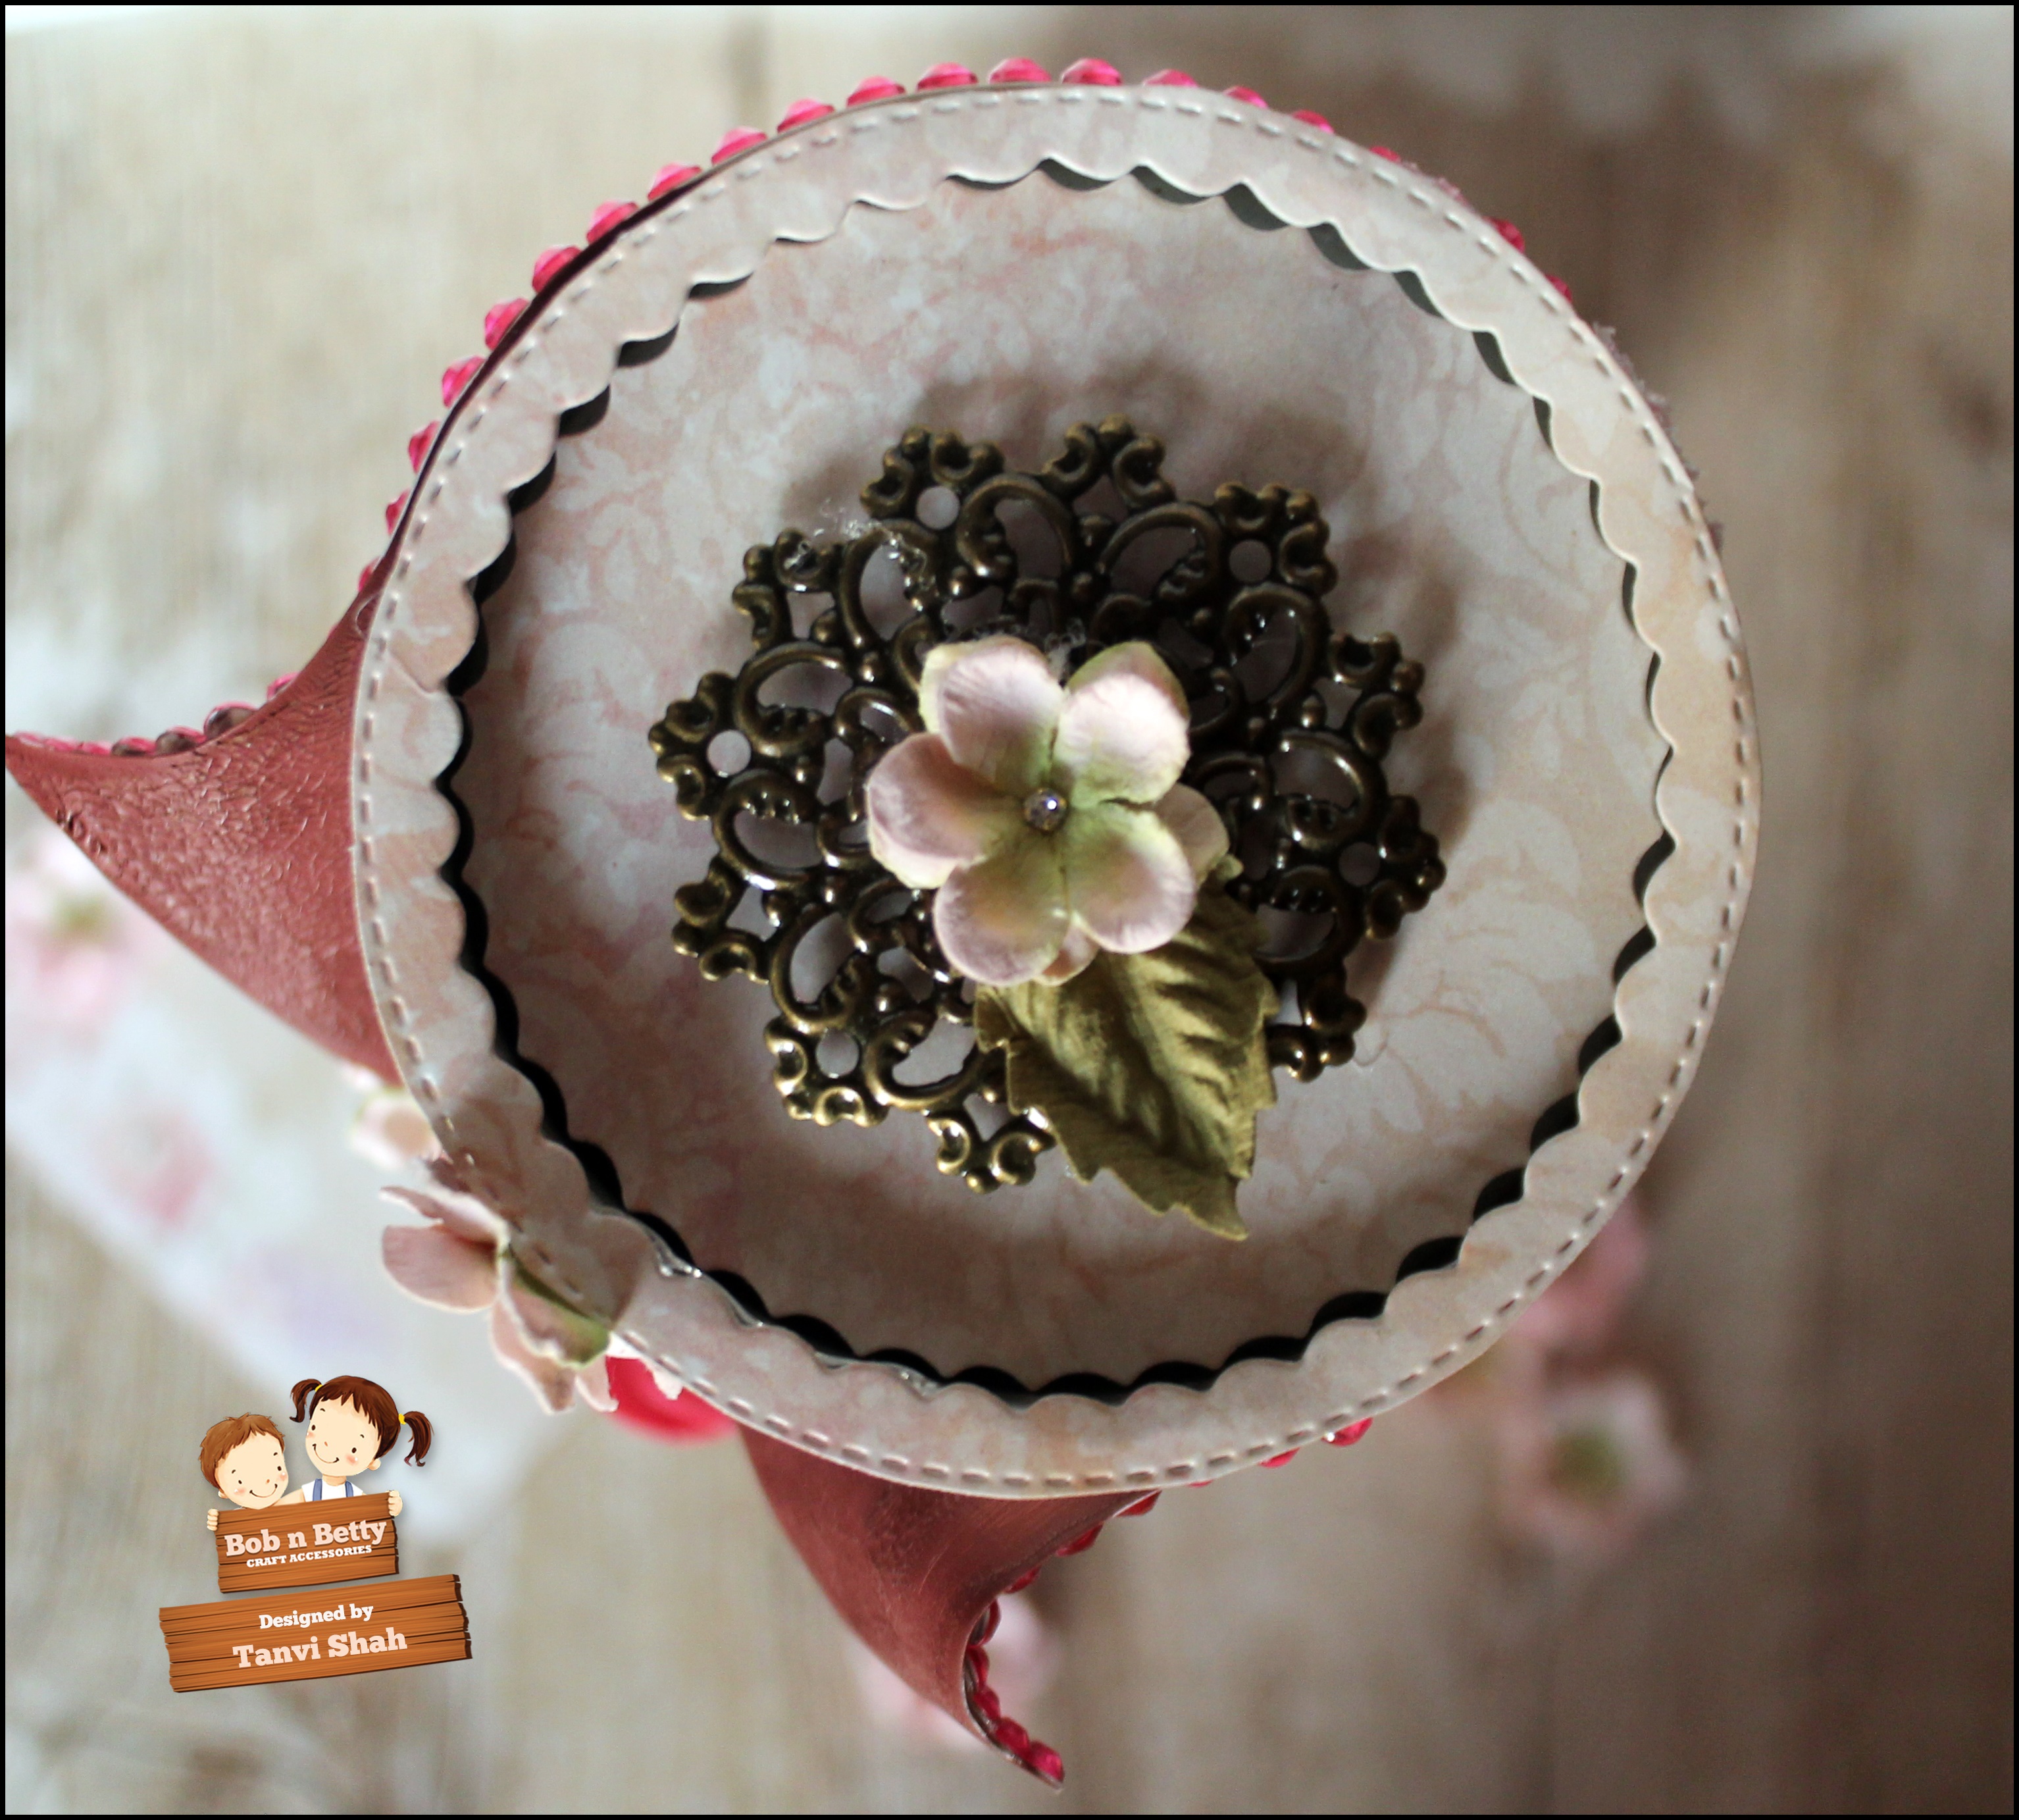
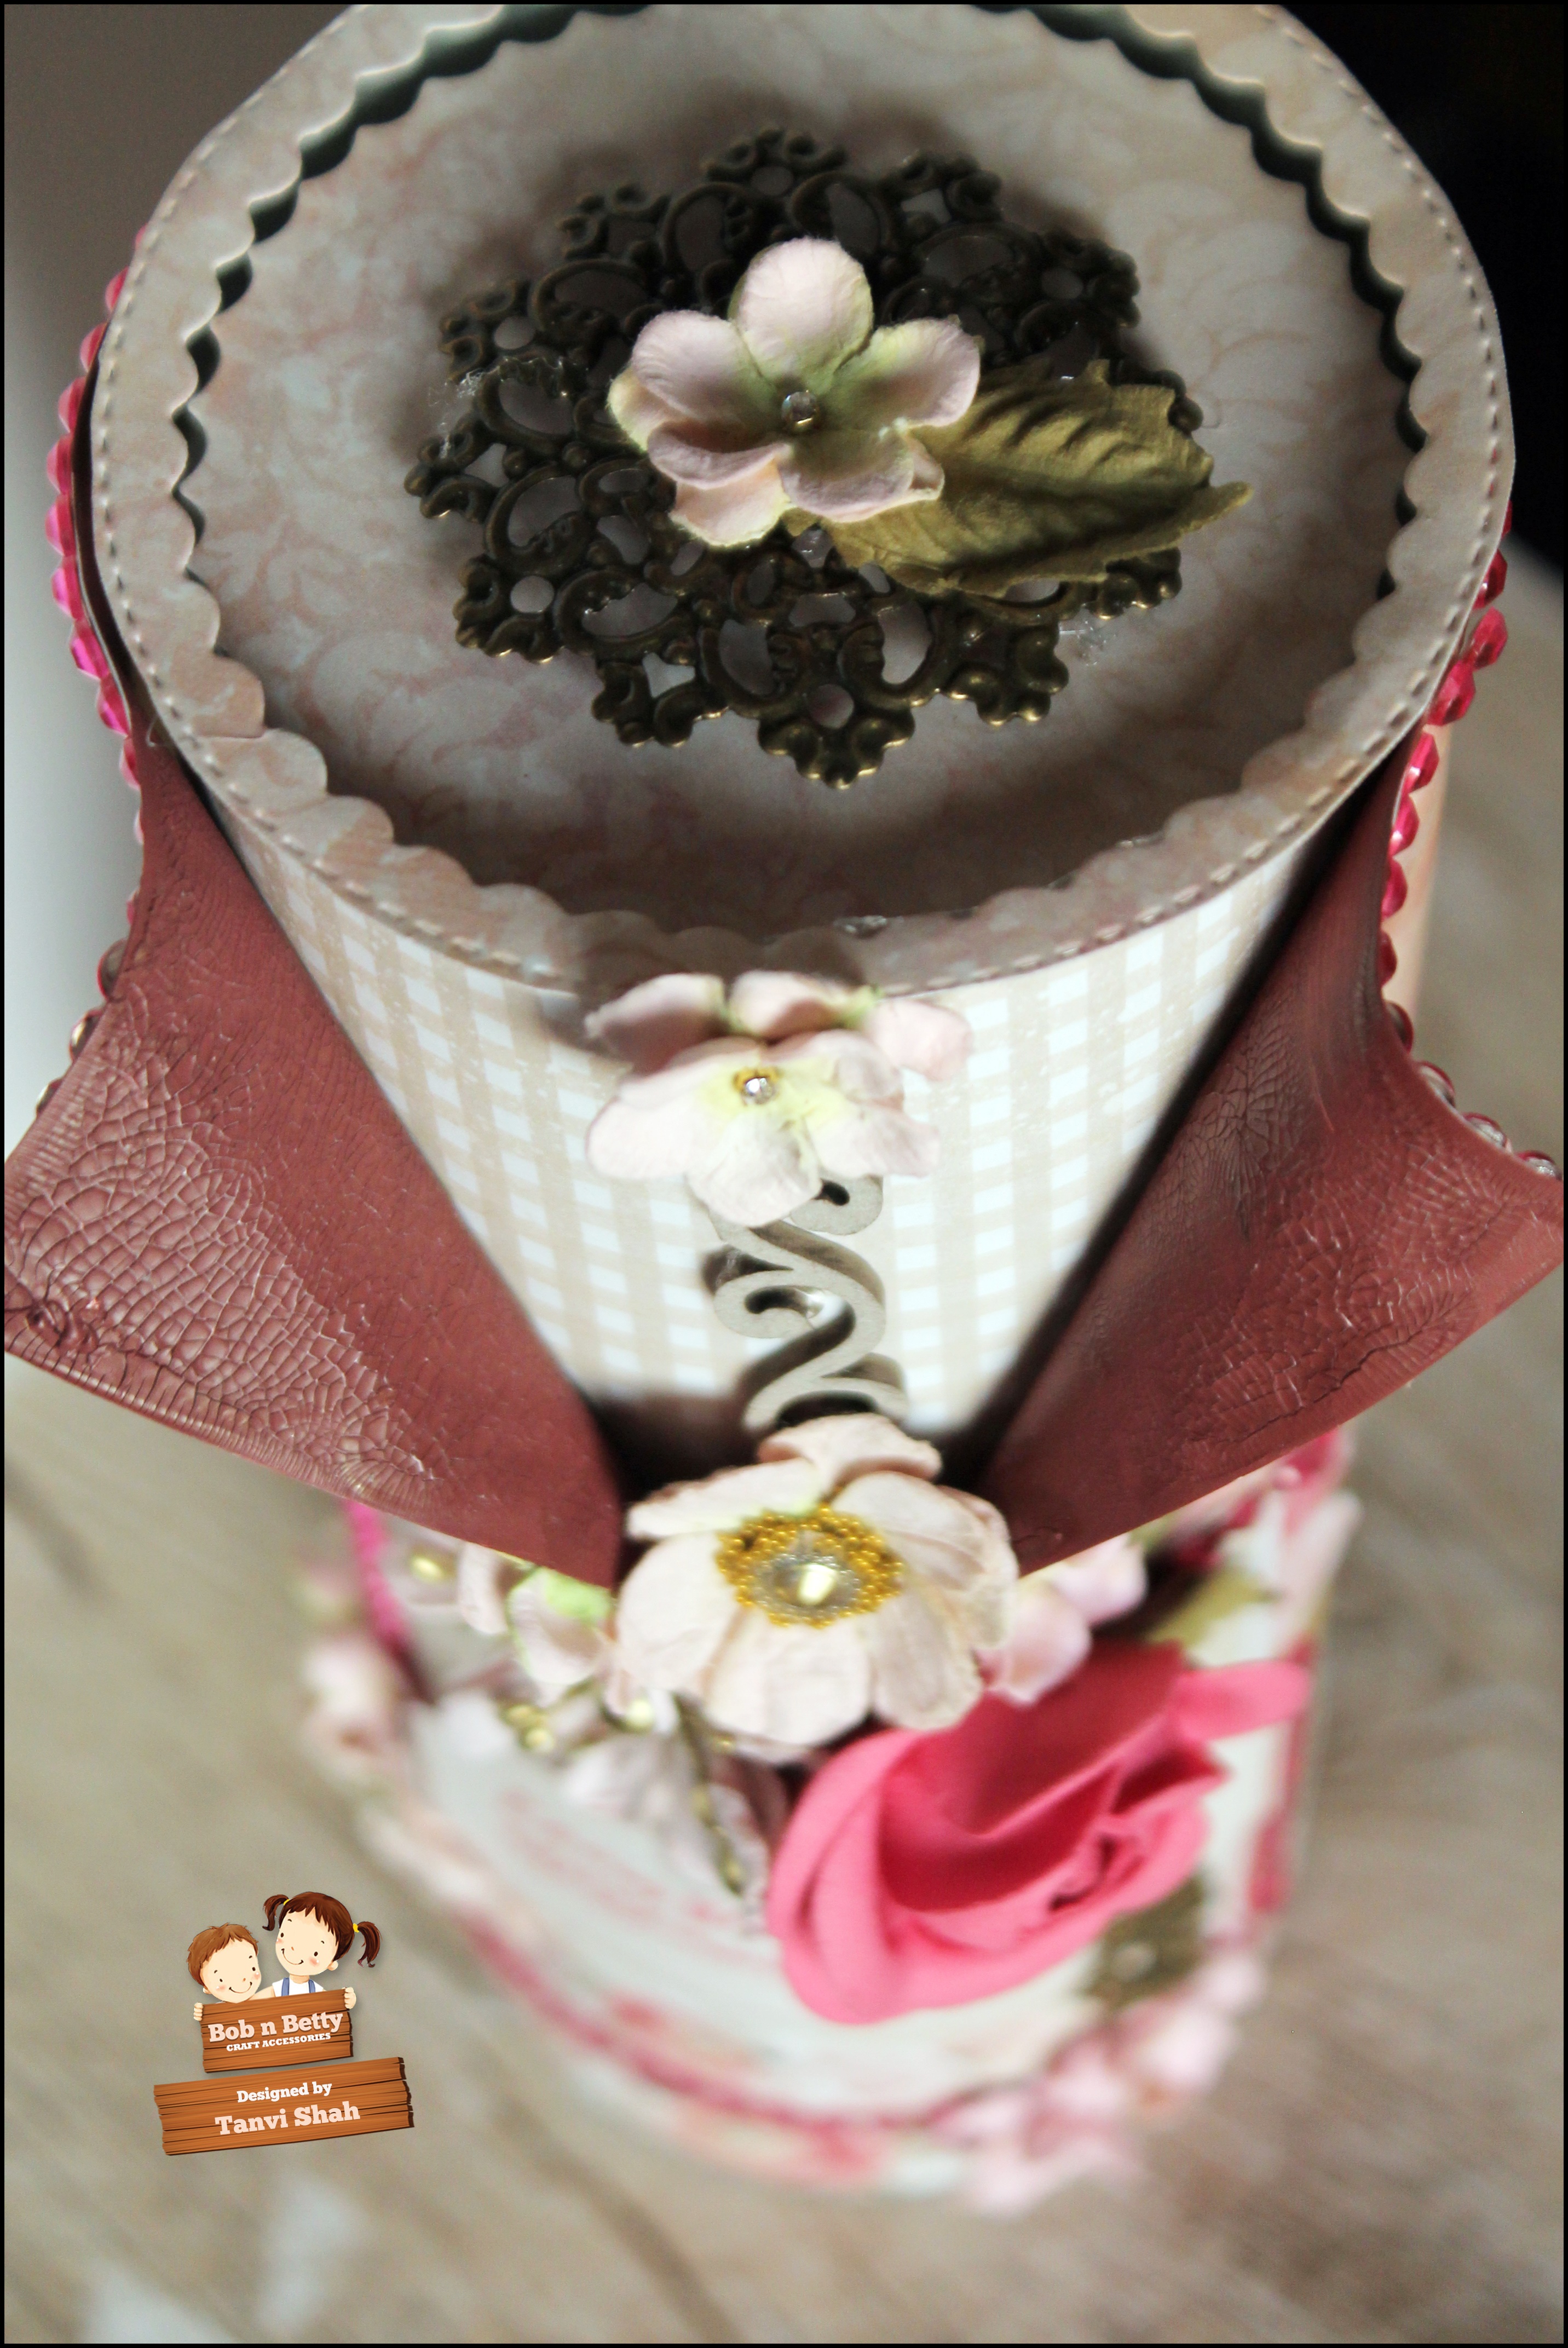
I worked my way to making a flip album using these gorgeous papers,  half way through & I realized it looked very similar to the wallet mini I made earlier! So while that incomplete project sits on my table an alternative 3D project came to life & am so glad it did! That's the story of the altered cookie can I share today. 
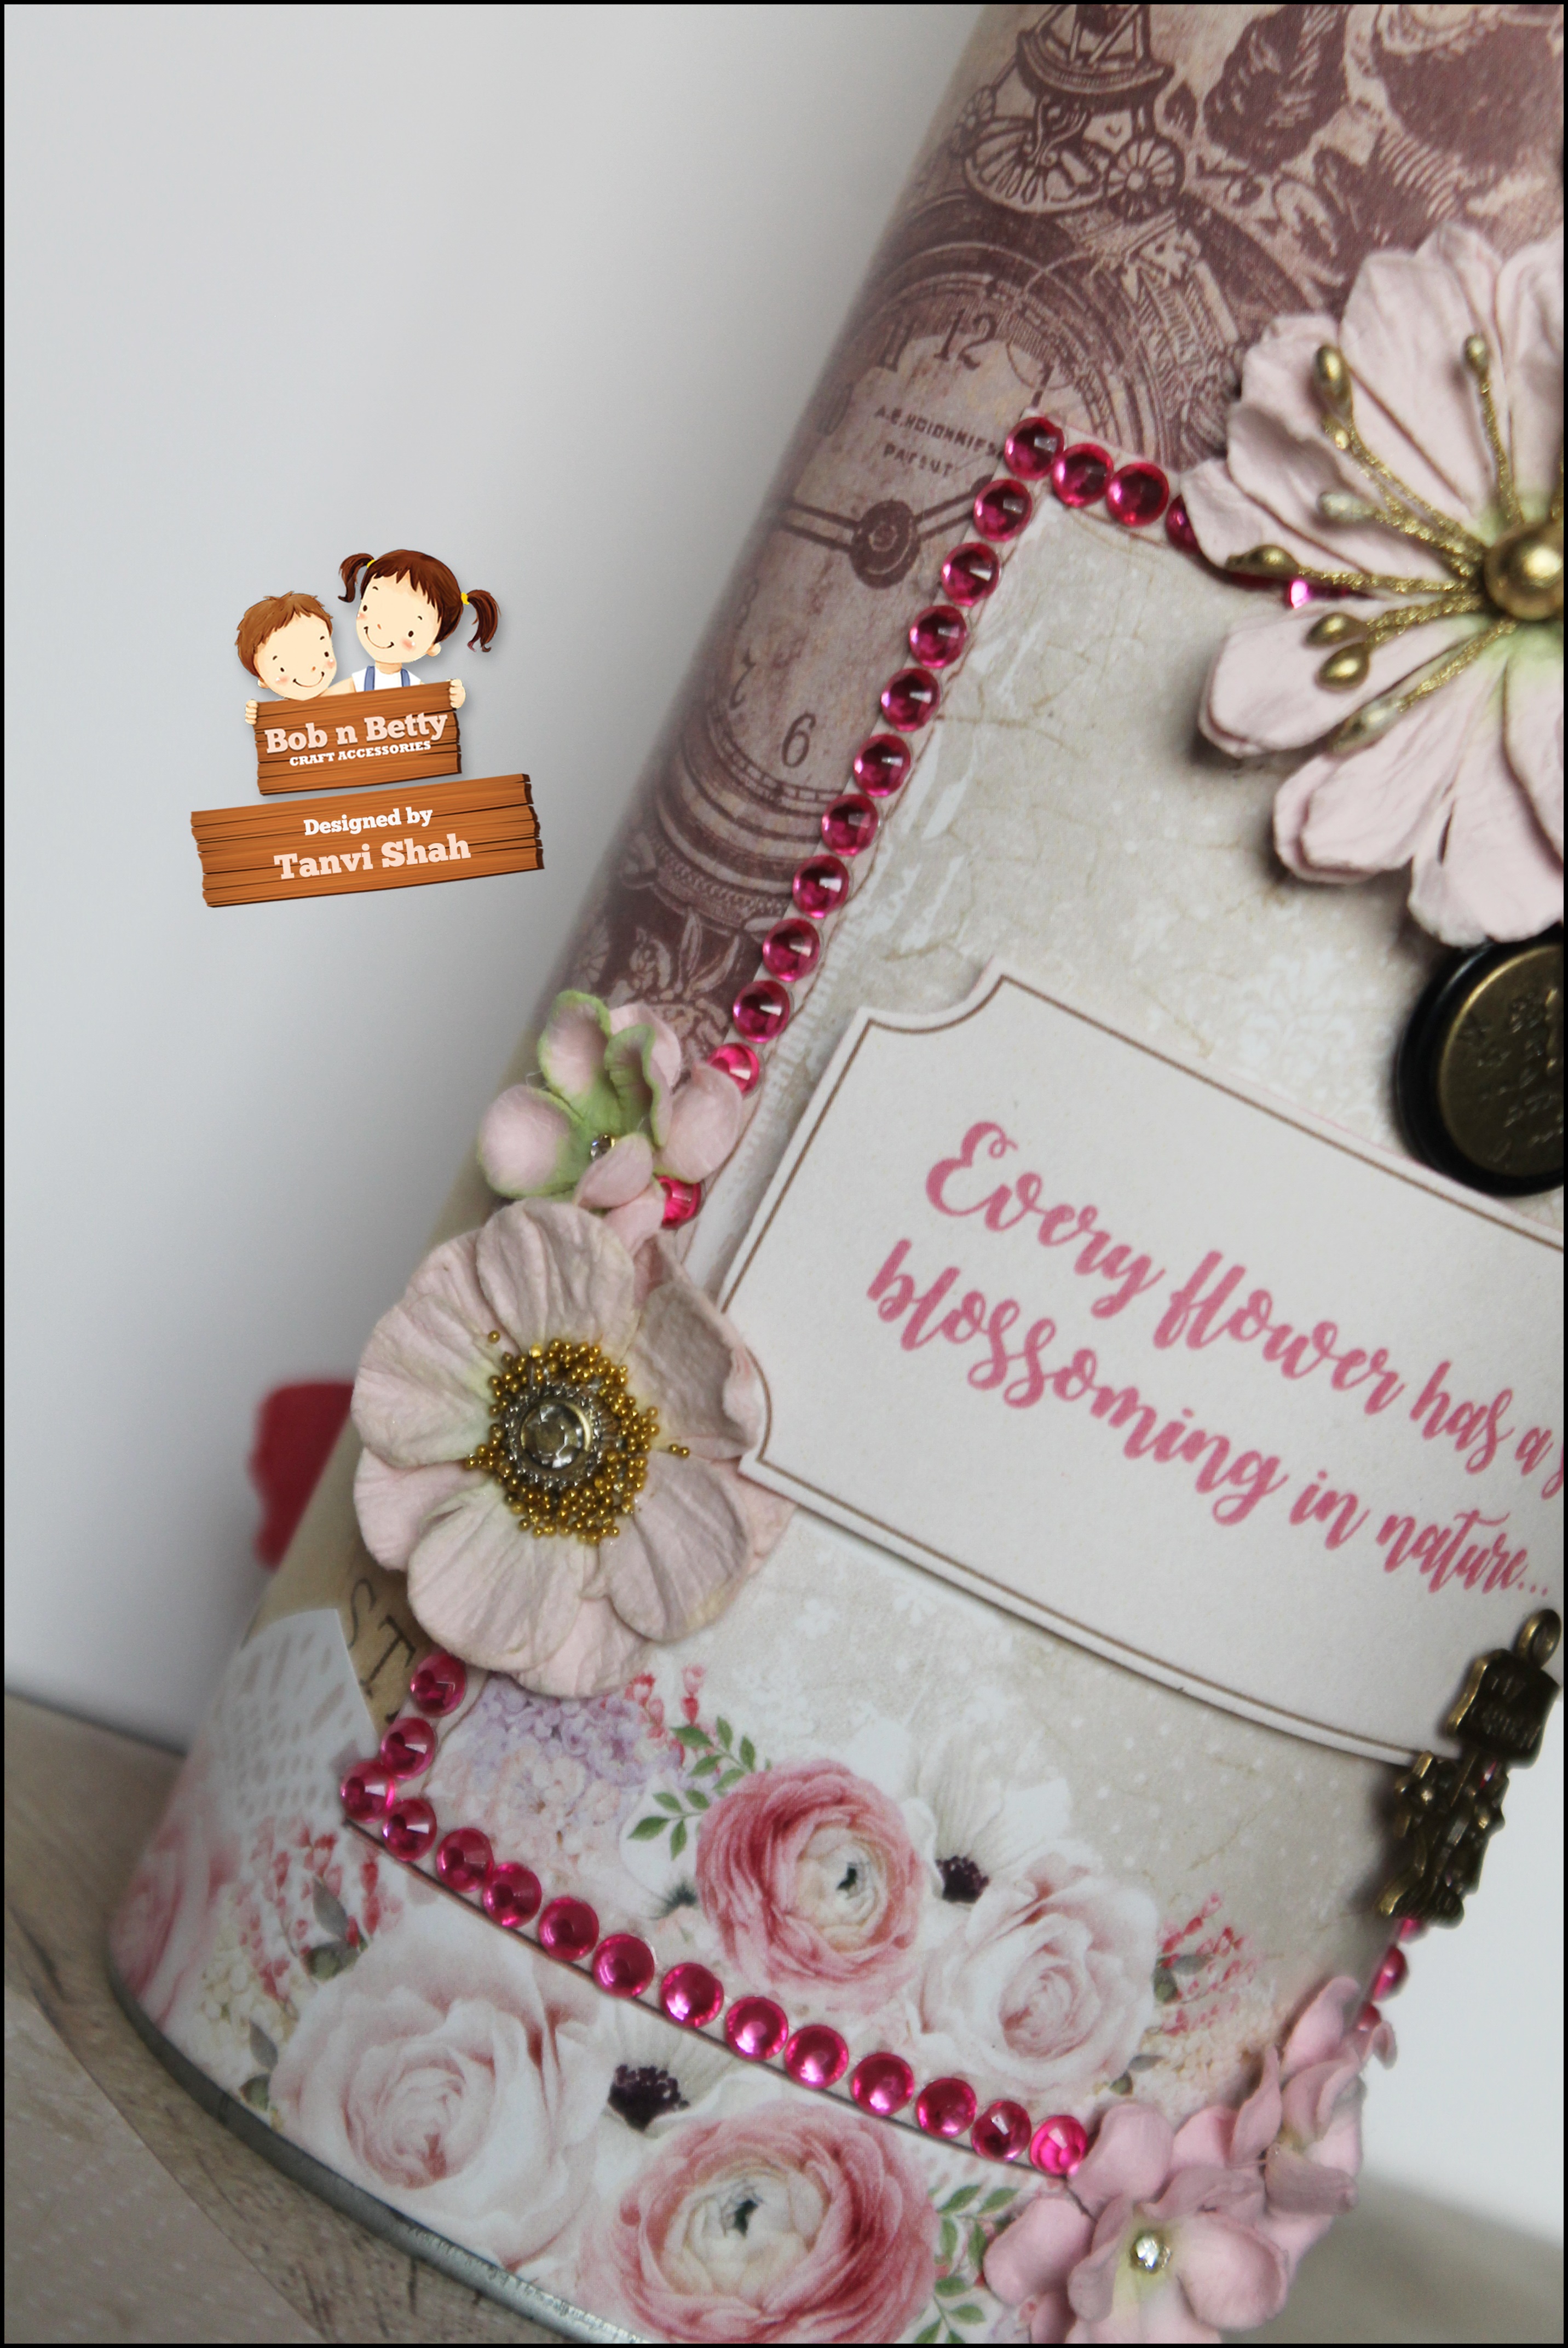
Here are some close ups of the cannister - 

F18036

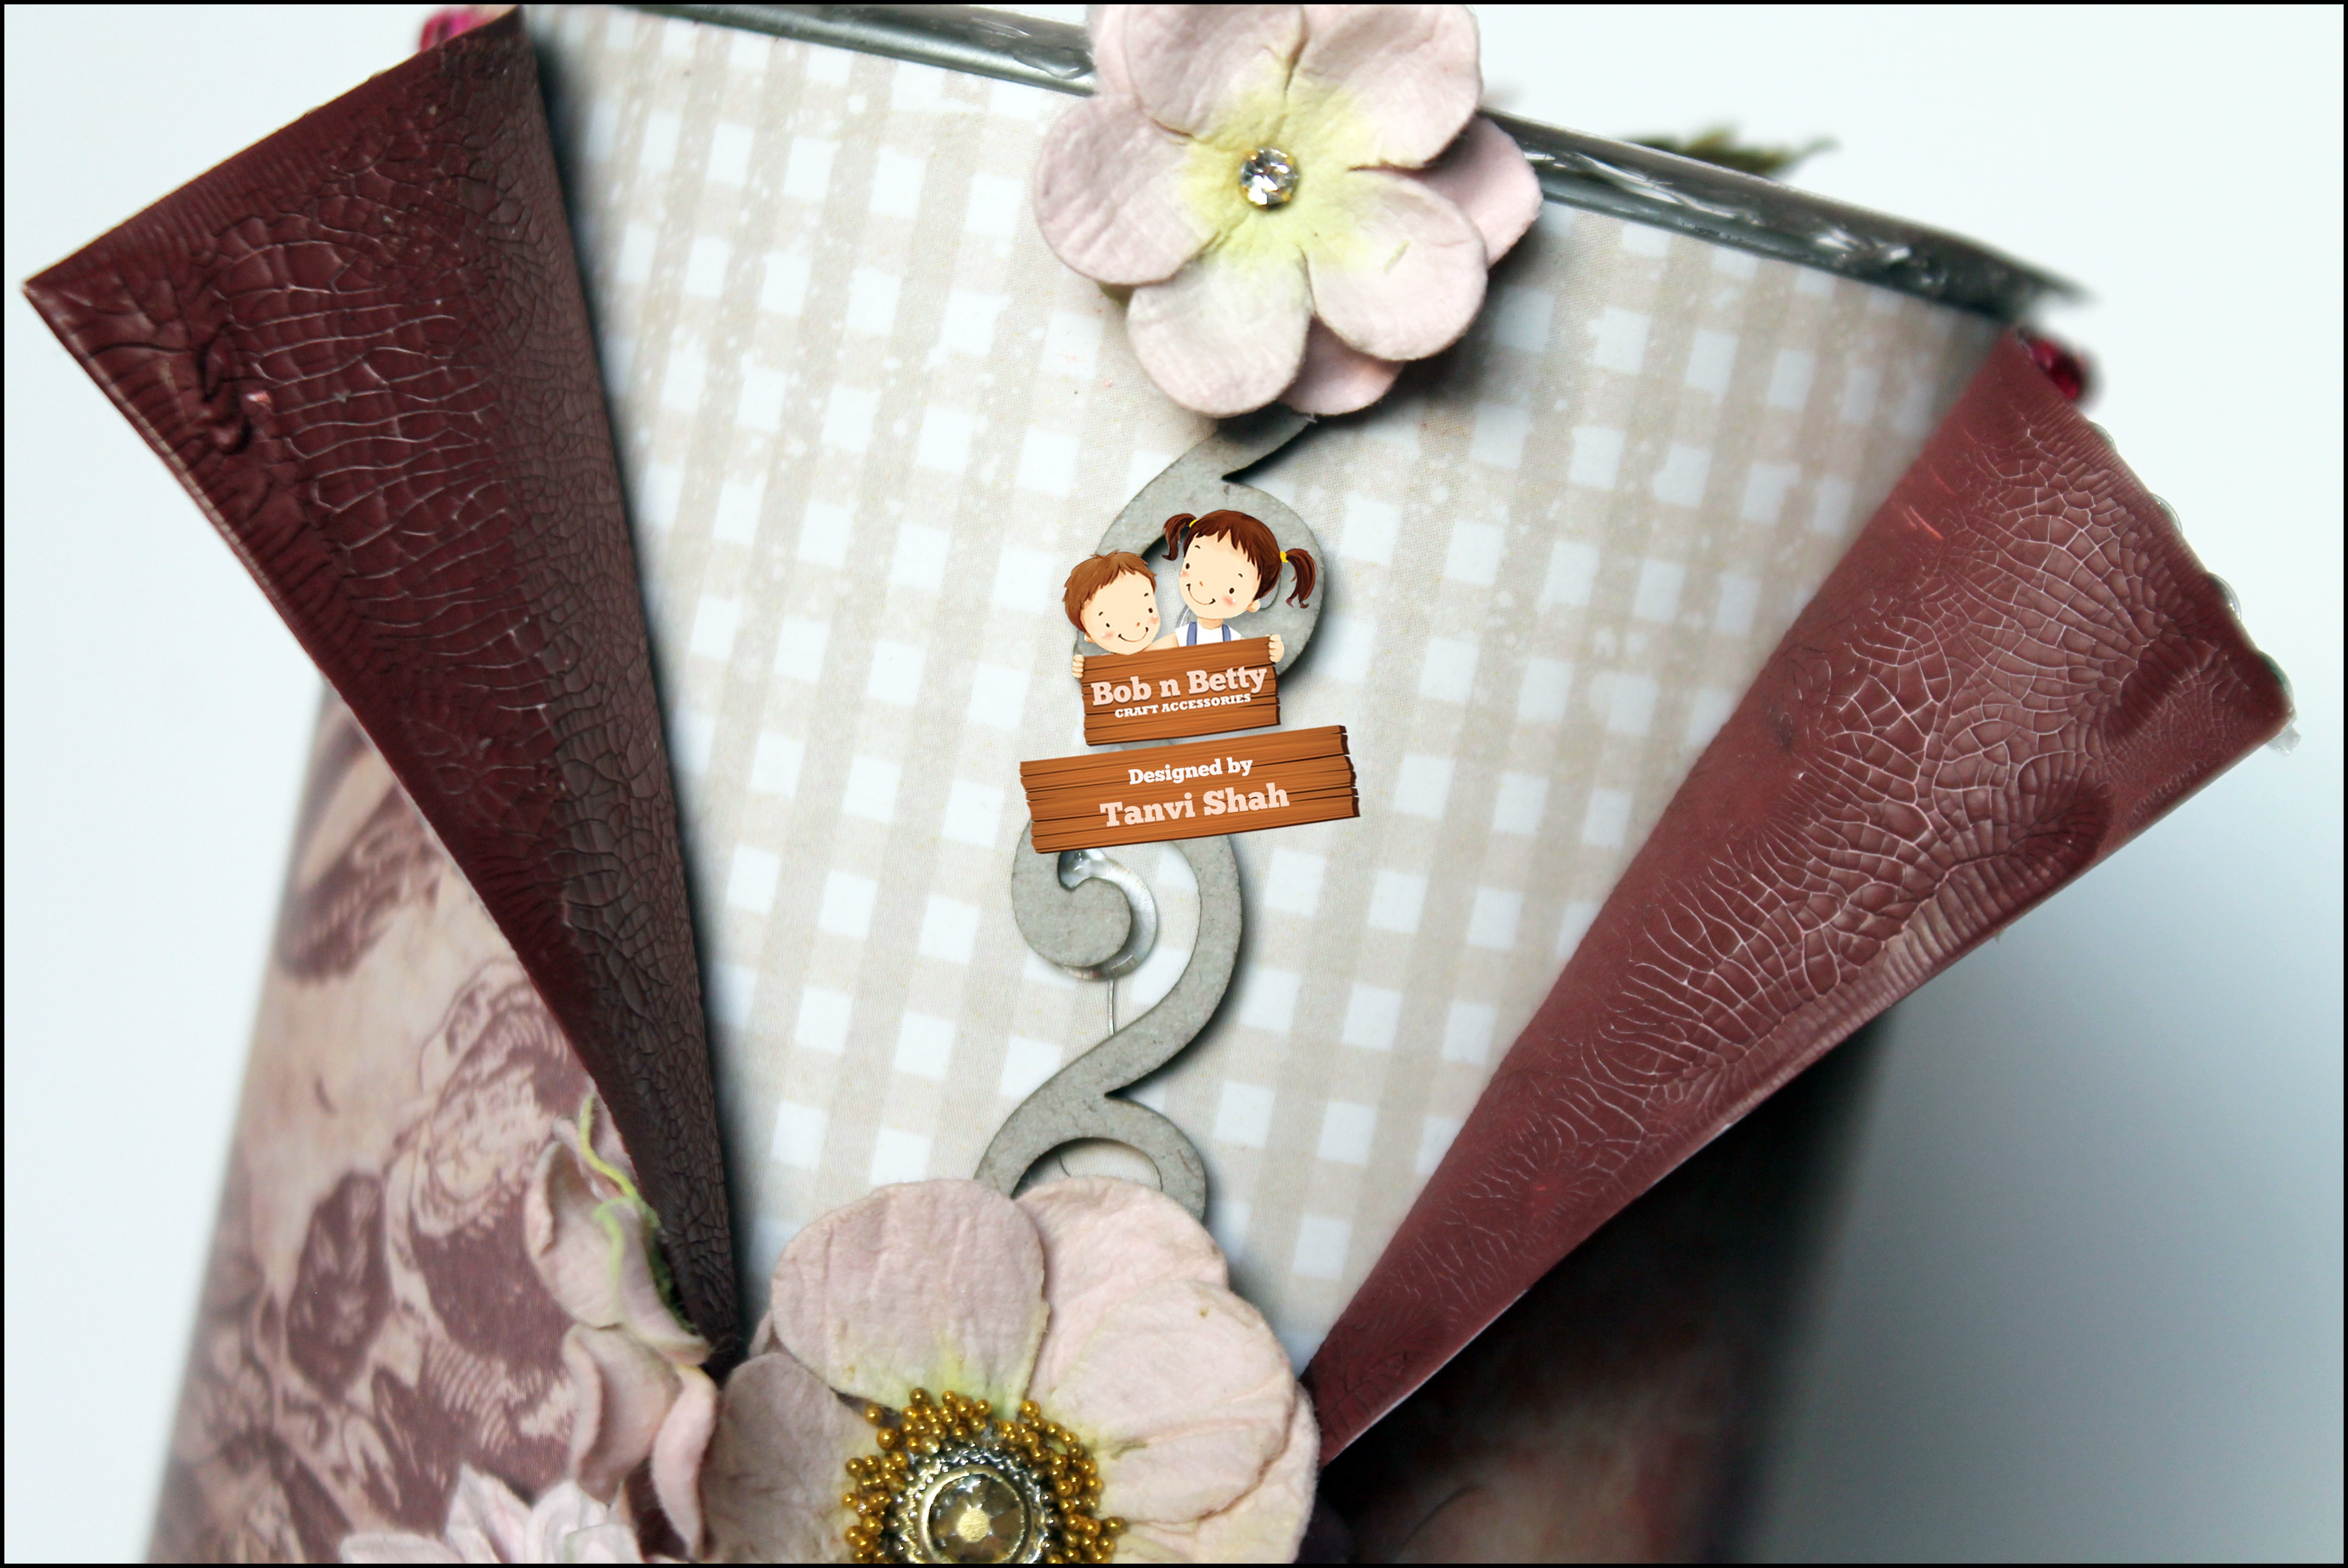
I used distress crackle paint for some textures over the distressed folds here - 

F18037

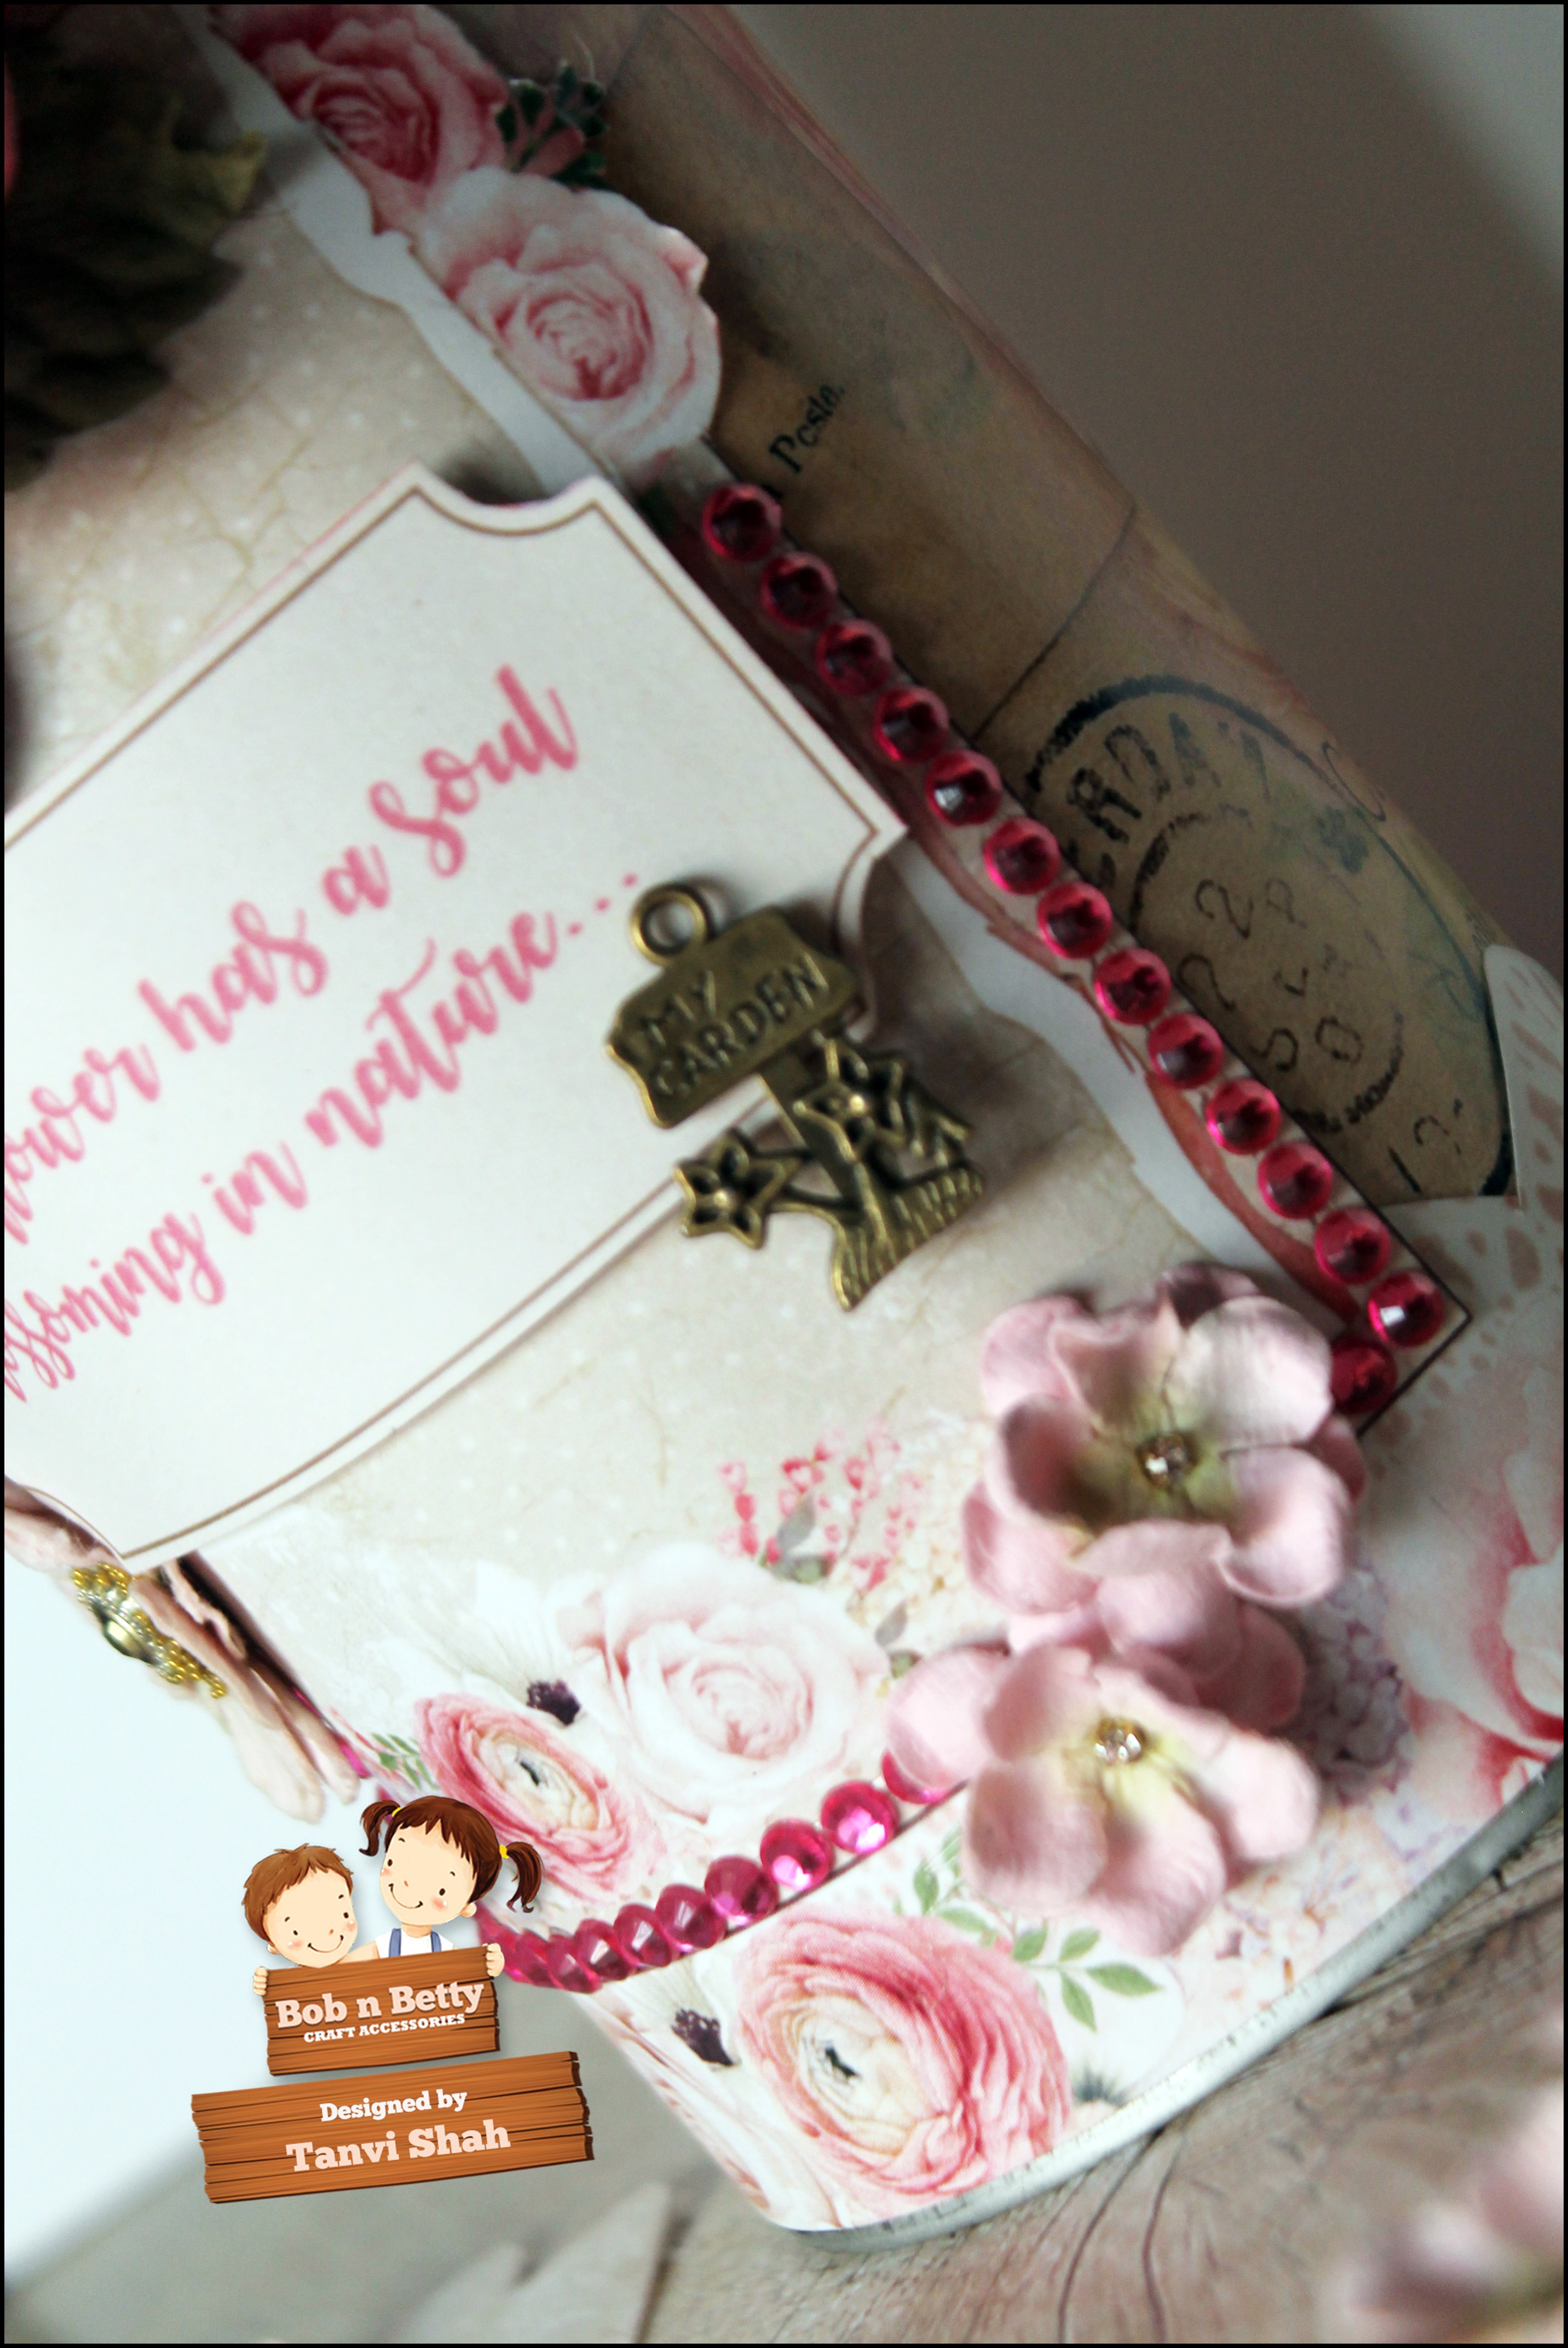
Flowers & charms from my stash added much to the shabby look - 

F18038      F18039   


F18040          F18041  

    F18043  

                           F18044                                

F18045

The gorgeous altered can makes a unique box to hold a gift, an invite or even a letter or simply fill it up goodies & candies! 


Thanks for visiting today & have a wonderful week!


Thank you so much for visiting & taking the time to comment on my blog. I love to hear from you & truly appreciate your feedback. Have a crafty day!

Monday, 28 August 2017

DIY Mason Jar Tissue Holder


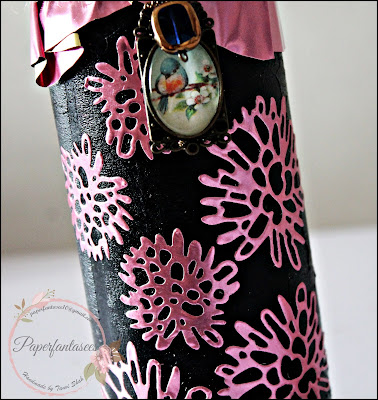
Hello, I am at the Rinea Blog today with a gorgeous makeover of the good old mason jar. I have upcycled it for use as a tissue holder.


The foil cuts like butter with all dies!
For this project I have used blush gold foil from the jewel variety pack,  I can't get my eyes off this adorable combination of black & blush gold foil!


Thank you so much for visiting & taking the time to comment on my blog. I love to hear from you & truly appreciate your feedback. Have a crafty day!

Tuesday, 14 March 2017

Decoupage Clock with Crackle finish

Hello Friends & welcome here again!

It is decoupage again today!
To decoupage this clock, I first painted the base with ITSY BITSY chalk paints - lemon chiffon & drift wood (the base), followed by gluing the napkin. After blending the background with chalk paint once again, I applied the first component of the two step crackle medium all over the surface, followed by the second medium after the first dried. As the layer dries the cracks appear. 


To for an aged look & to highlight the cracks I buffed brown acrylic paint into the cracks.


For the base I worked on a distressed look. 


Sharing this at -
Berry 71 Bleu - 31.3


Thank you so much for visiting & taking the time to comment on my blog. I love to hear from you & truly appreciate your feedback. Have a crafty day!


Tuesday, 14 February 2017

Fun with Itsy Bitsy Chalk Paints

Hello Crafty Friends!
Today I am at the Itsy Bitsy blog with an inspirational post for the newest addition to the Little Birdie family - CHALK PAINTS!
Available in 14 shades, the consistency of these paints is perfect for use with either a brush, sponge or brayer. The matte finish gives a chalky appearance & is used to created an aged appearance, distressed or shabby look to projects. Can be used on glass, wood, ceramic, metal, walls & more.  These paints are Made in India & being lead free are also eco friendly.


Sharing a number of projects today, so sit back & enjoy!
I could not resist using the paints as soon as received them & here is a quick project - a small wooden decorable decoupaged with rice paper & chalk paint (butternut saquash) . My first attempt with chalk paints & I was in love with the coverage & matte finish - fantastic!


Next I wanted to try the paint on glass. Here is a candle jar decoupaged with a tissue napkin. Used two shades here - fortune cookie & & dabbed them over the bottle. Please note I have not used a primer or base coat in any of my projects here! TIP - Chalk paints dry quickly, so remember to wipe off the extra paint on the mouth of the bottle before closing, else the paint dries over the mouth making it difficult to open. 


I had a metal tray, slightly worn out with use & this is how I salvaged it using chalk paints! For the background I used tattered lace and  forest moss chalk paint & Mont Marte 3D gold for the edges. What a transformation! Do you agree?


Drift wood is such a yummy shade in the family, it reminded me chocolatey cake! This led to my next project, a fridge magnet -


If you are a fan of chalk paint like me, you are going to love the "charcoal". The matt finish is by far the best I have ever seen! A ceramic pickle jar got such an elegant make over with minimal stencilling -


And finally I have a shabby frame. For this one I first gave a base coat of charcoal black, rubbed a candle randomly on the surface & painted over it with fortune cookie. Chalk paints are easy to distress because the paint can be easily removed just where you want it  with a sanding sponge or sand paper. Once dry, sand it lightly to reveal the base coat & viola you get the best distressed & shabby look.


Can you guess what material is this frame made of?


 Now will believe this was a plastic frame! 


I enjoyed playing around with the chalk paints & had to stop here, to publish this in time!
Thank you Rashmi love, love , love these paints & hoping we have some more shades and larger packs too!

Supplies from the store –

Candle jar
Glass bead

Thank you so much for visiting & taking the time to comment on my blog. I love to hear from you & truly appreciate your feedback. Have a crafty day!


Related Posts Plugin for WordPress, Blogger...