Hello Everyone! This post is a very special one in which I bring together my love for coffee & decoupage! This is a picture heavy post, stay with me through the end & am sure who will not be disappointed.
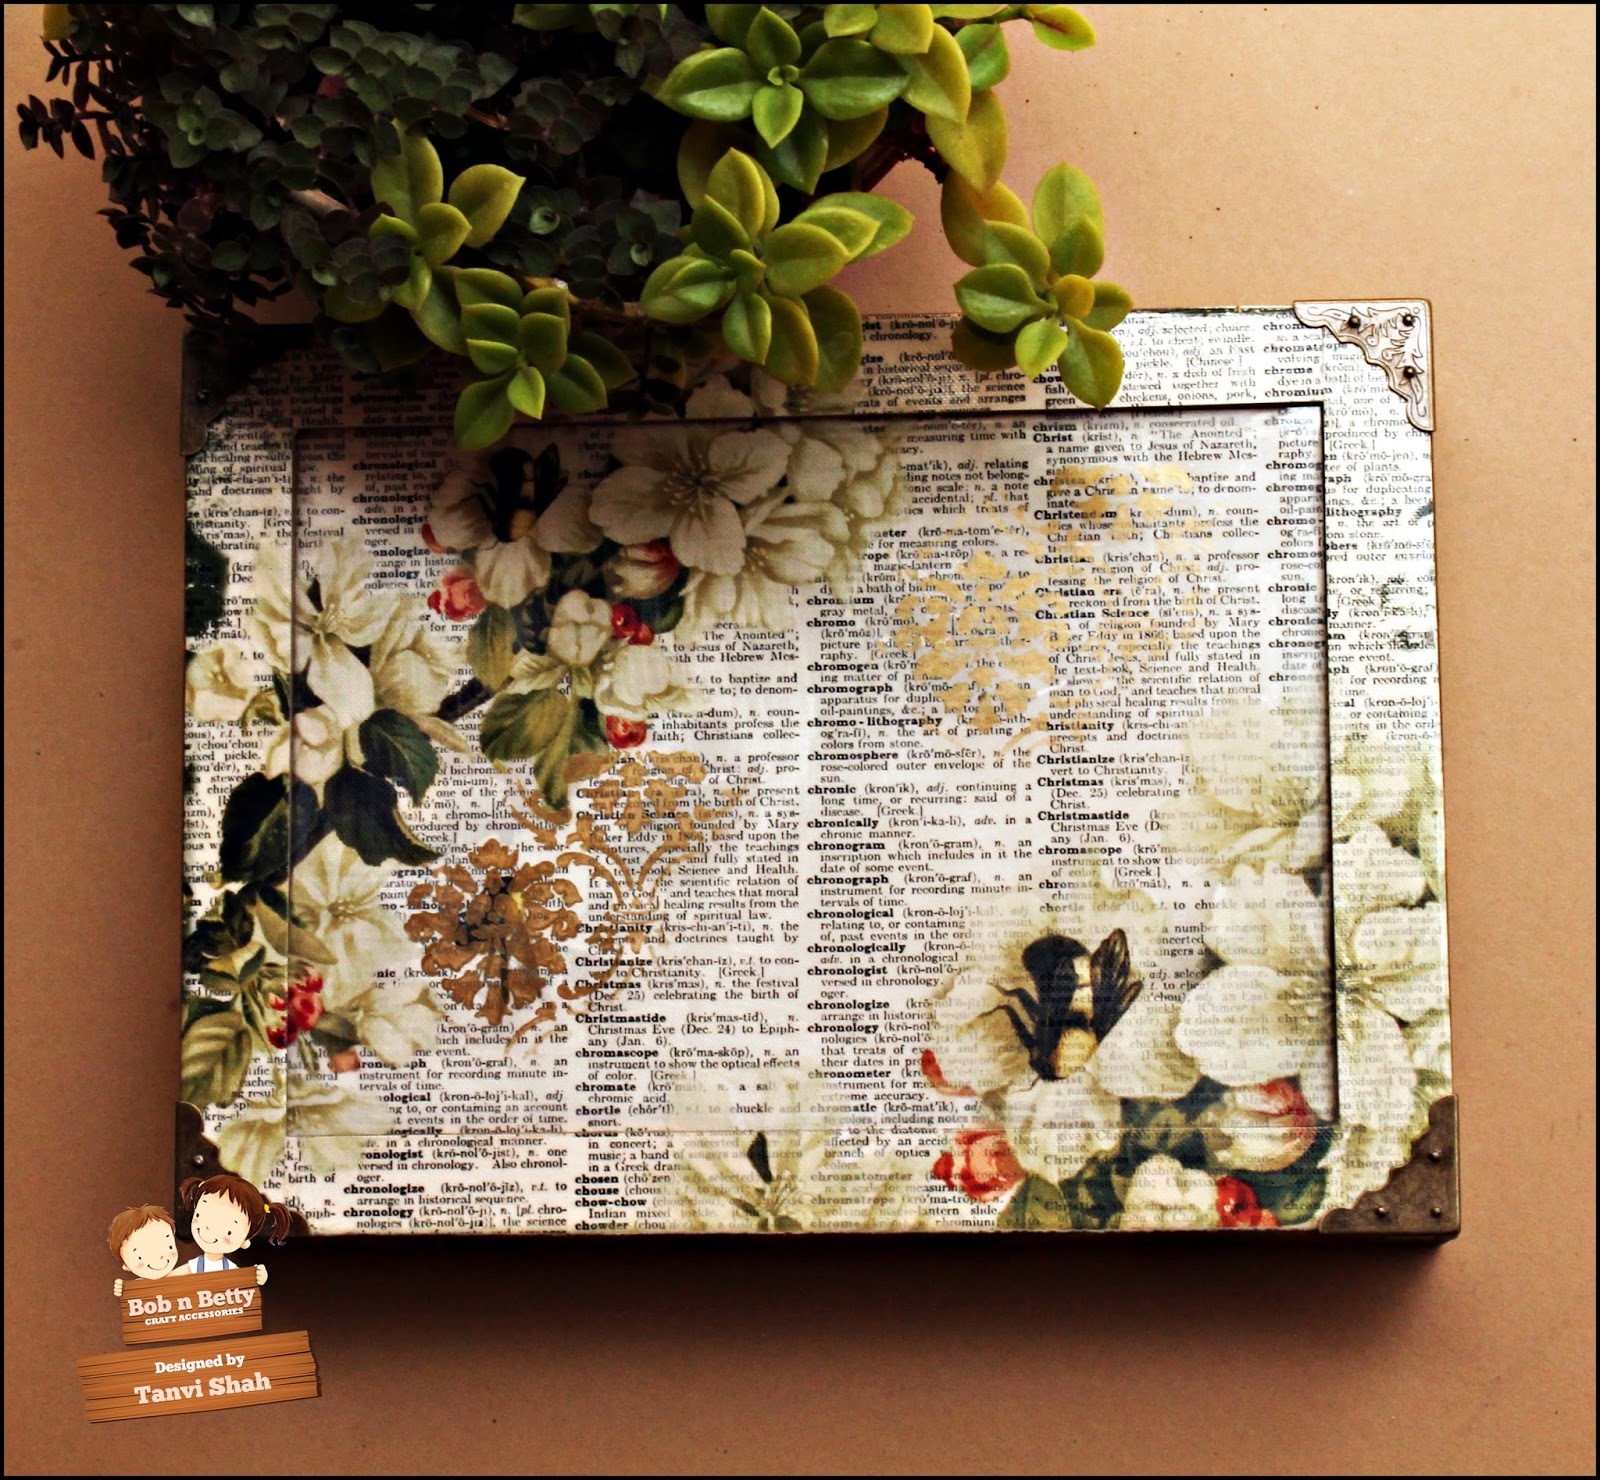
Hubby recently replaced his car tyres. I was looking forward to put them to good use & what can be better than a coffee table for my terrace garden. Since this will be outdoors I reverse decoupaged the glass top, with the BobNBetty Roseate decopatch papers that came in my DT kit.

I selected some elements from this paper & fussy cut them, decided the layout & glued them (right side facing down) on the under side of the glass with Mod Podge Matte, followed this by another layer of decoupage – this time a newspaper print gift wrapping paper from my stash. The squeezee tool is a boon when decoupaging large surfaces like these to get rid of all the air bubbles & creases.

I love experimenting with reverse decoupage as it allows me to get two different looks on the same item (like this bottle I shared here).
This is the other side of the glass top, so perfect for a coffee lover in me!

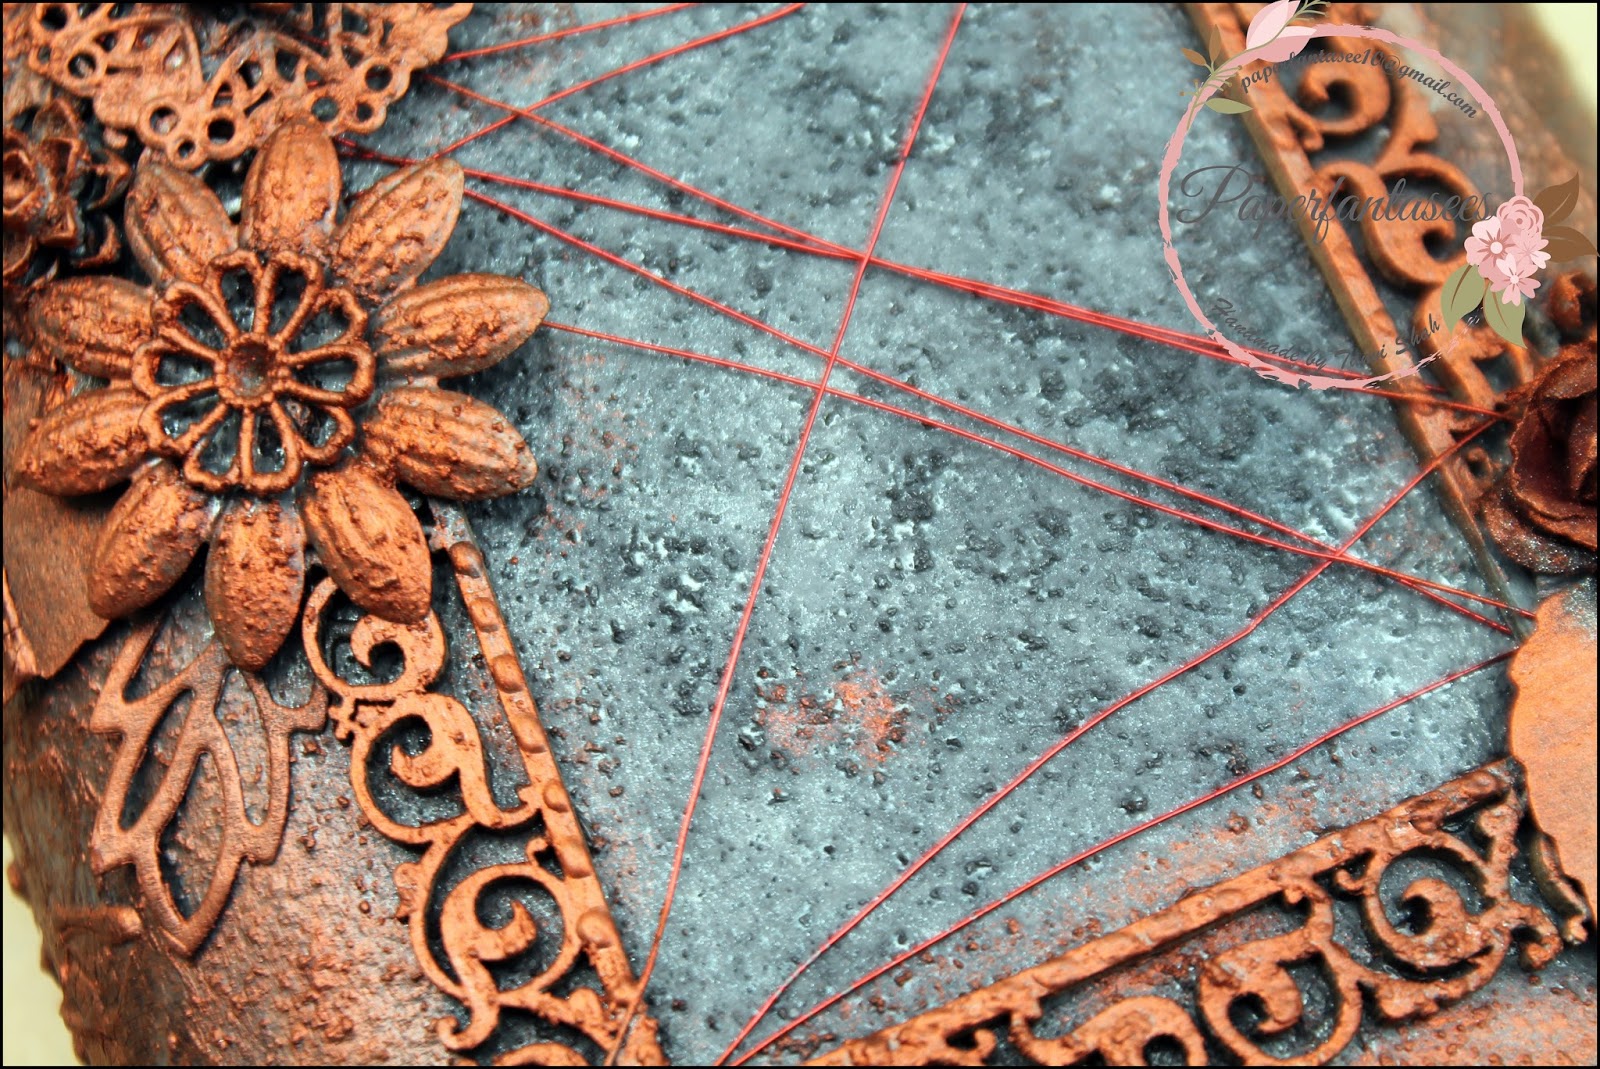
Loving the newsprint peeking beneath this perfect coffee cup, the stamping and stenciling on & around the cup.


Loving the newsprint peeking beneath this perfect coffee cup, the stamping and stenciling on & around the cup.

Some more close ups –


Thank you so much for visiting & taking the time to comment on my blog. I love to hear from you & truly appreciate your feedback. Have a crafty day!


