Showing posts with label trays. Show all posts

Monday, 22 October 2018

Guest Post 1 for HNDMD

Hello Everyone!
This is Tanvi from Paperfantasees & its such a pleasure to be guesting for HNDMD. Thank you Khyati 😊
So here is my first post using the gorgeous decoupage papers & chalk paints Khyati sent across - a coordinating set of tray & coasters.


I selected the Aged Beauty designs for this set. While these designs have a vintage feel, I wanted a brighter look. The chalk paints (lemon drop & tomato red) were ideal. I painted the inside of the tray with lemon drop chalk paint. Once dry I dabbed tomato red paint using a sea sponge. The resulting texture was now perfect to brighten the tray. Painted the outside of the tray with pale daffodil. Random stenciling with copper paint for a subtle metallic sheen & I had a gorgeous set waiting to adorn my table!


Thank you so much for visiting & taking the time to comment on my blog. I love to hear from you & truly appreciate your feedback. Have a crafty day!

Monday, 5 March 2018

Decoupage trays - Birds series

Hello Everyone!
A quick post today to share a few decoupage trays - the bird series as I call them.

For the first one I have used decoupage papers from BobNBetty - Exotic Birds.
I loved the beautiful print, so many layers & textures to it!


The second tray also uses a design from the Exotic Birds collection. Used chalk paints & the conventional decoupage technique on the sides of the tray for the band/striped look to enhance the shabby pattern.


For the last one in the series I have used rice paper. The pattern had a gorgeous doily print & I tried to extend the same by stenciling & totally loved the effect. To add some more texture, splattered some acrylic paint randomly in the background. 


Close up of the doily stenciling - 


Here is a look at the splattering - 


Thank you so much for visiting & taking the time to comment on my blog. I love to hear from you & truly appreciate your feedback. Have a crafty day!

Monday, 16 October 2017

Fun with New shades of Chalk paints - 2

Hello All!
Continuing my inspiration for the Itsy Bitsy blog, today I have some more projects using the new shades of chalk paints.


First up is an old tray I refurbished.
1. To begin clean & sand the tray.


2. I intend to retain the distressed look of the tray but with the new chalk paint shade - muted teal. For this paint the tray in black. 


3. Once dry rub a candle randomly at places you want to distress. 


4. Next paint the tray with muted teal chalk paint. Let dry.
5. Gently sand the tray. At places where the wax is, the top paint peels very easily revealing the base black coat.

6. To finish the tray I did an image transfer on the inside & sealed the paint with several coats of varnish.

Here is the final look.


The next project is a decoupage bottle using the same color - muted teal.


Some stamping & color splatters over the decoupage.


Wild wasabi is another shade from the new release that I love. I have decoupage a cutlery caddy to share - 


The contrast between the white of the doily & the green is the highlight of this caddy. 


Hope you are inspired by my projects. You can grab these chalk paints from the online store here.

Thank you so much for visiting & taking the time to comment on my blog. I love to hear from you & truly appreciate your feedback. Have a crafty day!

Wednesday, 11 October 2017

Fun with New shades of Chalk paints - 1

Hello Friends!


This is Tanvi here & its a pleasure to be back with some decoupage inspiration using the new shades of chalk paint. In all there are 24 shades, perfectly selected for a decoupage lover like me to make shabby & distressed projects. Thank you Itsy Bitsy for introducing the first Made in India chalk paints.

These were the 14 shades launched earlier this year - 


The10 new additions to the matt chalk paint range are -


When it comes to decoupage these paints score over acrylics because
  • they give very good coverage
  • are easy to blend & sand to give a super smooth finish
  • Consistency is just right for use with a roller, sponge or brush
  • they work on glass, wood, metal, mdf & acrylic too
  • being lead free they are also eco friendly
    I have a few projects to share today using these 4 shades in my post - sand stone, whipped seafoam, wild wasabi & muted teal.


    Lets begin with a quick reverse decoupage tutorial on an acrylic coaster.

    1.Select the tissue & tear the design you want to use.
    2. Decoupage the tissue on the backside of the coaster (right side facing the coaster). Remove any air bubbles/wrinkles & let dry.
    3. Apply another coat of decoupage glue to seal the tissue. Let dry completely.
    4. Next, stencil a pattern over the tissue, using a sponge blender.


    5. Paint the coaster (whipped seafoam). This is the final layer of paint. Once it is dry, seal with several coats of varnish. Sanding in between layers for a smoother finish.


    6. Now the coaster is finished & this is how it looks.


    I was not able the capture the subtle stencilling on camera but I loved the muted pattern.


     I love the ease with which I can paint over a metal surface with chalk paints. Sharing a metal planter, in which have used sand stone, this shade was so close to the tissue background.


    Next I have a tray with a distress finish. in which I have used fortune cookies, not from the recent release but nevertheless my favorite shade.


    Distressed base of the tray.


    Stay tuned for my next post where I share an easy tutorial to get this distressed look.

    Thank you so much for visiting & taking the time to comment on my blog. I love to hear from you & truly appreciate your feedback. Have a crafty day!

    Saturday, 30 September 2017

    Decoupage Trays using the Imperial Collection

    Hello Friends!
    I am at the Bob N Betty blog today with some festive inspiration.
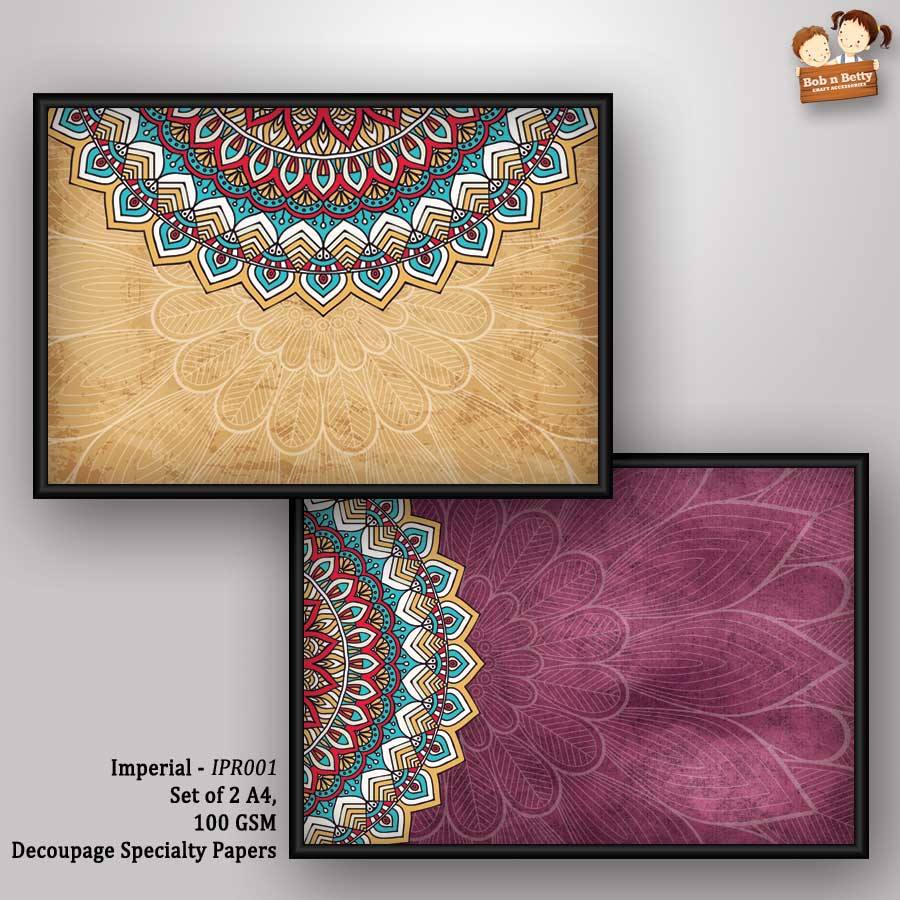
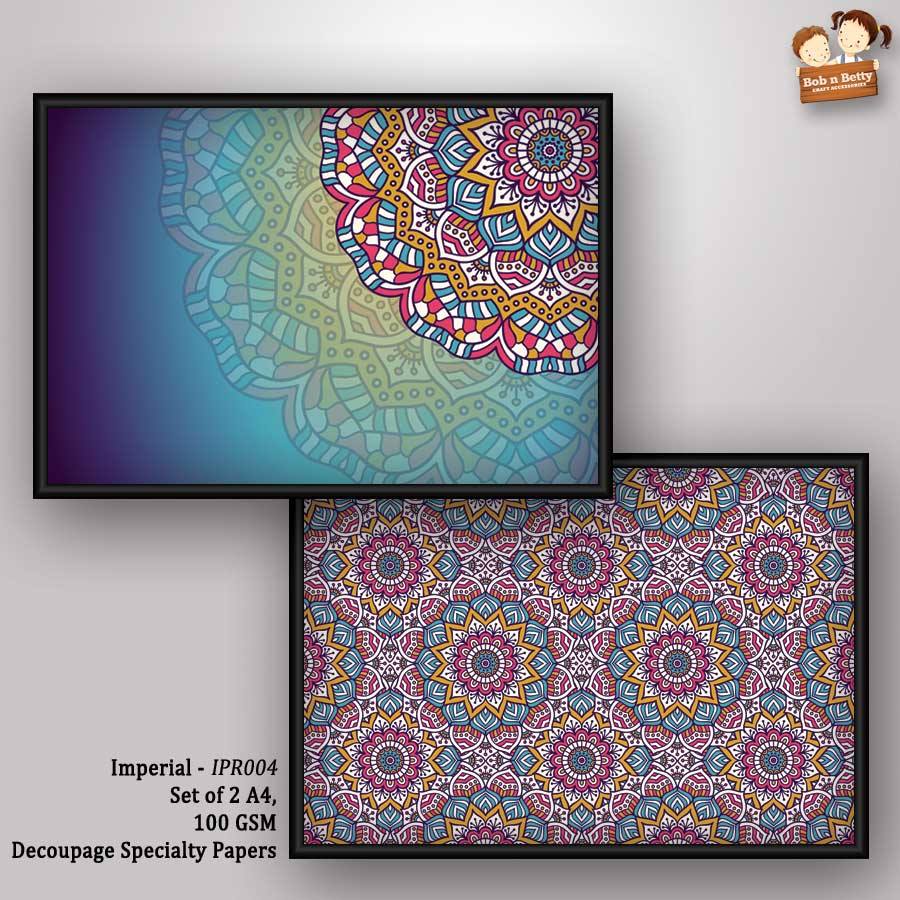
    I am super excited with the new release - festive & trendy, the IMPERIAL collection. This release has 8 designs to compliment the festive season. For my post today I used these 2 designs  of my favorites from this set. You can shop for the entire collection from any of our Sales Buddies.

    21740287_1935514583365607_4635176974578103347_n

    21751867_1935514646698934_7399879294958712619_n

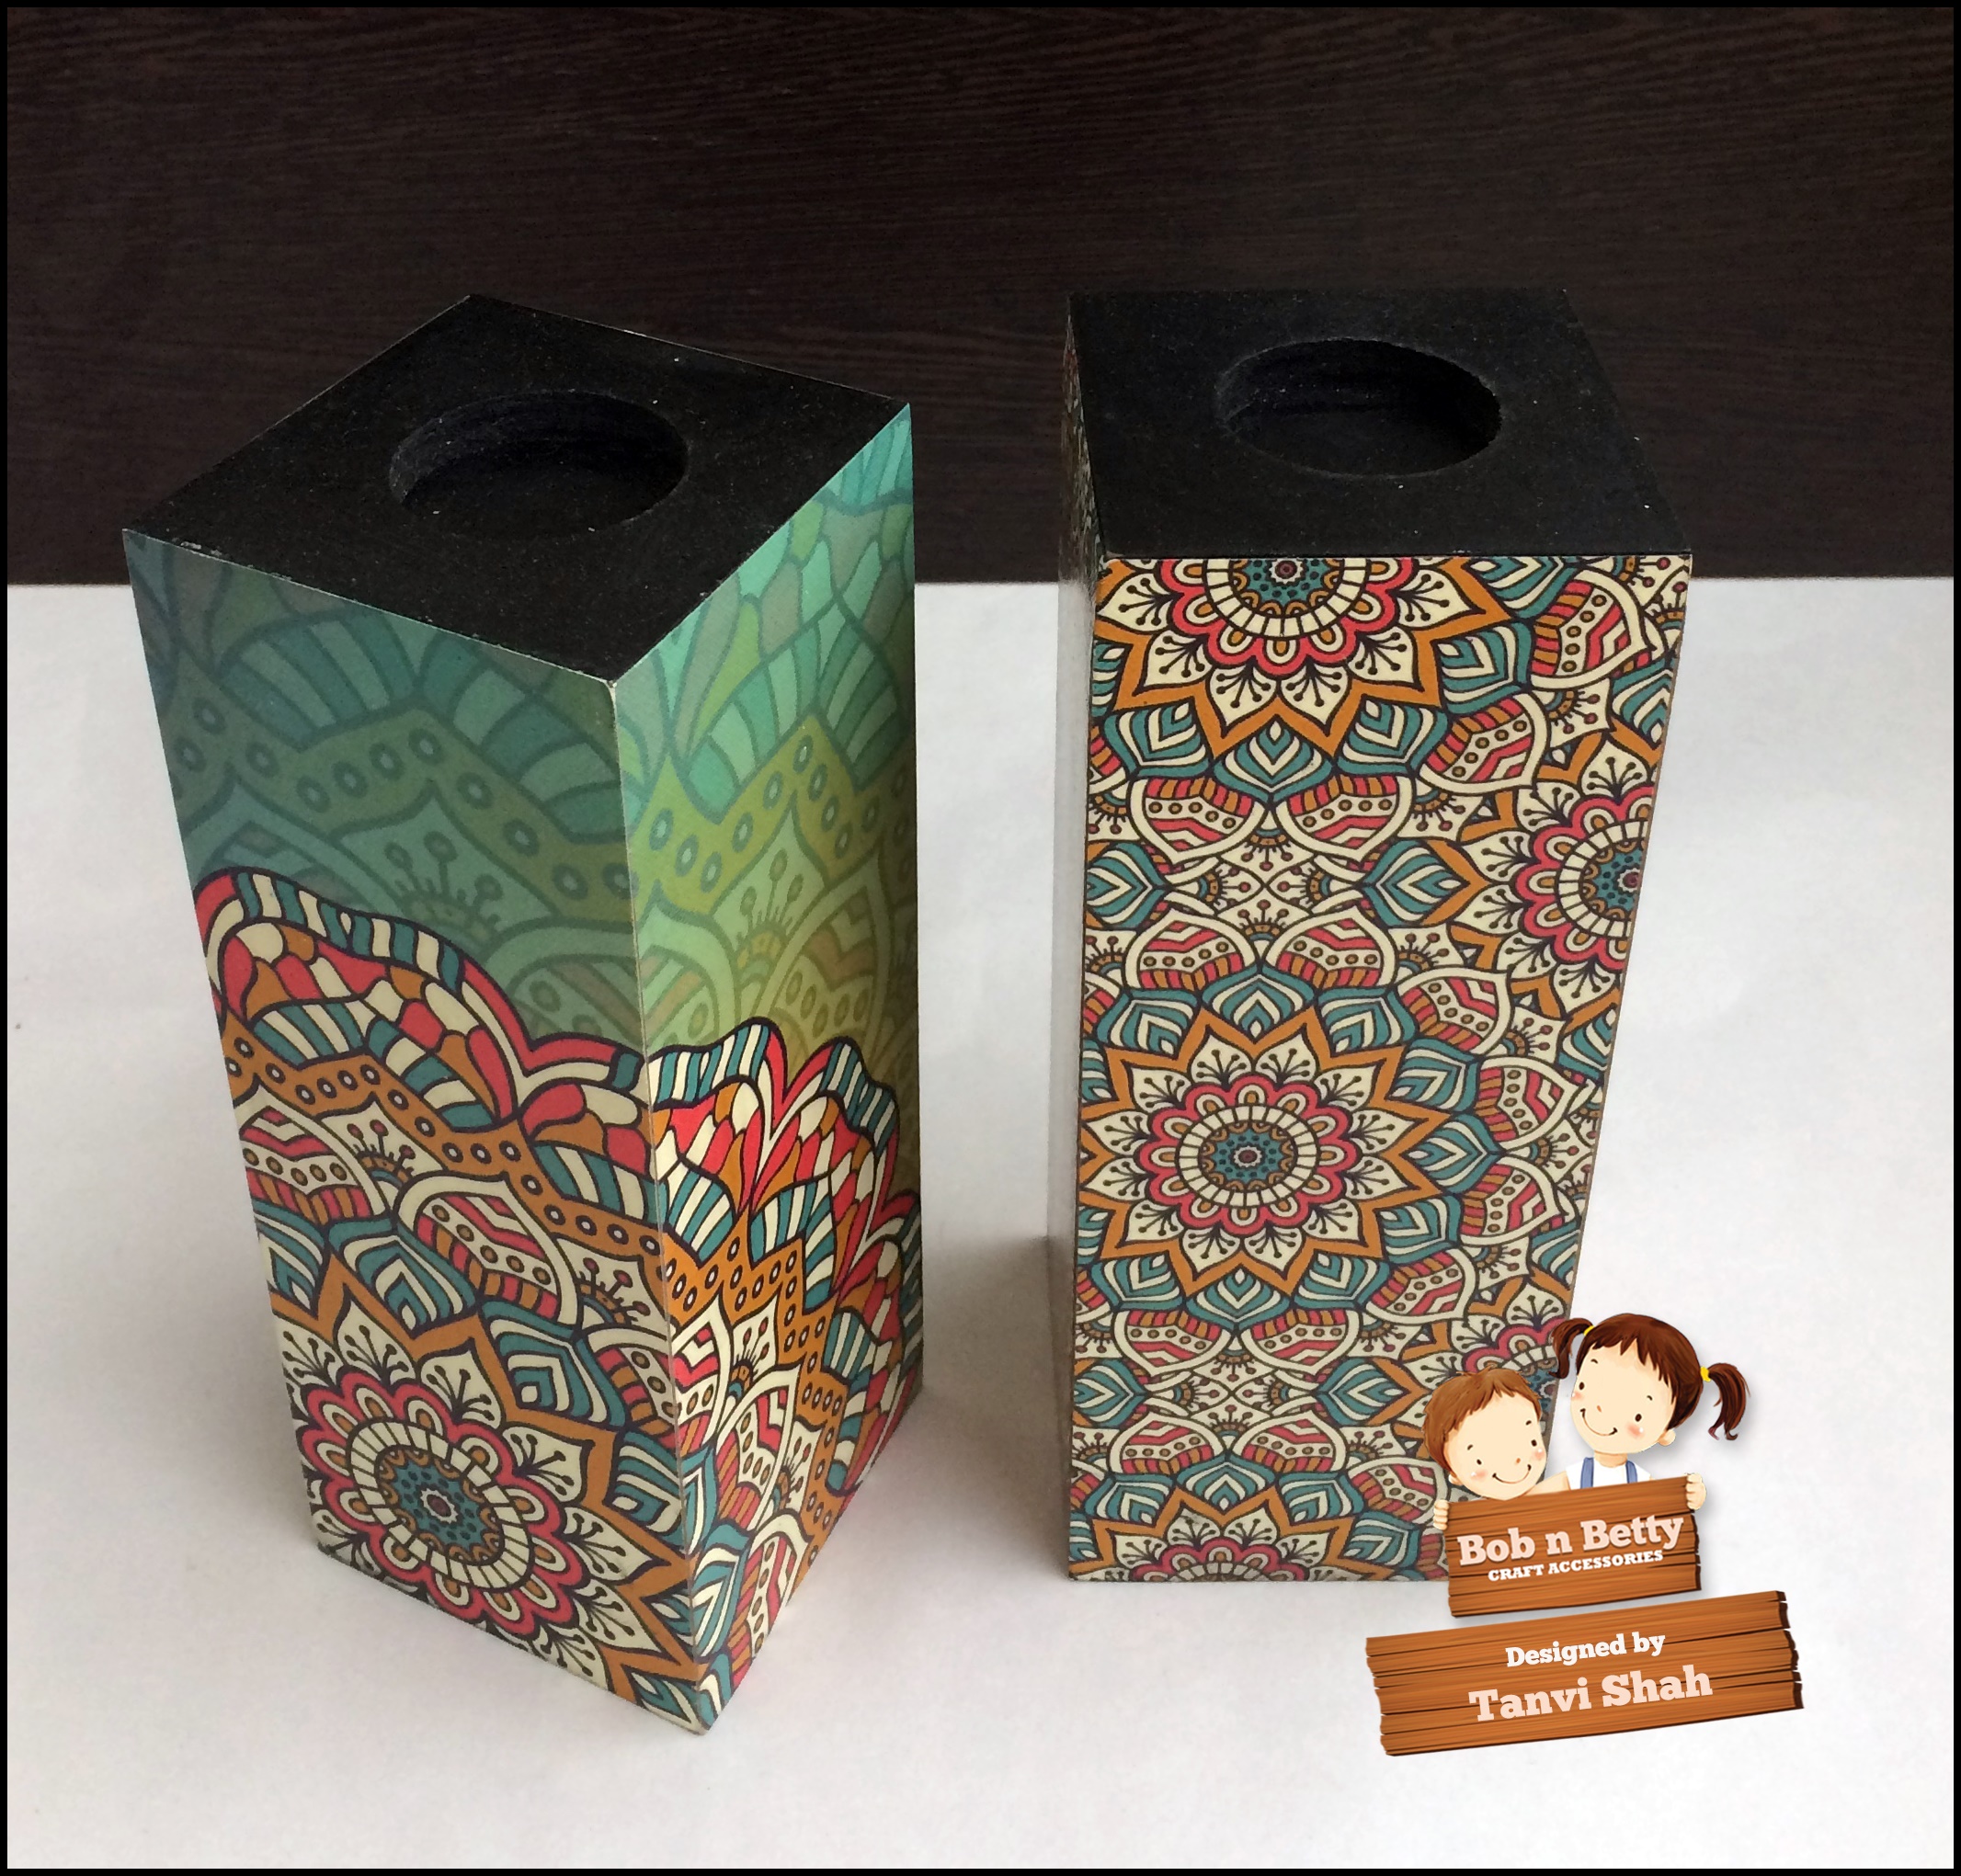
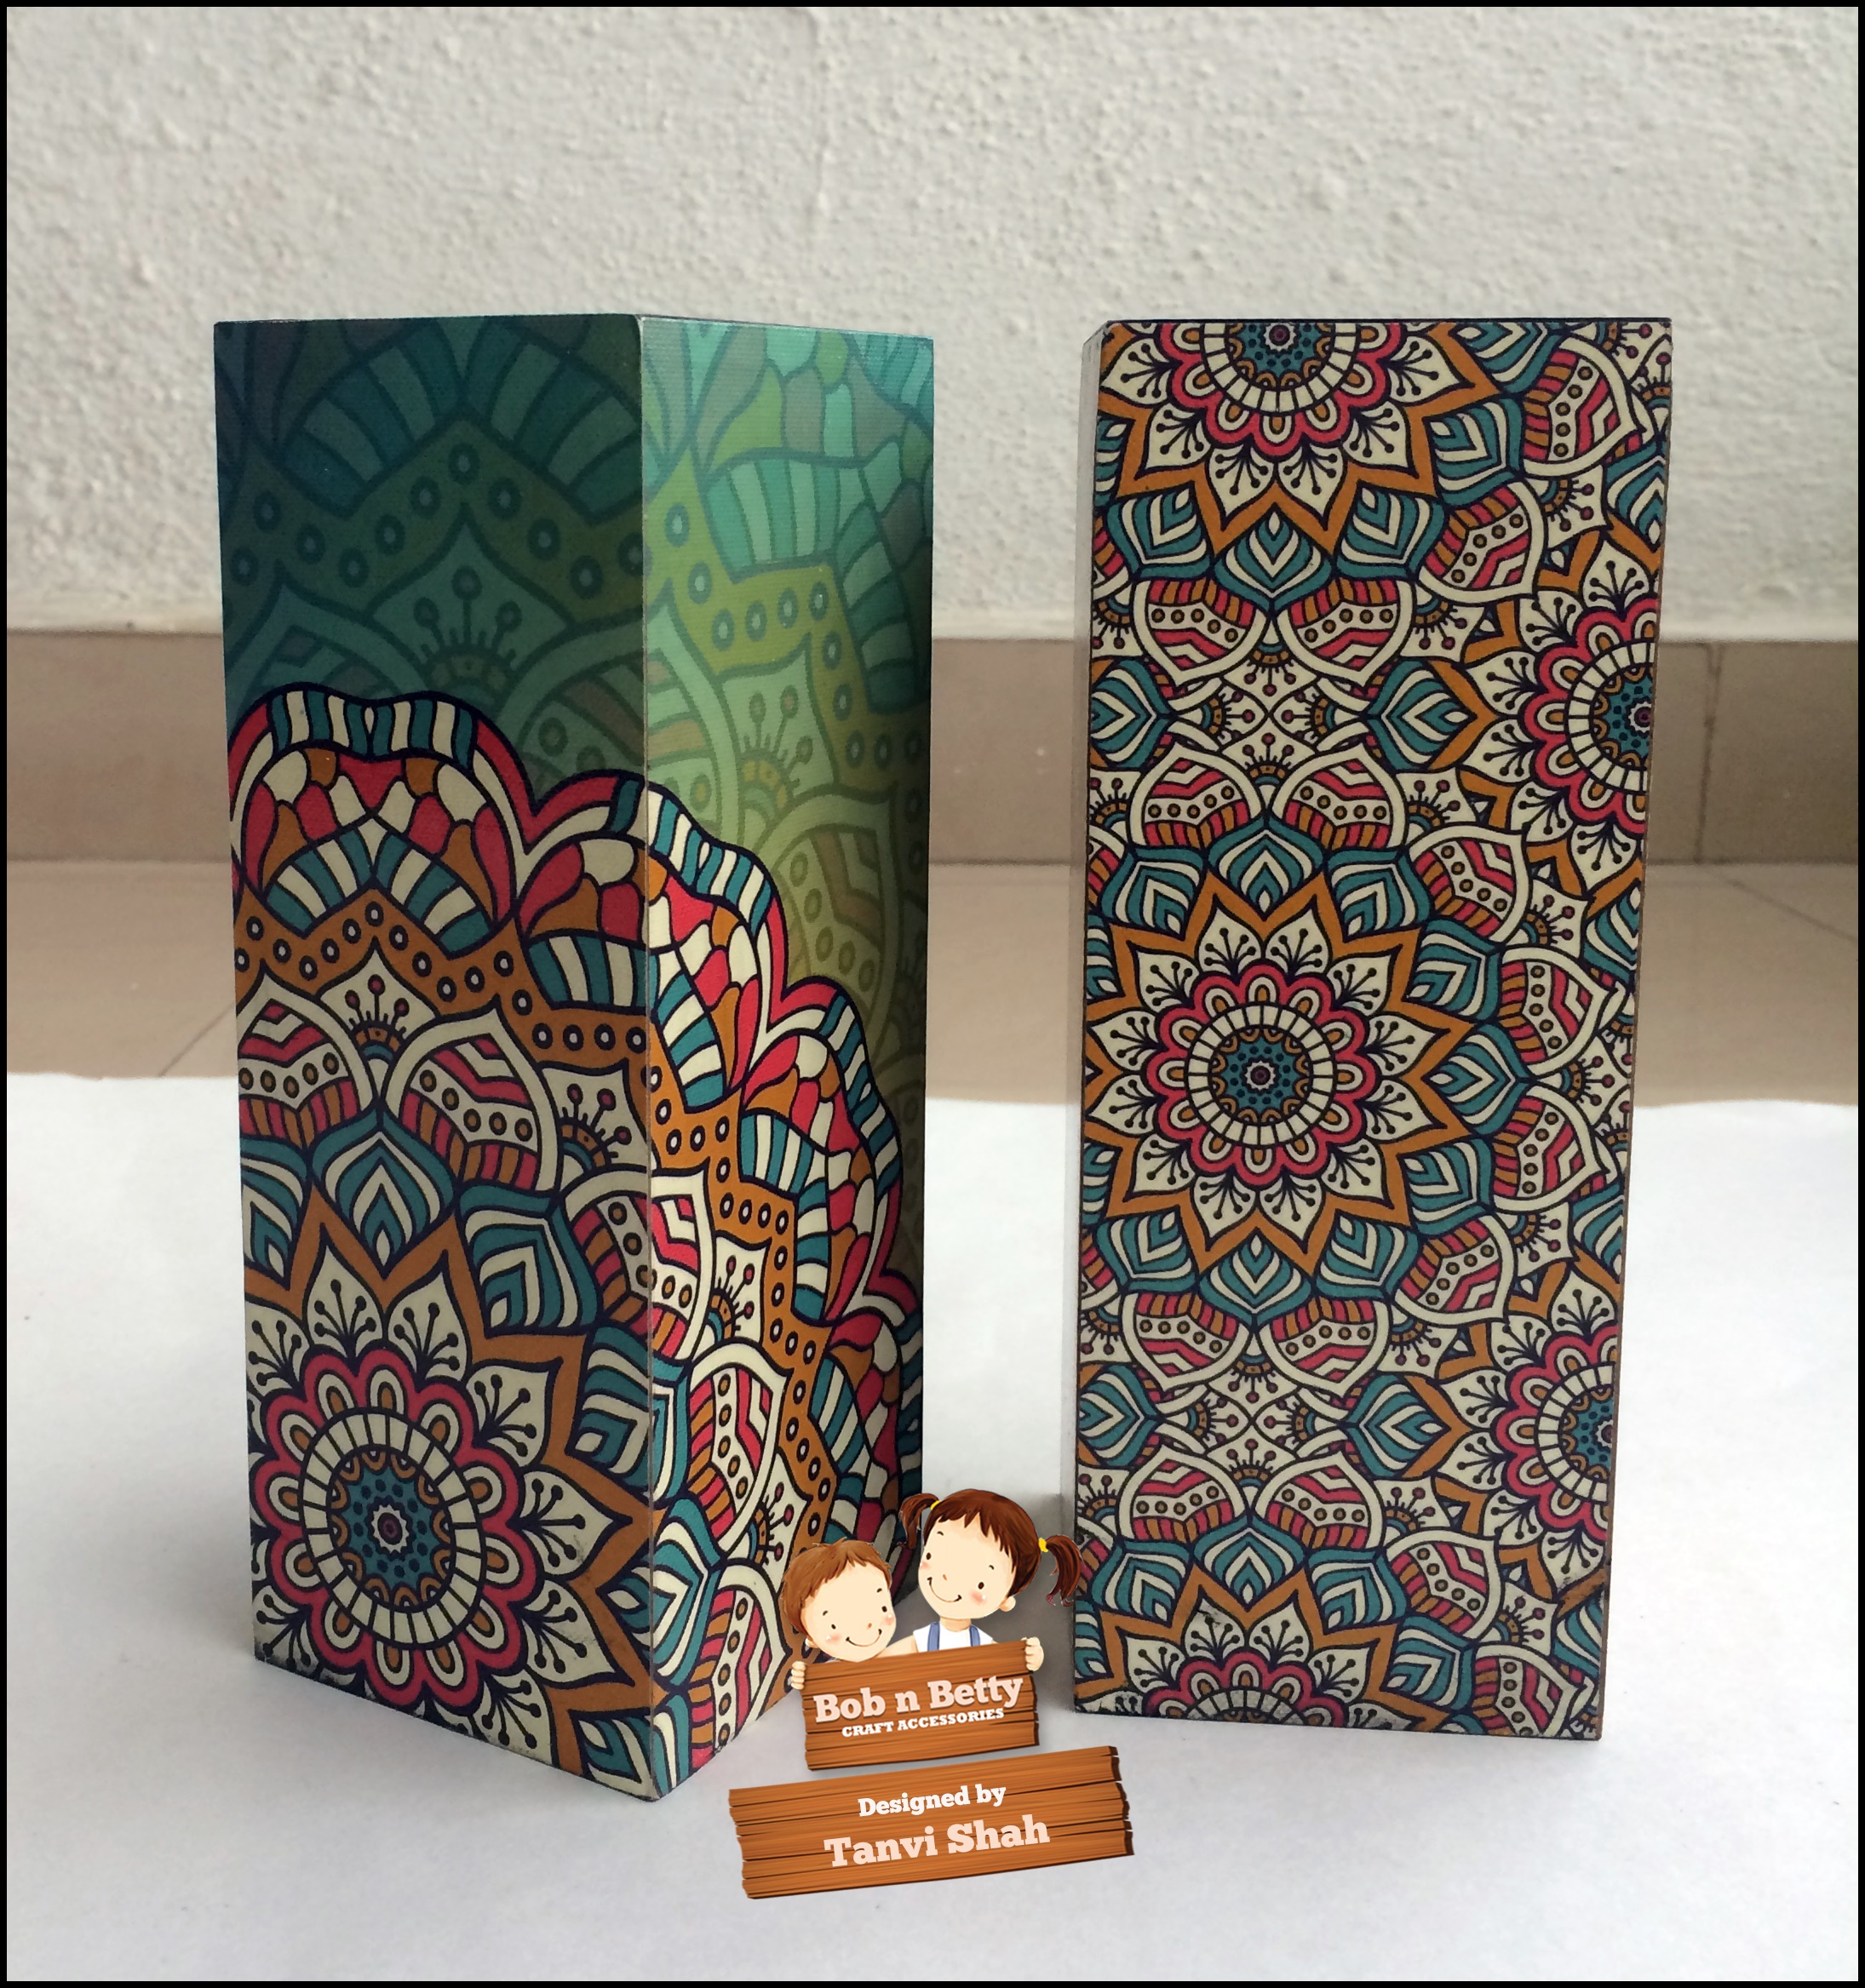
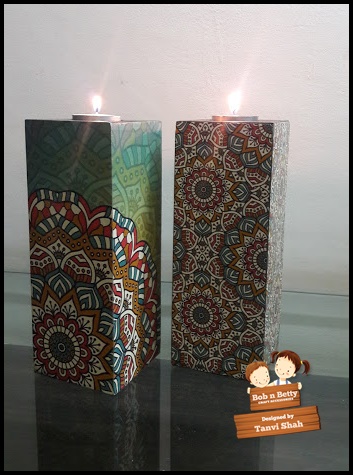
    First I have a set of simple tealight holders. The design is so apt for the season & the colors perfectly coordinated!

    S115

    S114

    S070

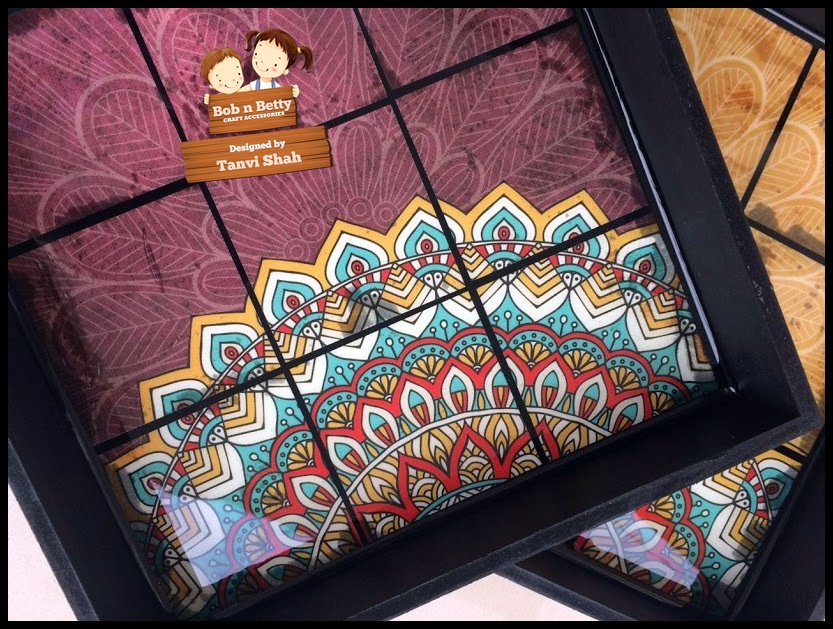
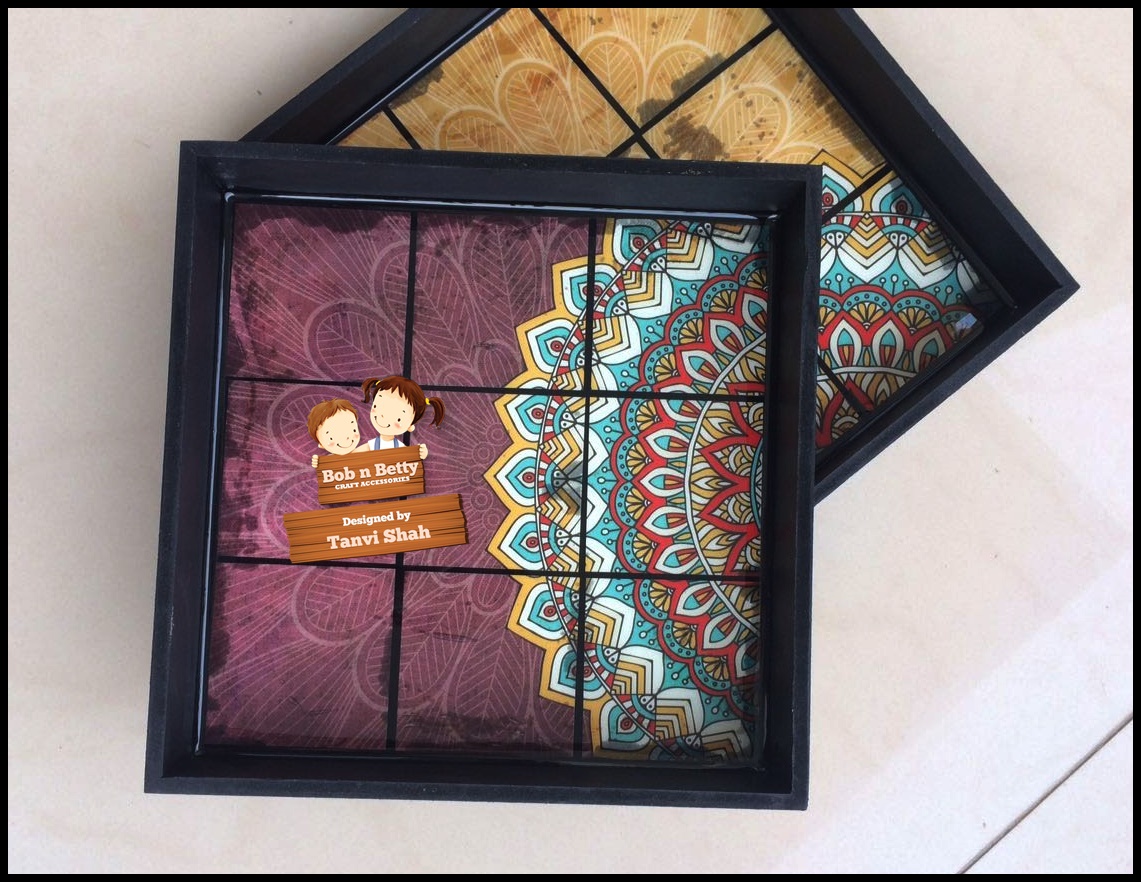
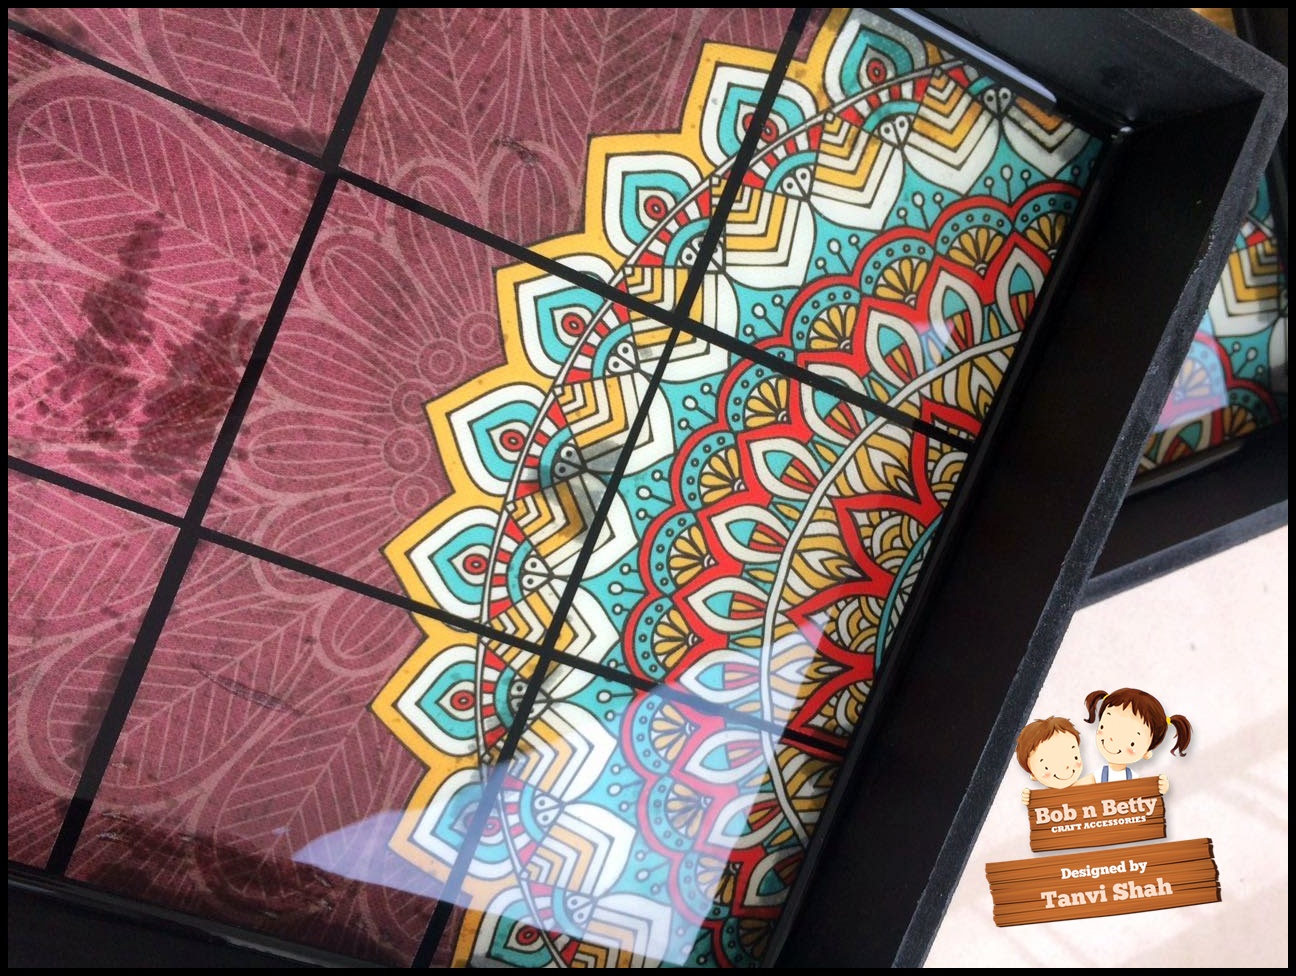
    Next I share a set of trays with a faux tile effect & a glass finish.

    S124

    Let me take you through the steps to get this faux glass look.

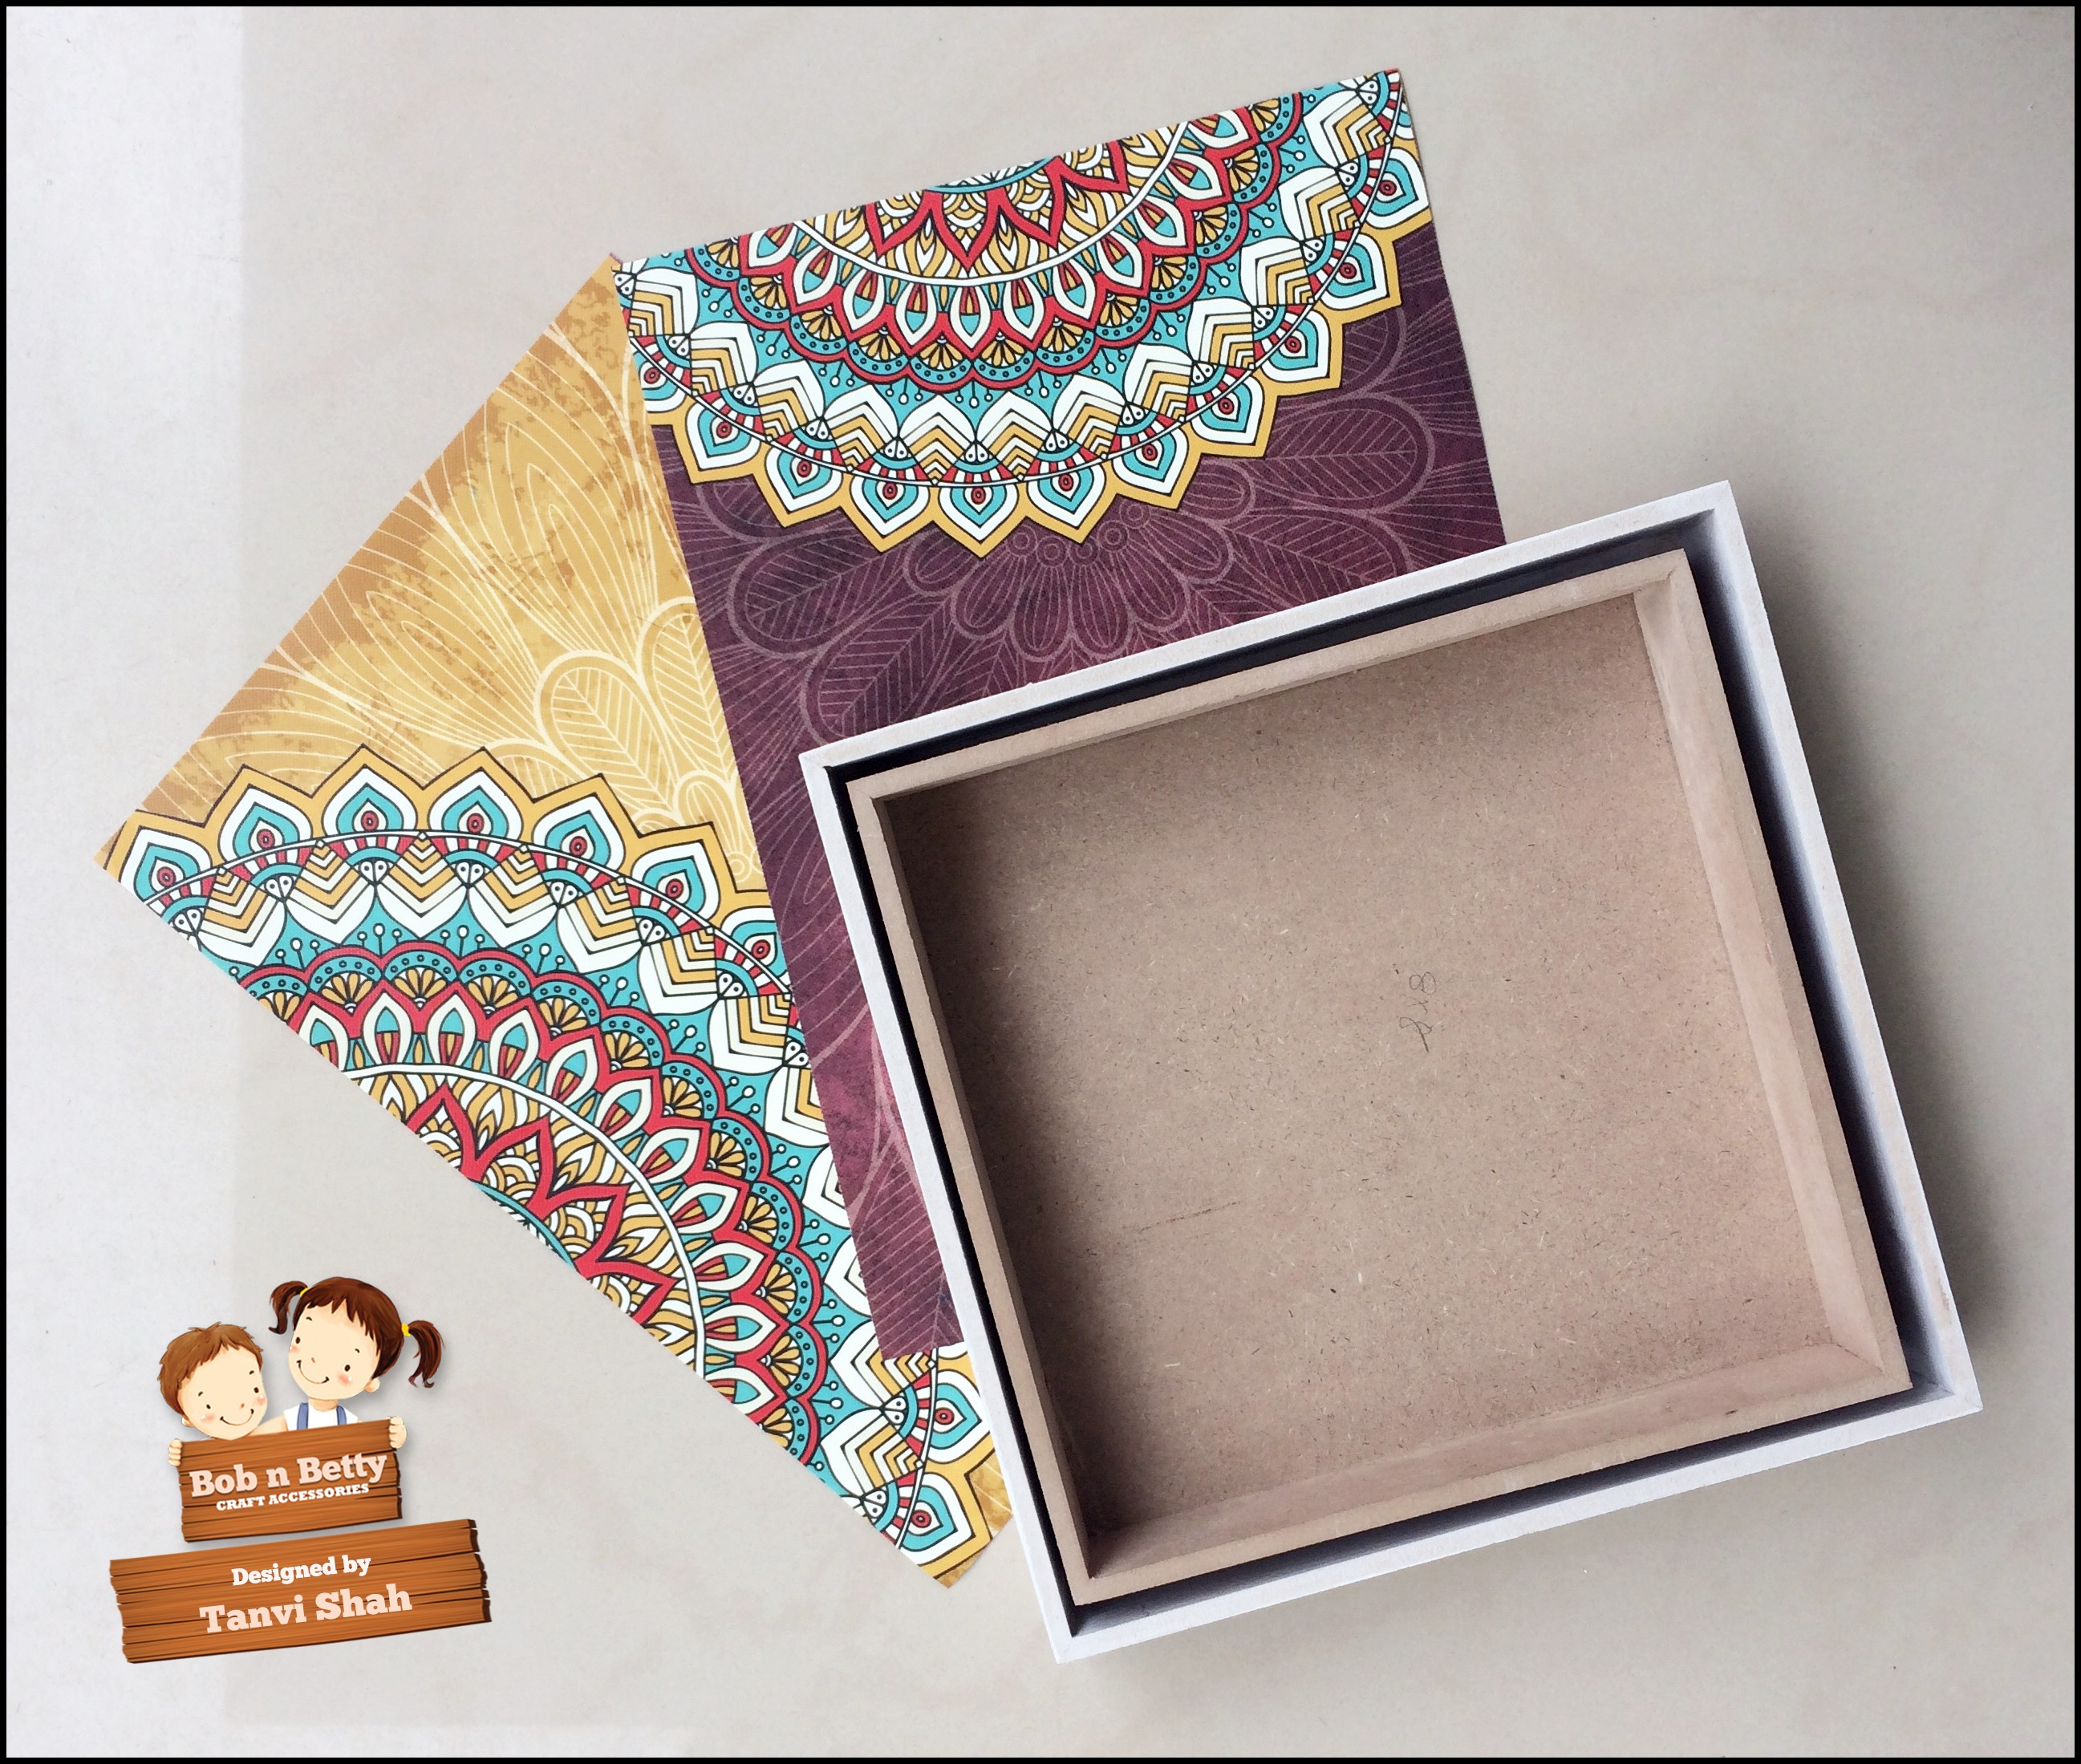
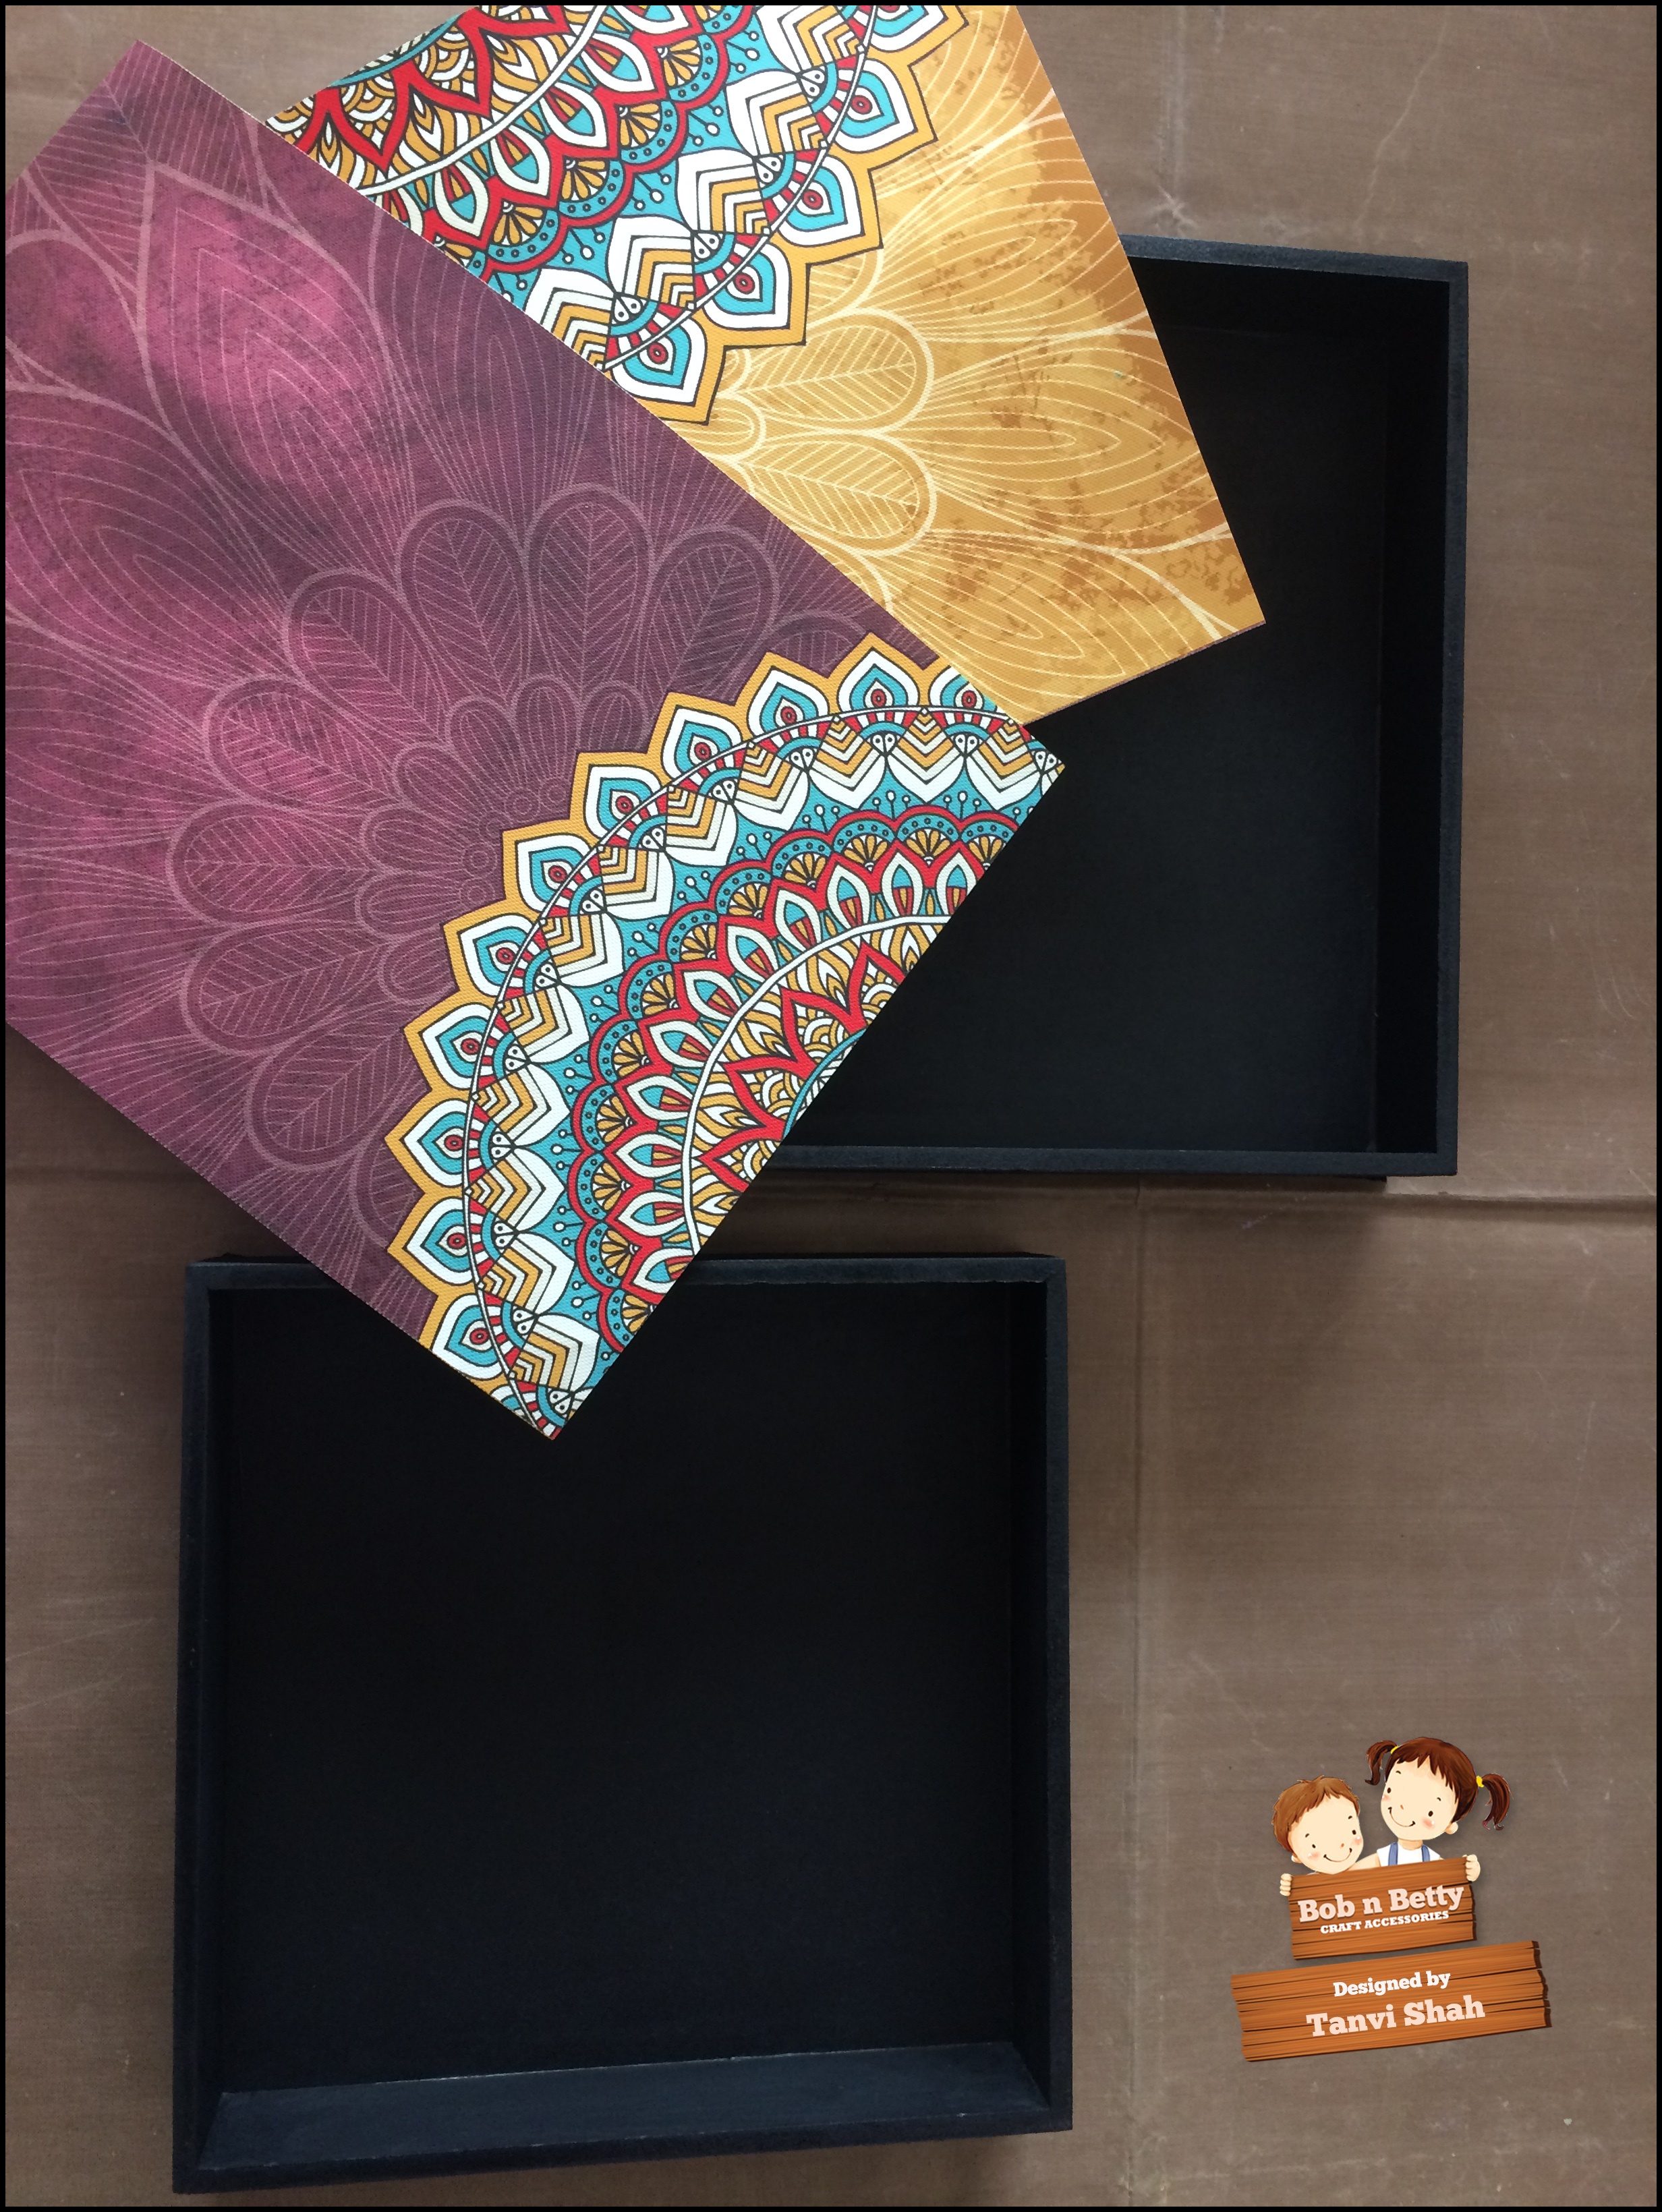
    Select the papers of choice.

    S071

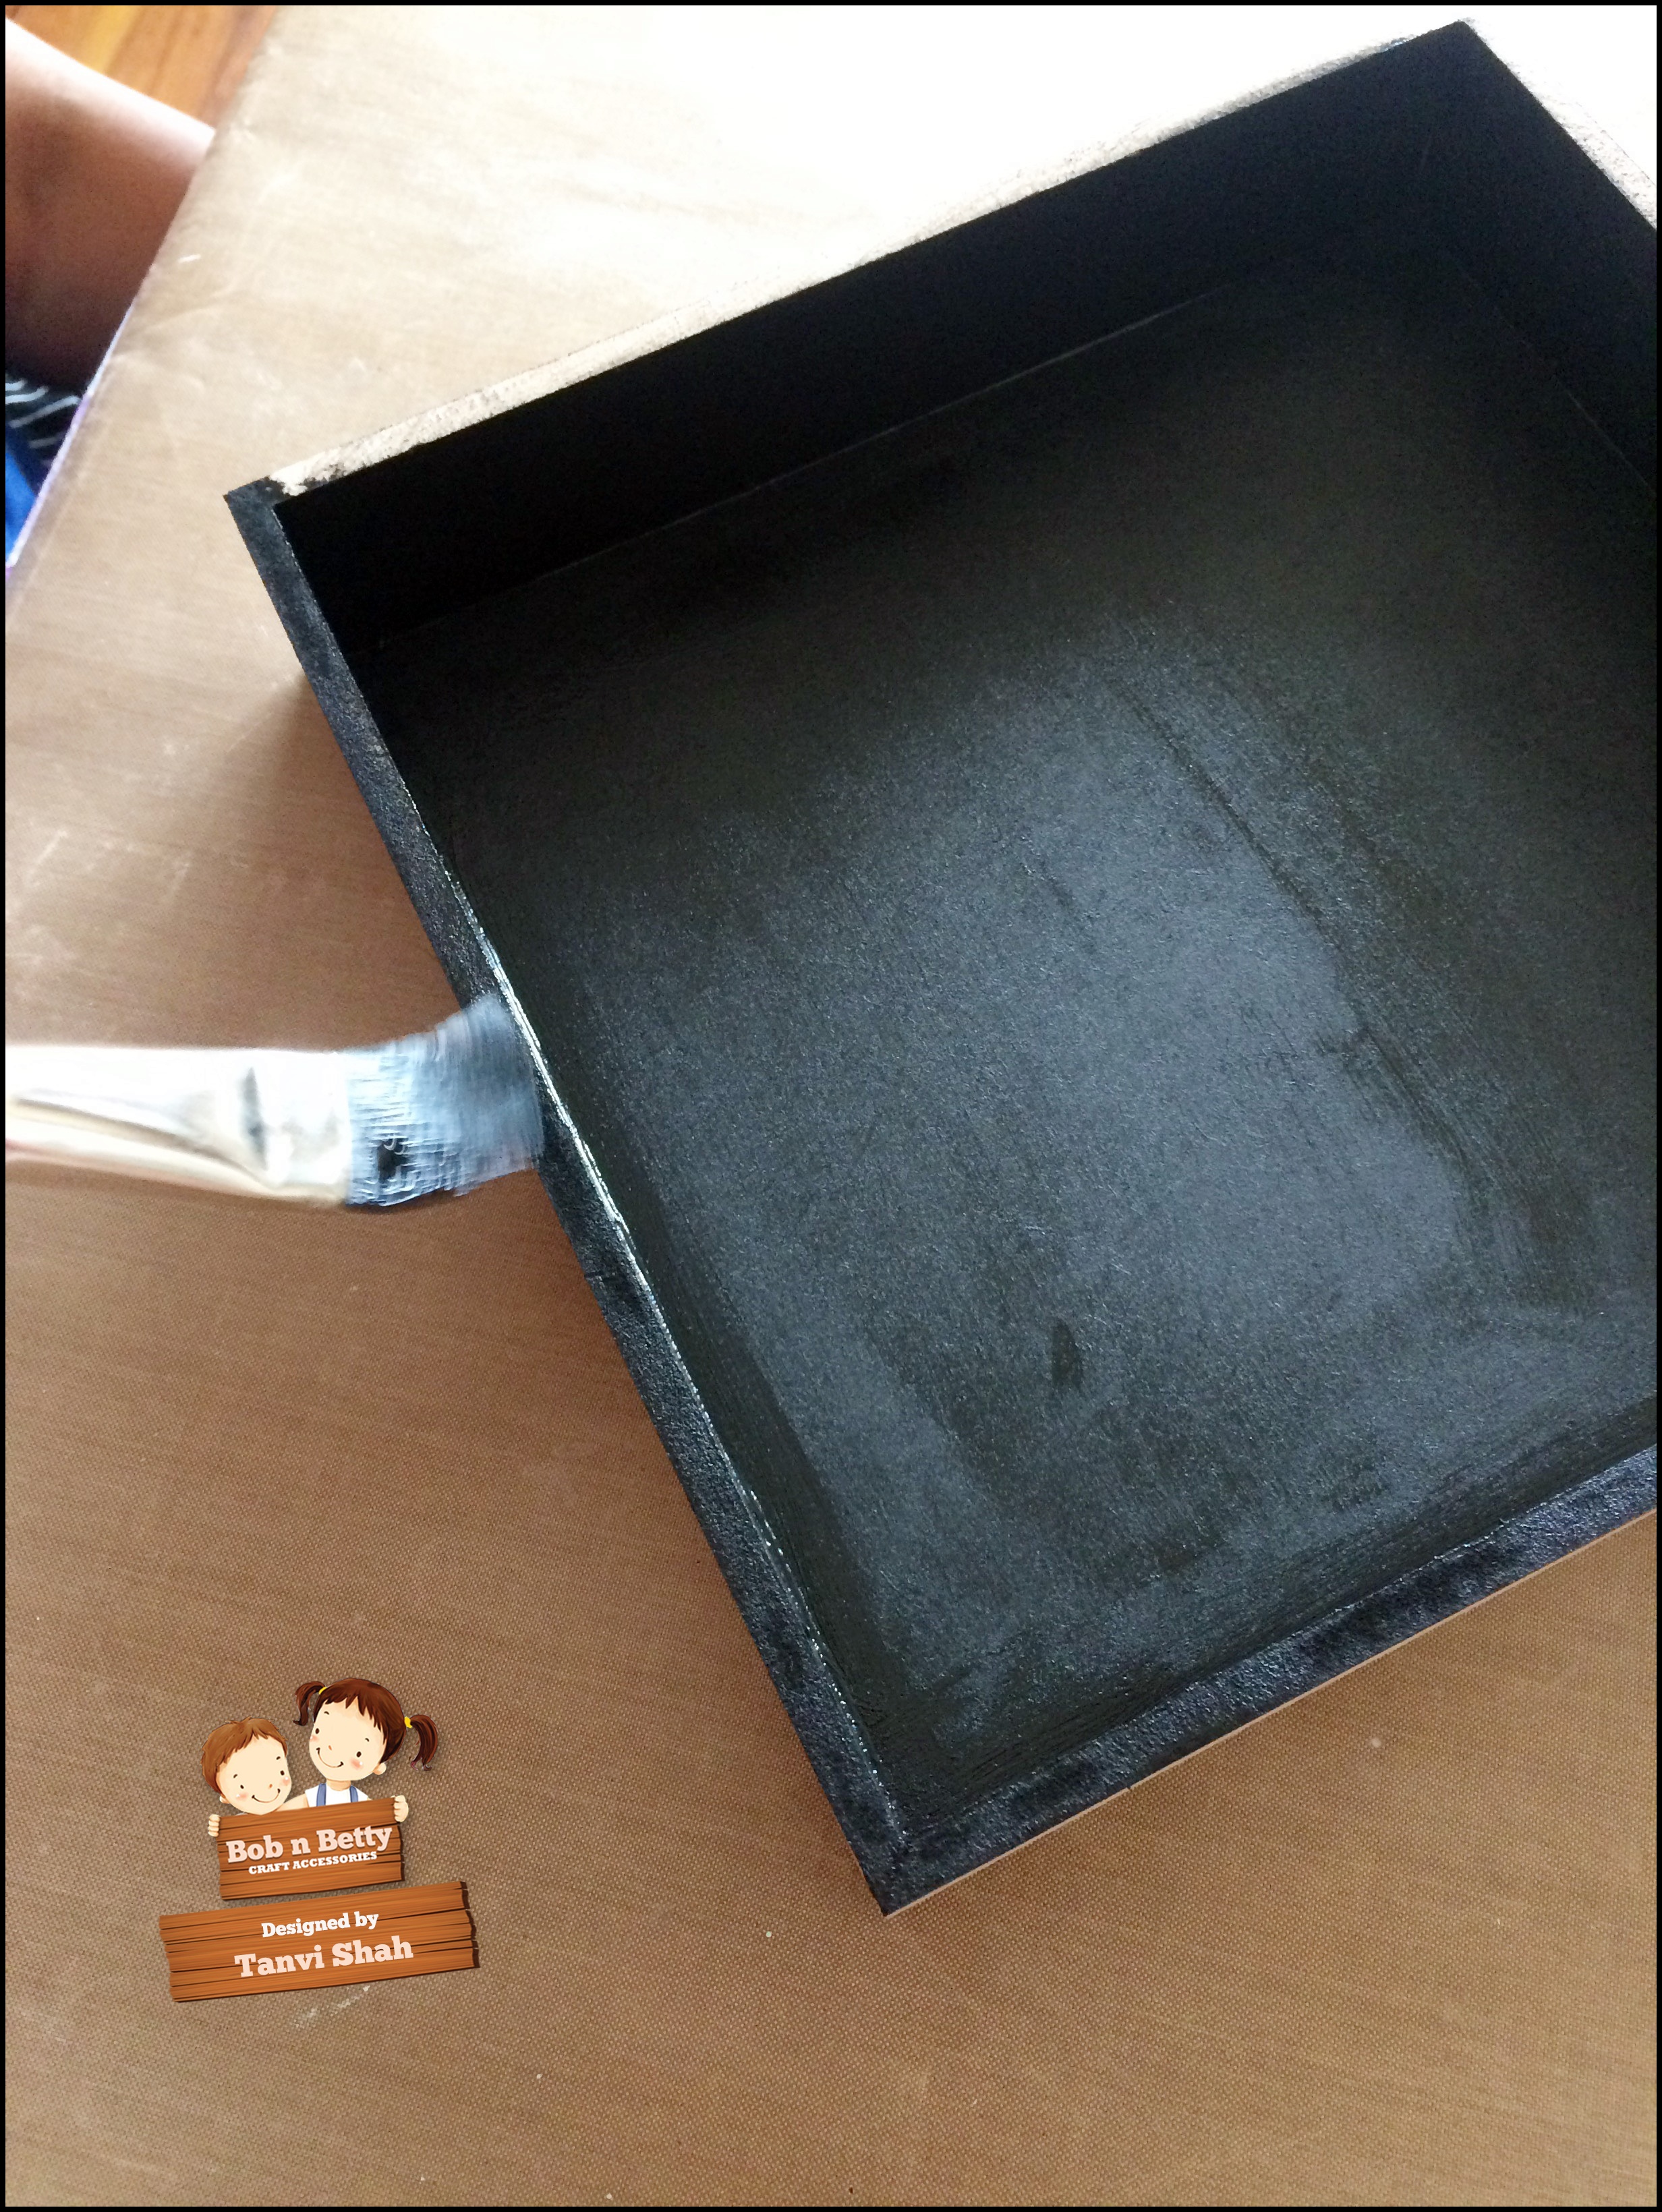
    Sand, prime & paint the entire tray. In this tray the black color will end up being the "grout" color.

    S072

    Let dry.

    S073

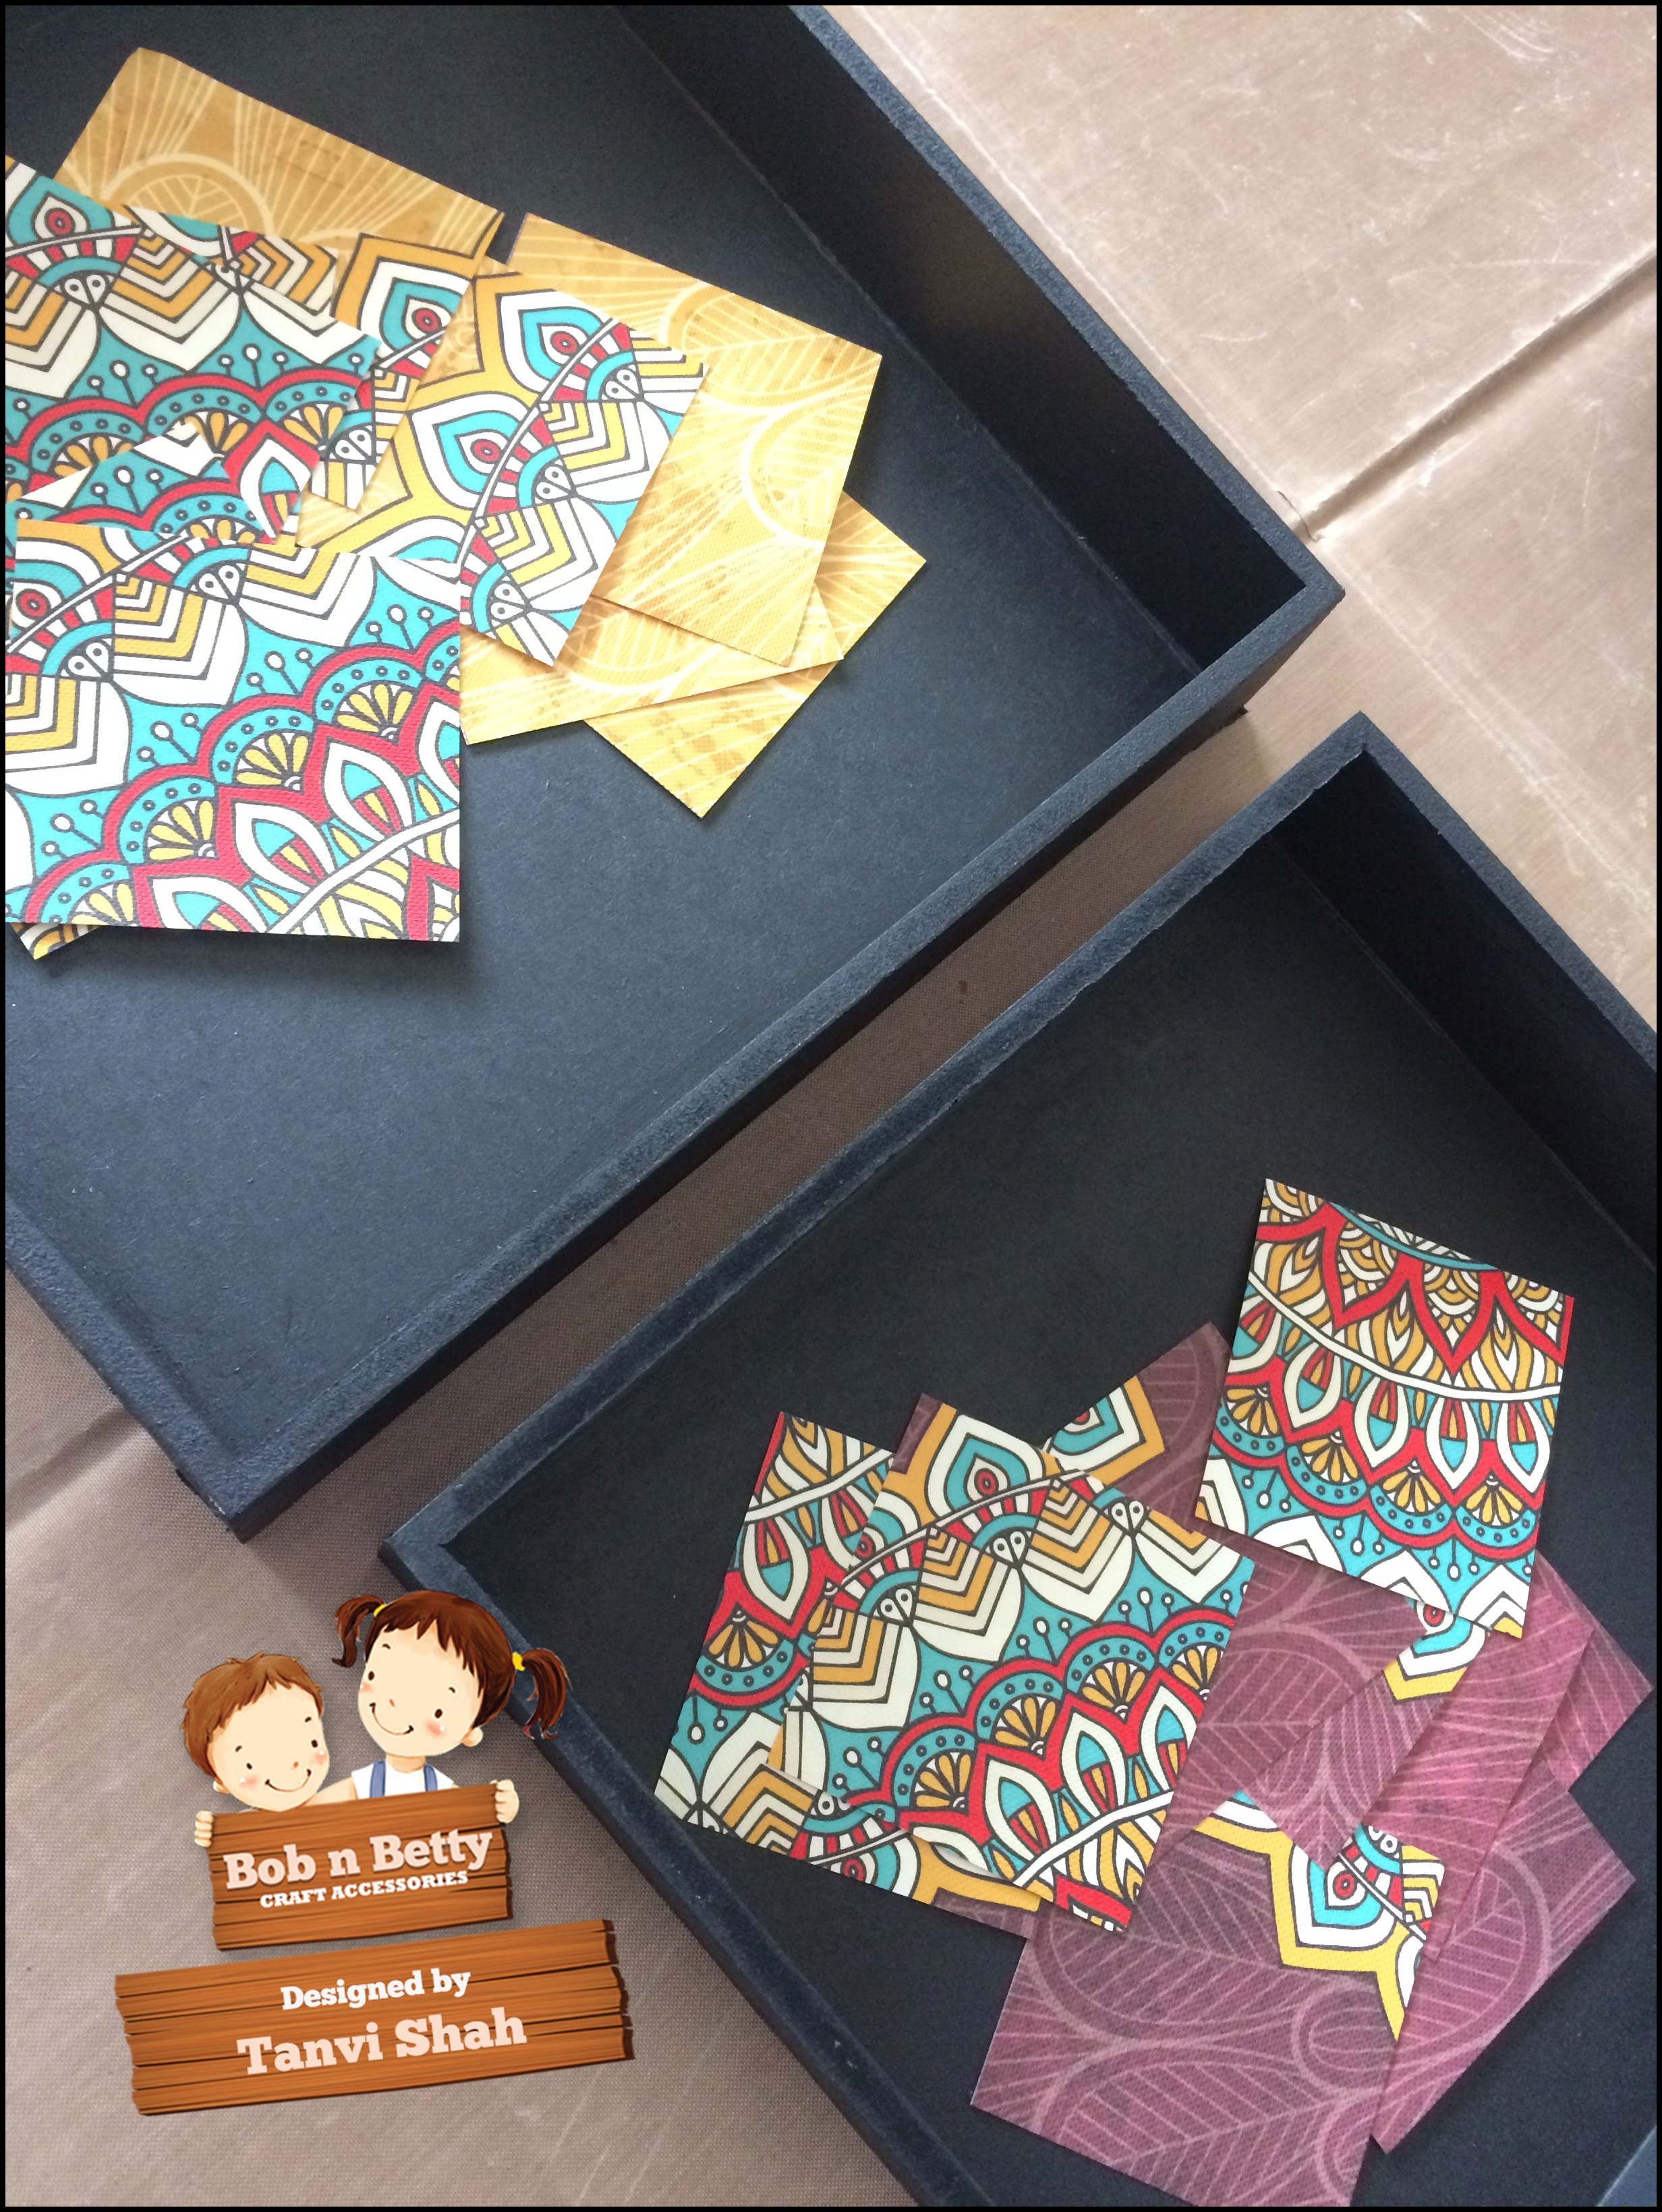
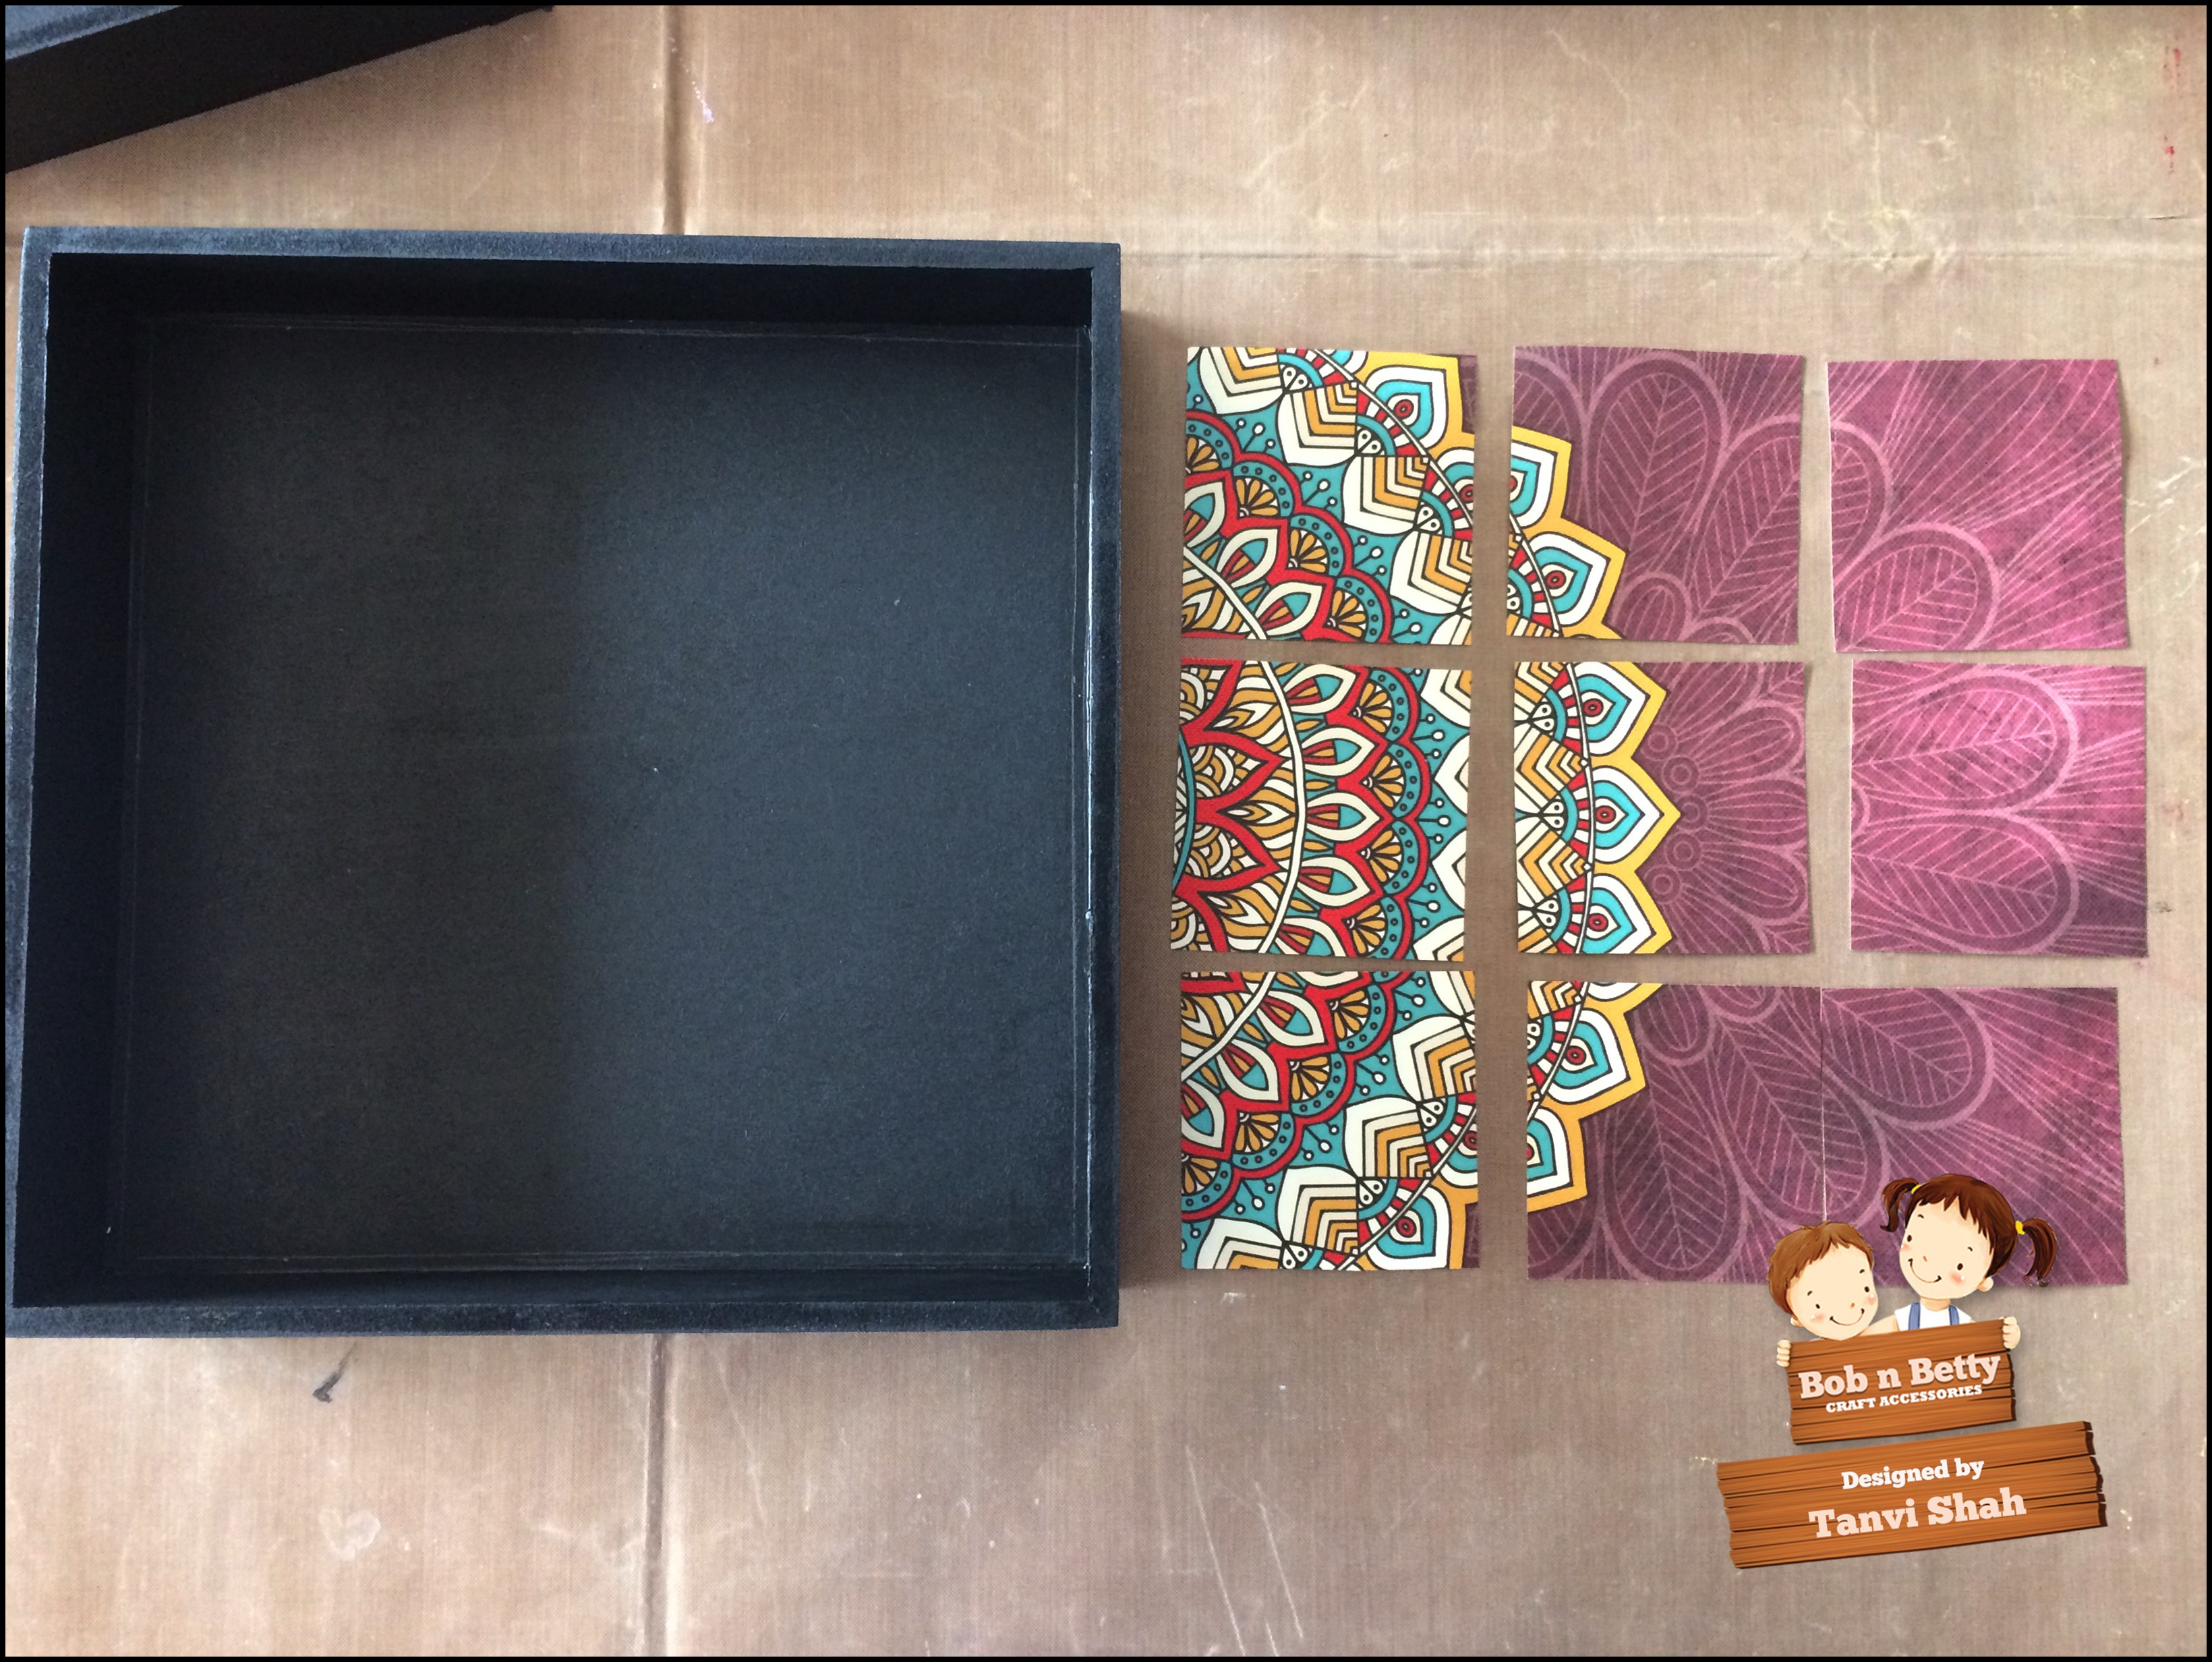
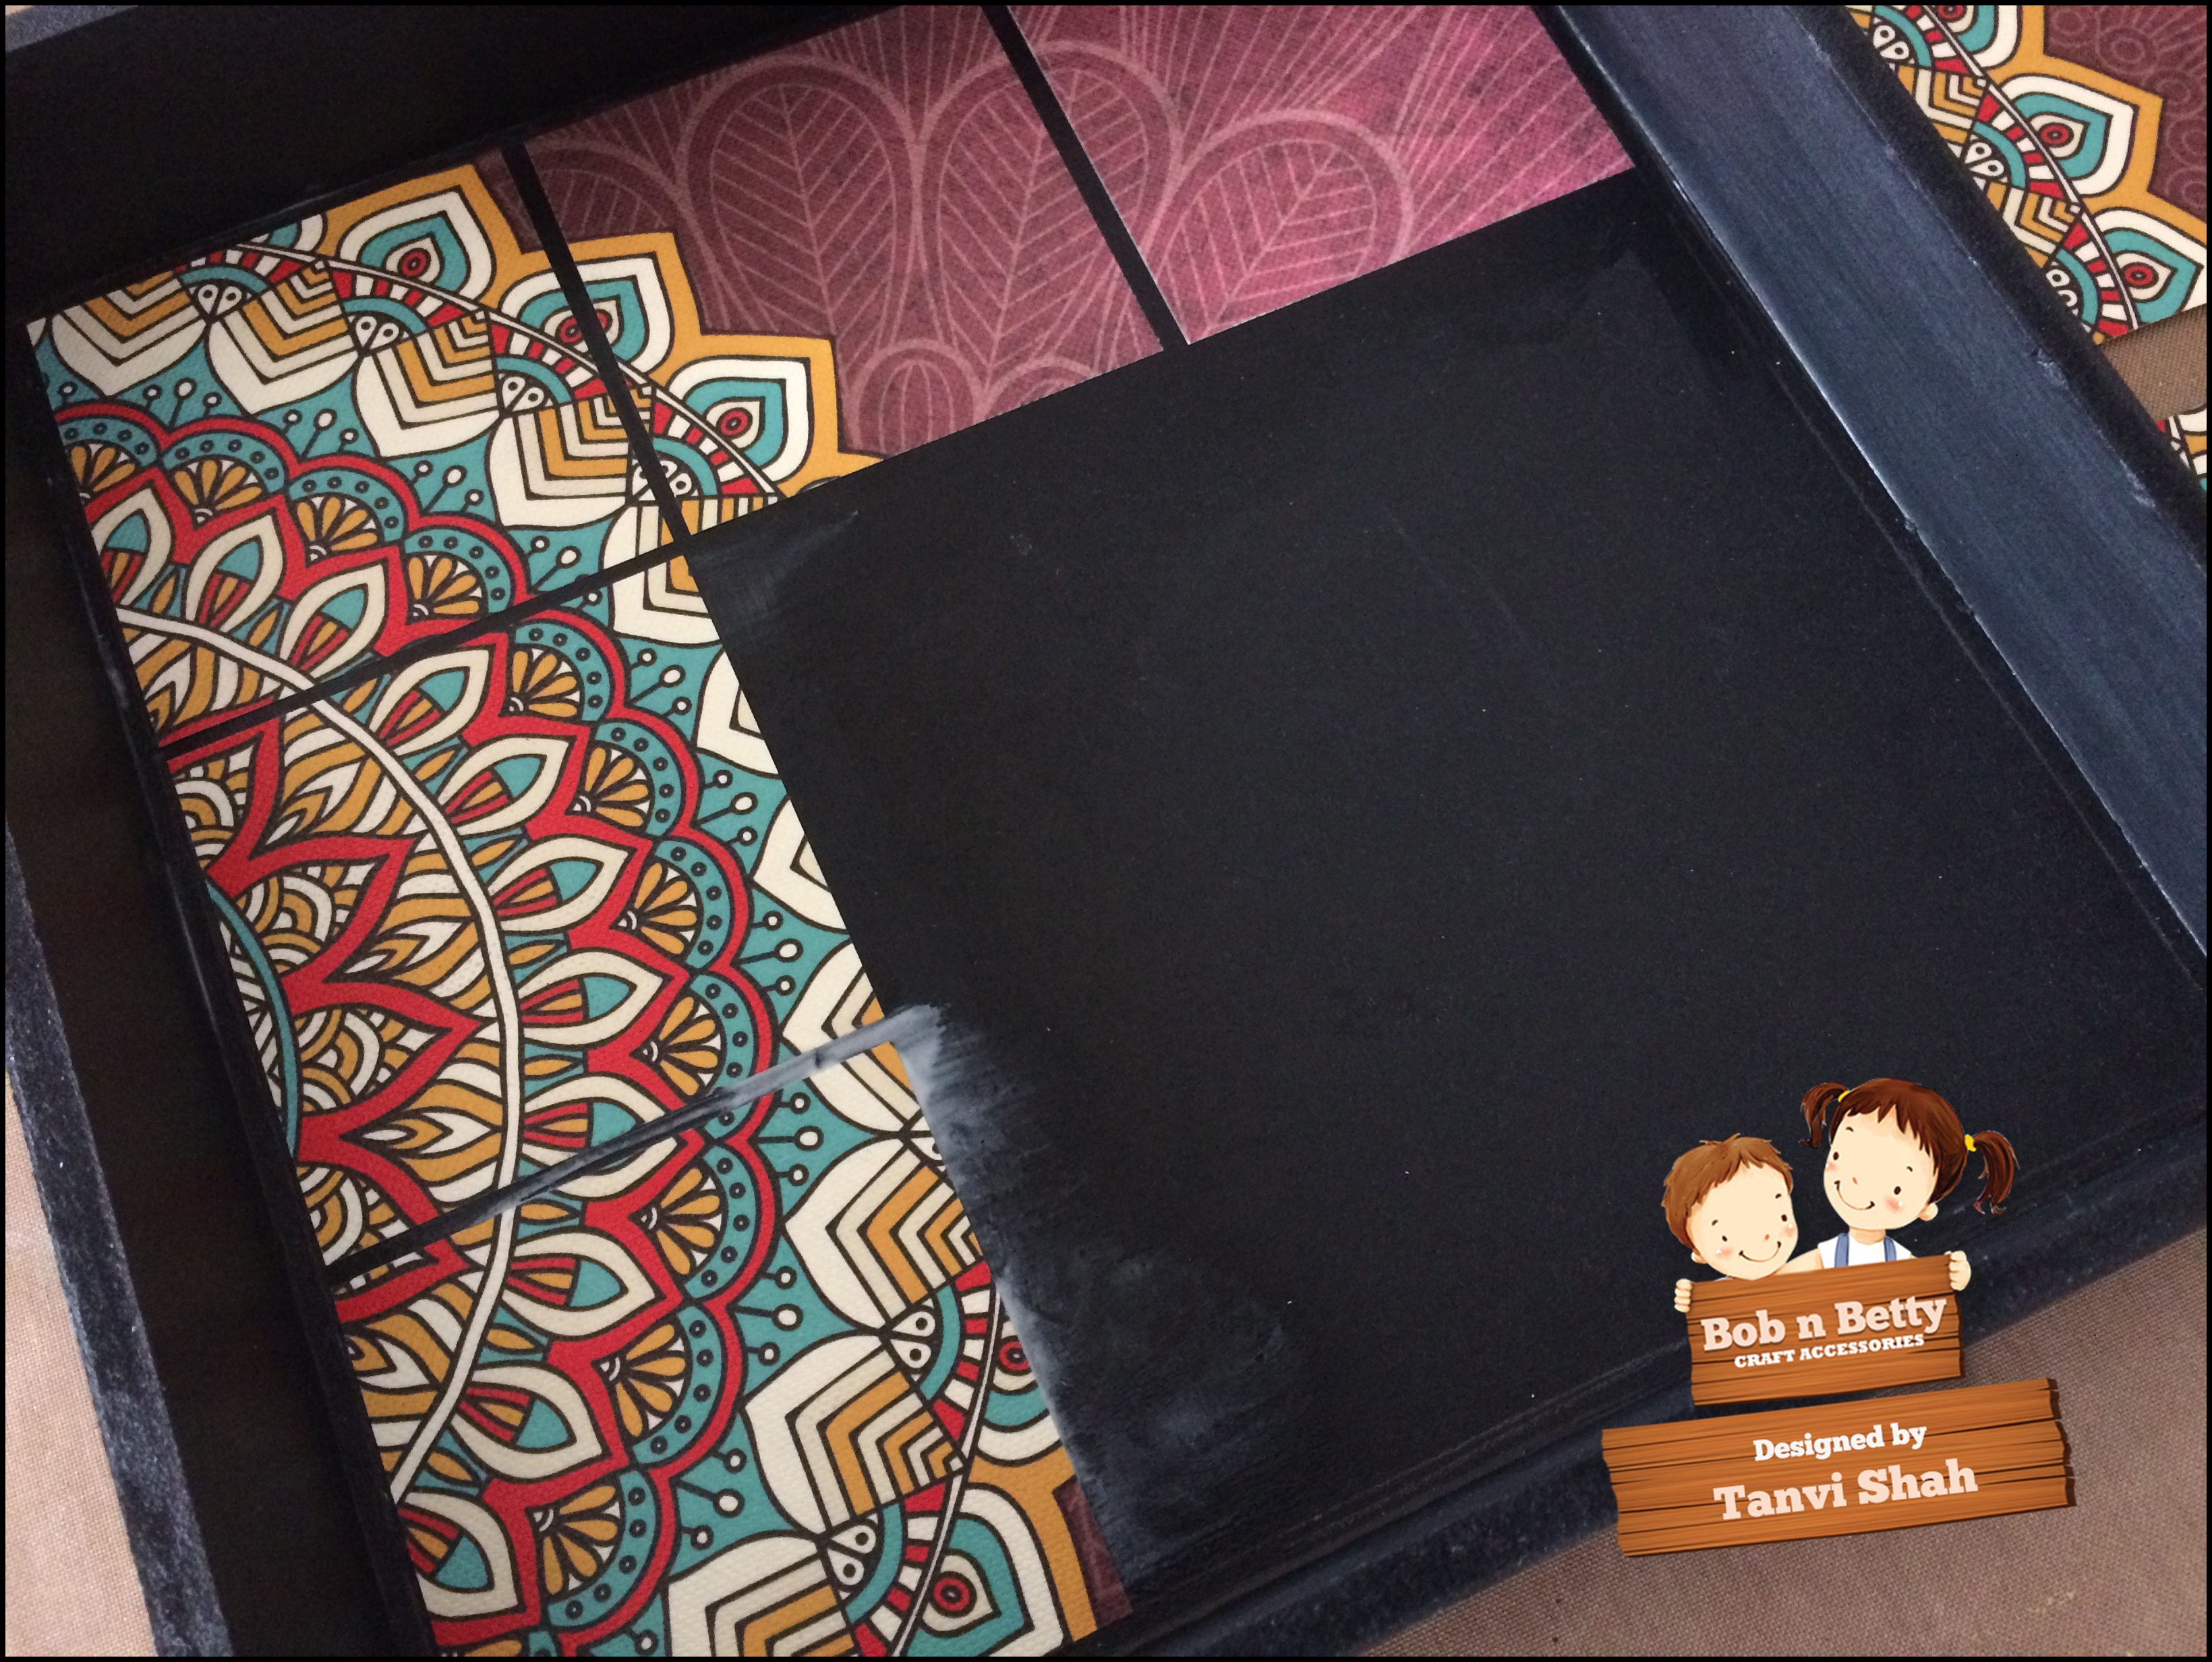
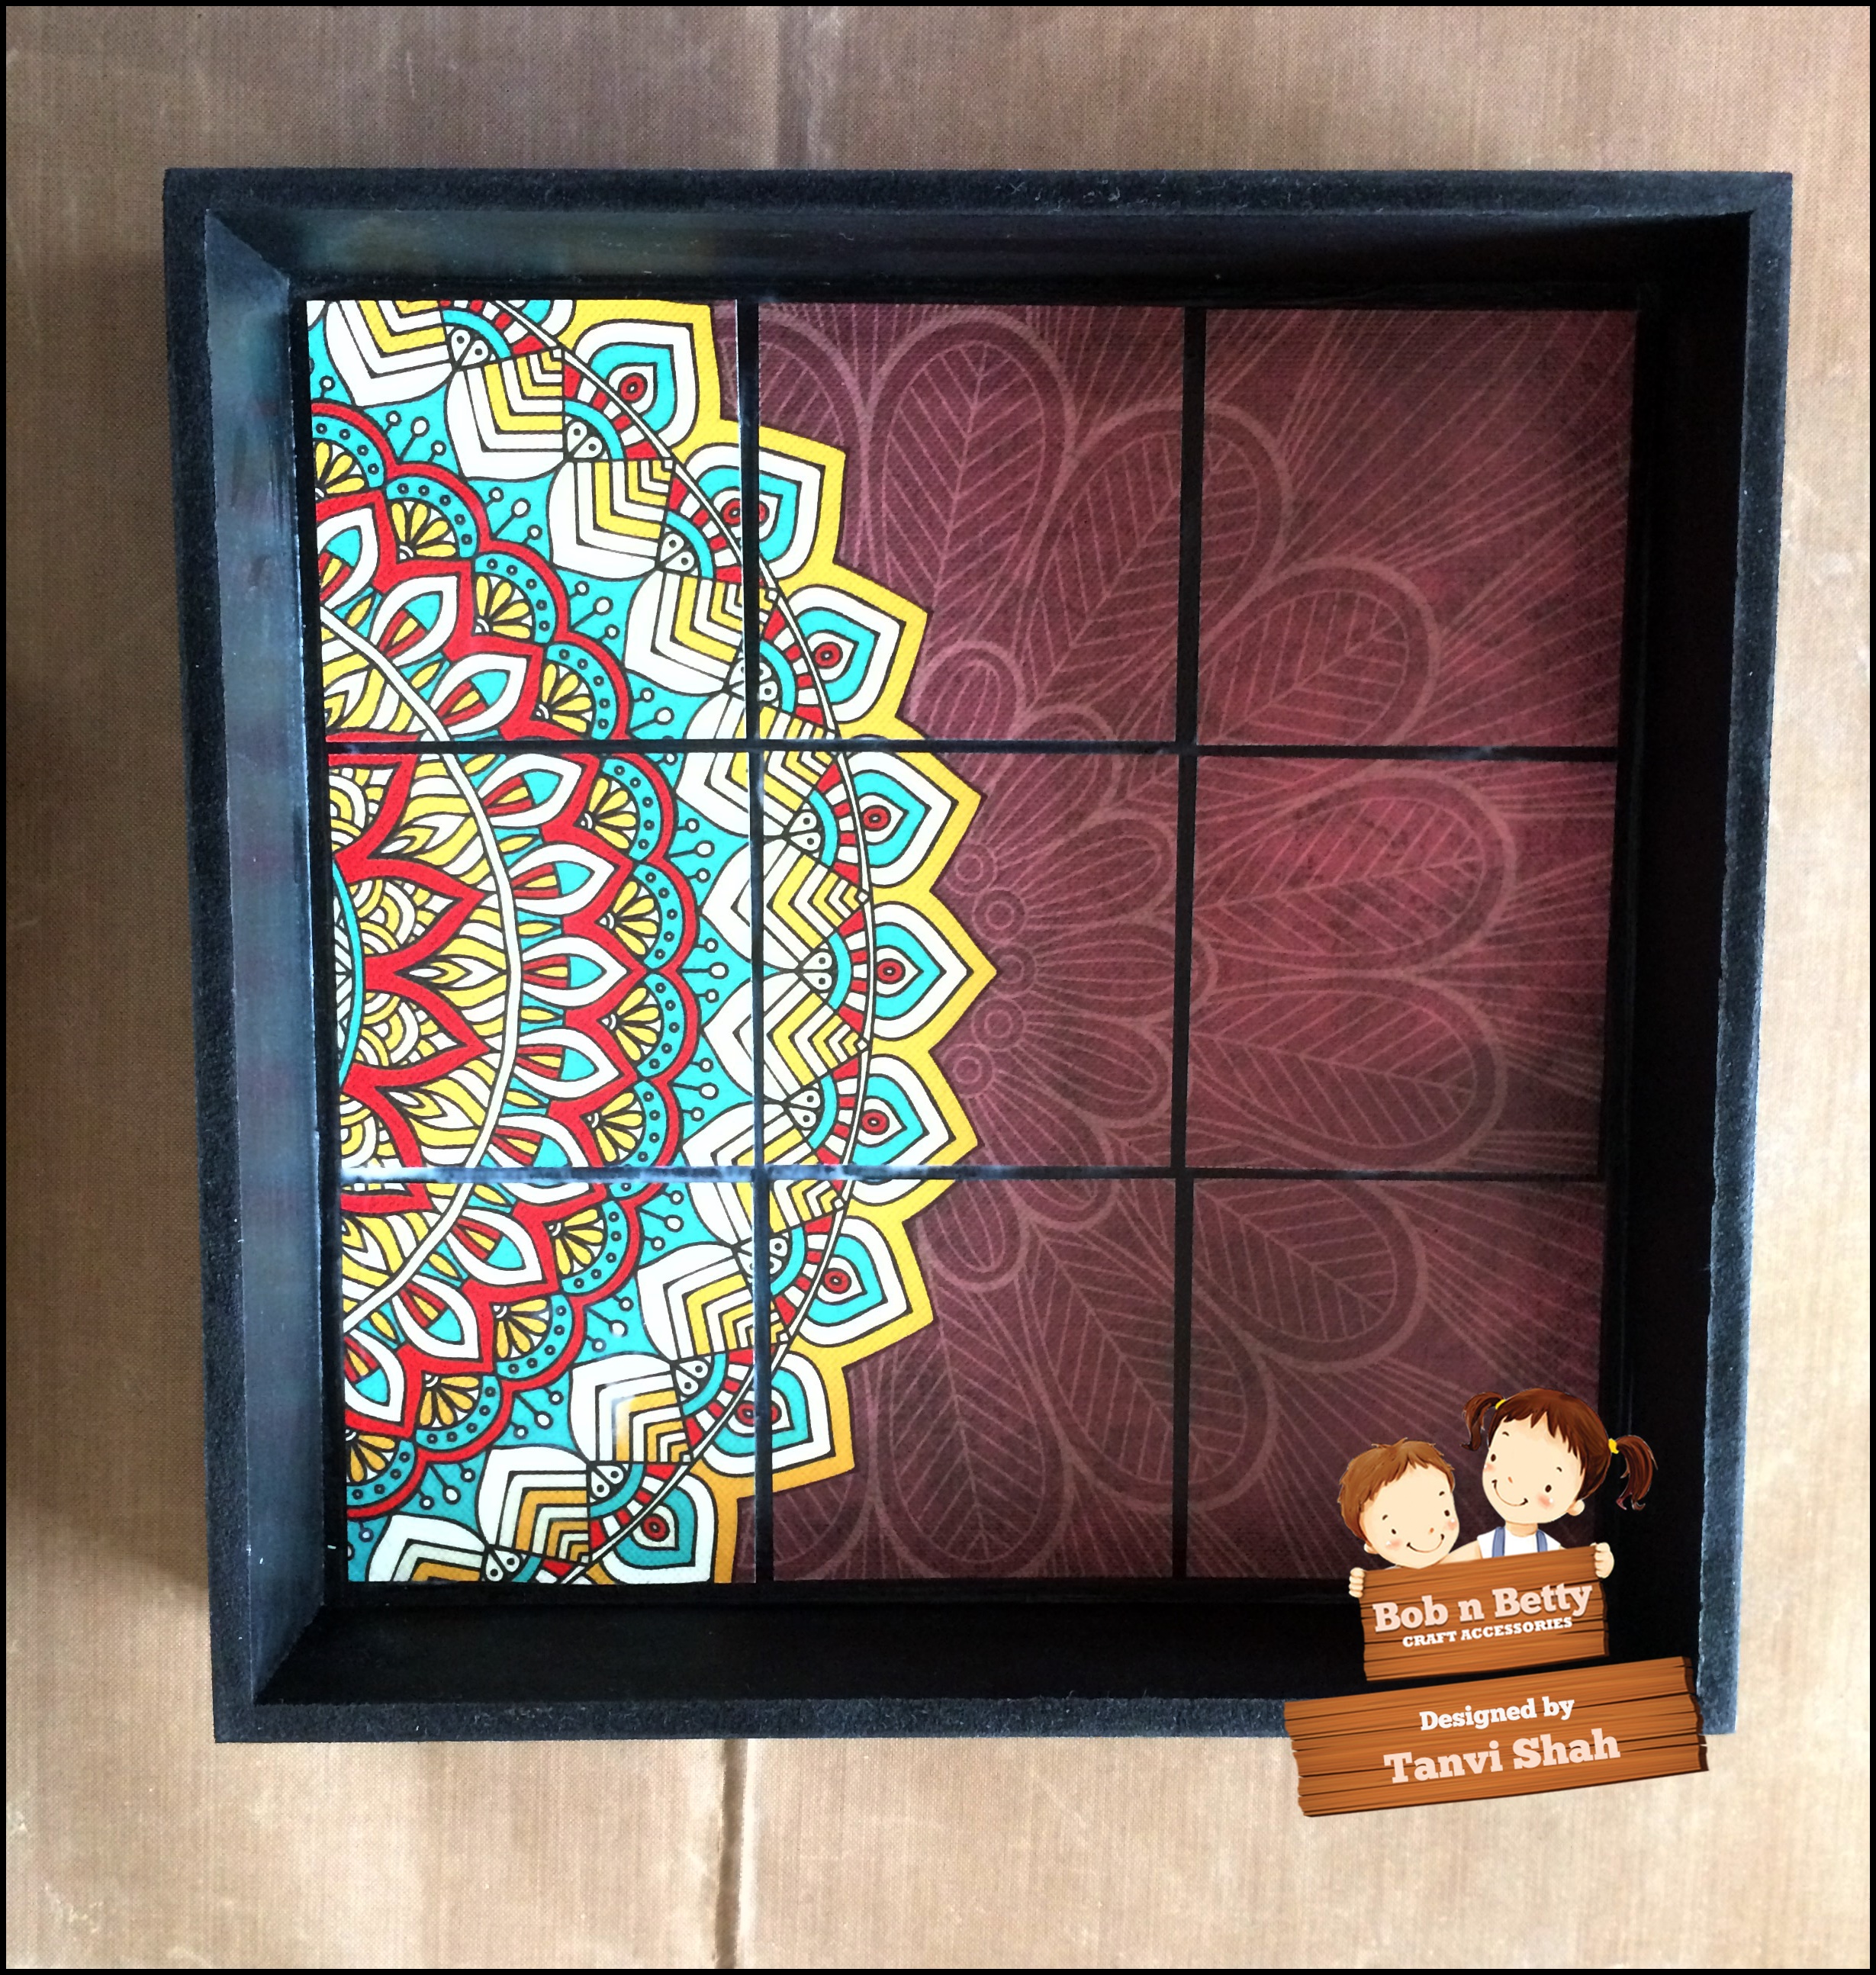
    Next measure the inside of the tray. Since mine is a square tray I decided to trim the paper into 9 pieces to make faux tiles. Trim the pieces smaller than the inside of the tray to create "grout lines"

    S074

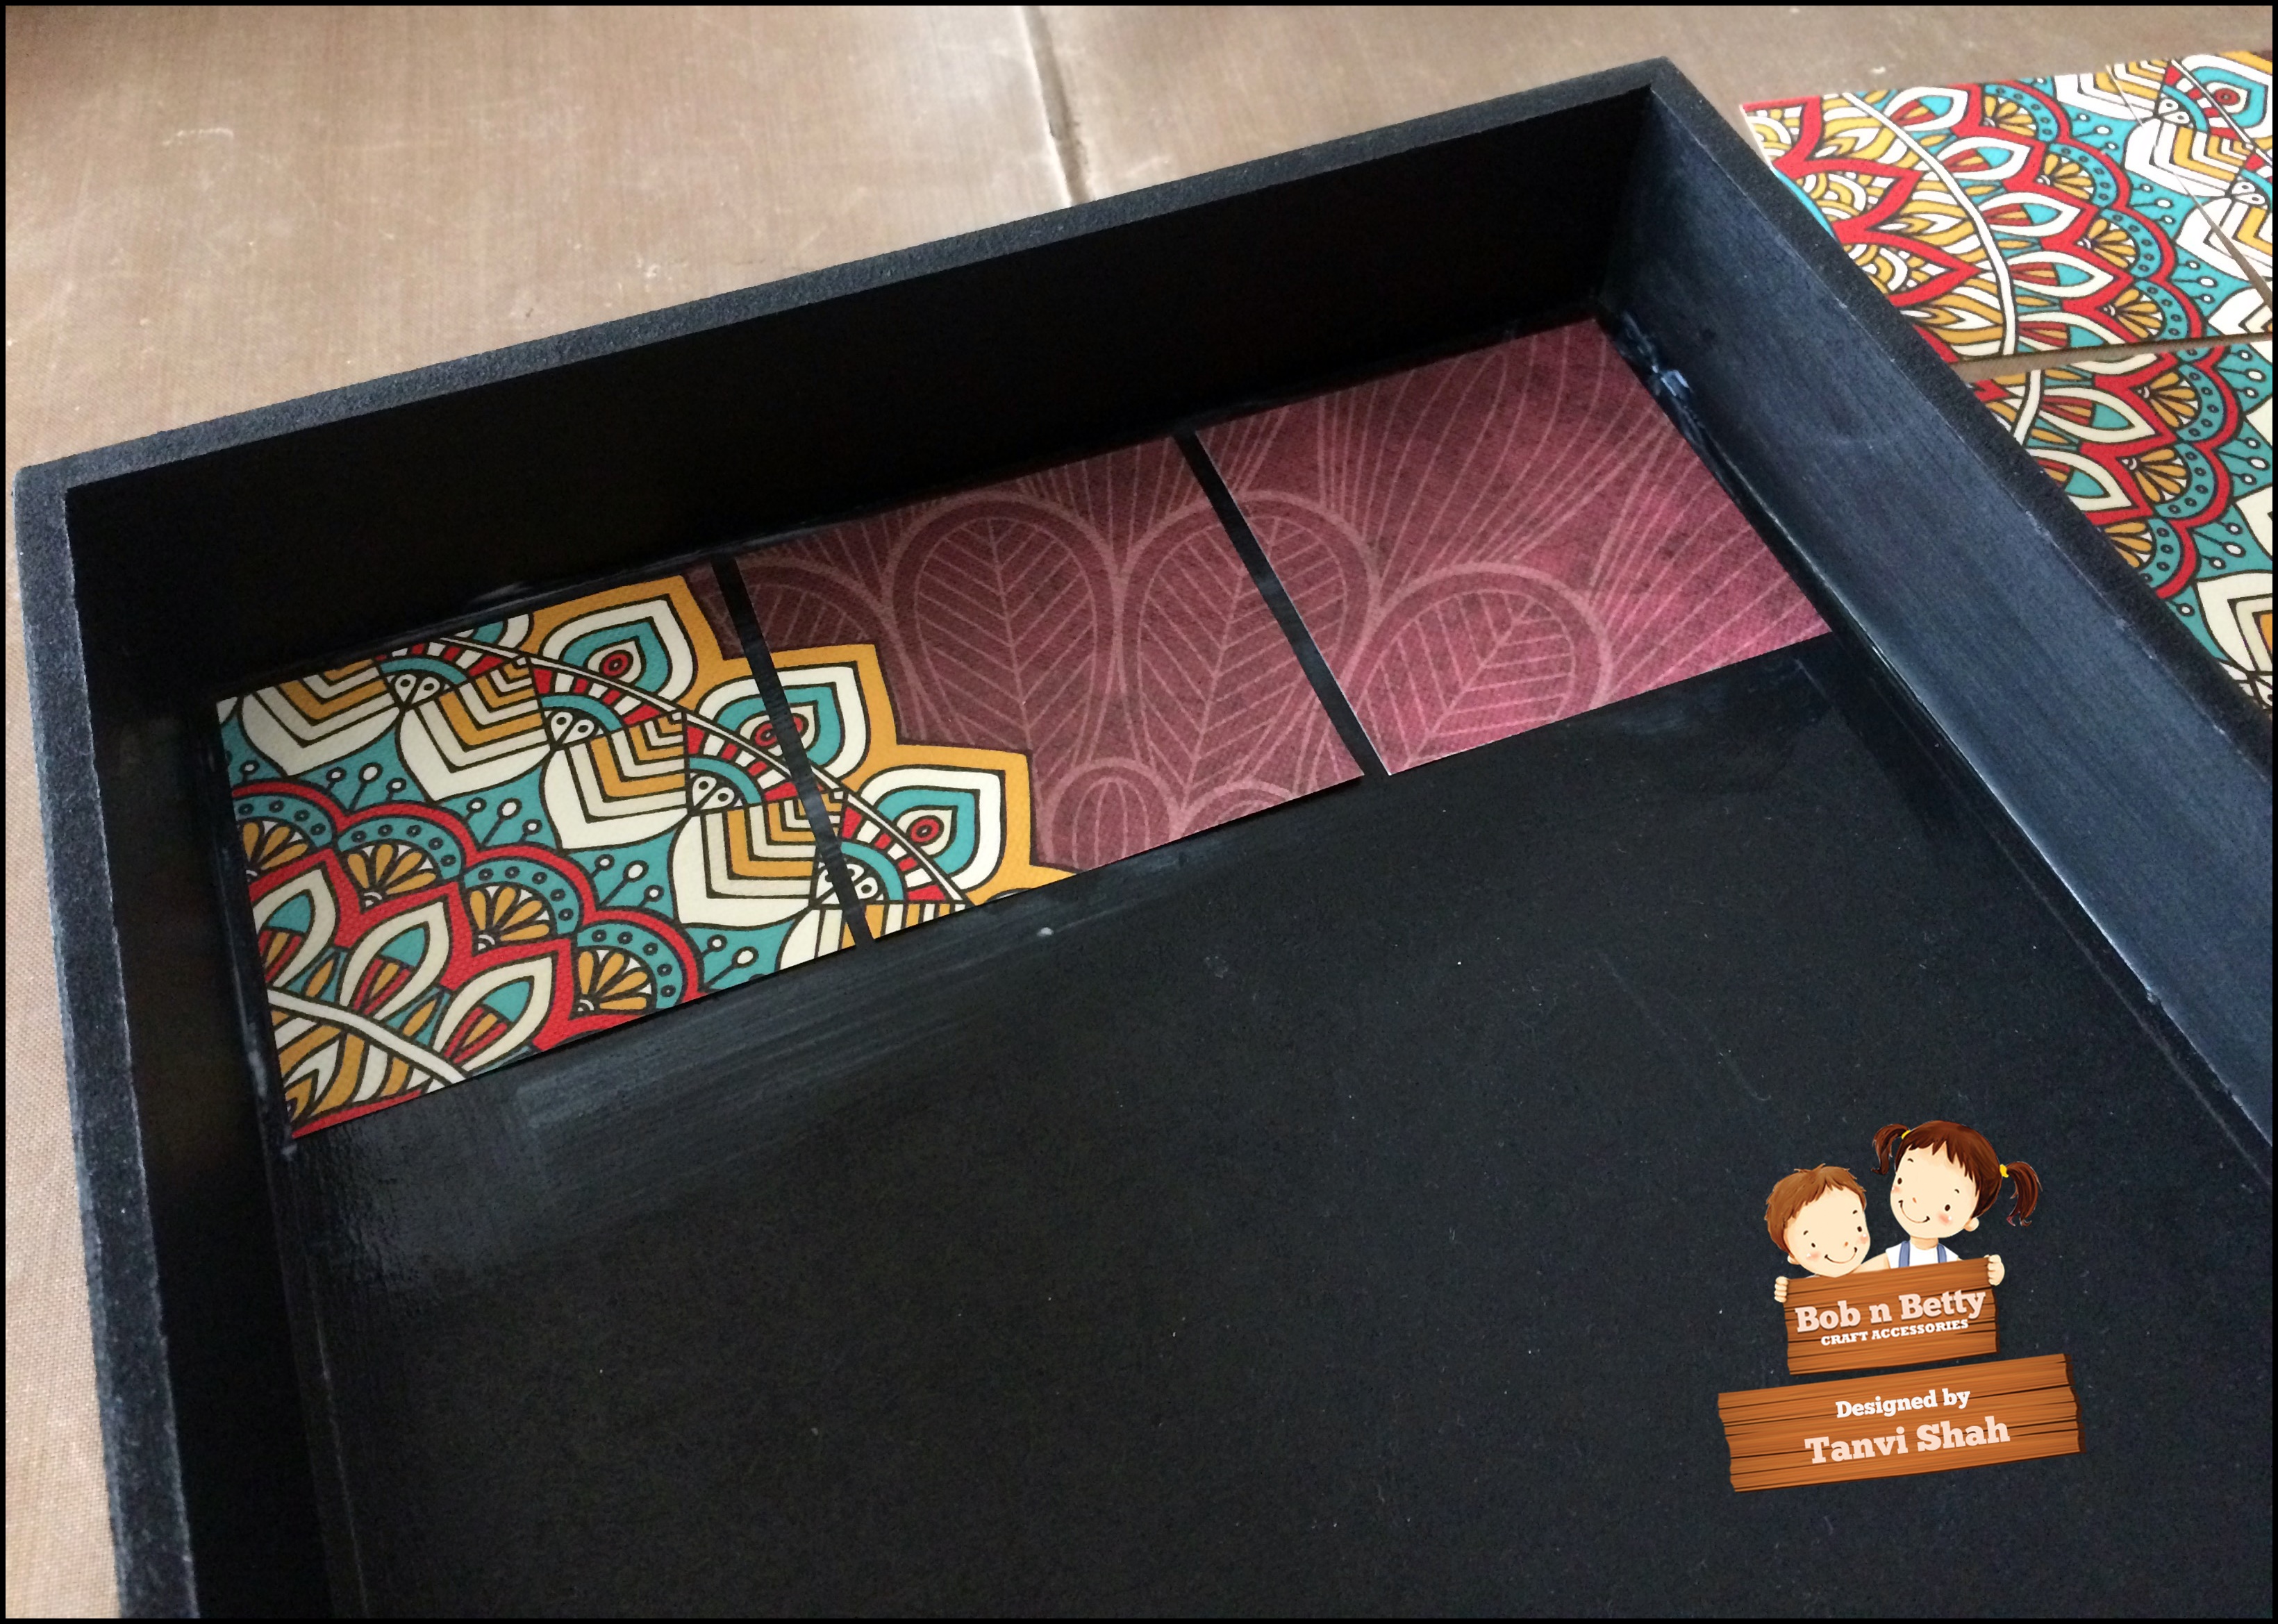
    Now we are ready to start tiling!

    S075

    While tiling I glued the left hand piece with modpodge first, followed by the right hand side & finally the middle piece was set in place, to ensure all tiles were equidistant.

    S076

    S077

    S081

    Similarly I prepared the second tray.
    Seal the surface with 2-3 coats of mod podge.
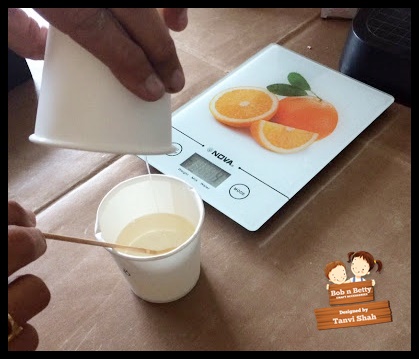
    Next lets prepare the faux glass surface for which I have used resin. The resin comes in two parts that have to mixed in equal proportions & poured. When dry we get a high gloss almost glass like look. This also makes the decoupage surfaces resistant to heat & water.
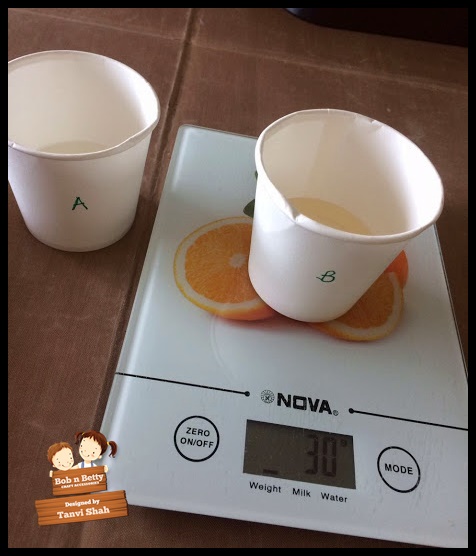
    Weigh equal amounts of Part A & Part B of the resin. One is the resin & the other the hardener.

    S121

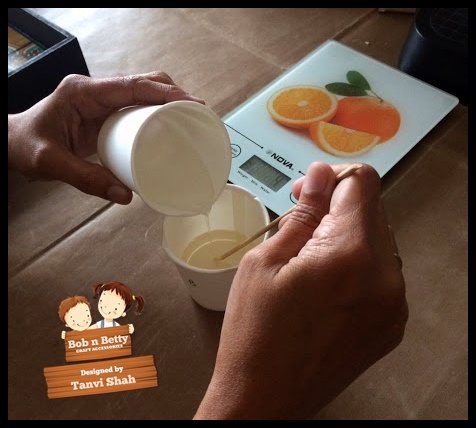
    Stir & mix very thoroughly for a few minutes.

    S128

    S122

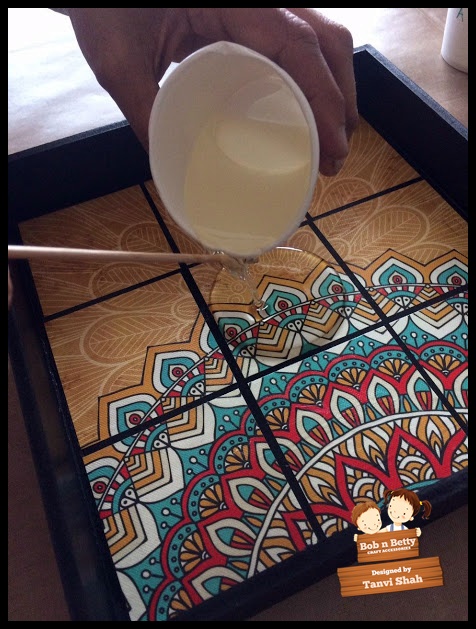
    Then pour it in the tray , using a skewer to move the liquid to the corners.

    S125

    Remove all the air bubbles that appear by blowing through a straw. Keep the trays on a flat surface.

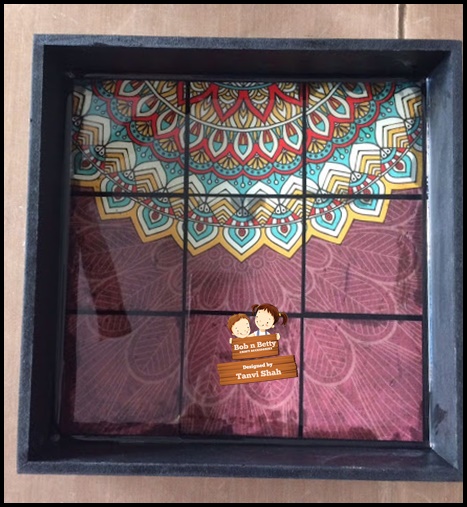
    The resin is self leveling & you will get a smooth even layer. After 10 minutes look out for air bubbles & if any blow over them to remove.

    Let the trays dry for 24h, once dry the surface will be smooth & shiny like glass!

    S129

    Aren't these beautiful!

    S123

    S120

    Seal the painted sides & bottom of the trays with several coats of varnish. Sand between layers to get a smooth finish.
    Some useful tips while using the resin -
    • Read the instructions that come in the resin kit.
    • Seal the decoupage surface with a few layers of mod podge.  If there are any bubbles or cracks, the resin will leak under the paper.
    • Make sure to mix enough resin for your project.
    • Leave the resin to set overnight on a flat surface, leave it undisturbed. If required cover it, you do not want dust particles settling on the resin.
    Please share your creations with this release in our facebook group - Bob N Betty Buddies

    Happy Crafting!


    Thank you so much for visiting & taking the time to comment on my blog. I love to hear from you & truly appreciate your feedback. Have a crafty day!
    Related Posts Plugin for WordPress, Blogger...