Showing posts with label cards. Show all posts

Friday, 10 May 2019

Coffee Lovers Spring/Summer Bloghop - Card 2

                                                                          Hello!          This is card 2 for the Spring/Summer Coffeelovers bloghop which is ending tonight.

Played with alcohol inks to create the background on yupo paper. The stenciled pattern was done with alcohol lift ink.
 
The water colored embellishments colored with Zig Brush pens are from Itsy Bitsy

Playing along the following challenges - 

WWCC#220 - 14.5 - Topper

DL.ART#243 - 31.5


Pinterest | Instagram | Facebook
Thank you so much for visiting & taking the time to comment on my blog. I love to hear from you & truly appreciate your feedback. Have a crafty day!

Tuesday, 16 January 2018

TWISTED POP UP CARD

Hope you all are having a great start to 2018!
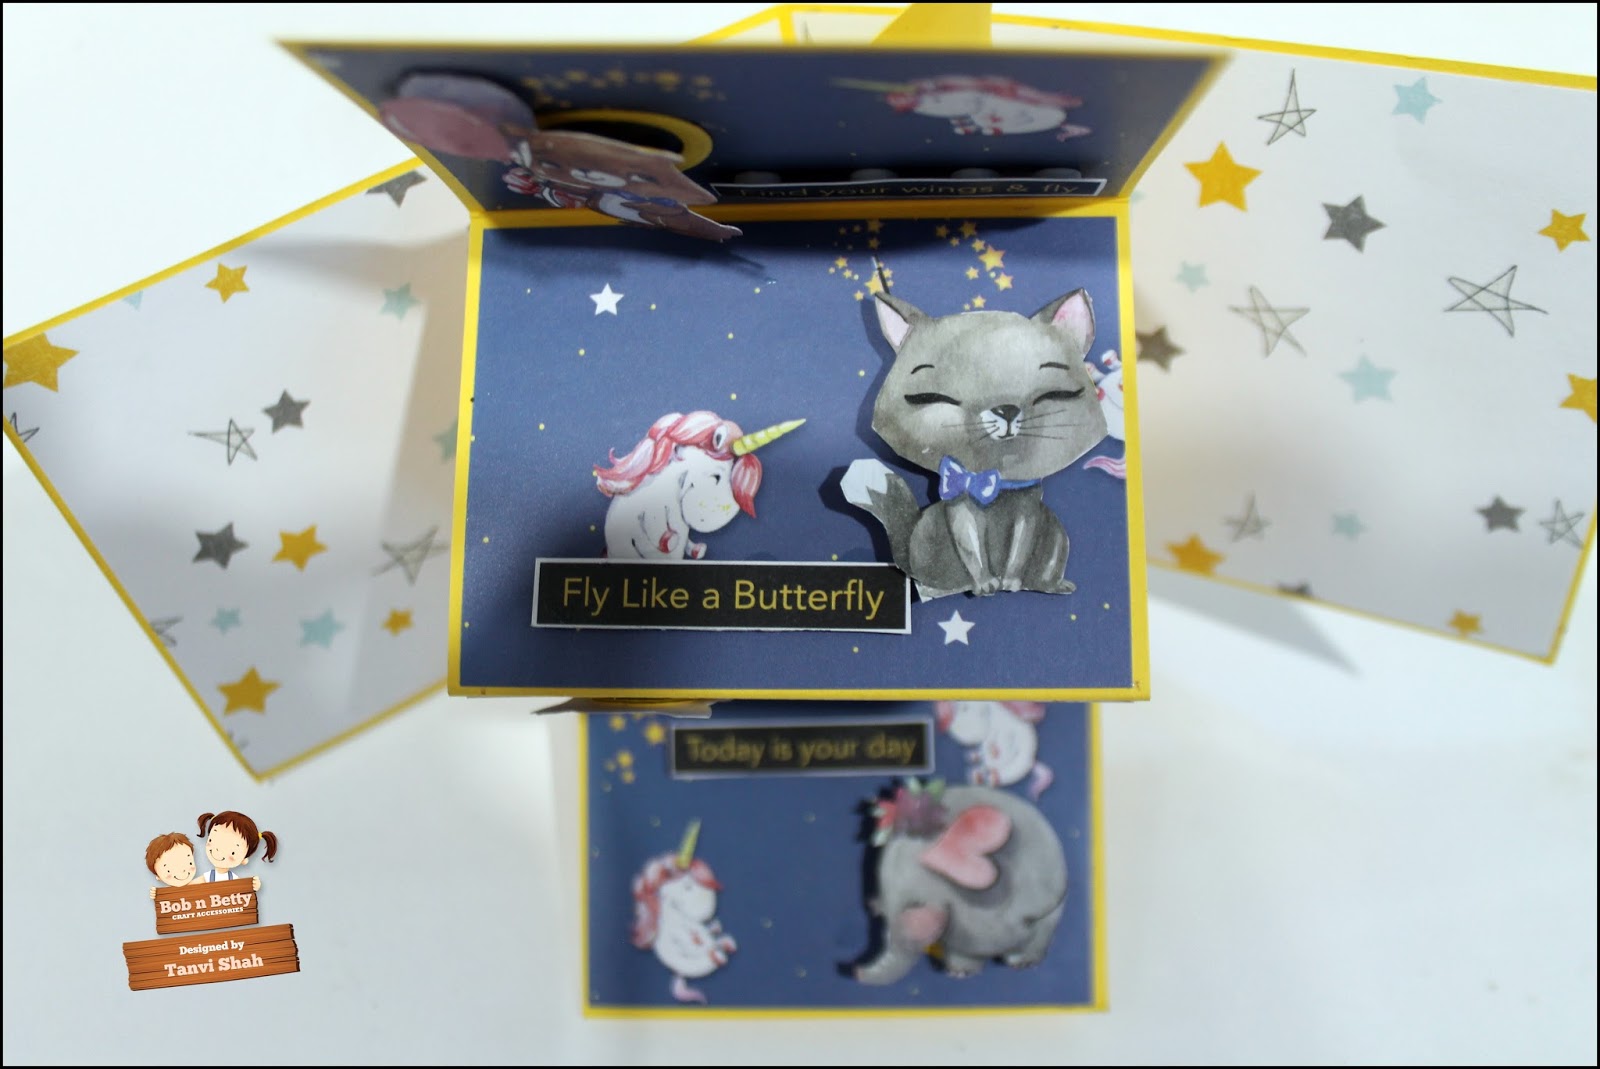
Today’s inspiration post is using the stinking cute new launch “Little Wonderland”. I have made a twisted pop up card with another twist – this is also a shaker card with wobbling elements.
The front of the card is a shaker, I have fussy some adorable critters from the collage sheet in the pack & used them in the card.
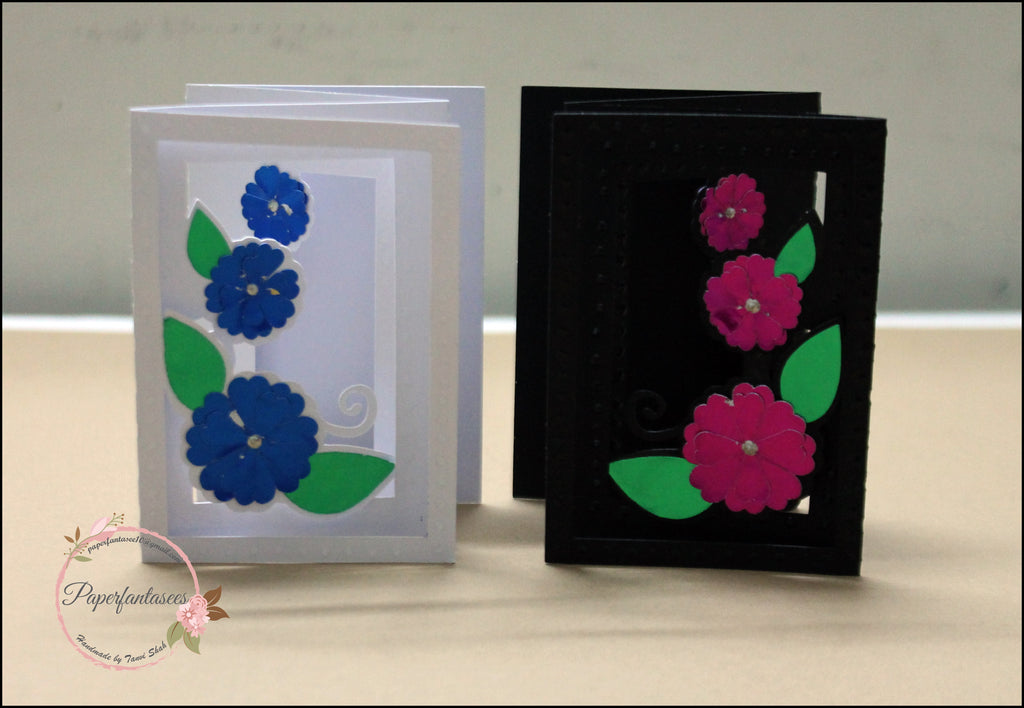
Here is a look at the card –


This cute elephant  in the corner also wobbles!


When the card opens the accordion fold panel with all the wobbling critters pop up !


This is such a cute & interactive card. I loved how I could use all the elements from the paper pack itself to make this one! Kids are surely going to love this card!
That’s it for today. Hope you like the ‘twist’ in my twisted card  ðŸ™‚
Remember you can always purchase all the beautiful Bob n Betty products from our wonderful Sale Buddies and also share your gorgeous creations on our Facebook group Bob n Betty Buddies.
Thank you so much for visiting & taking the time to comment on my blog. I love to hear from you & truly appreciate your feedback. Have a crafty day!

Sunday, 14 January 2018

BLOCK CARD

Hello Friends!

Sharing a 3D card which looks difficult to make but is really quick & easy to put together. 


For the card base, I have used a kraft colored cardstock & Fuchsia/Fuchsia Starstruck foiled paper. I love this hot pink shade of the foiled paper with stars embossed on both sides. 


Though this card looks like blocks put together, it can fold flat & this size easily fits in our standard envelopes when pushed flat. If it is embellished, one can make an envelope box, like the one I made.


Hope I have inspired you to try out this amazingly unique foiled paper. 

Thank you so much for visiting & taking the time to comment on my blog. I love to hear from you & truly appreciate your feedback. Have a crafty day!

Friday, 29 December 2017

Accordion Fold Card

Hello!

Hope you all had a wonderful Christmas. I have a card share in this post today. In my previous posts, I have used Rinea specialty foiled paper to stamp, die cut & for 3D projects. Did you know that the Rinea foil paper can also be used with the Silhouette Cameo/Cricut?

These are the cards I made using a cutting file from the Silhouette store - 

Cards using Rinea Foiled Paper

This is an adorable 2.25" X 3.25" card that folds into a four-page layered card & can be easily mailed. I have two versions of this card - 
For the first one, I used Sapphire Gold Glossy Foiled paper.


The Fuchsia/Gold Glossy foiled paper 
against black cardstock looks absolutely stunning in the second card, don't you agree?


Thank you so much for visiting and happy crafting!


Thank you so much for visiting & taking the time to comment on my blog. I love to hear from you & truly appreciate your feedback. Have a crafty day!

Tuesday, 19 December 2017

Cards with Rinea Foil paper & Joy Clair Stamps

Today I have two card shares, as part of my DT projects for Rinea blog.  
For my first card - a very simple & elegant one I have used Ruby/Gold Glossy Foiled paper to die cut the puzzle pieces, yes Rinea foil paper can be easily die cut.


Using foam squares I popped the die cut pieces to add some dimension. The sentiment is from the Love Quotes stamp set by Joy Clair.


For my second card, I used Turquoise/Gold Glossy Foiled paper, also available in the Frosted Foiled Paper variety pack. The background was created by repeated stamping using ghost ink. Again the sentiment is from the Love Quotes stamp set by Joy Clair.


It was a challenge to capture this classy background on camera. Here is a closeup -


Thank you so much for visiting & taking the time to comment on my blog. I love to hear from you & truly appreciate your feedback. Have a crafty day!
x

Sunday, 1 October 2017

Card with a Gift Box

Hello, All!
I am back Awith a tutorial to make a card with a gift box! Interesting, isn't it? This is based on a tutorial here, I recently came across.

Gift box in a card using Rinea Foiled Paper

Here are the steps to make one -
  1. Take a piece of black cardstock 8 ½ x 11".  Score at 5½" on the long side to make a top fold card base measuring 5 ½ x 4 ¼".
  2. Mark a 2 x 2" panel (folded side up) about 1" from the right side of the card base.
  3. Trim off this piece as shown below (when unfolded it will measure 2x4")
 
4. Make a box measuring 2x2".
    To decorate the gift box cum card I have used sapphire/gold glossy foil paper.


    Gift box in a card using Rinea Foiled Paper

    Sharing this at the following challenges -
    Simon Says Stamp - Monday Challenge - 1.10
    Simon Says Stamp - Wednesday Challenge - 3.10
    NBUS Challenge #12 - 3.10 (NDUS is the embossing folder)

    Thank you so much for visiting & taking the time to comment on my blog. I love to hear from you & truly appreciate your feedback. Have a crafty day!

    Thursday, 14 September 2017

    Wedding Invite using Rine Foiled Paper

    Hello & Welcome back!

    Rinea foil has paper-like properties & can be used with standard dies with ease. For my project today I used a very intricate Spellbinders die (Tranquil Moments) for a wedding invite. Without much effort except running the sandwich several times through the cutting plates, I got fantastic die cuts. Here is the card -


     Isn't it gorgeous????


    The intricate die & the star struck foil in fuchsia  were just perfect! So much depth & dimension!


     I have another version of this card too............Indian version as I call it! The paisley embellishment is perfect, do you agree!!!


    Thank you so much for visiting & taking the time to comment on my blog. I love to hear from you & truly appreciate your feedback. Have a crafty day!

    Friday, 30 June 2017

    Mocha Happy!


    Hello & welcome back!
    Its the last day of the Summer's Coffee Lover's Blog Hop & 
    I managed to brew another card while sipping my cuppa BRU (my fav coffee!) 

    For this card I first created a MOCHA patch in the card base, using vintage photo distress oxide & gold alcohol splash splatters. I then spritzed some water for added texture. Loved the gold shimmer of the alcohol splash. The image from Newton's Nook is colored with copics & sentiment is from Altenew. To finish the card I added a few coffee stains & this sort of brought the layout together!


    I like to use gold alcohol splash in my cards because the gold kind of resists layers over it! A closer look at this image & you will understand what I mean! 


    Linking this to - 


    Supplies used - 
    Memento - Tuxedo black
    Newton's Nook - Newton Loves Coffee
    Altenew - Coffee Talk
    Copic Markers
    Your Next Stamp - Enamel Dots/gum drops
    Archival Ink - Coffee
    Simon Says Stamp - Stitched rectangle & circle dies

    Thank you so much for visiting & taking the time to comment on my blog. I love to hear from you & truly appreciate your feedback. Have a crafty day!

    Wednesday, 28 June 2017

    Cards - Rinea foil

    Hello Friends!
    Today I am at the RINEA blog with these two cards.
    The first one is a simple word shaker card. For the front card base I have used Glossy Ruby/Gold from the Jewels Foiled Paper Variety Pack


    I love the glossy ruby foil peeking in the shaker window! Simple but an absolute classy card!


    The second card is in one of my favorite white & silver combo. For this card I die cut a large butterfly in the front panel of the card base. Used  Silver/Silver Glossy Foiled Paper on the backside to cover the window. Also die cut some smaller butterflies to add some dimension. Rinea foil cuts so easily with any standard die. The sentiment is heat embossed.


    I also embossed the die cut to pop the wings.


    Linking this card to the folowing challenges - 


    Thank you so much for visiting & taking the time to comment on my blog. I love to hear from you & truly appreciate your feedback. Have a crafty day!
    Related Posts Plugin for WordPress, Blogger...