Showing posts with label charms. Show all posts

Saturday, 19 May 2018

Mixed Media Journal Cover

                                                                       Hello Friends!
I am currently enjoying mixed media, thanks to the Finnabair products that came in my LetzCRaft DT kit. The combination of black & metallic colors always enthuse me & the Metallique wax pastes are just perfect for popping the hidden textures in Mixed Media.
Here is the mini journal cover which got a face lift for my post –

The cover base is MDF & the background texture is stenciled (Craftangles – Medieval Mosaic) with Decoart sand paste. I built on the layers & textures & embellished as desired, priming with black gesso at every stage & using Ranger Multimedium to glue the embellishments. The Finnabair Metallique pastes used are – Amethyst Magic & Mystic Turquoise


Here are some close up images -


Playing along the following challenges - 


Hope you enjoyed the post today & are inspired to create some Mixed Media magic!
Thank you so much for visiting & taking the time to comment on my blog. I love to hear from you & truly appreciate your feedback. Have a crafty day!

Wednesday, 4 April 2018

Bag Charm using Rine Foil paper

Hello & Welcome back!
Rinea foil papers are very versatile & I love the ease with which they can be used in many paper craft projects. 
Today I have a quick pictorial to make a carrot favor box for Easter.
This cute favor box was perfect for the bag accessory I made using some charms & die cuts from Rinea foil paper.
For my post today I have used the following foil papers - 
Thank you so much for visiting & taking the time to comment on my blog. I love to hear from you & truly appreciate your feedback. Have a crafty day!

Altered Cookie Can


Hello & I am here with my inspiration for Bob N Betty.
For my project today the inspiration was the "Cottage Blush" collection so floral & so shabby.

cottage-blush-1140x6591

I worked my way to making a flip album using these gorgeous papers,  half way through & I realized it looked very similar to the wallet mini I made earlier! So while that incomplete project sits on my table an alternative 3D project came to life & am so glad it did! That's the story of the altered cookie can I share today. 
Here are some close ups of the cannister - 

F18036

I used distress crackle paint for some textures over the distressed folds here - 

F18037

Flowers & charms from my stash added much to the shabby look - 

F18038      F18039   


F18040          F18041  

    F18043  

                           F18044                                

F18045

The gorgeous altered can makes a unique box to hold a gift, an invite or even a letter or simply fill it up goodies & candies! 


Thanks for visiting today & have a wonderful week!


Thank you so much for visiting & taking the time to comment on my blog. I love to hear from you & truly appreciate your feedback. Have a crafty day!

Thursday, 1 March 2018

Faceted Box

 Sharing  a faceted box I made for my DT post for Rinea.


While this may look a bit complicated to make, it is super easy using the envelope punch board. Also by varyinhg the size of the card stock, various sizes can be made in a jiffy.


I am amazed how easily you can put this together with just a little of burnishing & folding. I used the Rinea star struck foiled papers from the Love Foiled Paper Variety Pack & I love the black & red colors. 
This makes a perfect favor box for all occasions & I'm sure will be making many more of these soon.


Thank you so much for visiting & taking the time to comment on my blog. I love to hear from you & truly appreciate your feedback. Have a crafty day!

Thursday, 15 February 2018

Mixed Media - Door Hanger

Hello & welcome here!
Sharing a mixed media altered door hanger today.
Had started work on this a couple of weeks back & it was sitting on my table all this while, screaming to be finished. I totally loved the outcome - black & copper, a combination which always mesmerizes me!


The base textures are using tissue (the white ply left after all my decoupage projects!) & modelling paste. I used black soot chalk paint from Itsy Bitsy & the copper is metallic paste from Art C


The dream catcher is a chippie from Papericious. The flowers, butterfly & die cuts are from my stash. 


Some more mixed media projects are here, here & here. 

Sharing this at - 


Thank you so much for visiting & taking the time to comment on my blog. I love to hear from you & truly appreciate your feedback. Have a crafty day!

Monday, 28 August 2017

DIY Mason Jar Tissue Holder


Hello, I am at the Rinea Blog today with a gorgeous makeover of the good old mason jar. I have upcycled it for use as a tissue holder.


The foil cuts like butter with all dies!
For this project I have used blush gold foil from the jewel variety pack,  I can't get my eyes off this adorable combination of black & blush gold foil!


Thank you so much for visiting & taking the time to comment on my blog. I love to hear from you & truly appreciate your feedback. Have a crafty day!

Friday, 6 January 2017

Monogram T

Good Morning!
Welcome to my first post of 2017 & wishing you all a very HAPPY NEW YEAR!
Sharing an altered MDF mixed media monogram letter today. 
Once again its a subtle delightful blue.


Let me share the details in the following pictures. After a generous coat of gesso & chalk paint, I added some textures by stencilling texture paste using a Tim Holtz stencil (flourish).


Love the distressed resin frame which actually "created magic" in this project! The handmade flowers are from ITSY BITSY


The coordinating tassel dangles on a pendant & do notice the floating charms in the dome there! Used liquid pearls from Ranger randomly to add some bling.


Some more stenciling using white acrylic paint. 


Linking this to the following challenges - 


SSS - Wednesday Challenge (new pack of floating charms) 11.1
SSS - Monday Challenge  (new pack of floating charms)  10.1

Thank you so much for visiting & taking the time to comment on my blog. I love to hear from you & truly appreciate your feedback. Have a crafty day!


Wednesday, 21 September 2016

Mixed Media Canvas

Hello & welcome here today!
Today I am at the Itsy Bitsy blog with this mixed media canvas share. For details hop over to the blog here. 

This is the pictorial - 

After a base coat of gesso on a 8x10 canvas I started working on creating the background. 


I used teal blast metallic paint. These colors are very creamy & rich, give very good coverage & the metallic sheen is simply amazing. Pearlized paints are available in an array of colors -


Also I have used these on a variety of media in this project as you will see soon -  canvas, paper, MDF, chipboard, fabric, handmade paper, metal.

To even out the color I used a baby wipe.


Next I wanted to add some silver to the background & this is where I brought in the dimensional paint. Once again with the baby wipe blended it in the background. Mont Marte Dimension acrylic is a high viscosity fine art paint. 


After this I wanted some stencilling to add texture to the background using IMPASTO. 
 Impasto is a technique of using very thick paint, usually thick enough so that the brush or painting-knife strokes are visible. When dry, impasto provides texture & thats how I experimented with it using a stencil. Mont Marte Impasto is a heavy bodied paint that is colorless. When mixed with the color it does not change color. 
As you can see in the picture I mixed both the colors with impasto & it formed a rich creamy blend. 


Carefully I used the irregular dot stencil, using both pastes randomly.


While it was drying I brought out some embellishments from my Itsy Bitsy stash! 


For some more texture I glued some doillies on the canvas & also some gesso splatters all over the canvas.


Once I decided on the layout I glued all the embellishments using silicon glue


I brushed gesso on all & later painted them with the teal color. The chipboard frames, pearl strings & metal charms I chose to paint silver. At this point I also added some silver stencilled script to the background,


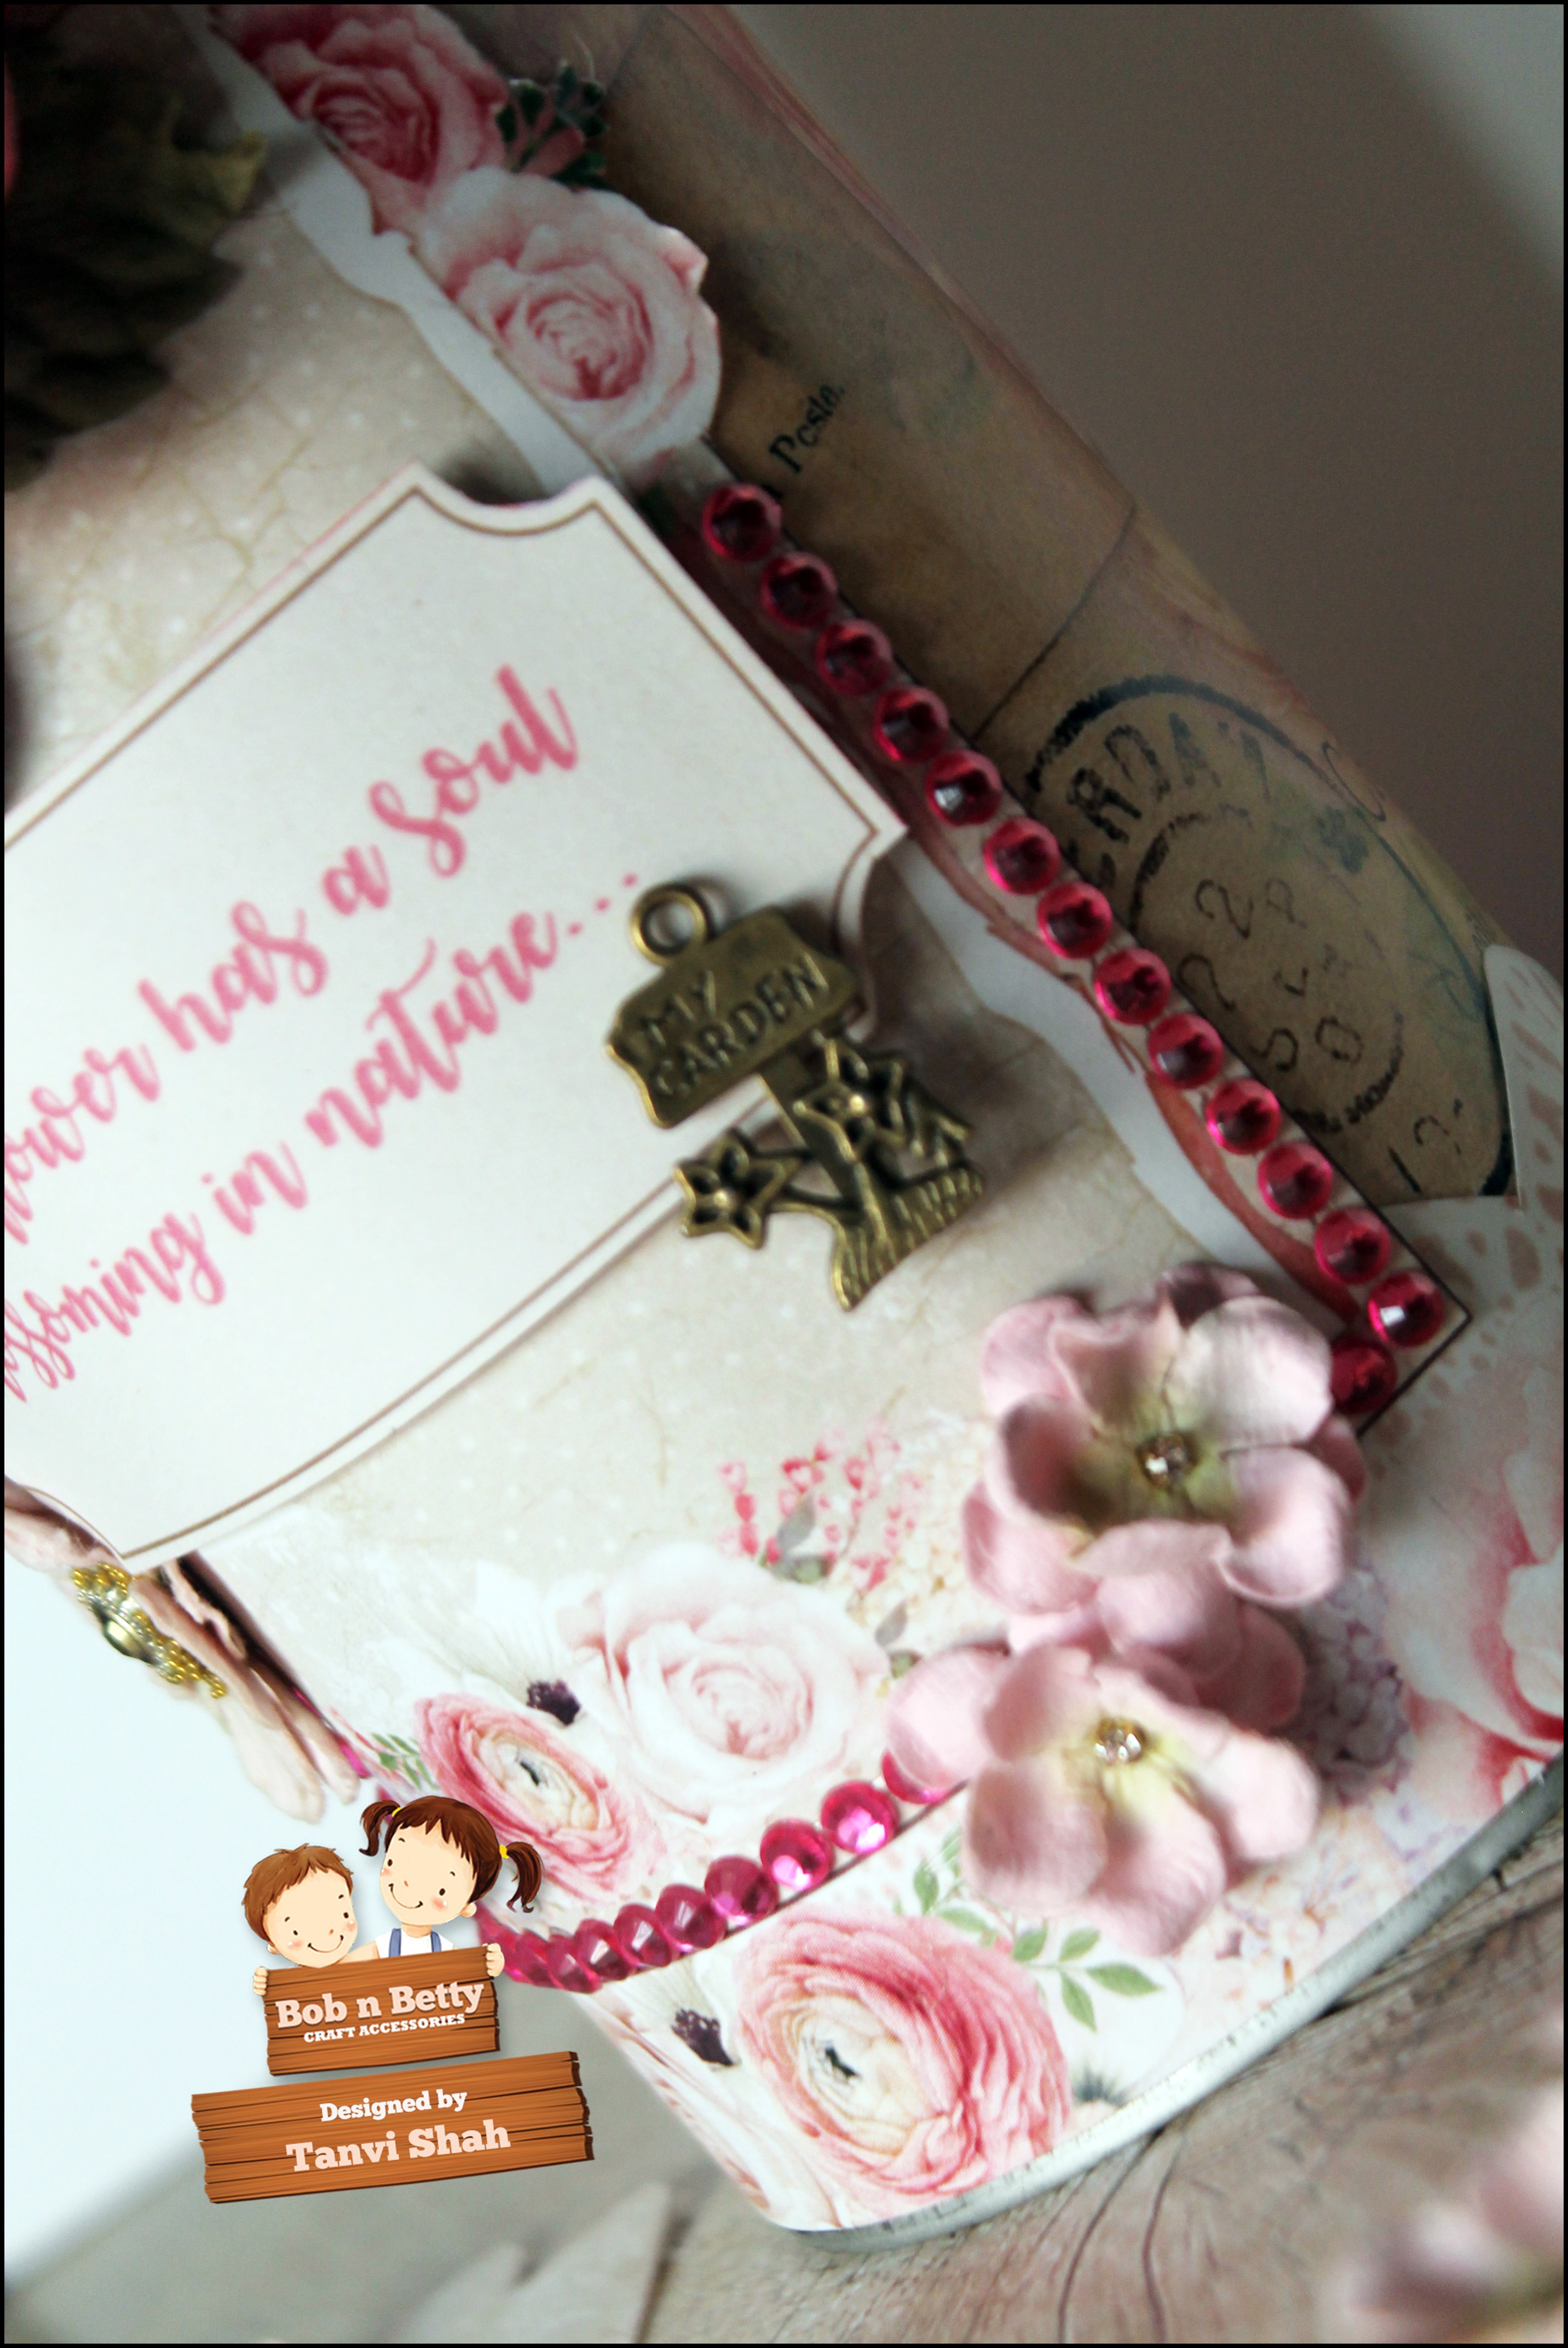
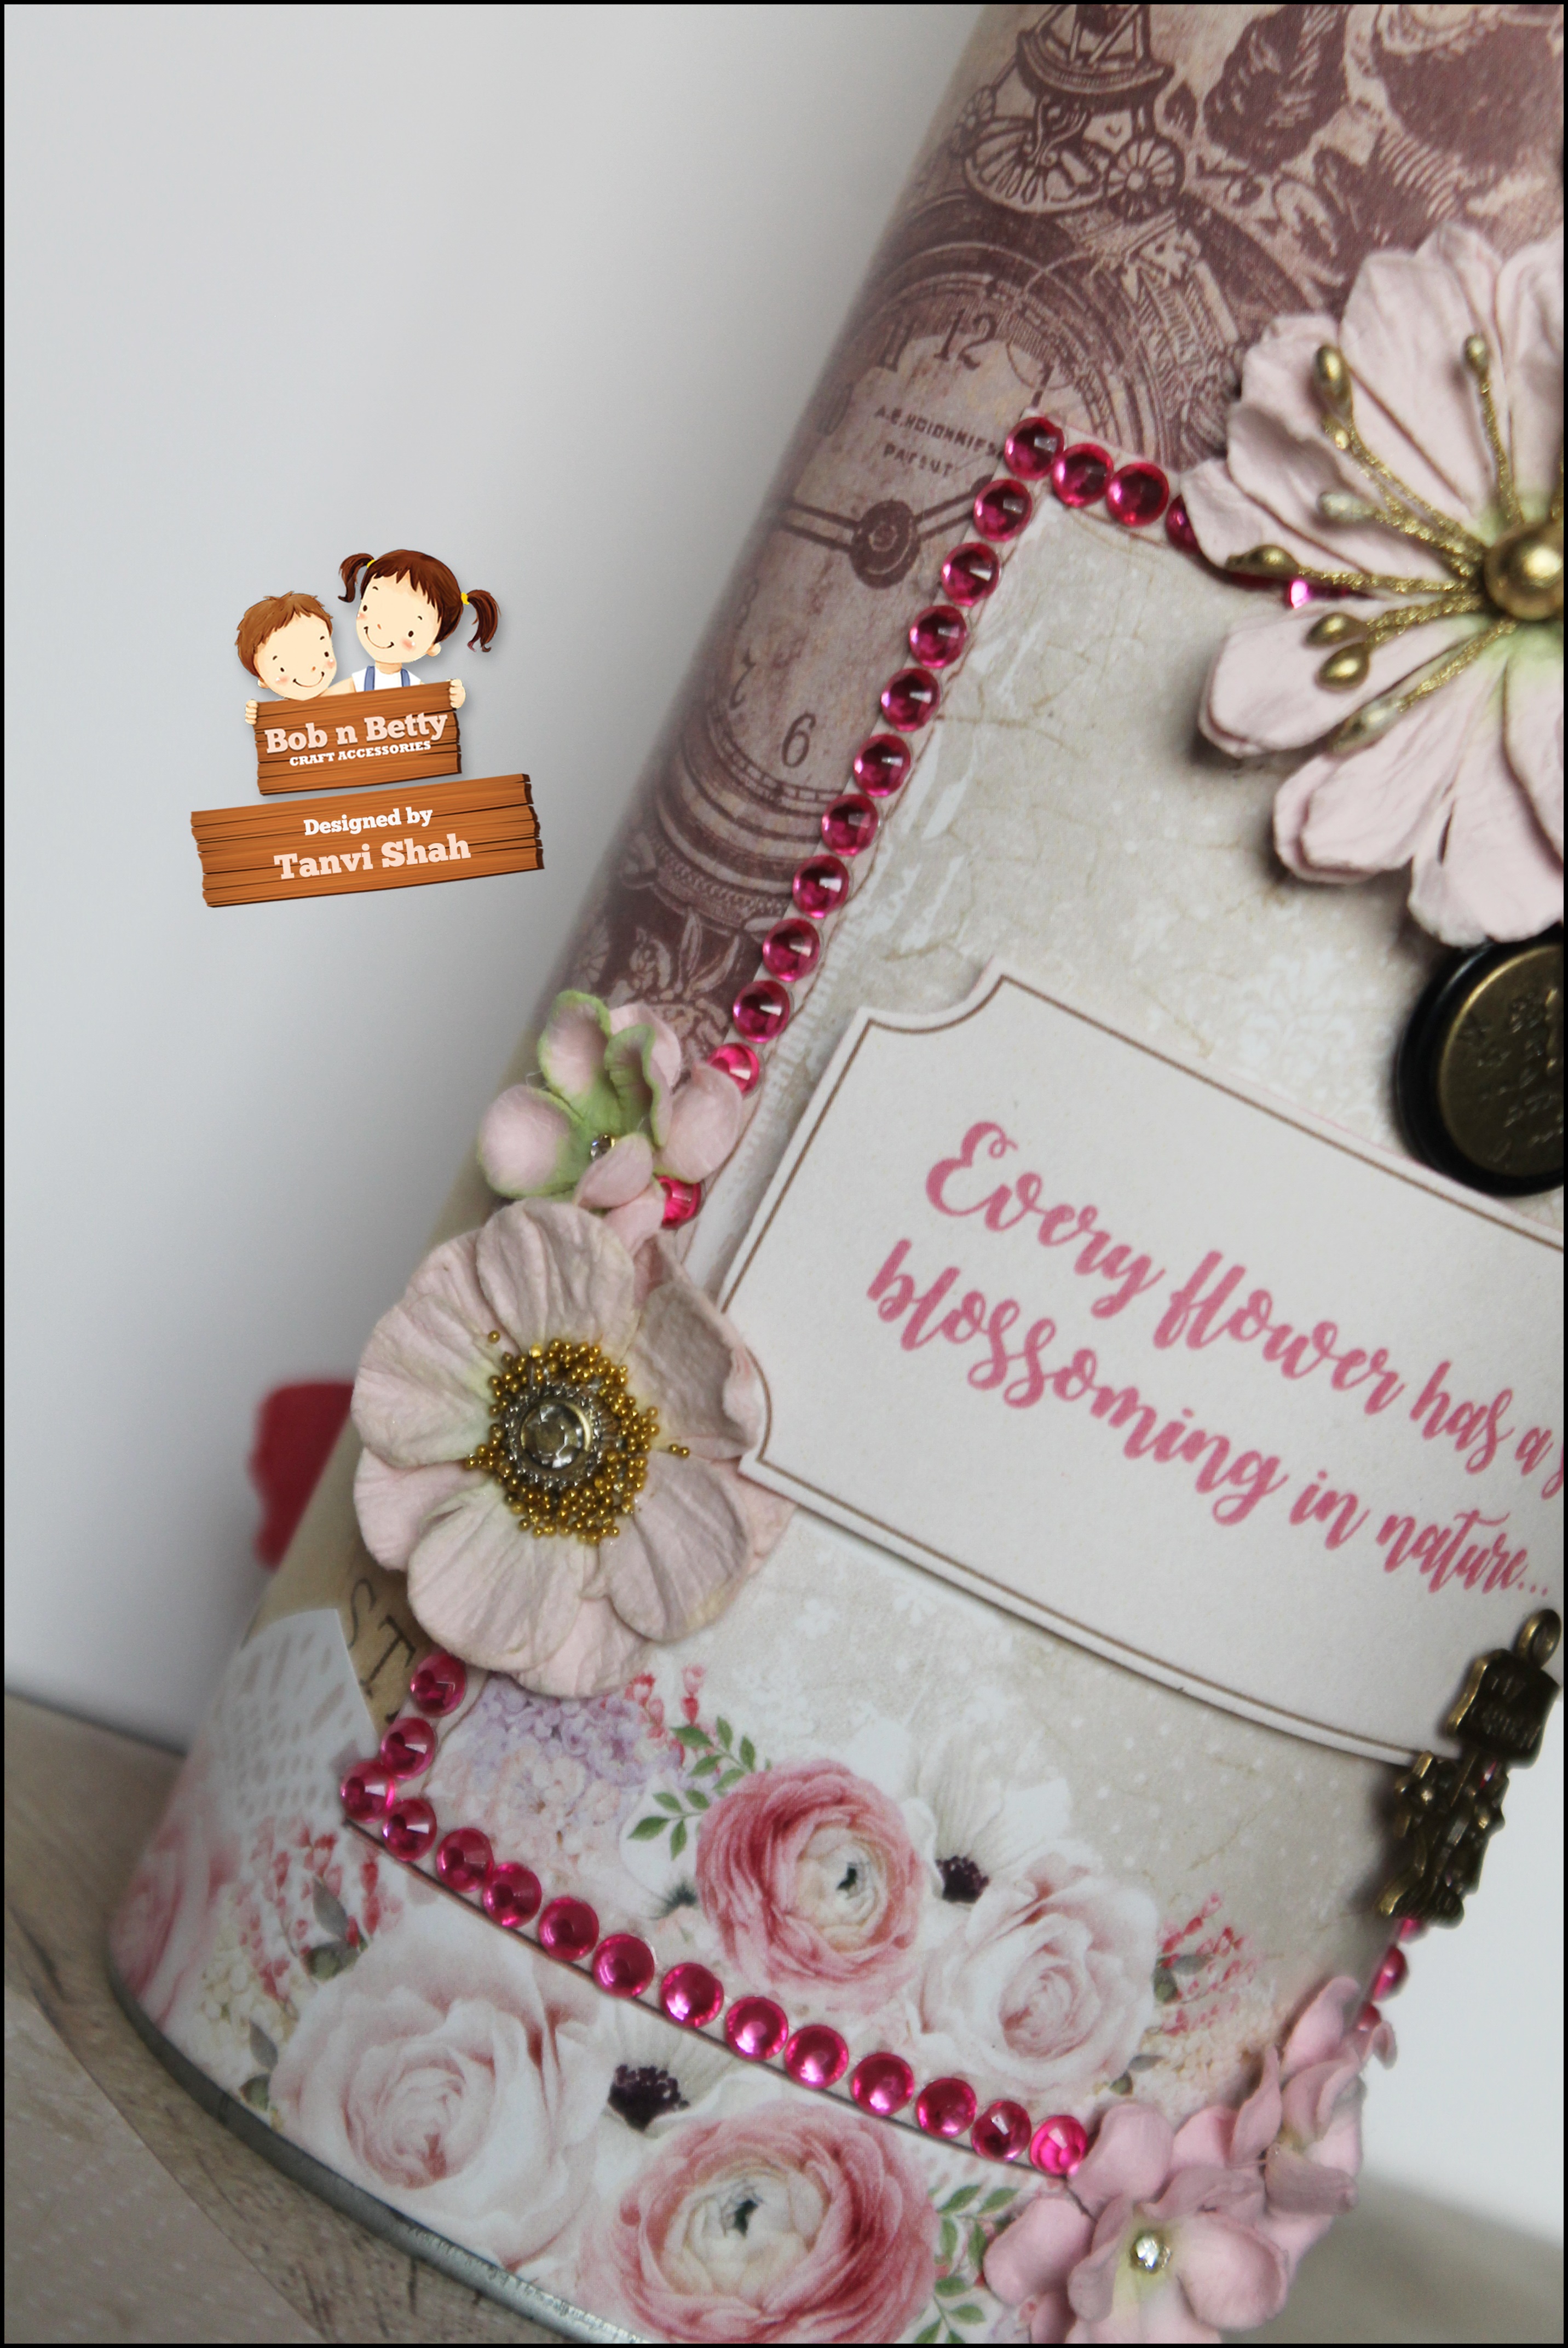
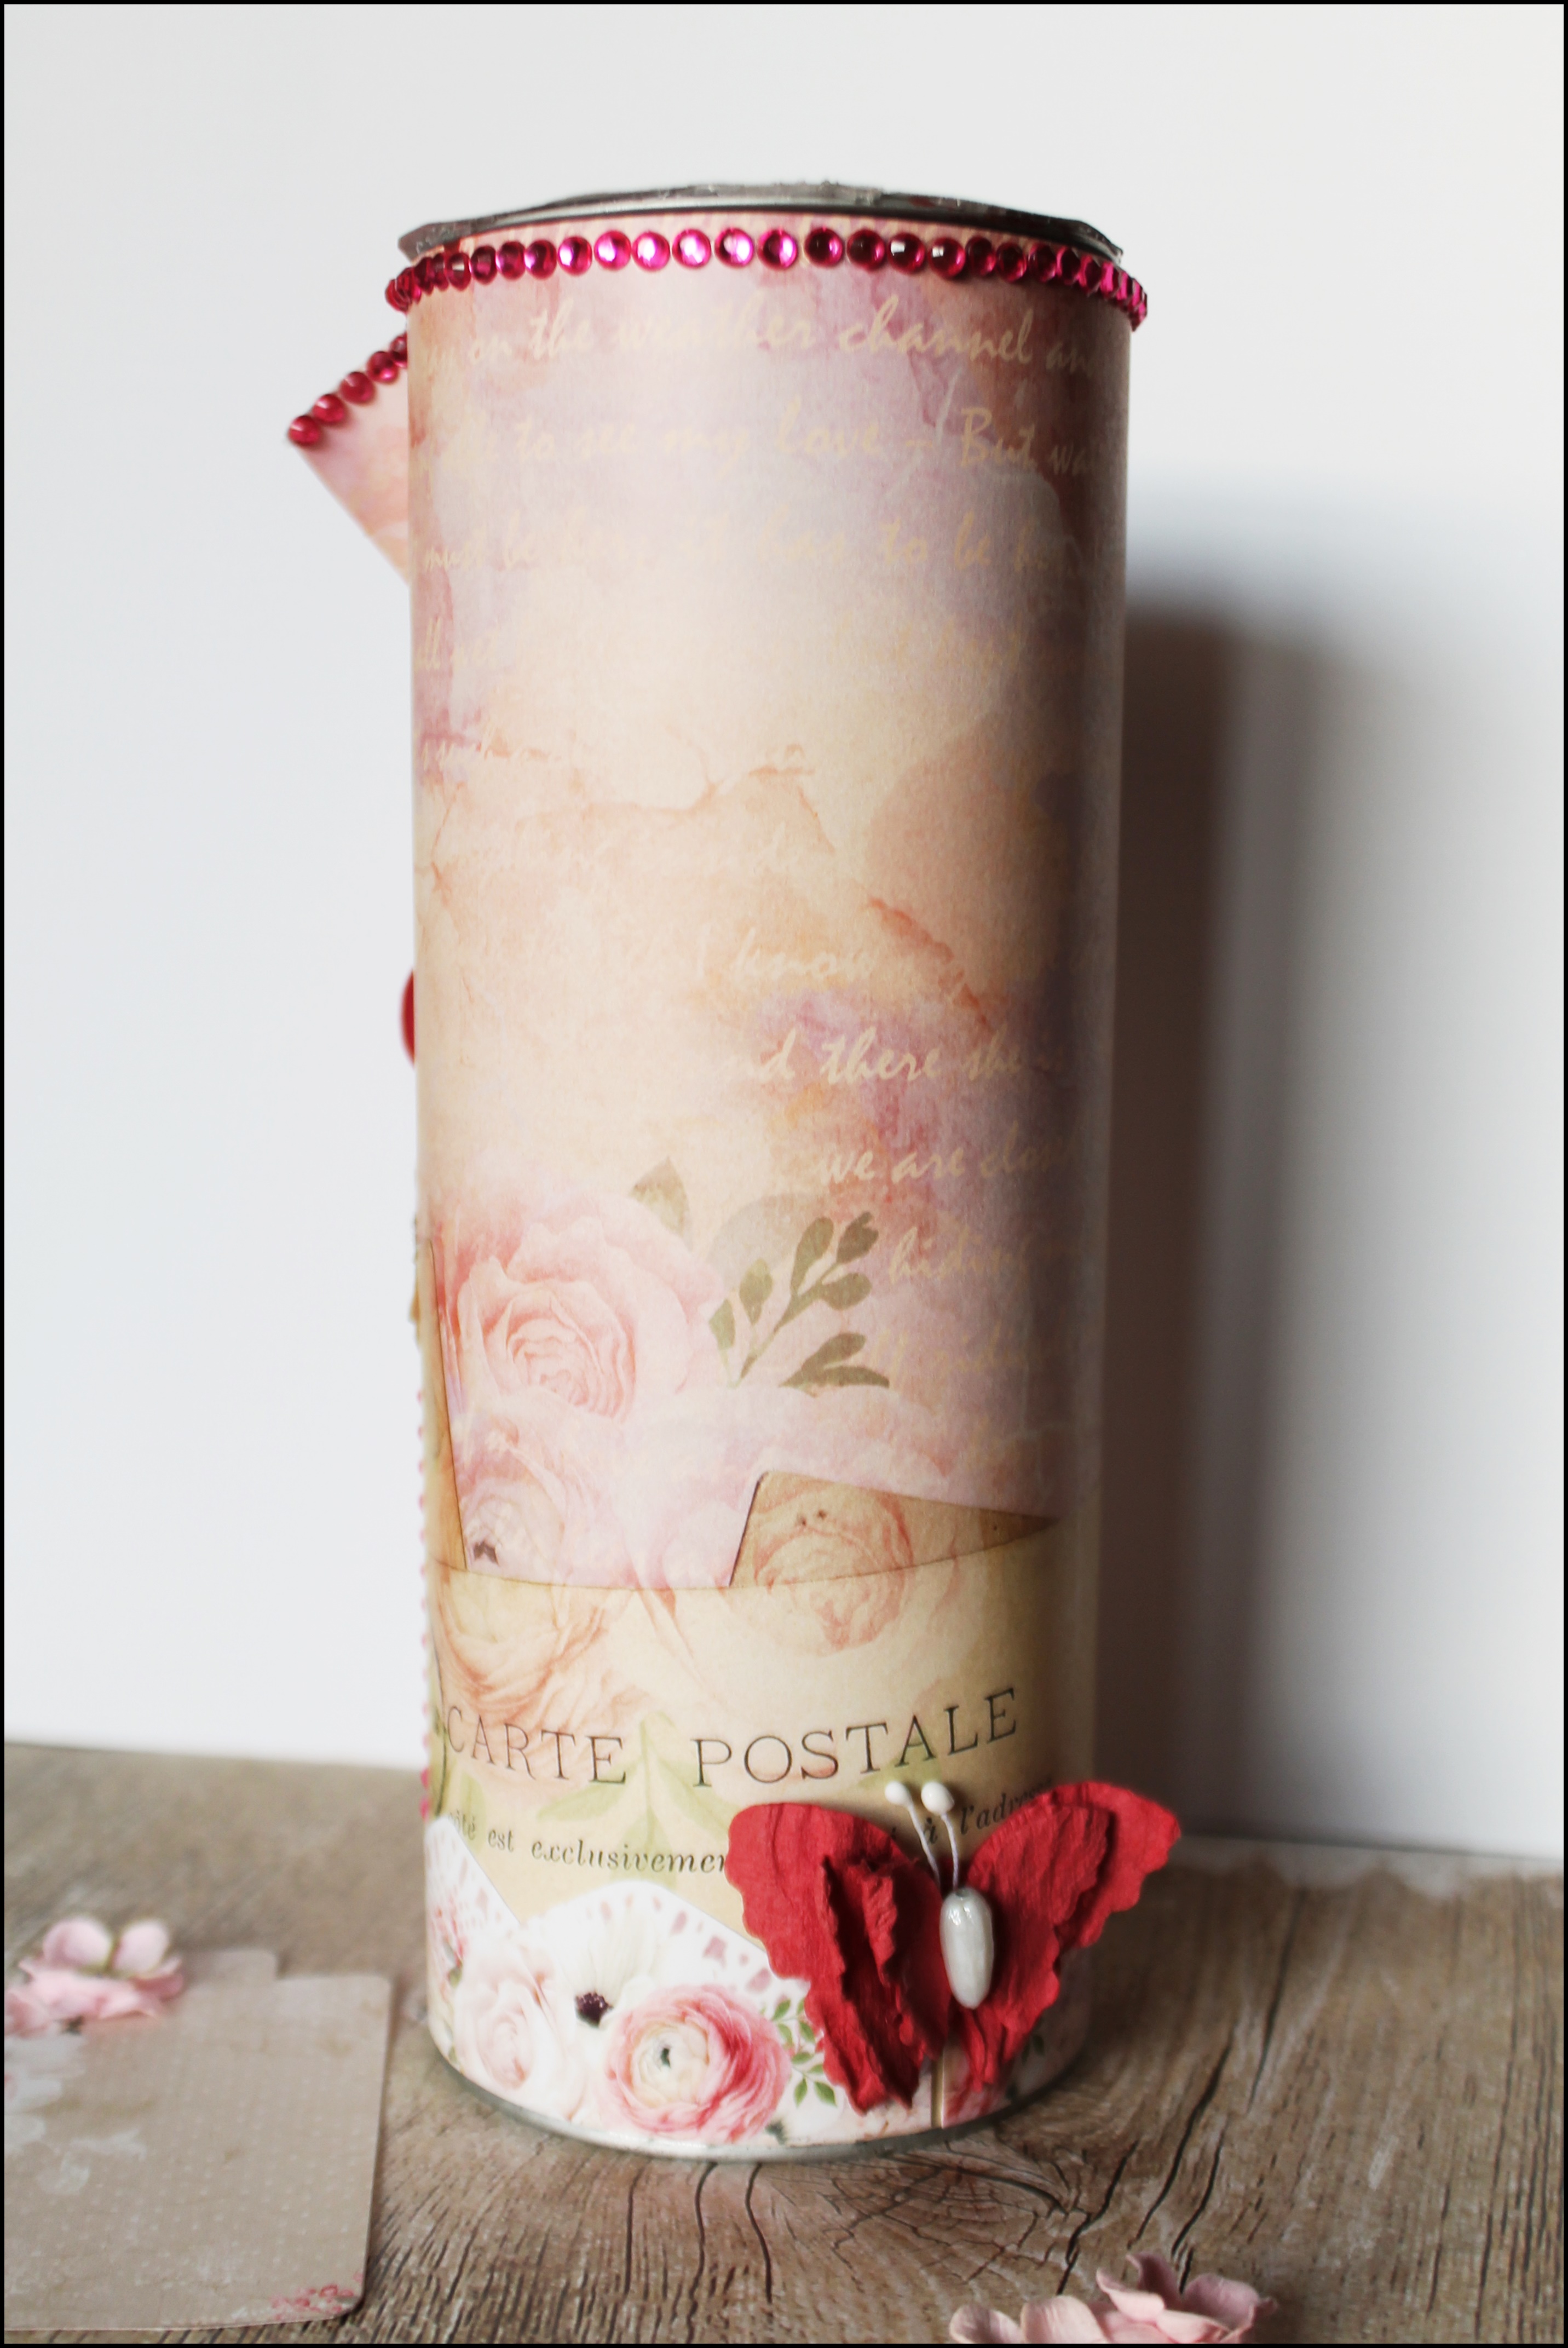
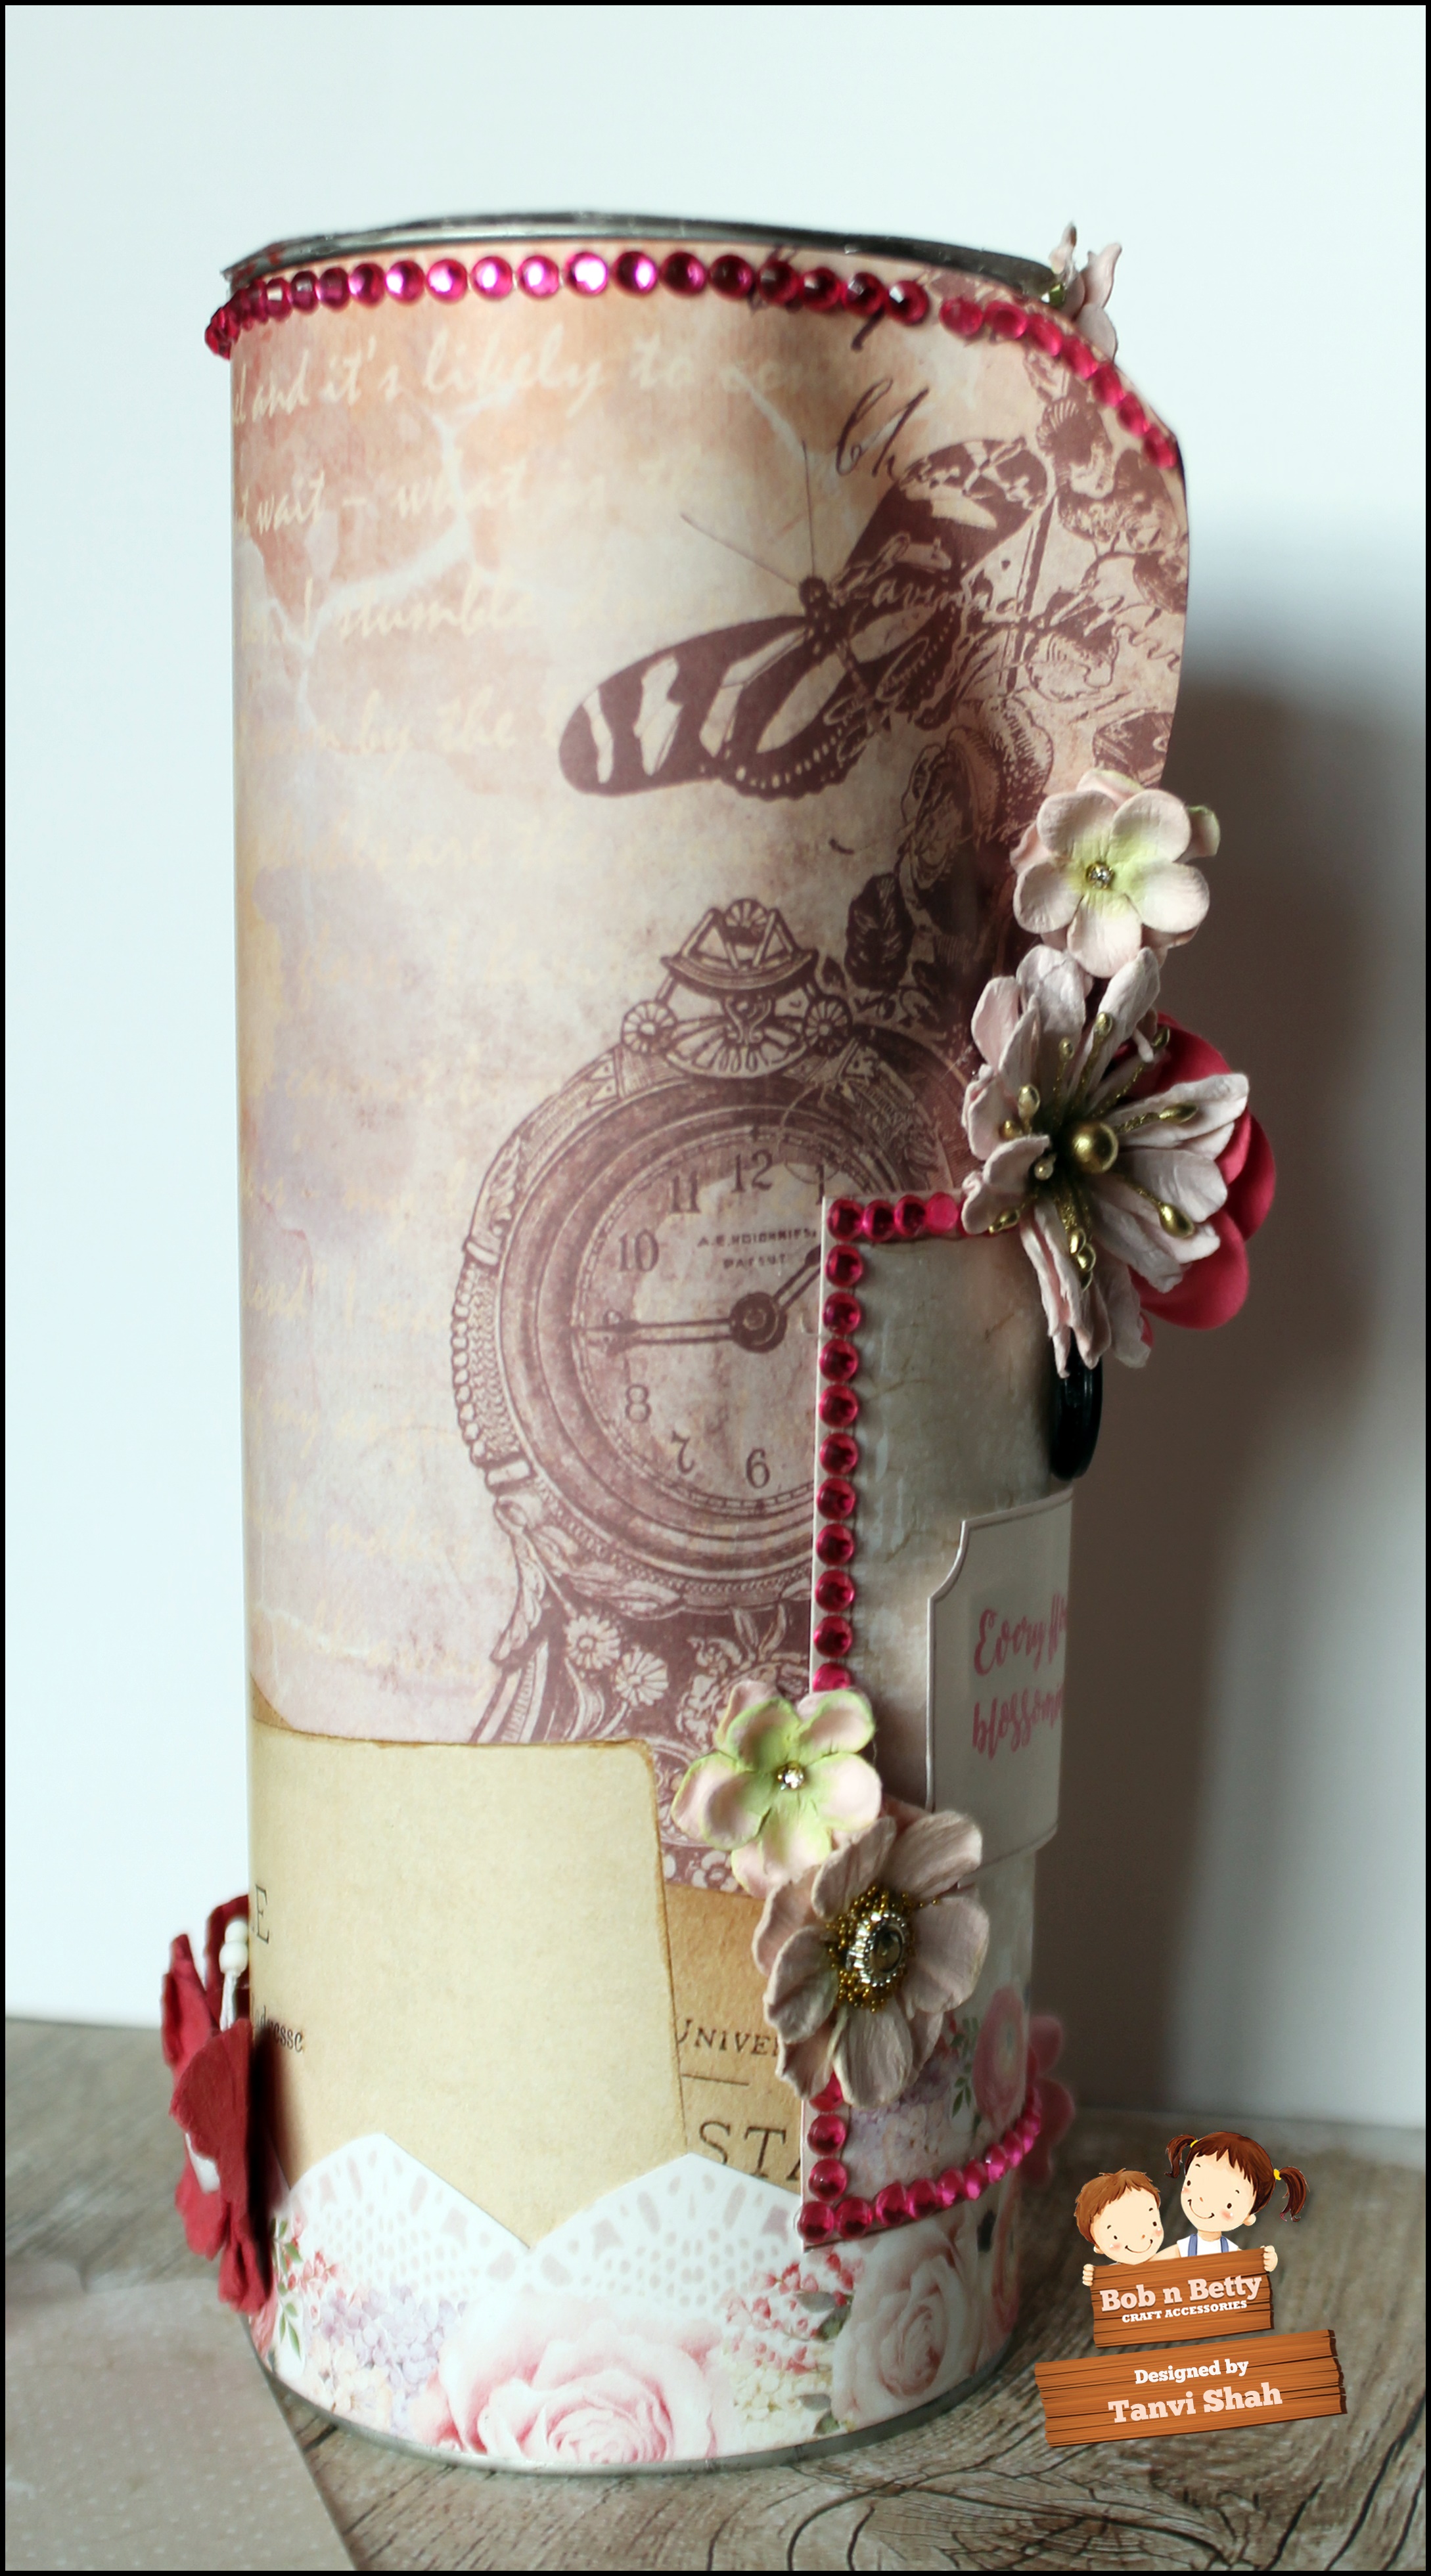
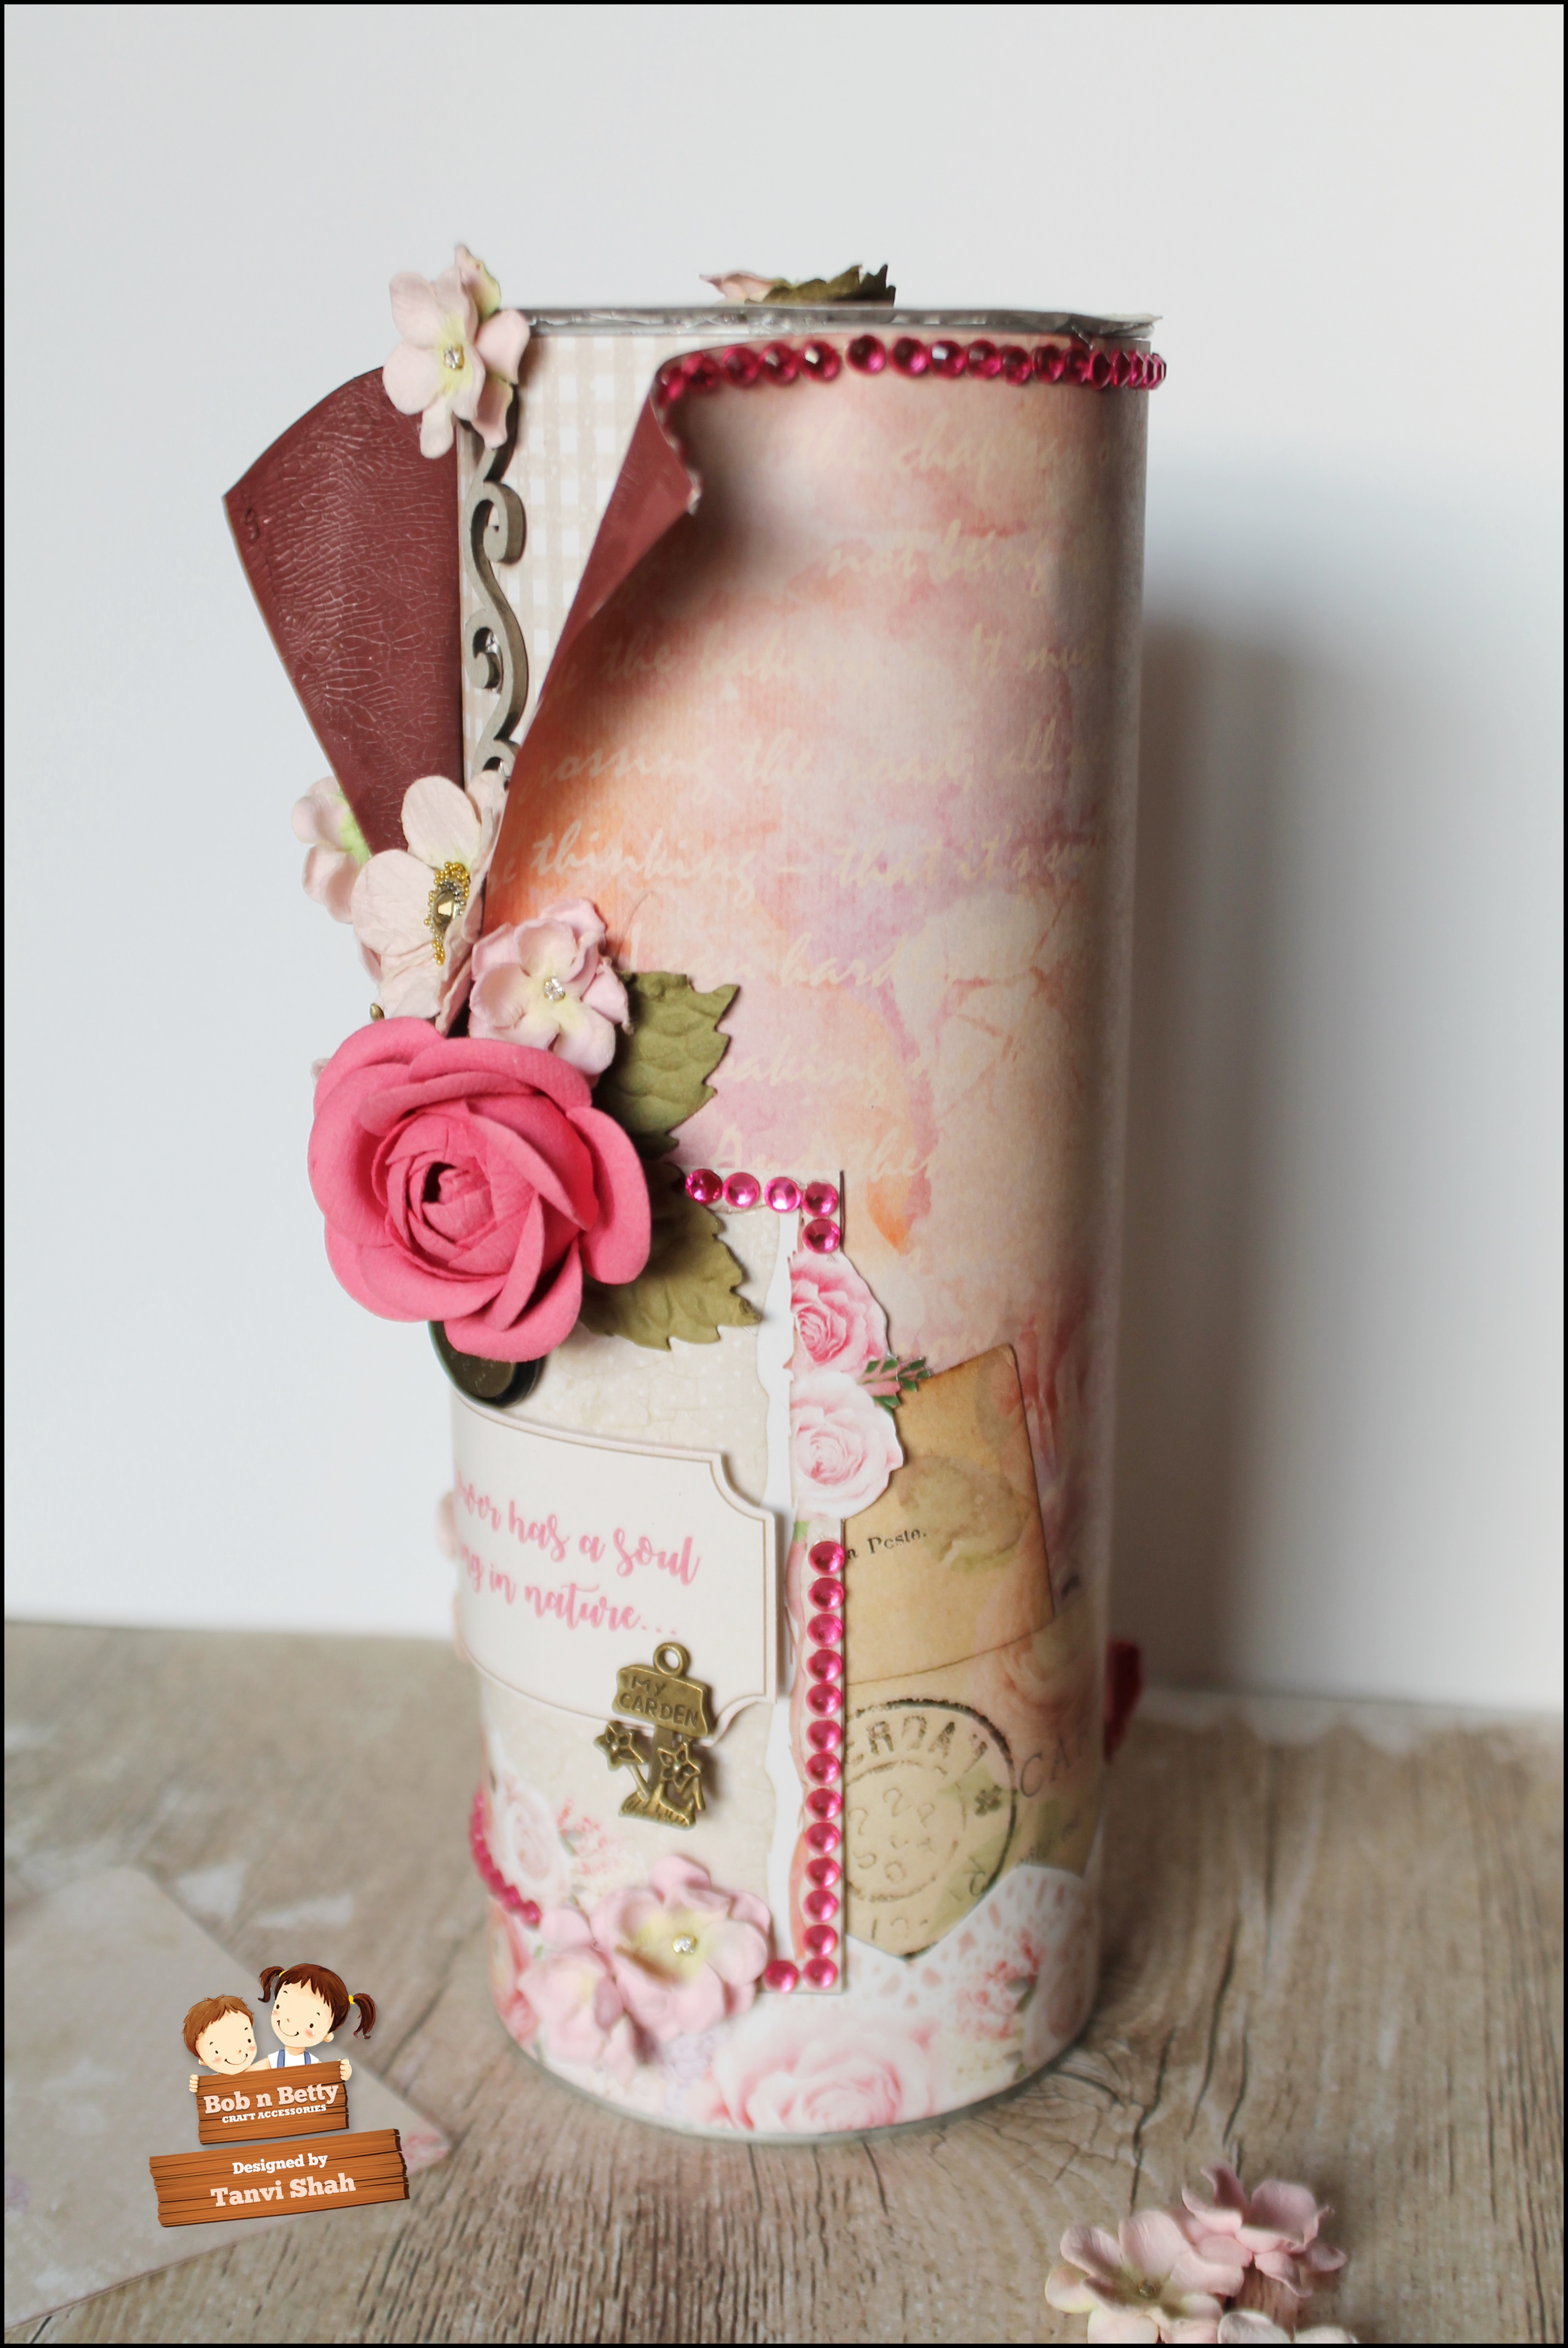
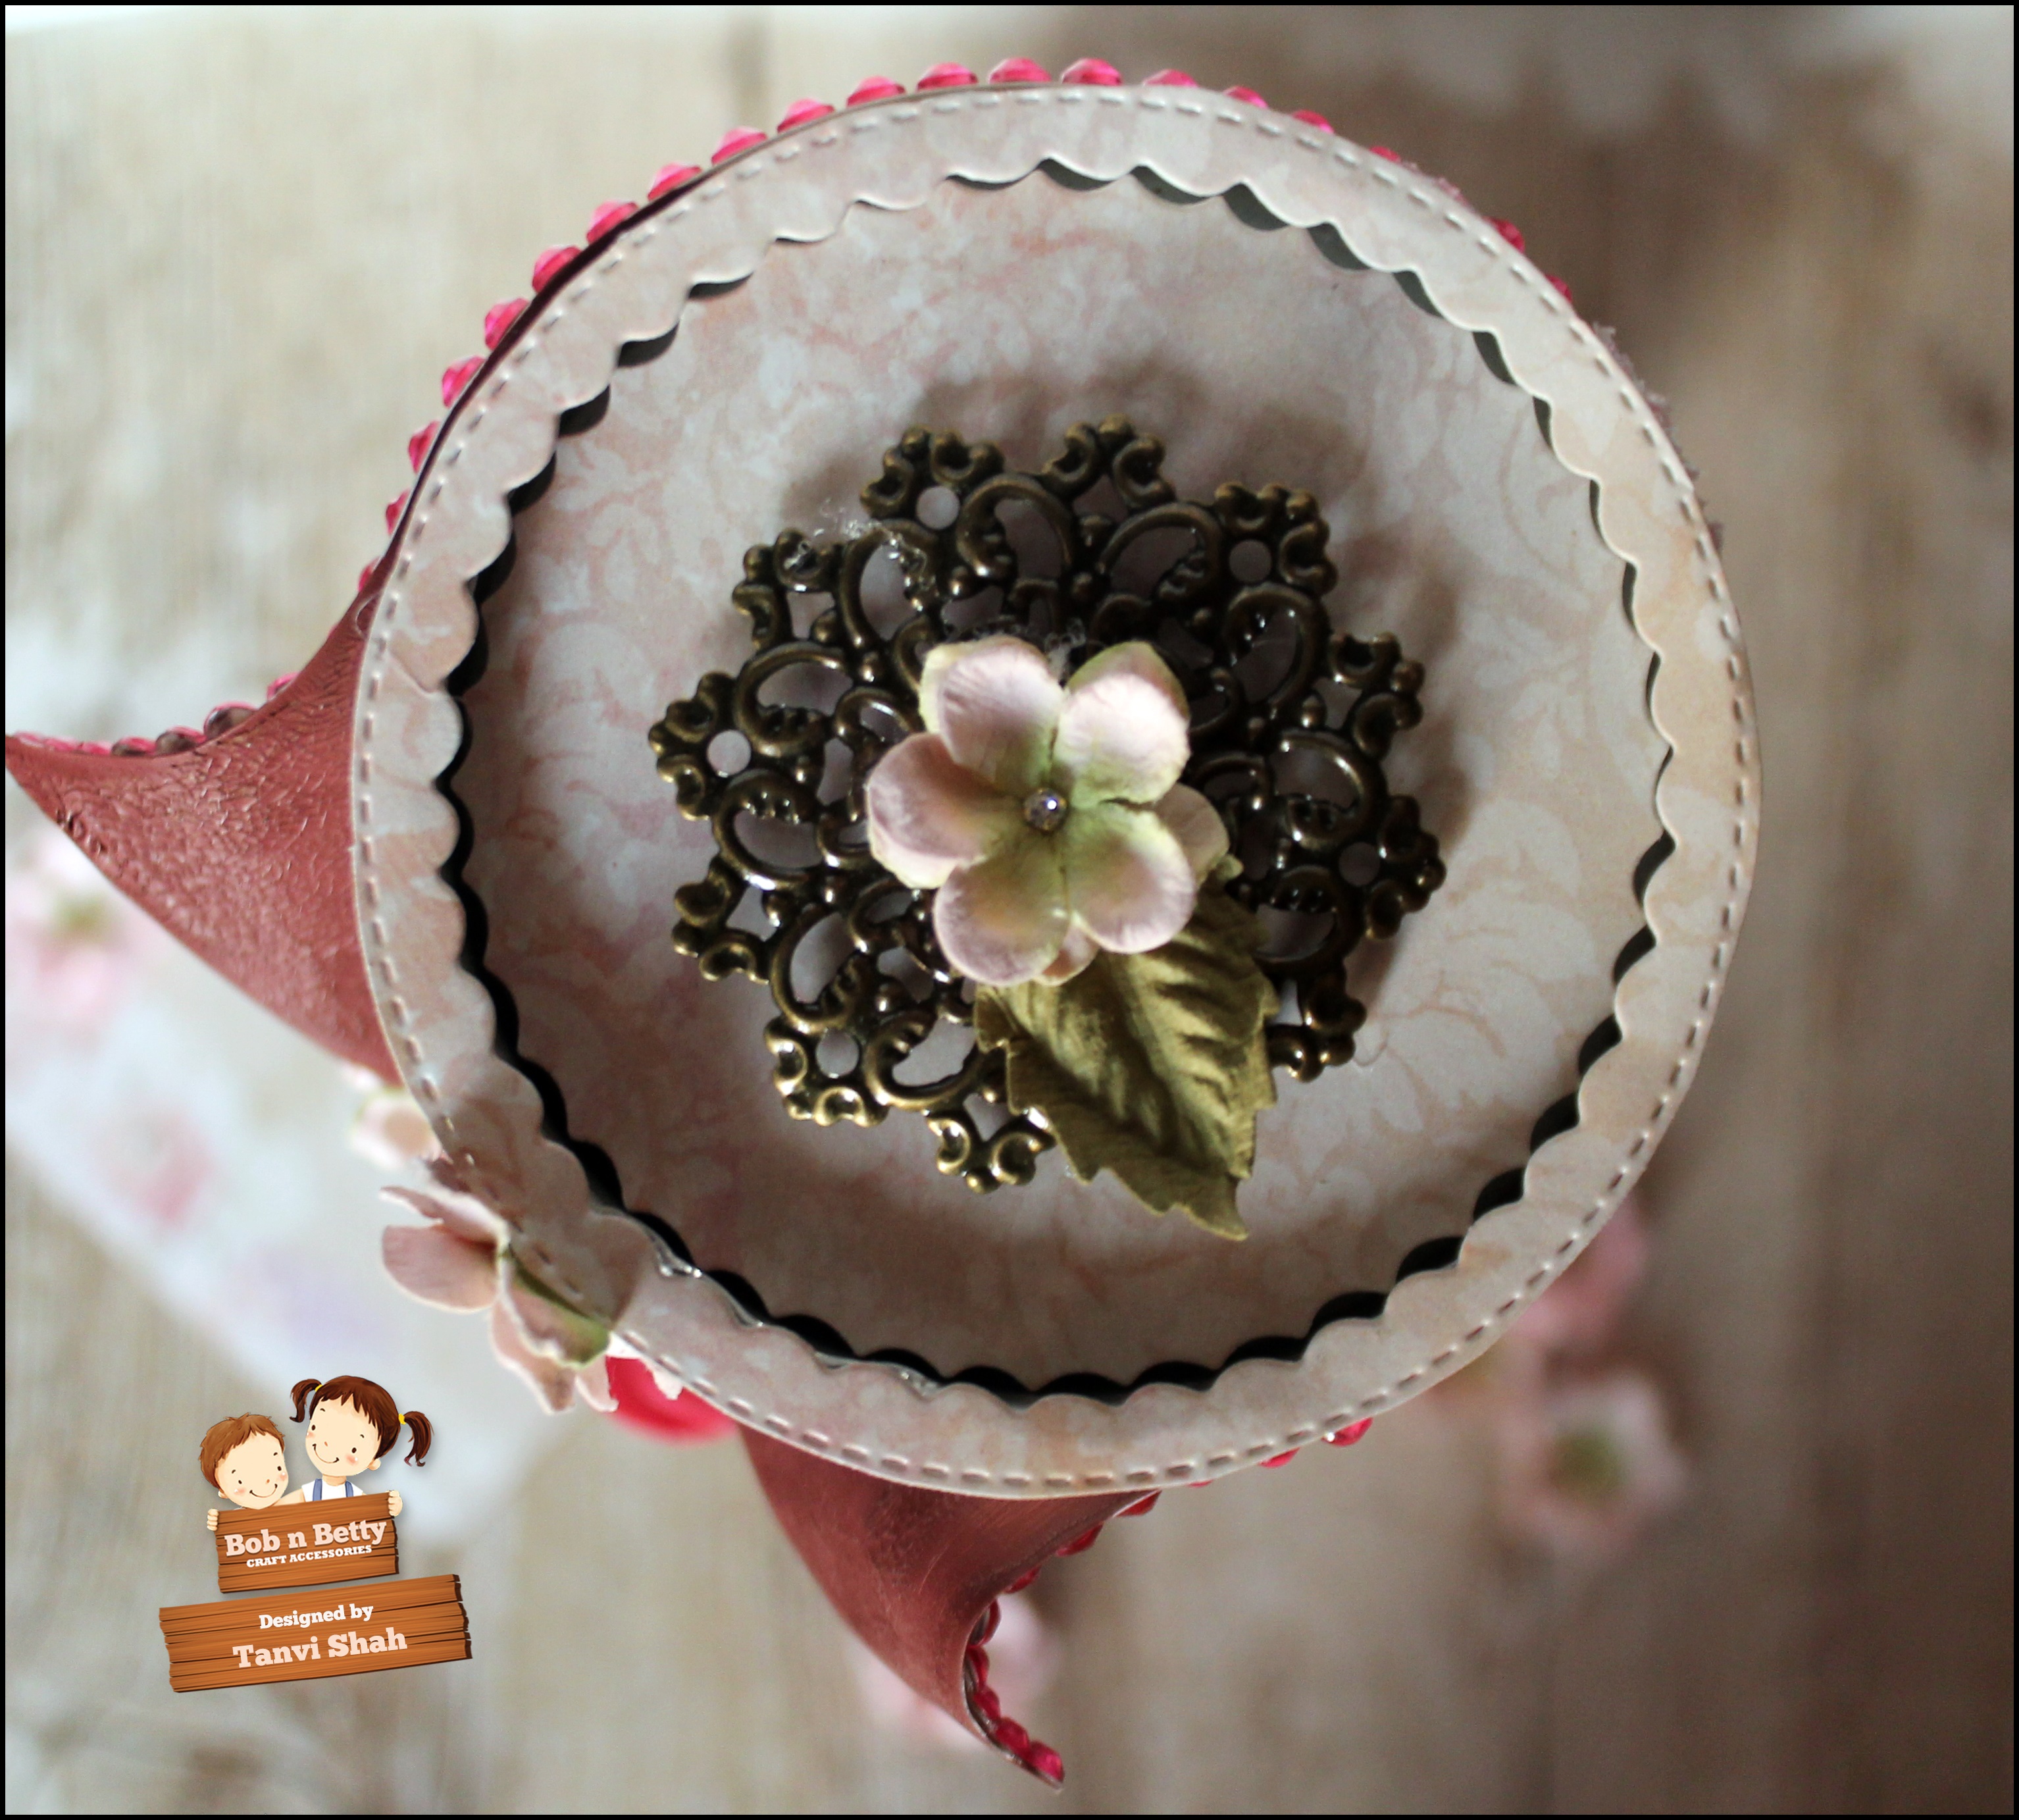
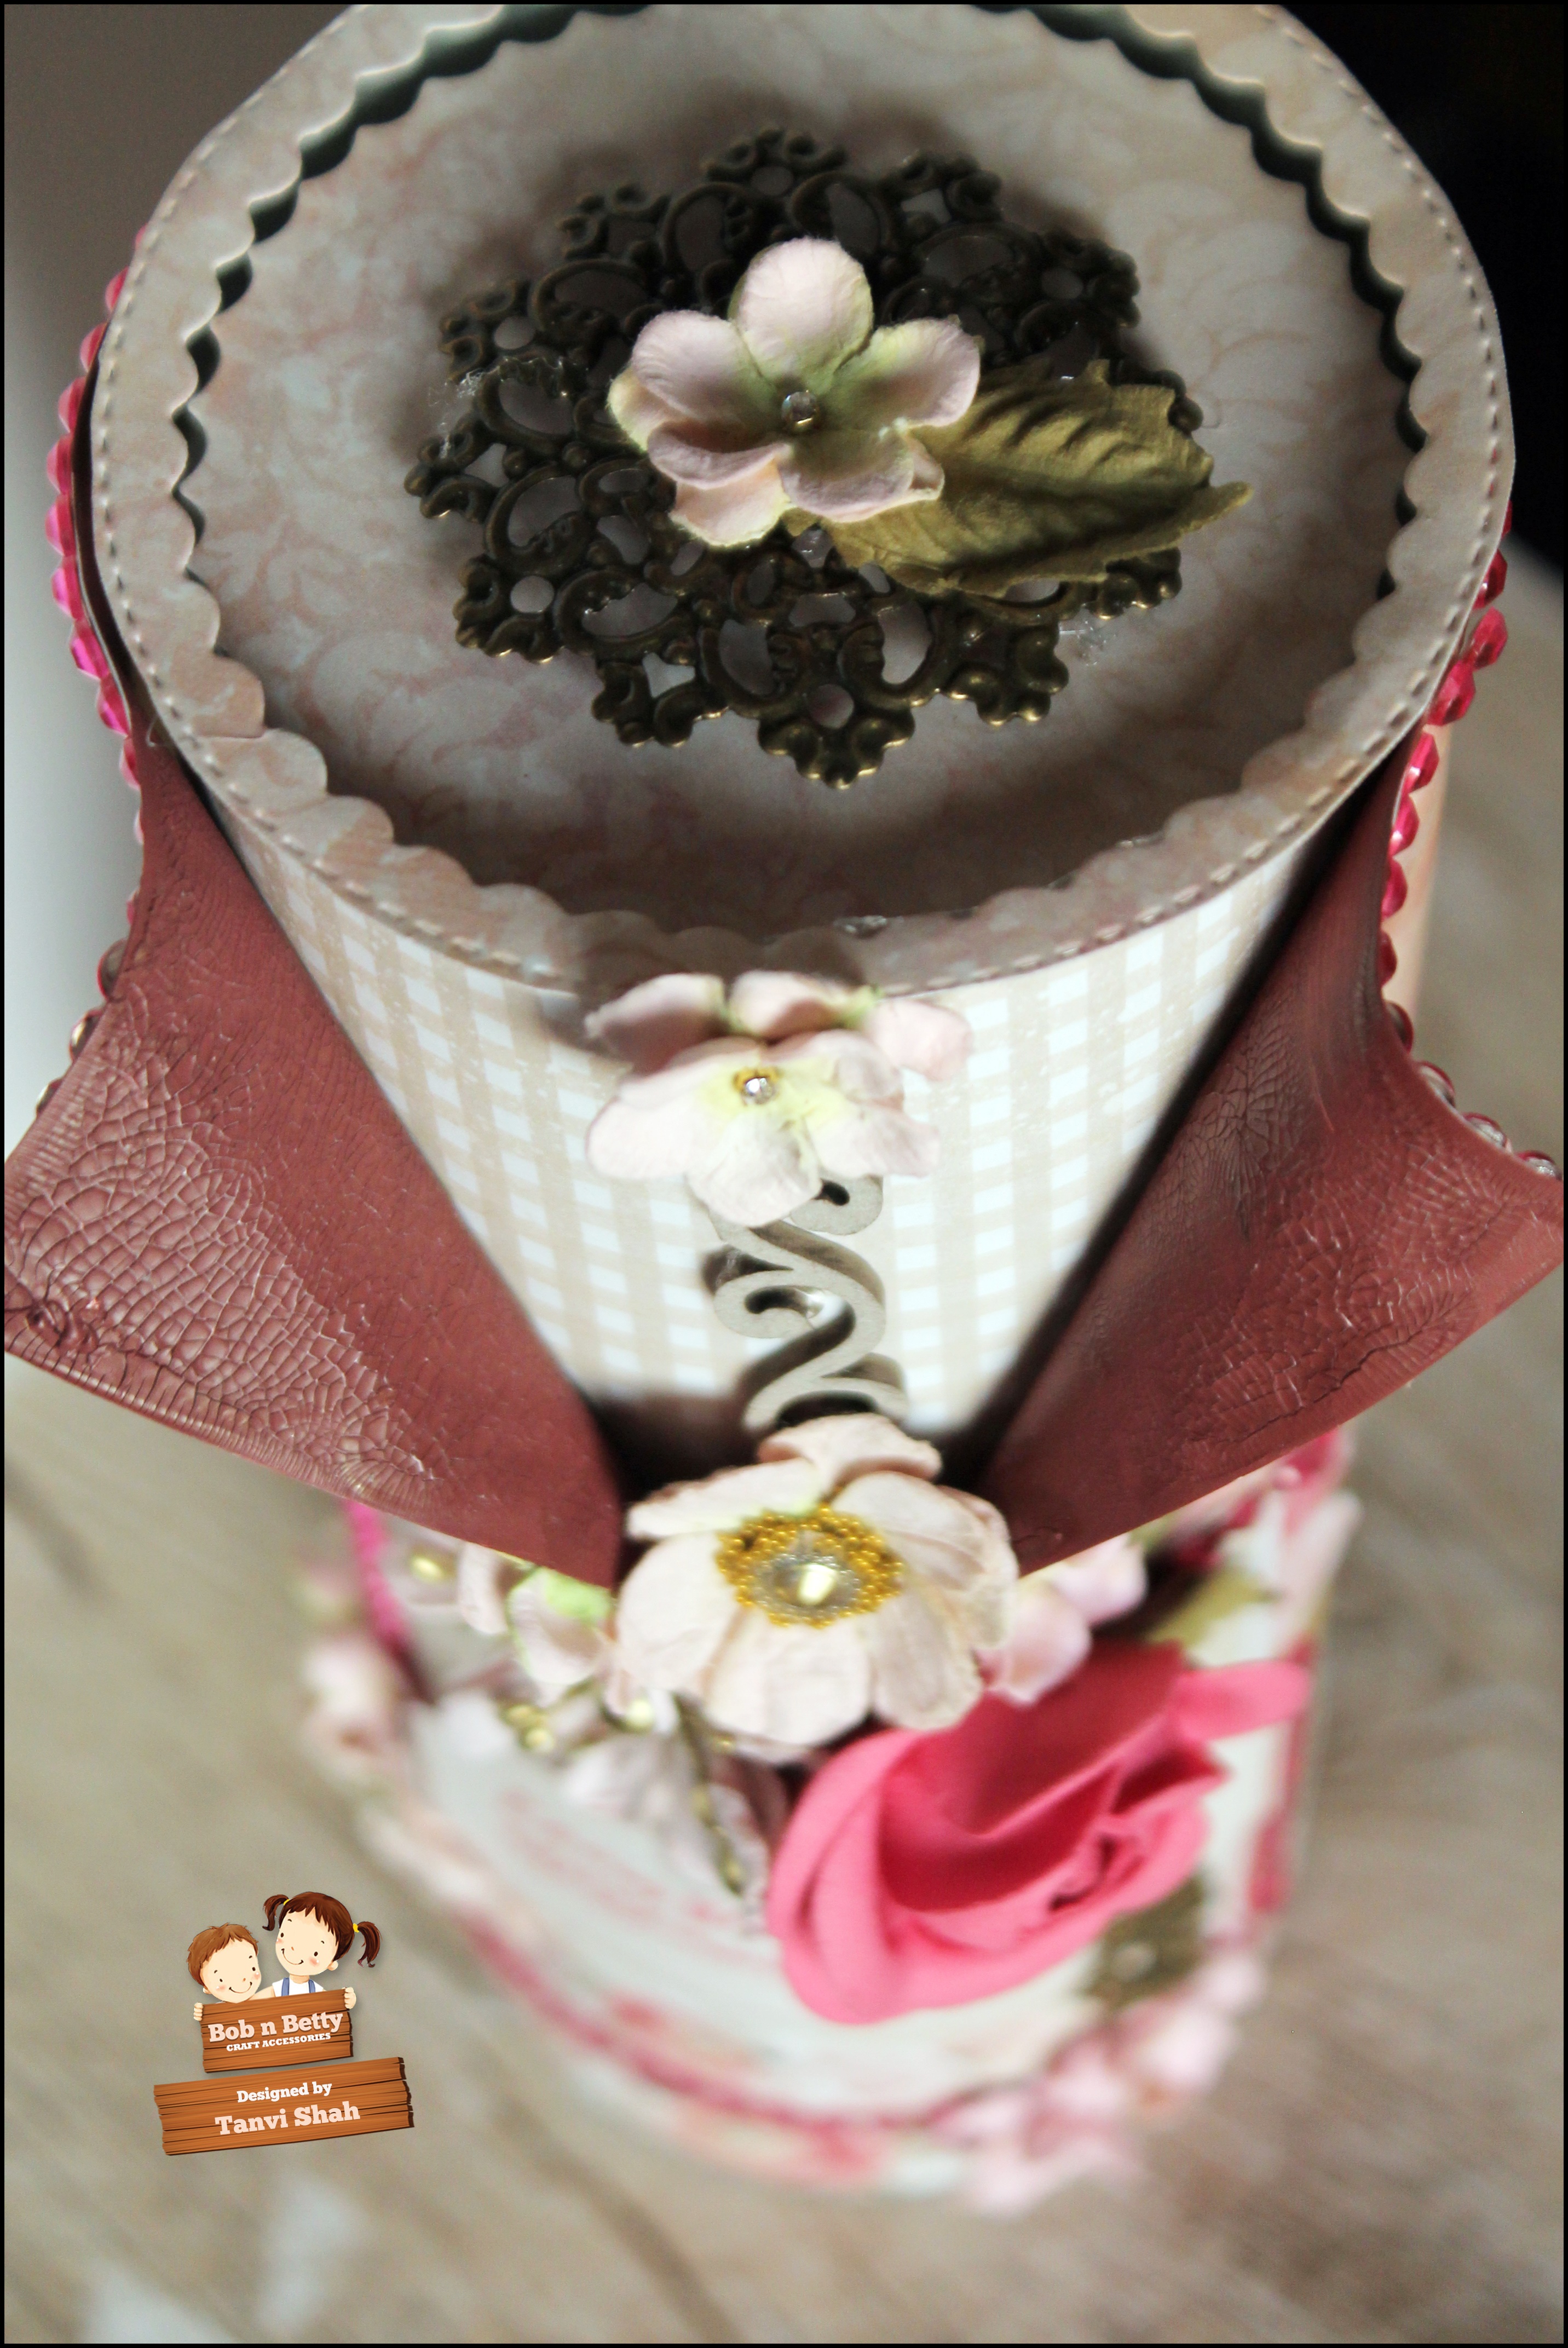
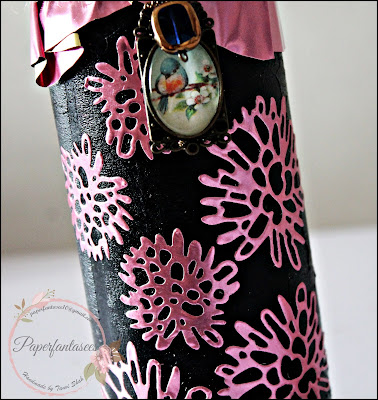
Here is the final look at the canvas & some close ups! Love how the sheen is captured by the camera!
All the embellishments transformed so easily to a teal color!


I had a lot of fun experimenting with the paints & impasto & hope you will try these too!
Thank you so much for visiting & taking the time to comment on my blog. I love to hear from you & truly appreciate your feedback. Have a crafty day!
Related Posts Plugin for WordPress, Blogger...