Showing posts with label texture. Show all posts

Monday, 22 October 2018

Guest Post 1 for HNDMD

Hello Everyone!
This is Tanvi from Paperfantasees & its such a pleasure to be guesting for HNDMD. Thank you Khyati 😊
So here is my first post using the gorgeous decoupage papers & chalk paints Khyati sent across - a coordinating set of tray & coasters.


I selected the Aged Beauty designs for this set. While these designs have a vintage feel, I wanted a brighter look. The chalk paints (lemon drop & tomato red) were ideal. I painted the inside of the tray with lemon drop chalk paint. Once dry I dabbed tomato red paint using a sea sponge. The resulting texture was now perfect to brighten the tray. Painted the outside of the tray with pale daffodil. Random stenciling with copper paint for a subtle metallic sheen & I had a gorgeous set waiting to adorn my table!


Thank you so much for visiting & taking the time to comment on my blog. I love to hear from you & truly appreciate your feedback. Have a crafty day!

Monday, 14 May 2018

Decoupage Mixed Media Canvas


Hello Friends!
 I am loving the new range of Bob N Betty decopatch papers - very high quality 50gsm papers, a dream for all decoupage artists. You can check my previous posts with this awesome release here & here.


These papers are very thin & blend easily into the background to give a seamless finish, they truly do! Check the canvas I share today -


Stay with me as I take you through the steps to combine decoupage & mixed media to create unique wall decor for your homes.
The USP of these papers is the ease with which you can use them on surfaces, just like rice papers & tissues. To highlight this I started by creating a textured base for the 12x12 canvas.


Next I fussy cut a section (OLD WORLD CHARM sheet) & also some elements from the FLORAL ADORNMENTS sheet. I decided on the layout & decoupaged them on the textured canvas.


Here is a close up to show how easily it blends on the textured background.


Next I colored the canvas with coordinating chalk paints.


Some random stencilling & stamping over the textures -


To add some more textures I stenciled clear crackle paste on the edges & added some paste with the palette knife too.


To finish the canvas I splattered acrylic paint.  The Crackle paste dries clear over the textures to reveal the background through. the cracks, perfect for the image I selected! Spray with acrylic varnish to seal the canvas.


 You can grab these papers from any of our Sales Buddies   &  share your gorgeous creations using Bob n Betty papers with us on our facebook group Bob n Betty Buddies. 
Thank you for visiting & happy crafting!
Thank you so much for visiting & taking the time to comment on my blog. I love to hear from you & truly appreciate your feedback. Have a crafty day!

Tuesday, 8 May 2018

Reverse Decoupage & Mixed Media Altered Bottle

I am here with an interesting decoupage project today, which is also my DT inspiration for the LETZ CRAFT BLOG.

I love altering bottles with decoupage & hoard a lot of them in different shapes & sizes, one such flat bottle was perfect for reverse decoupage - a technique in which the tissue is glued to the back of the glass & the front is left clear.


I textured the backside (where the tissue is adhered) with Plaid FolkArt Painted Finishes Kit - Concrete (this product is currently out of stock, you can preorder here)


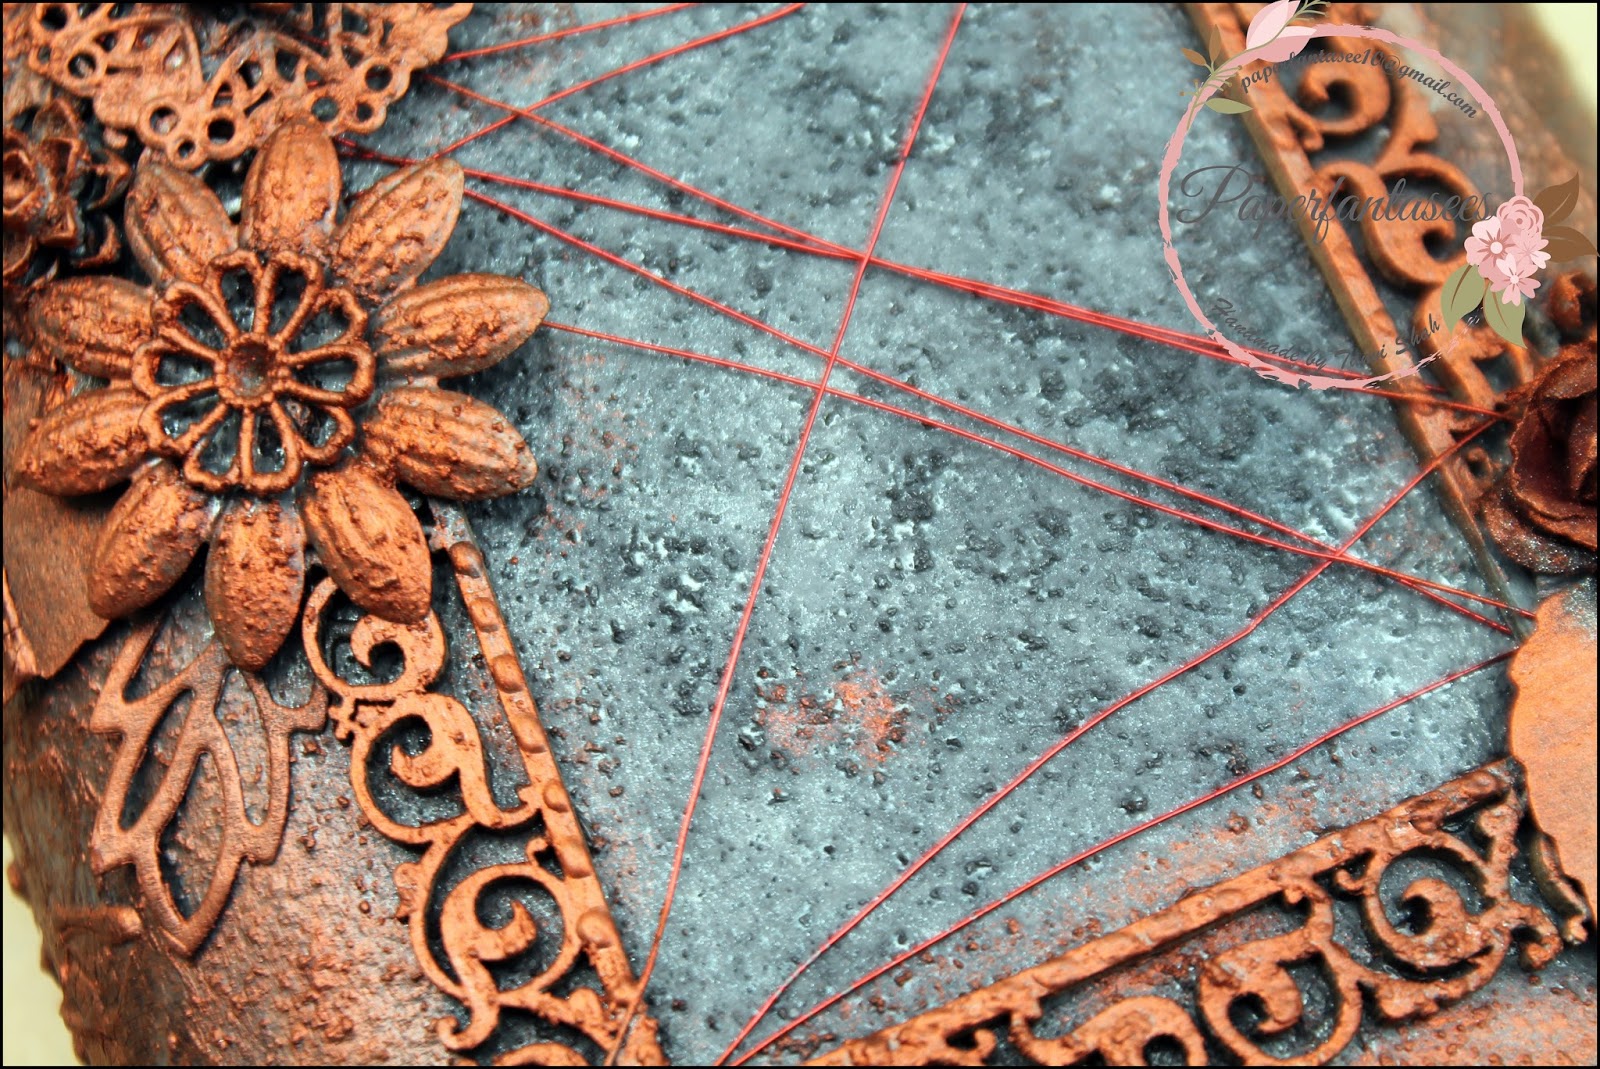
I played around with embellishments from my stash & textured them all with the concrete textured finish. Sprayed the layout with Lindys Stamp Gang Startburst - Black Orchid Silver. Added some Decoart Crackle paste on the sides. Once dry I highlighted all the textures with Finnabair Metallique wax - Red amber & Rose gold.
Here are some close ups of the Mixed Media -


Do you see the crackle effect here -


Sharing this at - 
More than words Challenge (lots of memories assocaited with this bottle & no better way to preserve those by altering it!)- 31.5


Thanks for stopping by today & have a crafty week!


Monday, 5 February 2018

Scrapbook Layout with Bob N Betty "You N I" pack

Hello Friends!
I am back with a scrapbook layout using the latest release from Bob N Betty – “You n I” ………I am in love with this pack! Its color palette of peach, kraft, black and the ultra-trendy periwinkle is such a refreshing change from the usual reds & pinks!
I have used one of the pages from the pack as the base of my layout. For layering my picture I made an envelope also from a sheet in the pack & distressed some more pieces layering.


All the flowers layered together in a bunch here are fussy cut from the collage sheet
The pack also has loads of printed sentiments for cards, albums, layouts


The pastel colors makes  “You N I” pack versatile for all love theme  projects be it Valentine’s, wedding, engagements, anniversary or even birthday.
To purchase this paper pack, go to the sales buddies section of our website, choose a distributor near you and start shopping 

Thank you so much for visiting & taking the time to comment on my blog. I love to hear from you & truly appreciate your feedback. Have a crafty day!

Monday, 7 August 2017

Texture Triangles

Hello Friends!
This is Tanvi with another brilliant product from Itsy Bitsy - the TEXTURE TRIANGLES

Texture triangle is an awesome tool to use for adding various texture effects to your mixed media projects. Creating horizontal, vertical, chequered, zigzag fan criss cross or other patterns of your choice is so easy with these texture triangles.

This is a three-sided tool & available in two variants. 
One triangle helps create fine lines & the other is useful for stripes & bands, each side of the triangle has different sized teeth, allowing you more variations when combing. Must have tool for mixed media artists. 


The possibilities of creating patterns with these is endless. For my experiments I mixed acrylic paint with impasto & played around with these triangles. Look at the array of pattern I created - 


I love textures & patterns and these tools are perfect for adding quick dimensions & interest to projects. I am no mixed media expert but after playing around with these tools I wanted to give it a try, sharing my attempt at this - 

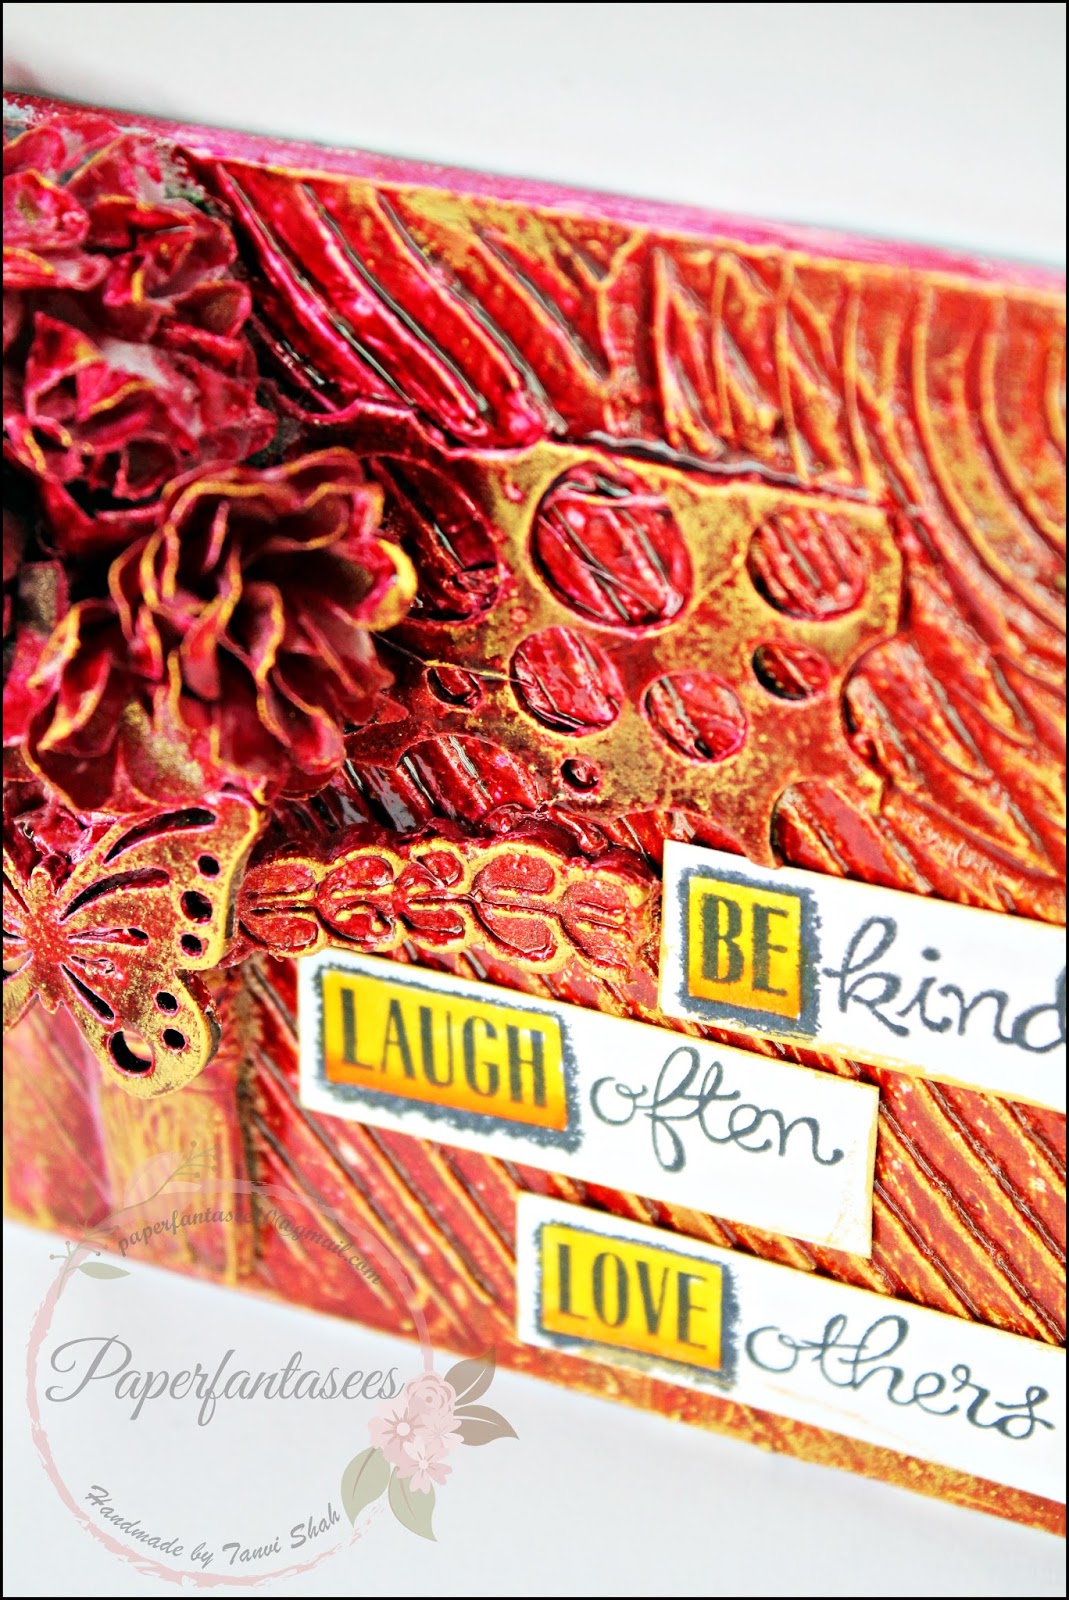
This is a 4x4 Mont Marte canvas panel. Using the texture triangle over modelling paste I created the desired base for the mixed media. I used an old brush as a flower vase, chipboard shapes, some flowers & twine to make a layout. After which the entire layout was gessoed. For the bright colors I chose gold alcohol splash -  wild rose, hot pink & marigold


To highlight the textures I lightly brushed gold at places & that popped the layout


Just look at the awesome canvas loaded with textures!


Thank you so much for visiting & taking the time to comment on my blog. I love to hear from you & truly appreciate your feedback. Have a crafty day!
Related Posts Plugin for WordPress, Blogger...