Hello Friends!
I am at the Bob N Betty blog today with some festive inspiration.
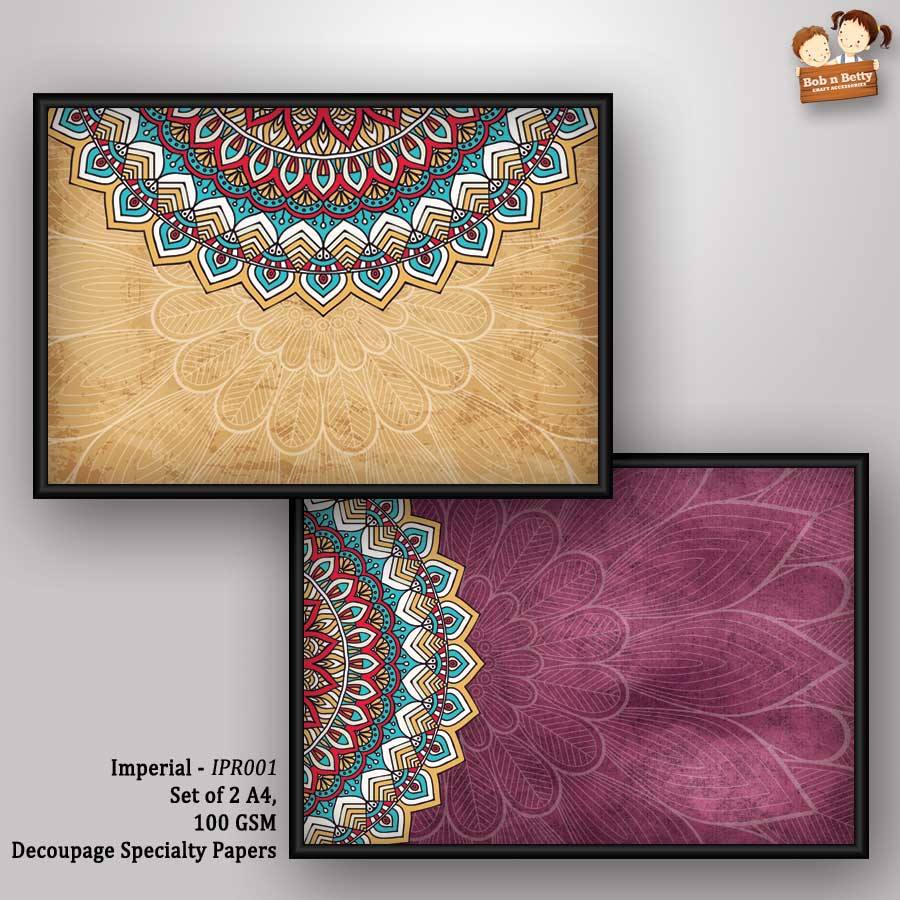
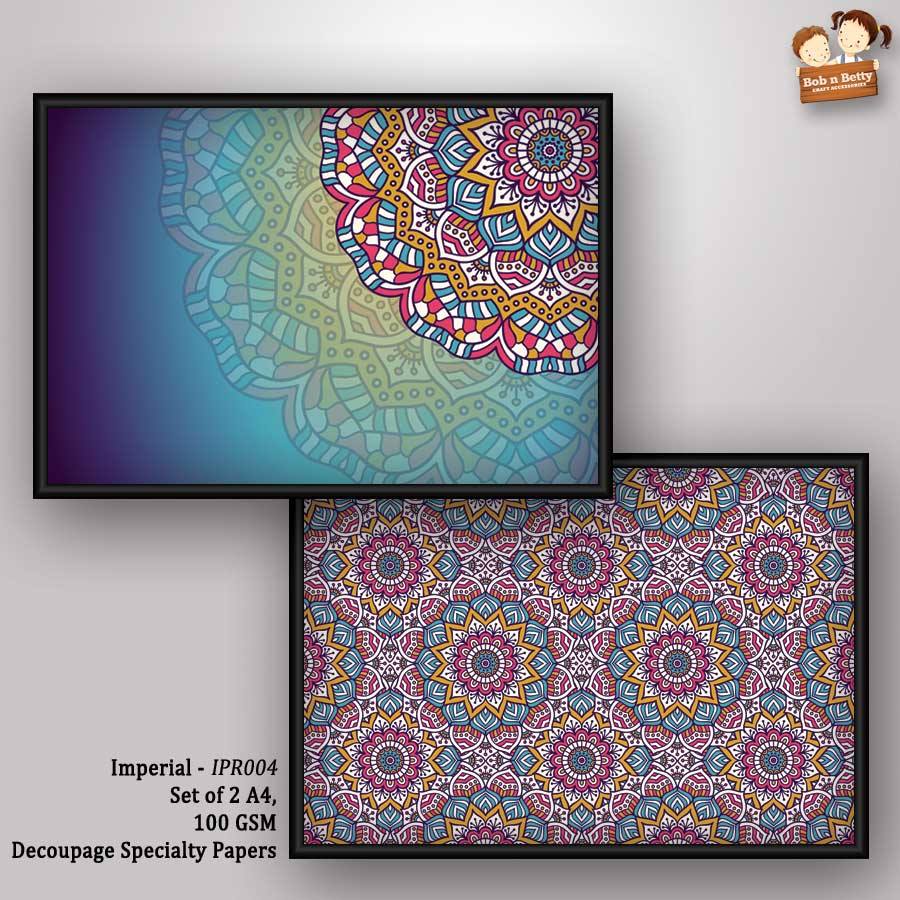
I am super excited with the new release - festive & trendy, the IMPERIAL collection. This release has 8 designs to compliment the festive season. For my post today I used these 2 designs of my favorites from this set. You can shop for the entire collection from any of our Sales Buddies.
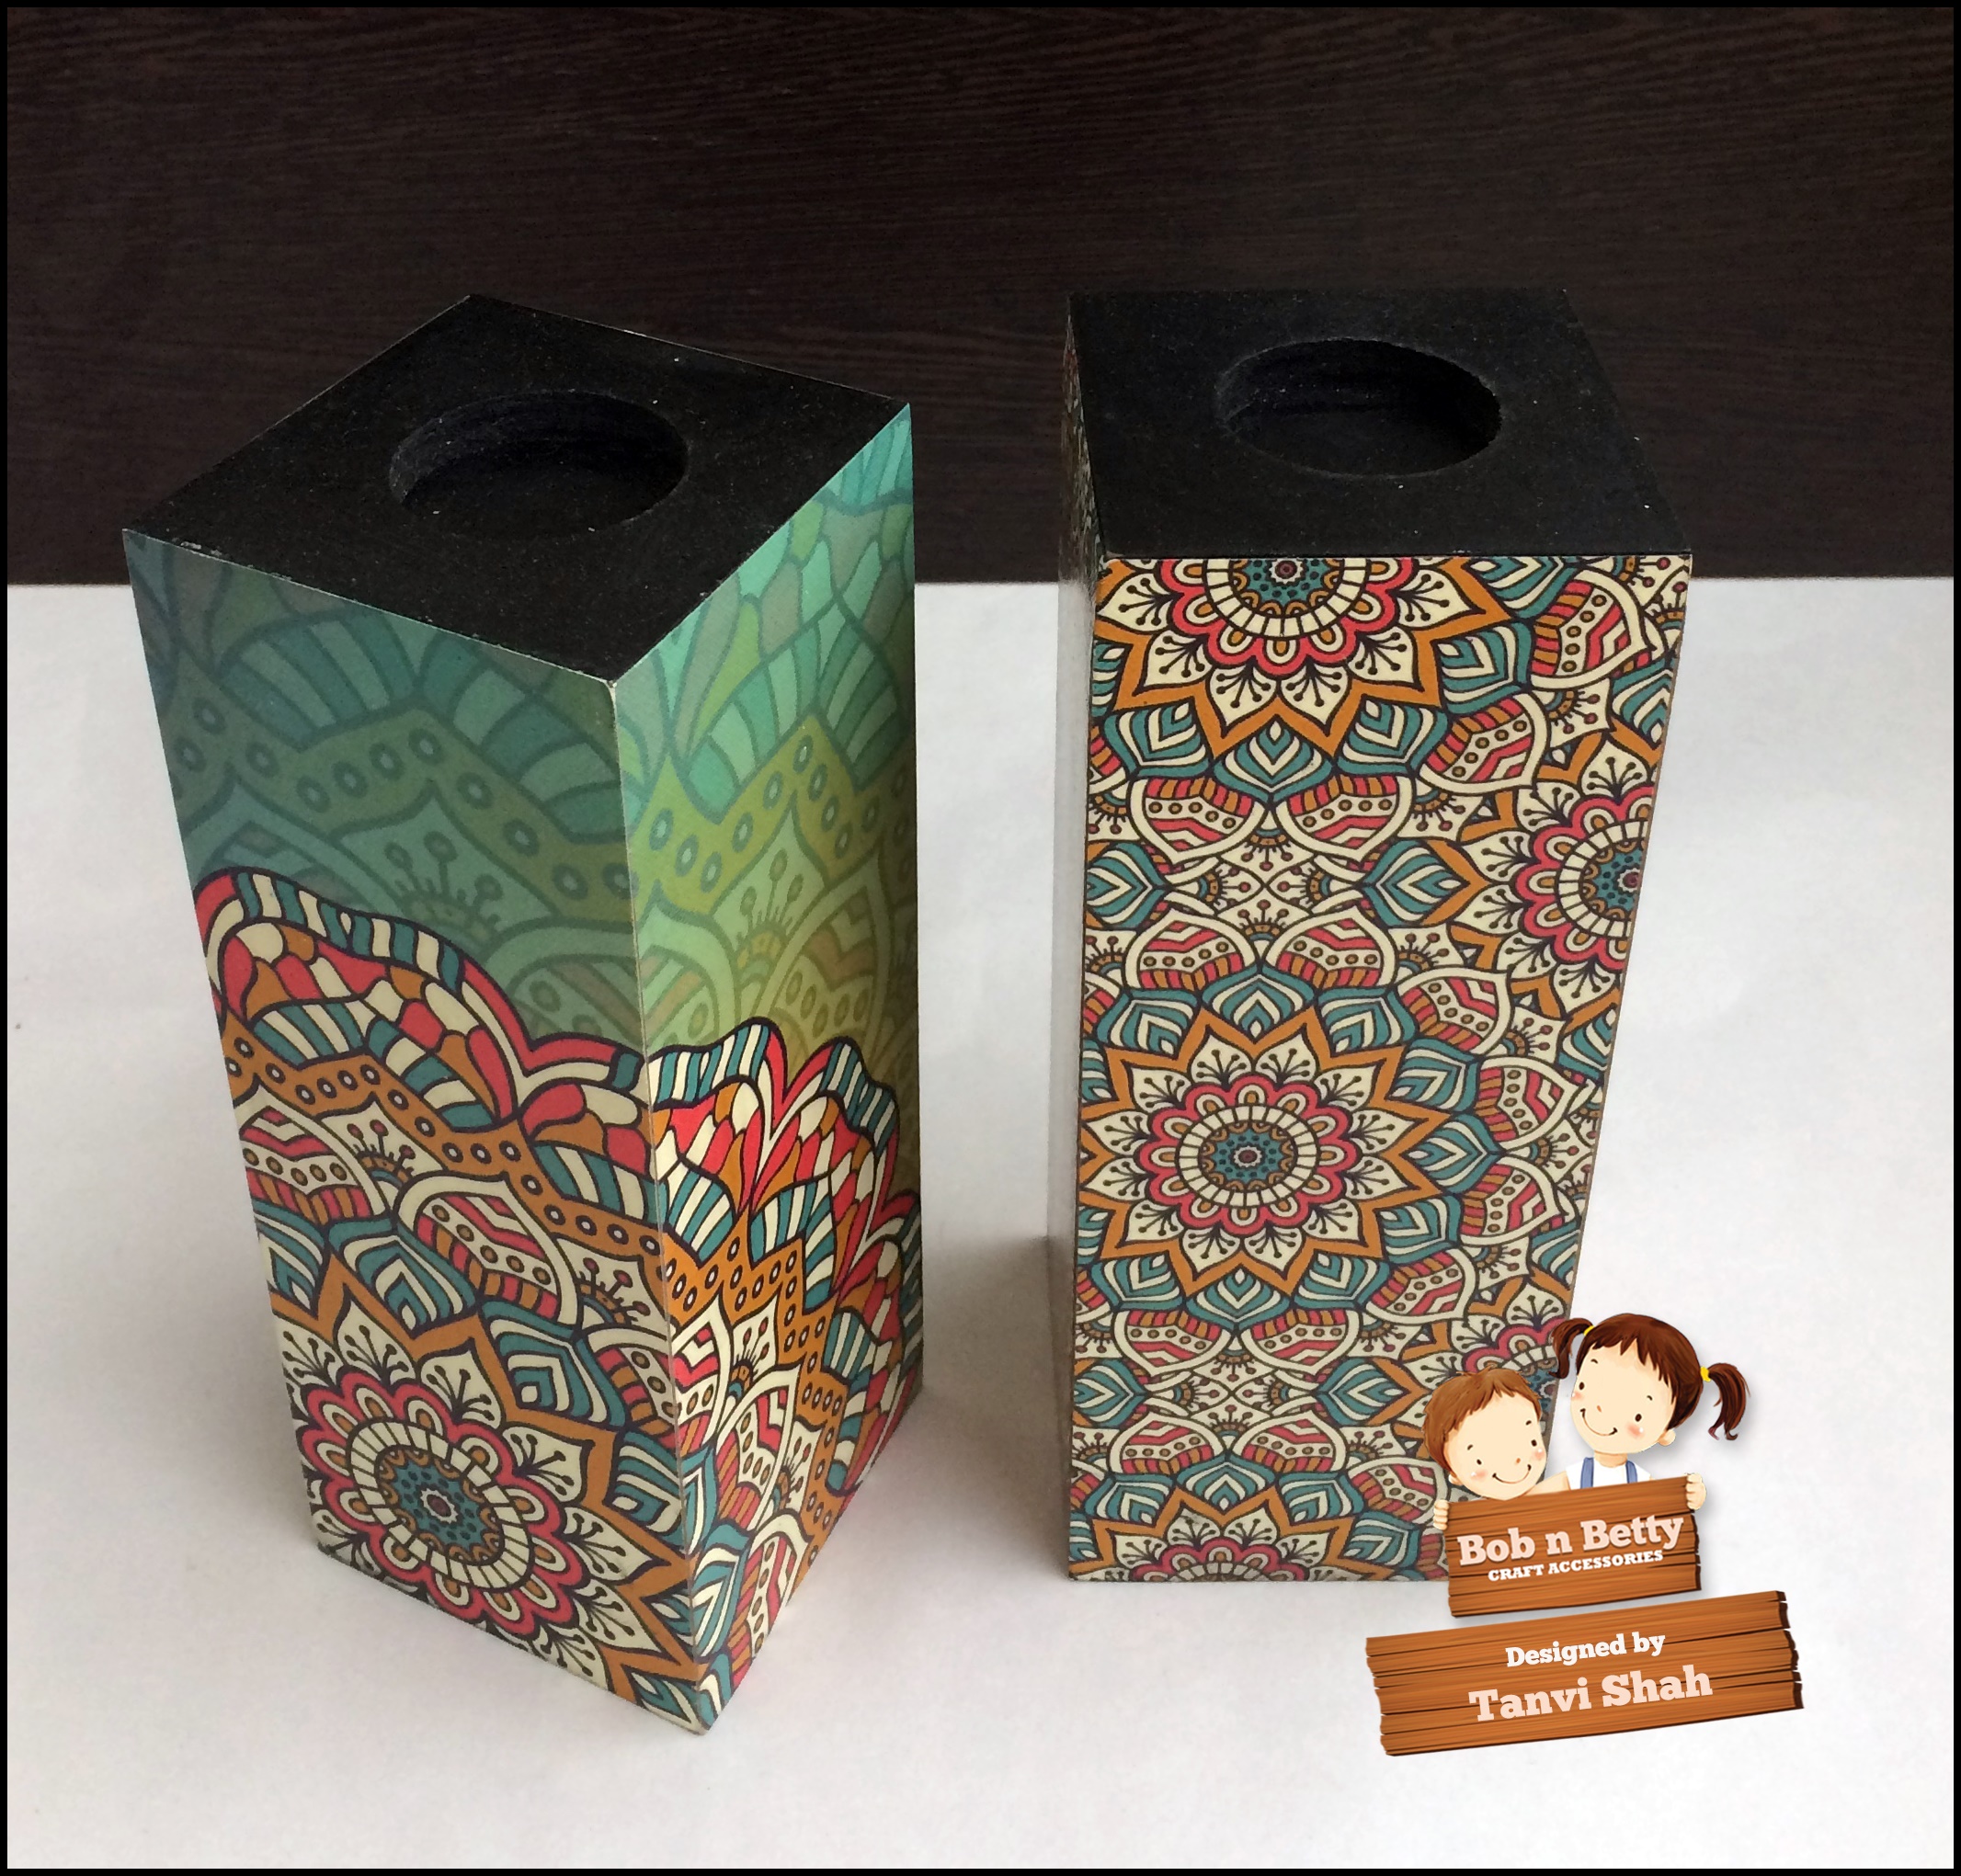
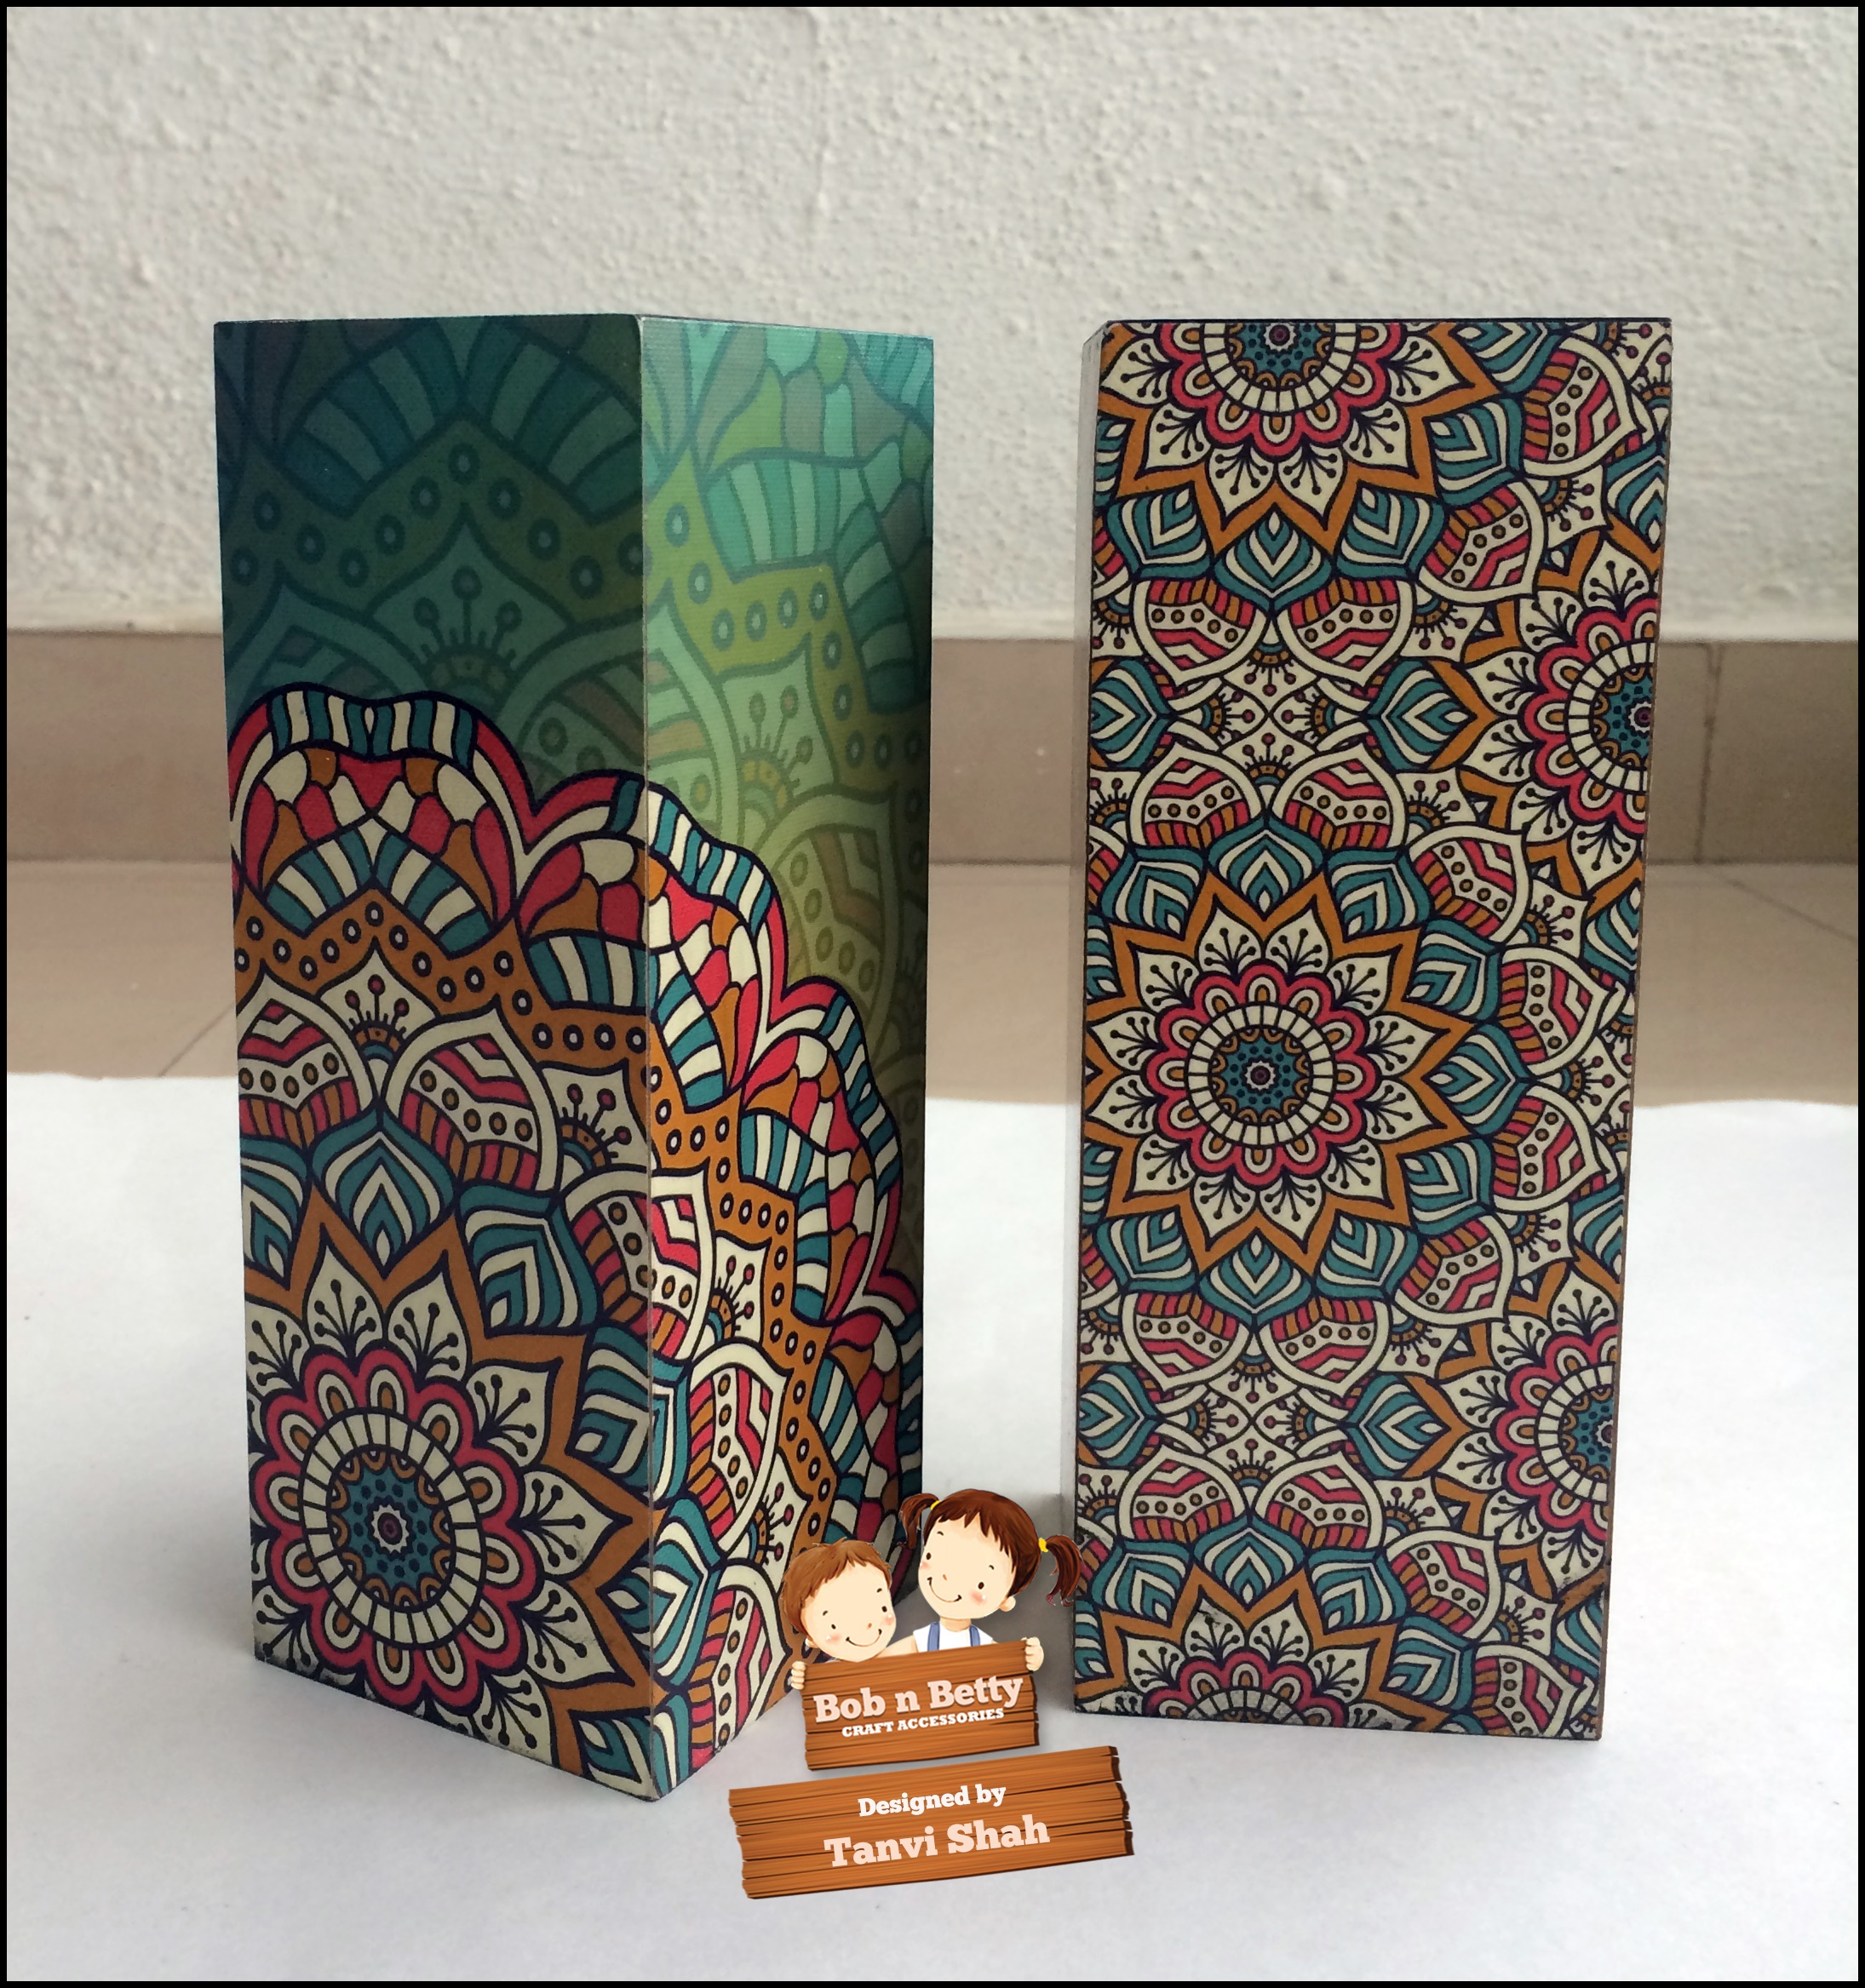
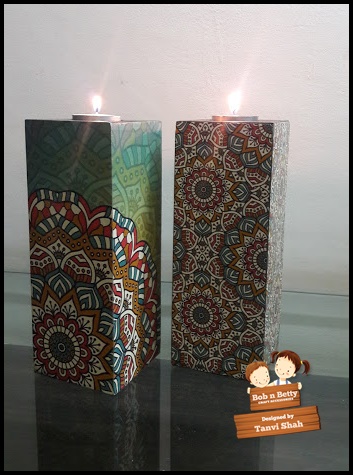
First I have a set of simple tealight holders. The design is so apt for the season & the colors perfectly coordinated!
Next I share a set of trays with a faux tile effect & a glass finish.
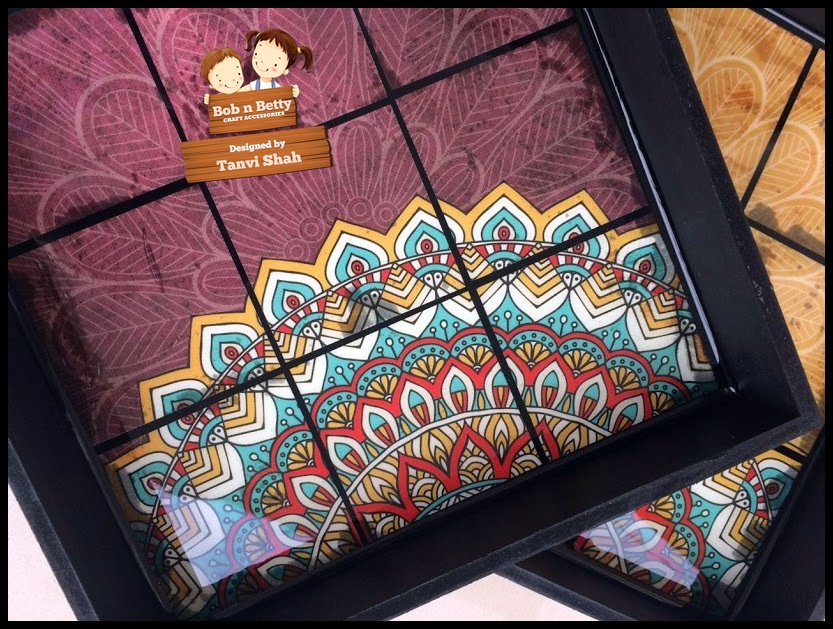
Let me take you through the steps to get this faux glass look.
Select the papers of choice.
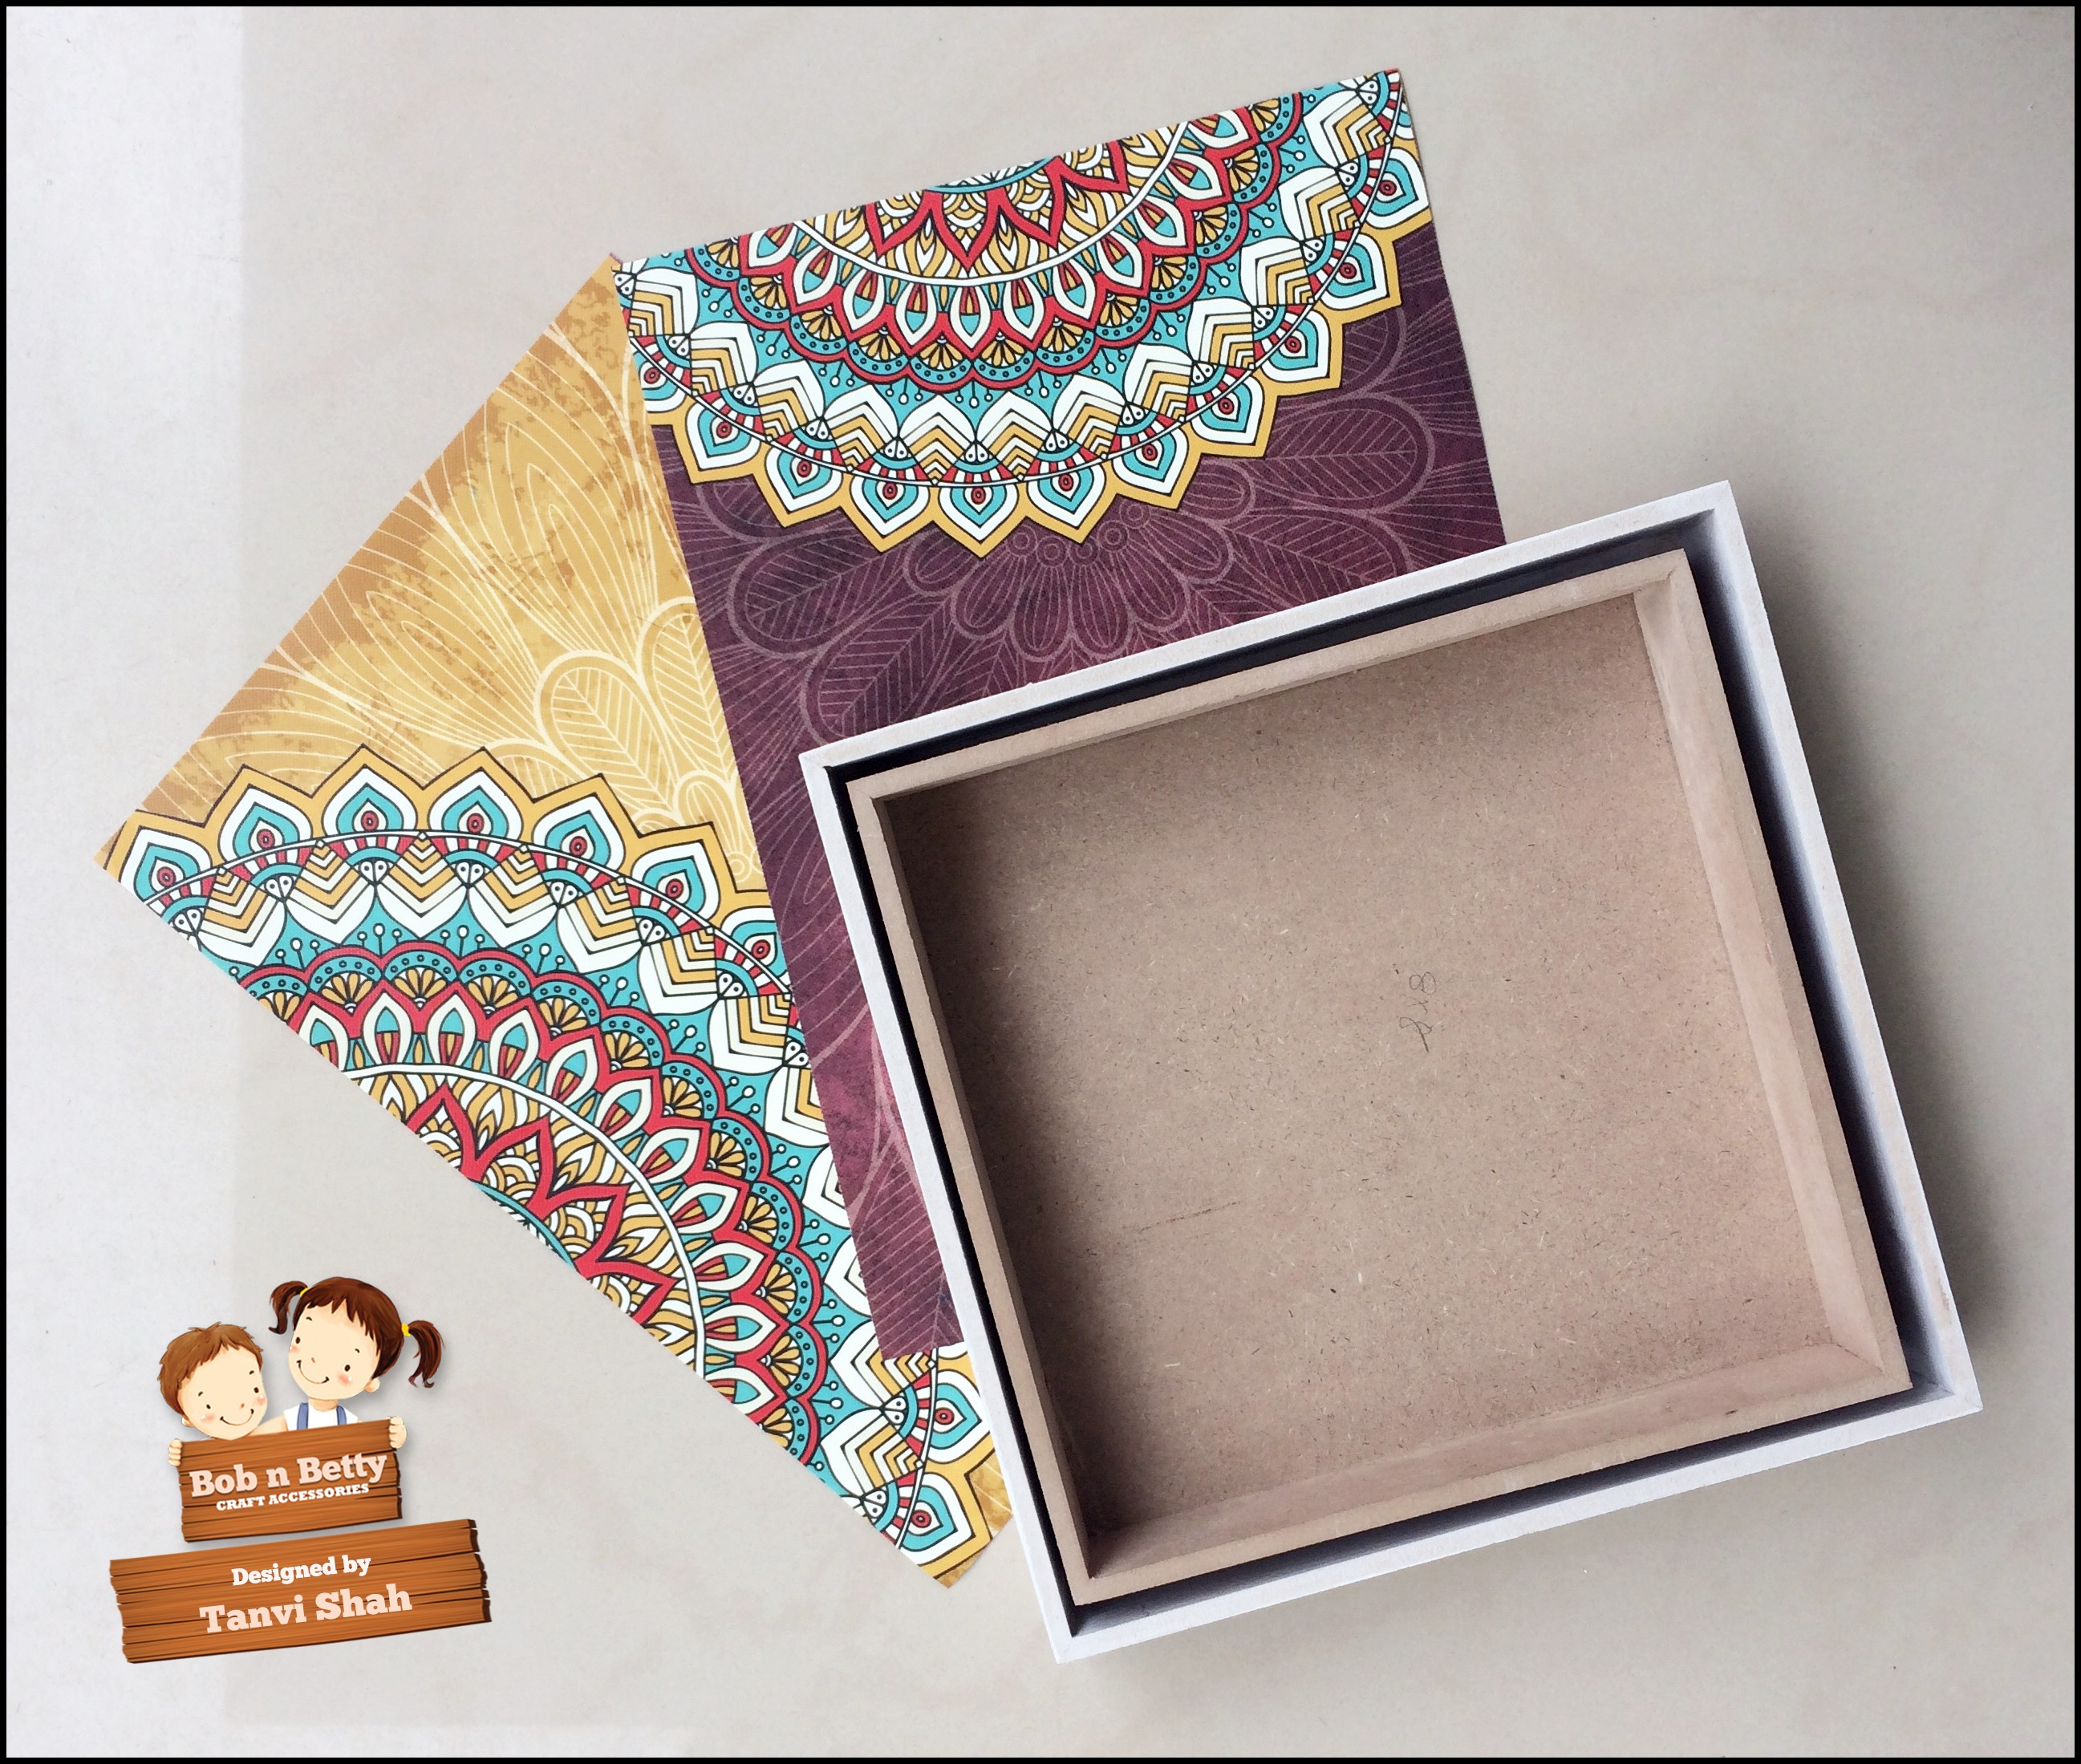
Sand, prime & paint the entire tray. In this tray the black color will end up being the "grout" color.
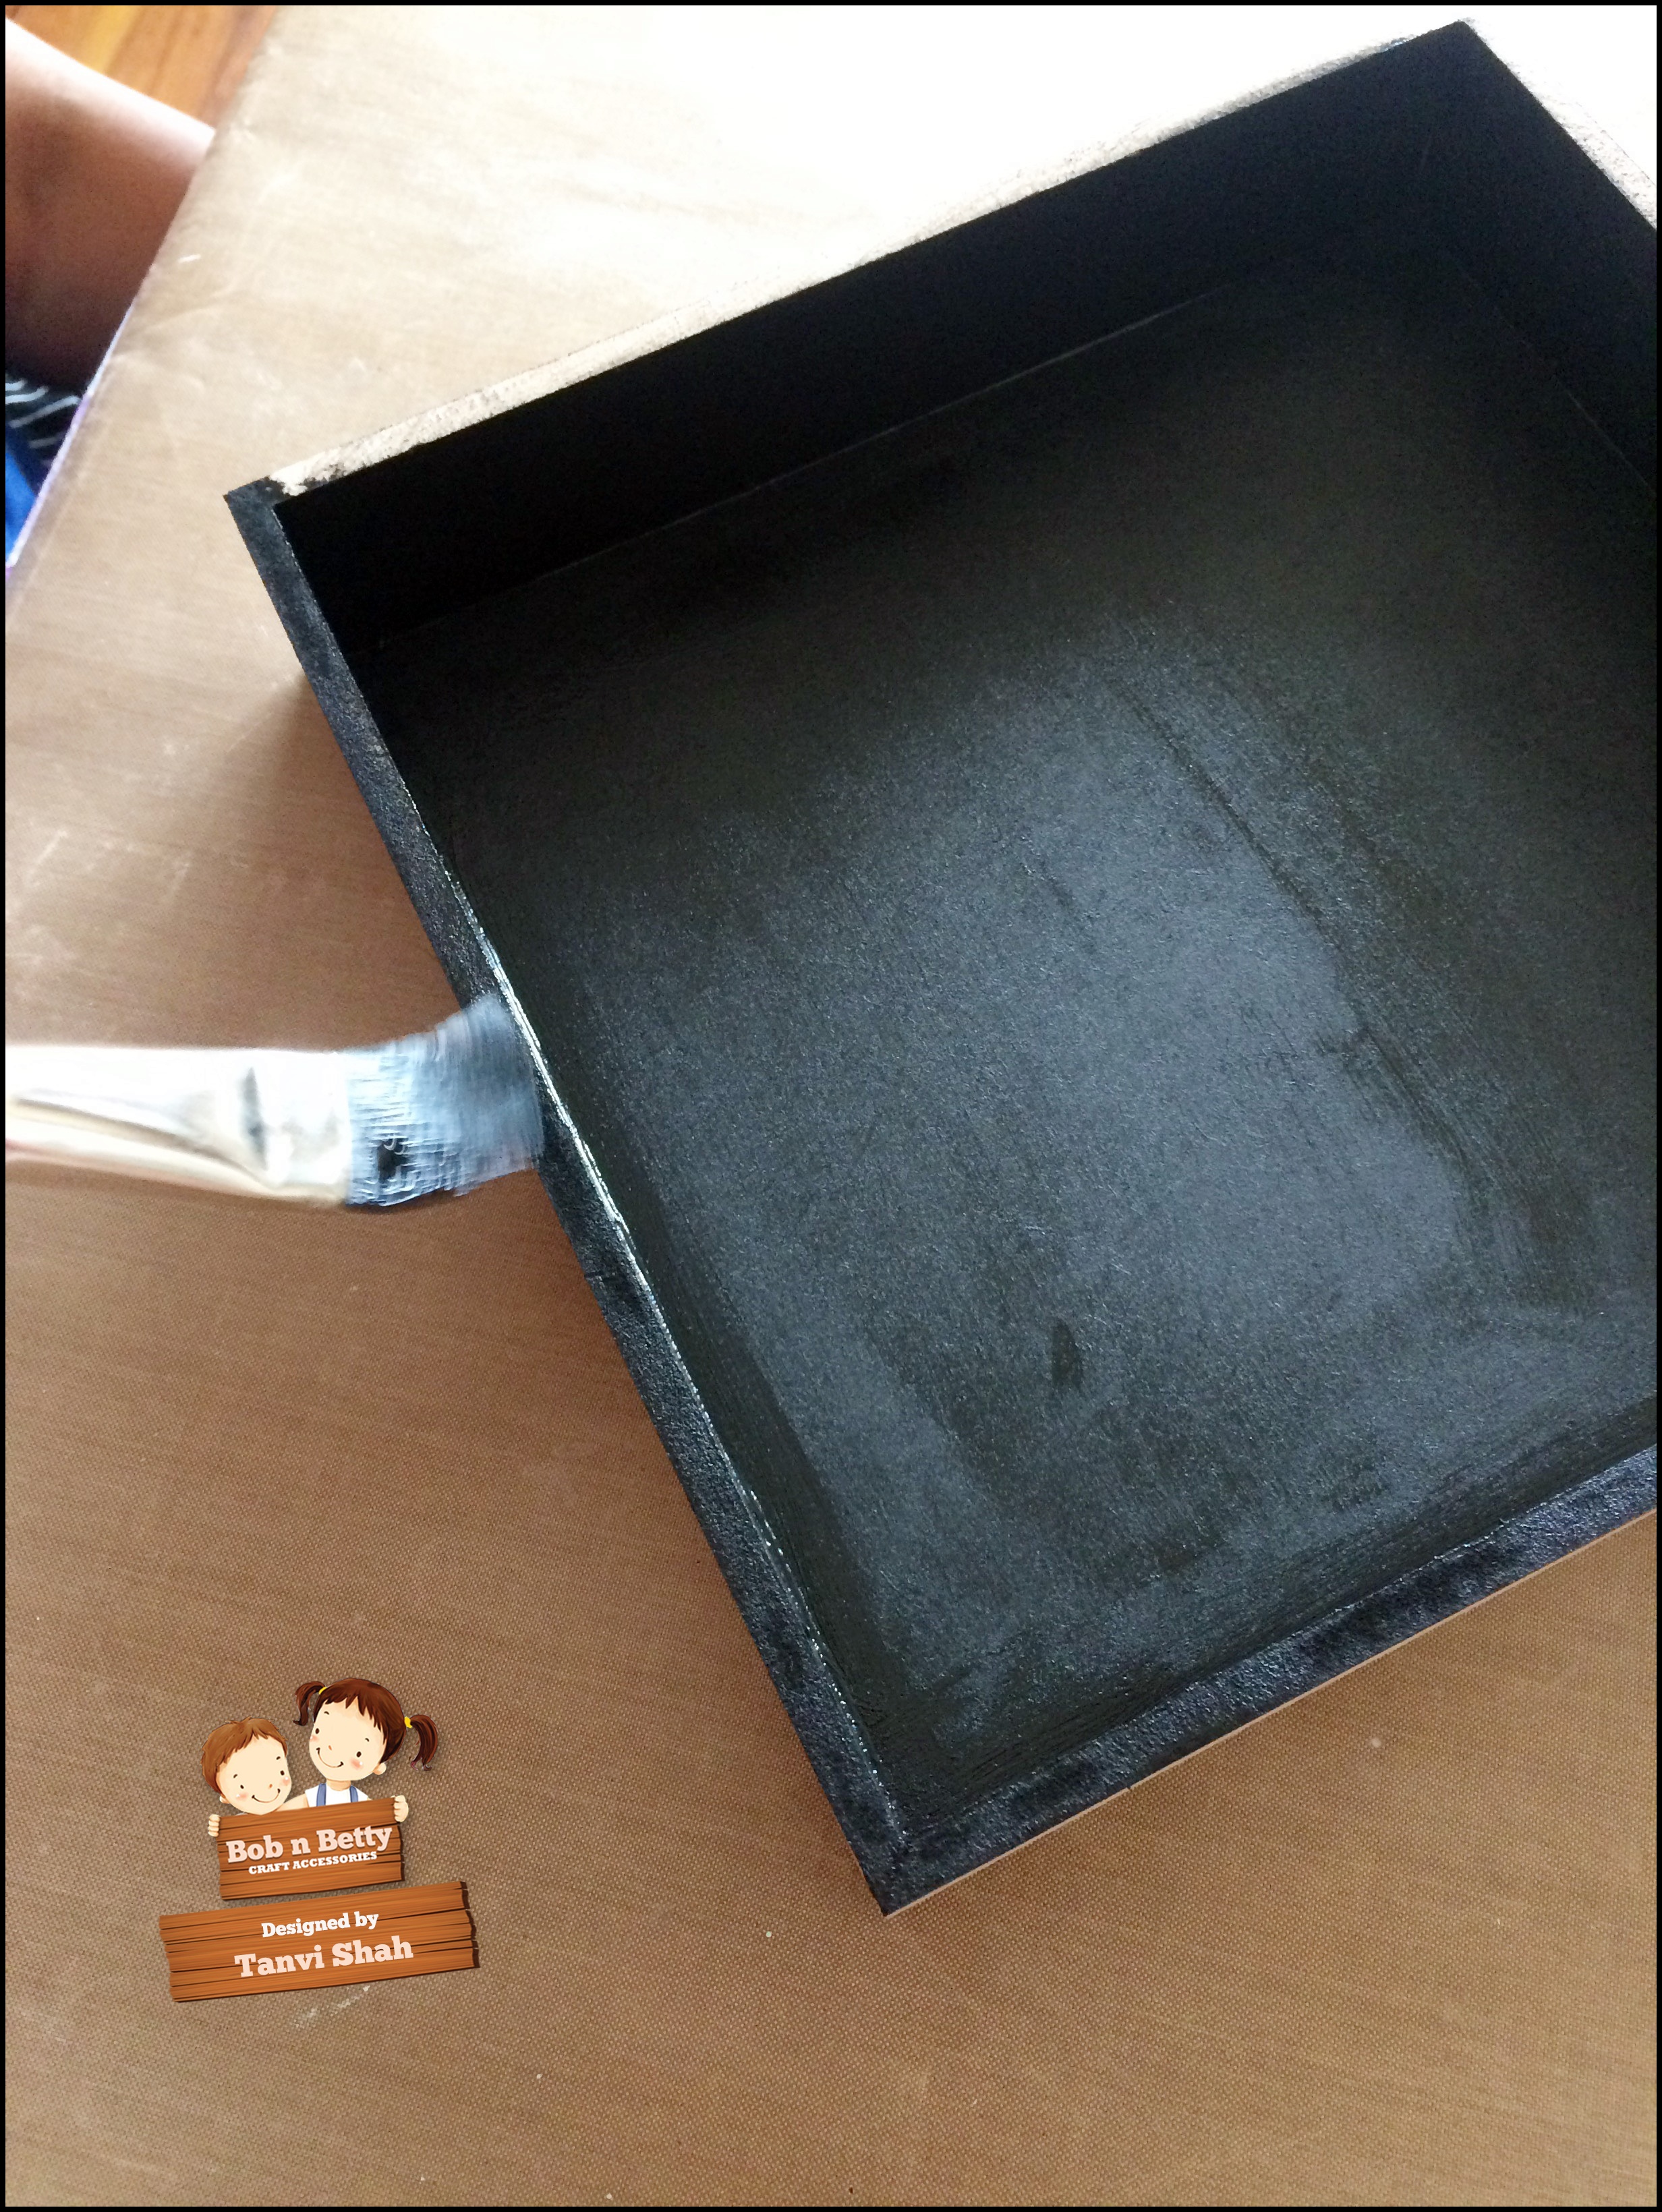
Let dry.
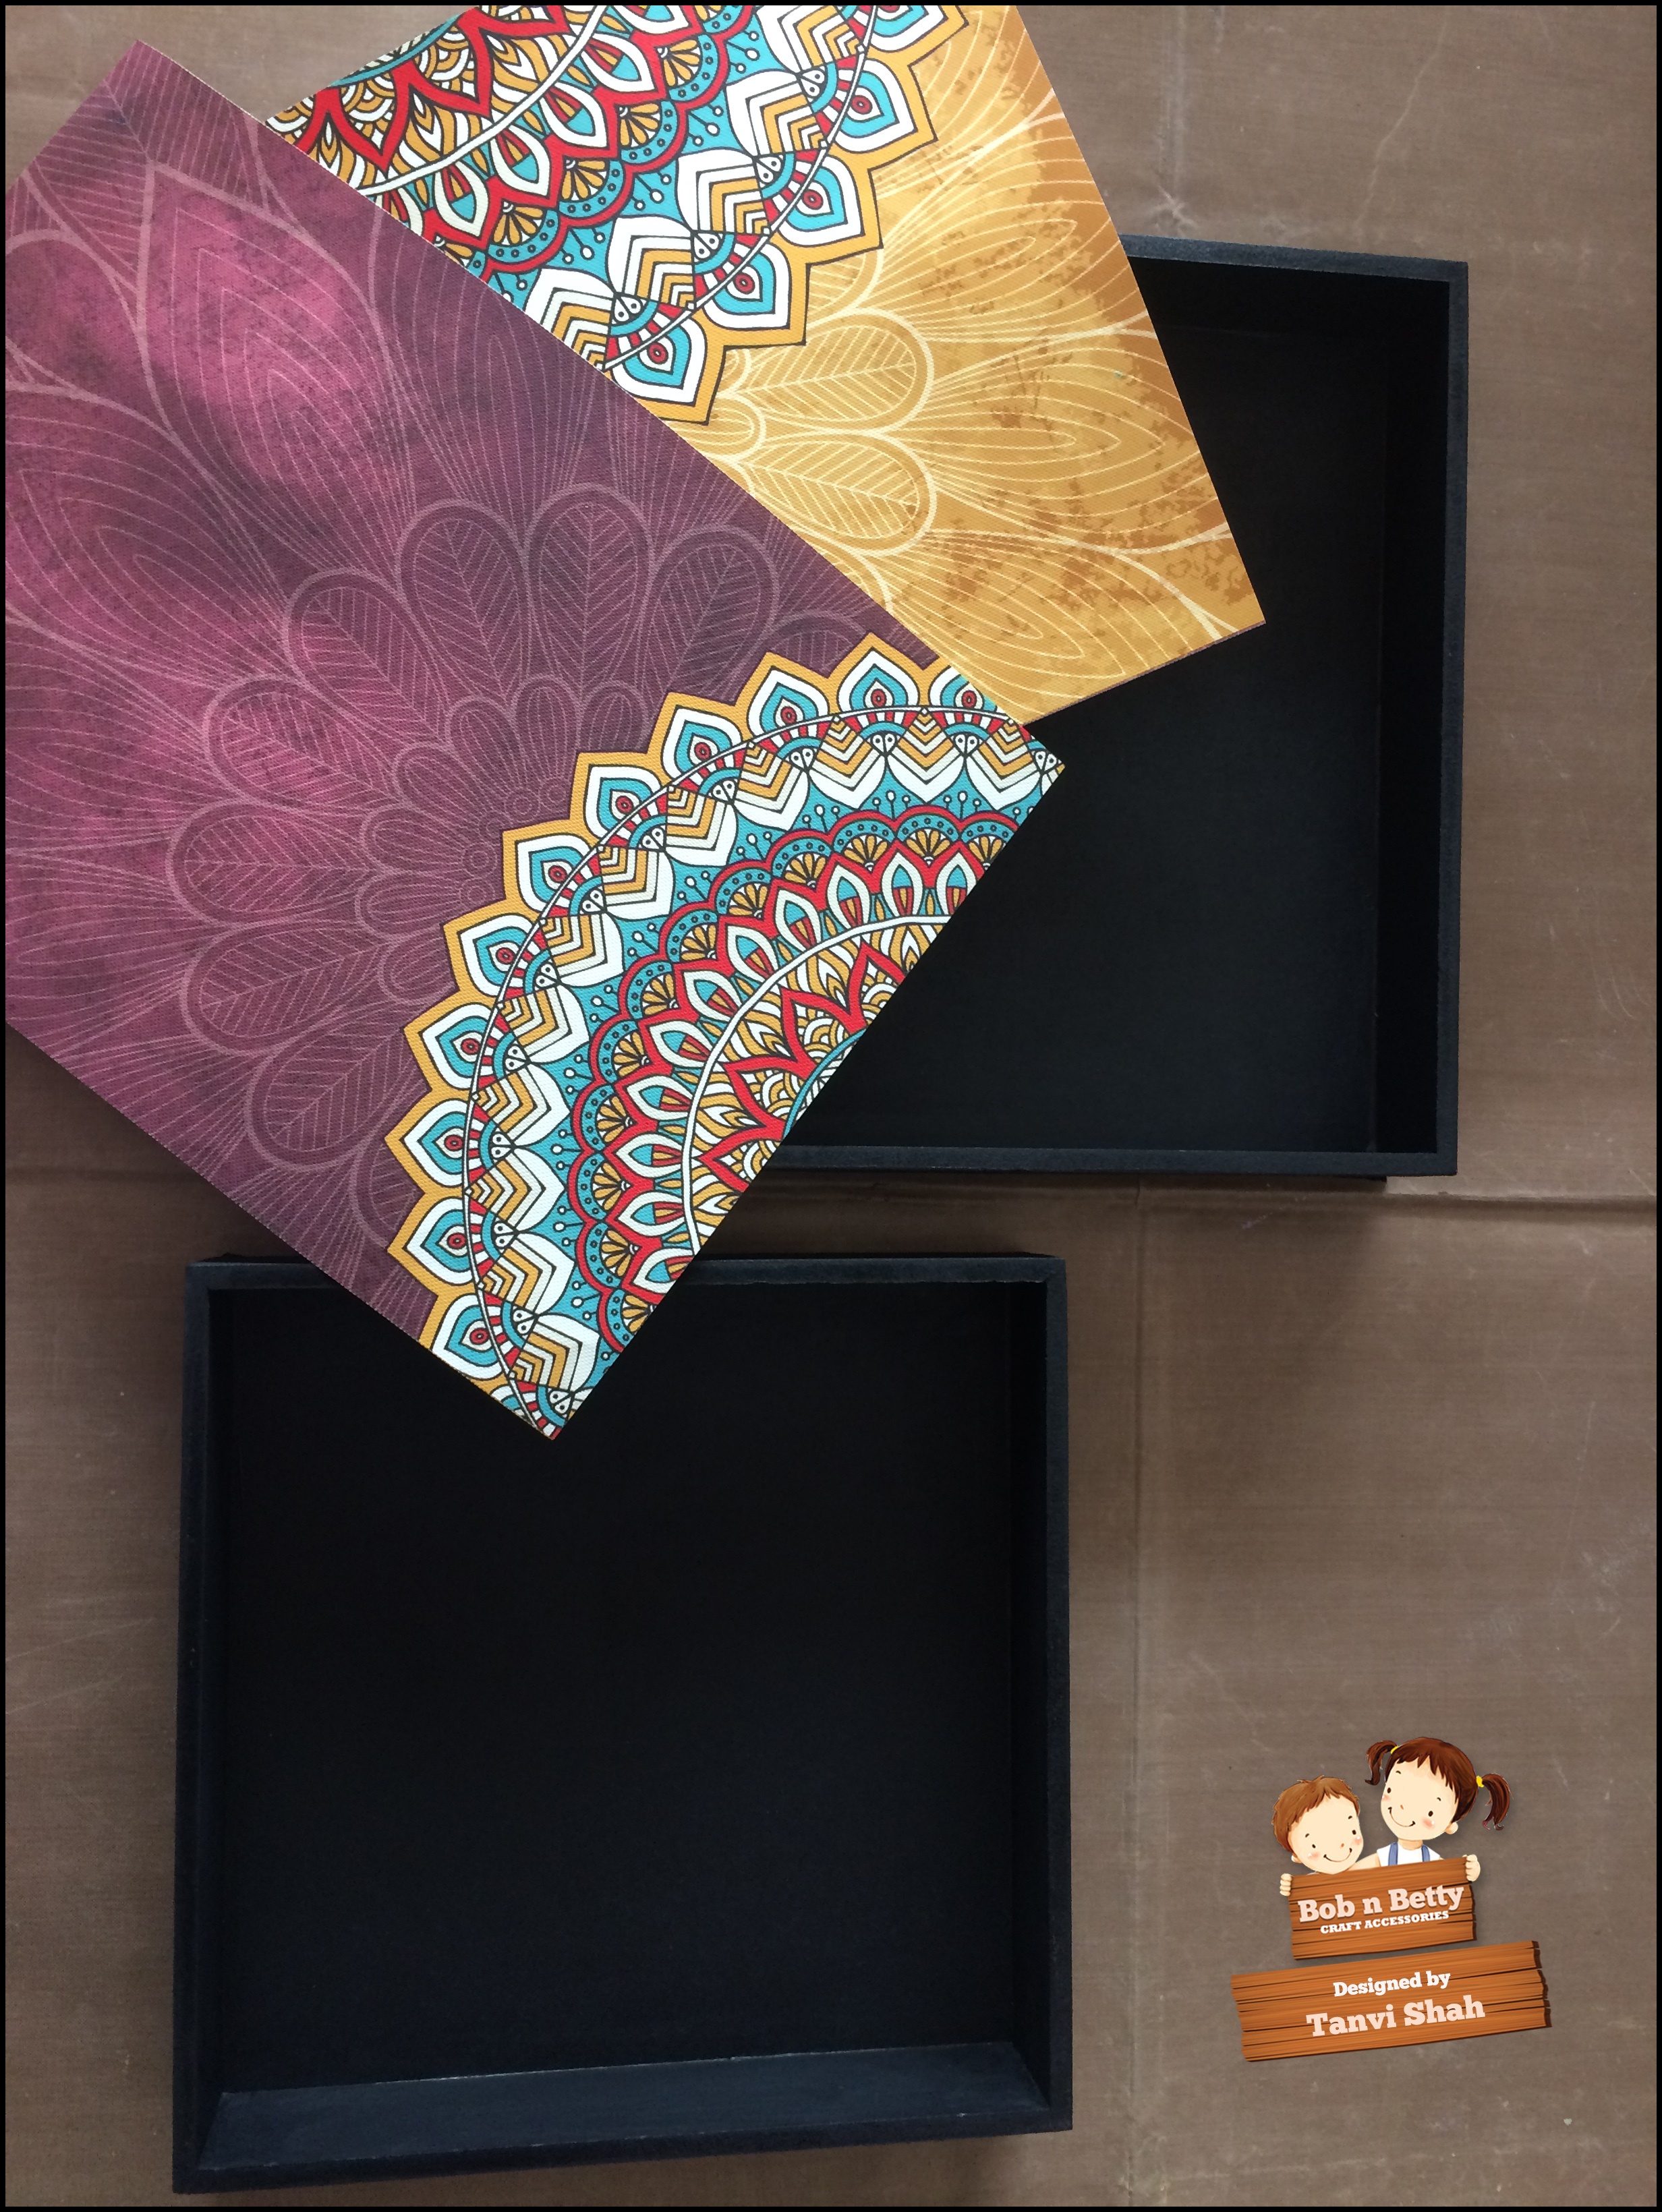
Next measure the inside of the tray. Since mine is a square tray I decided to trim the paper into 9 pieces to make faux tiles. Trim the pieces smaller than the inside of the tray to create "grout lines"
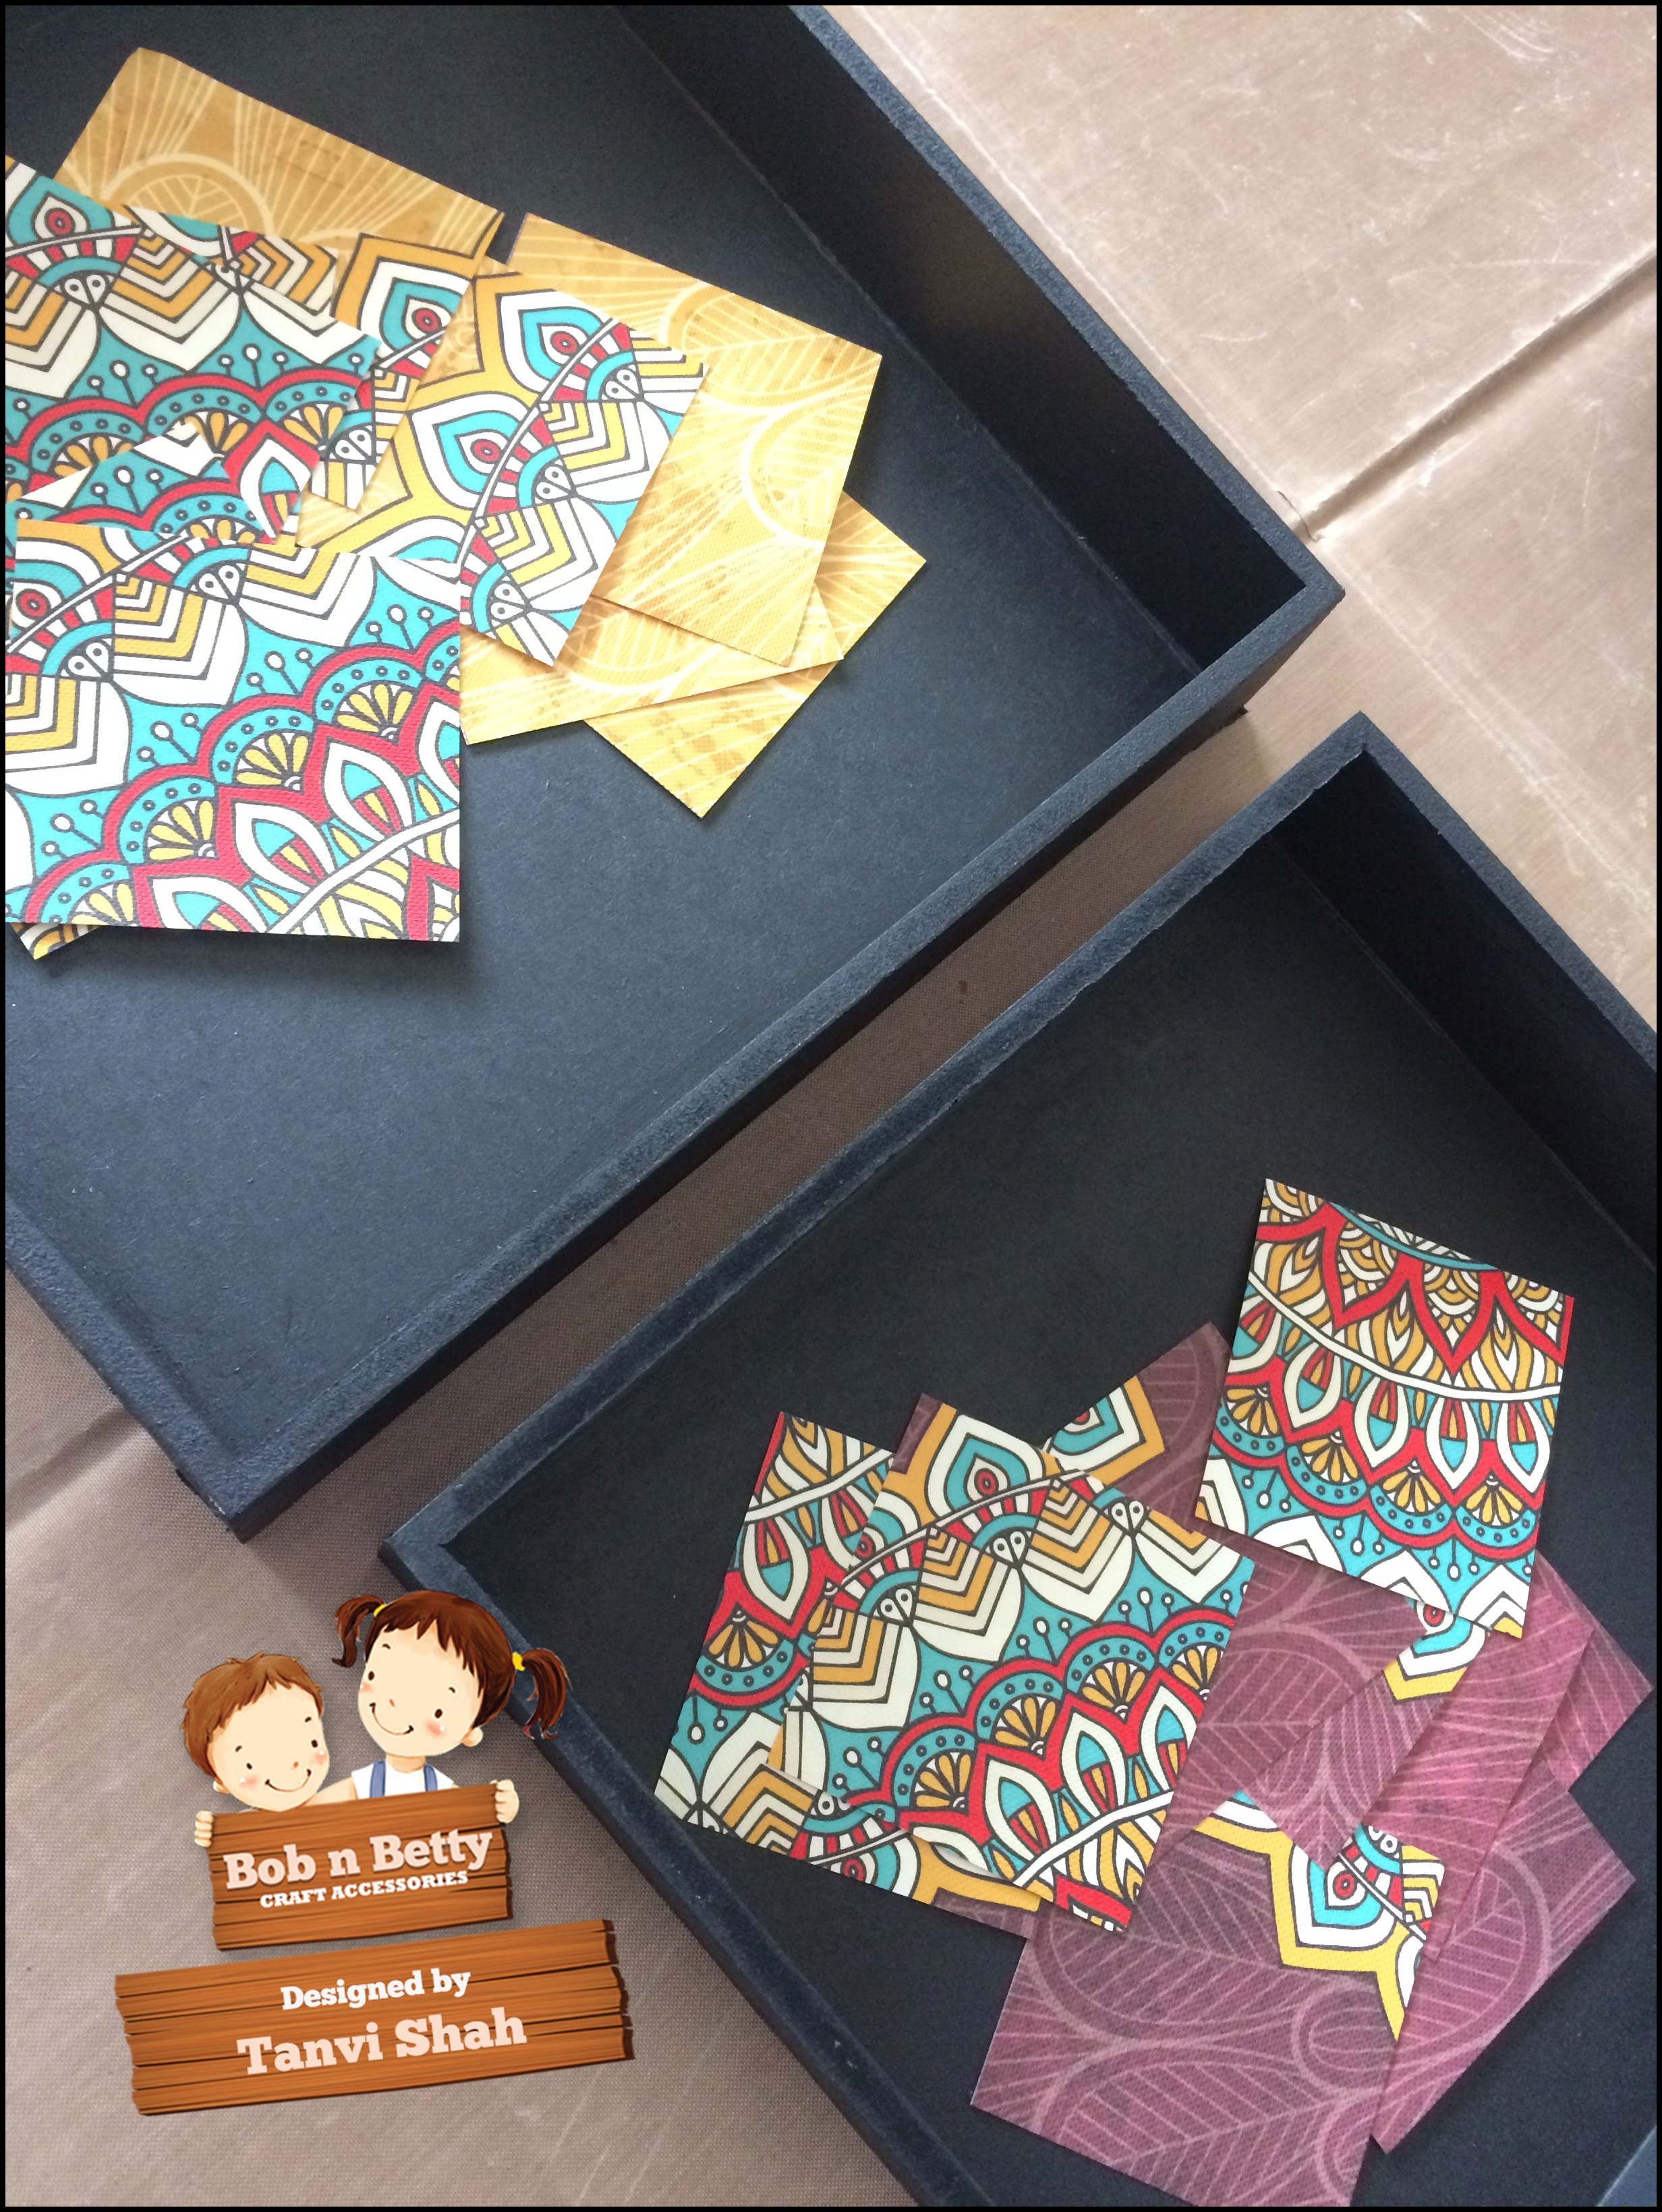
Now we are ready to start tiling!
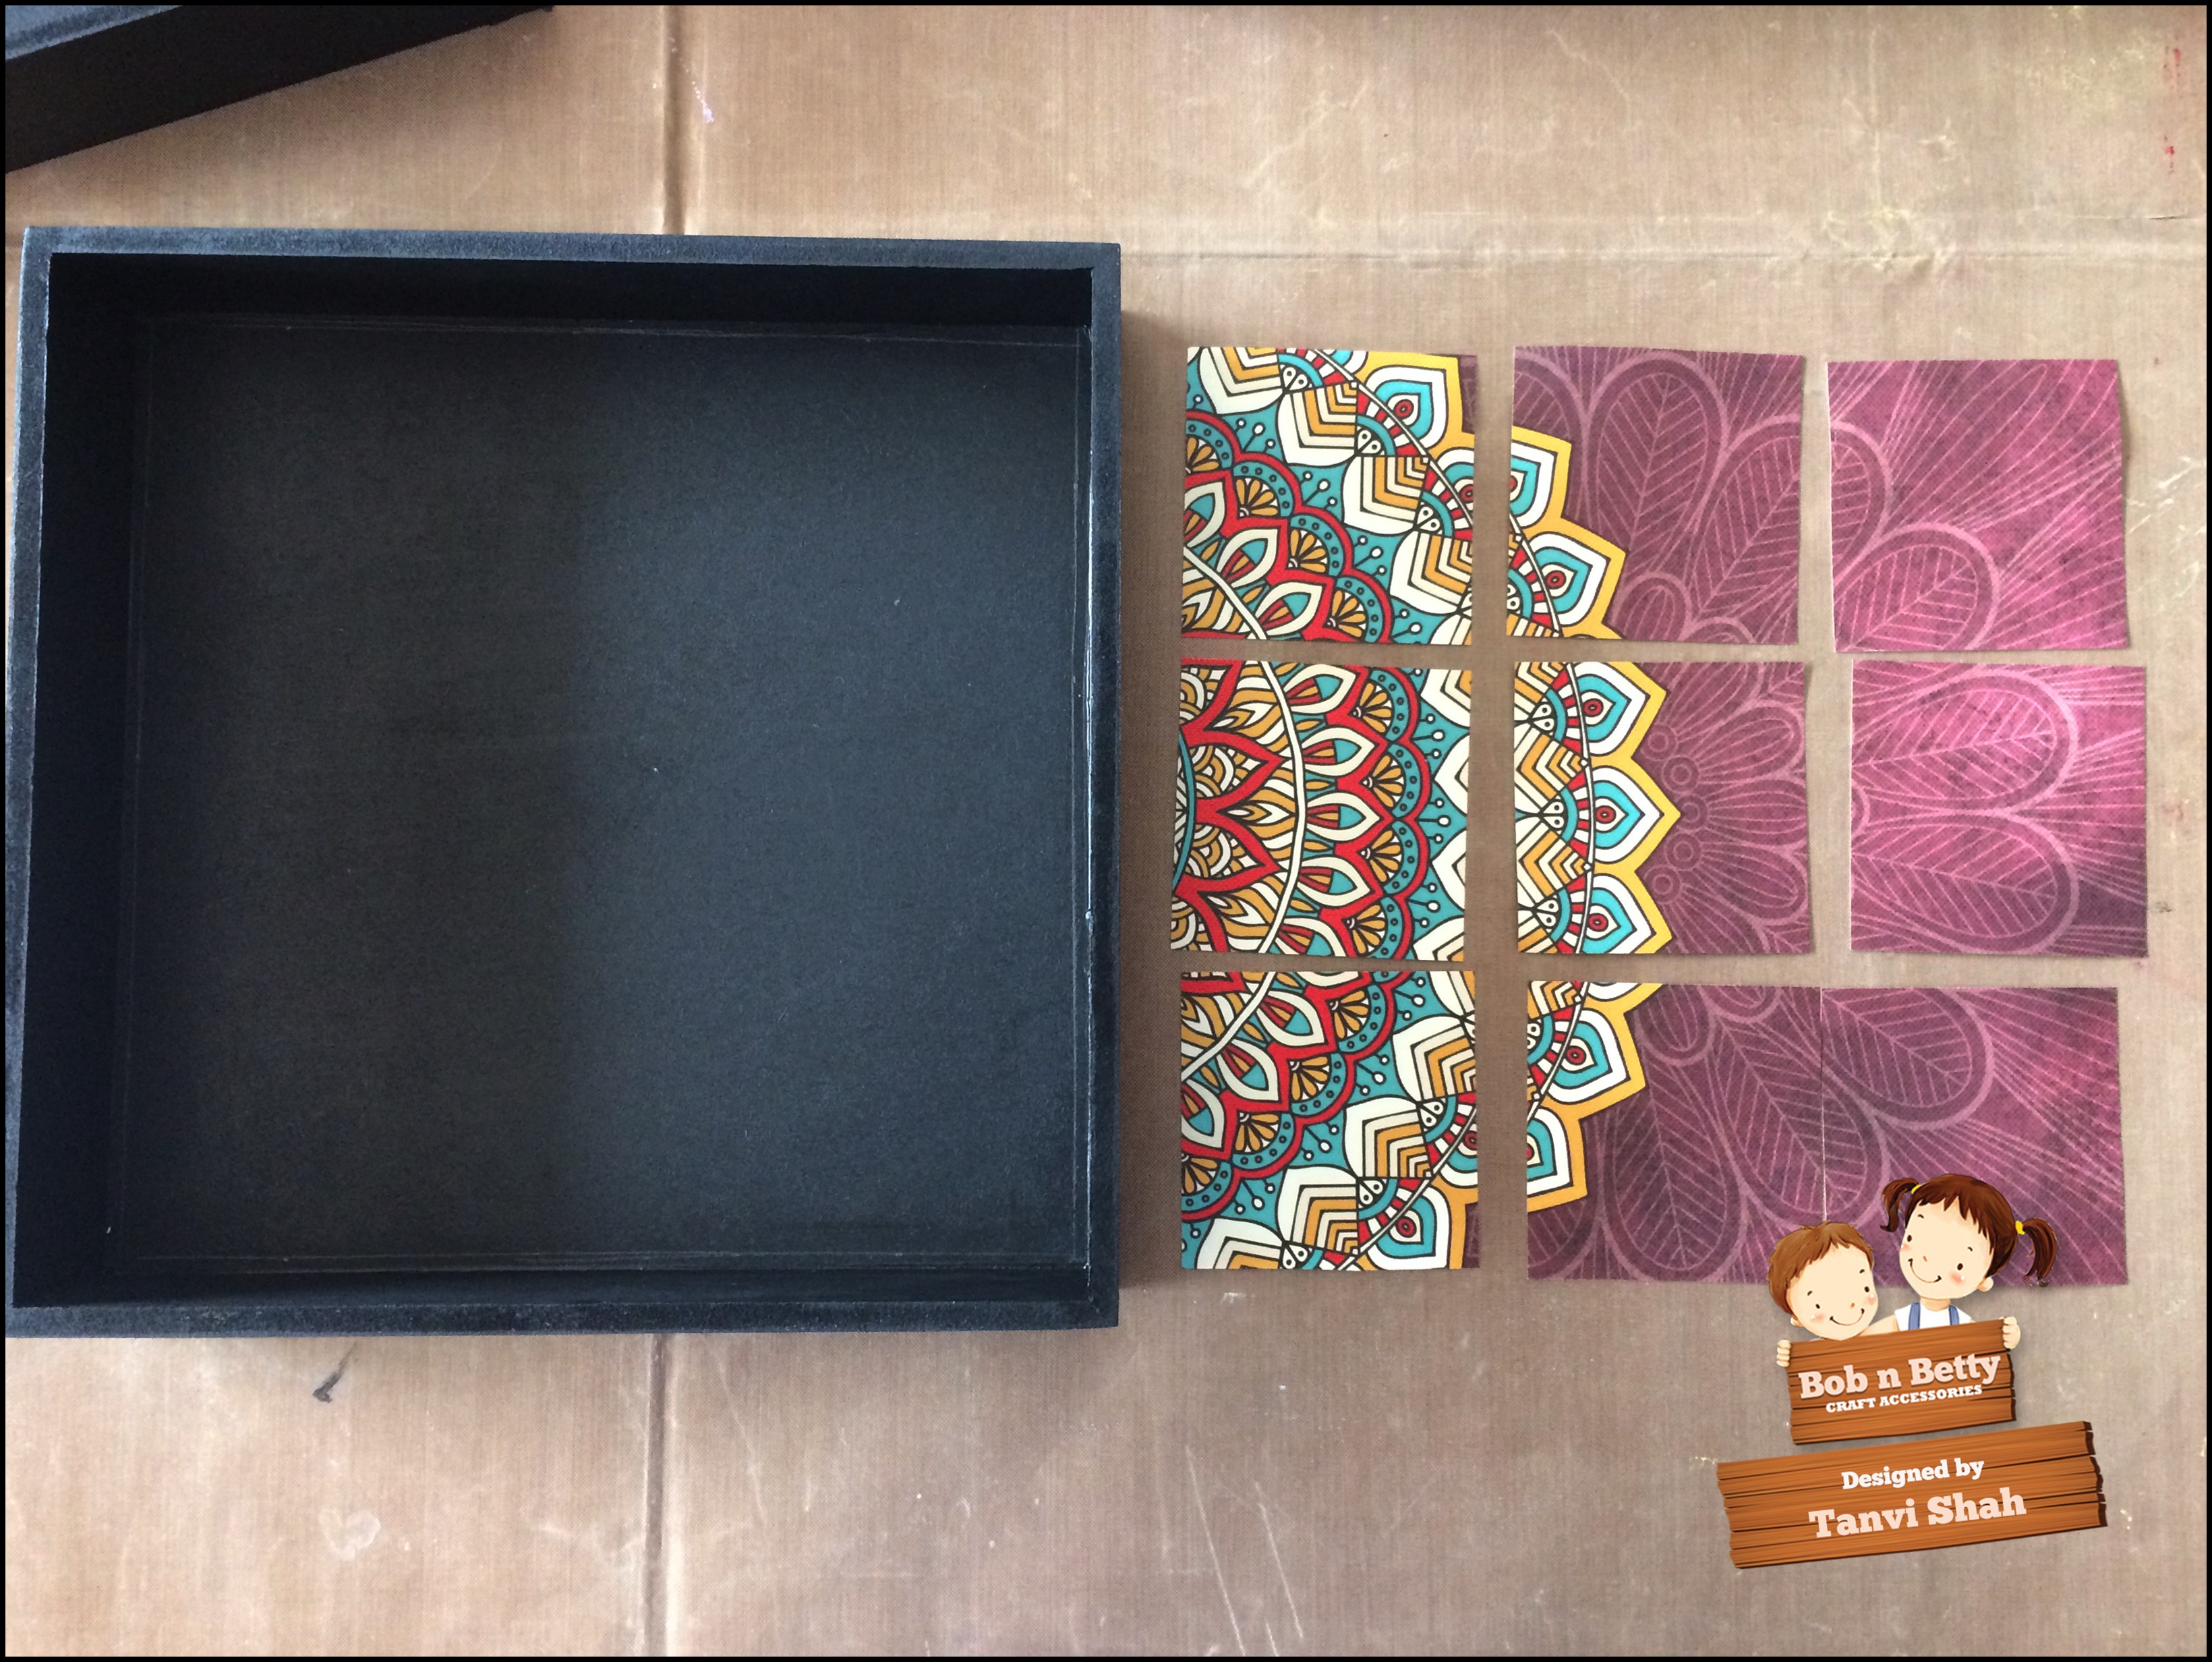
While tiling I glued the left hand piece with modpodge first, followed by the right hand side & finally the middle piece was set in place, to ensure all tiles were equidistant.
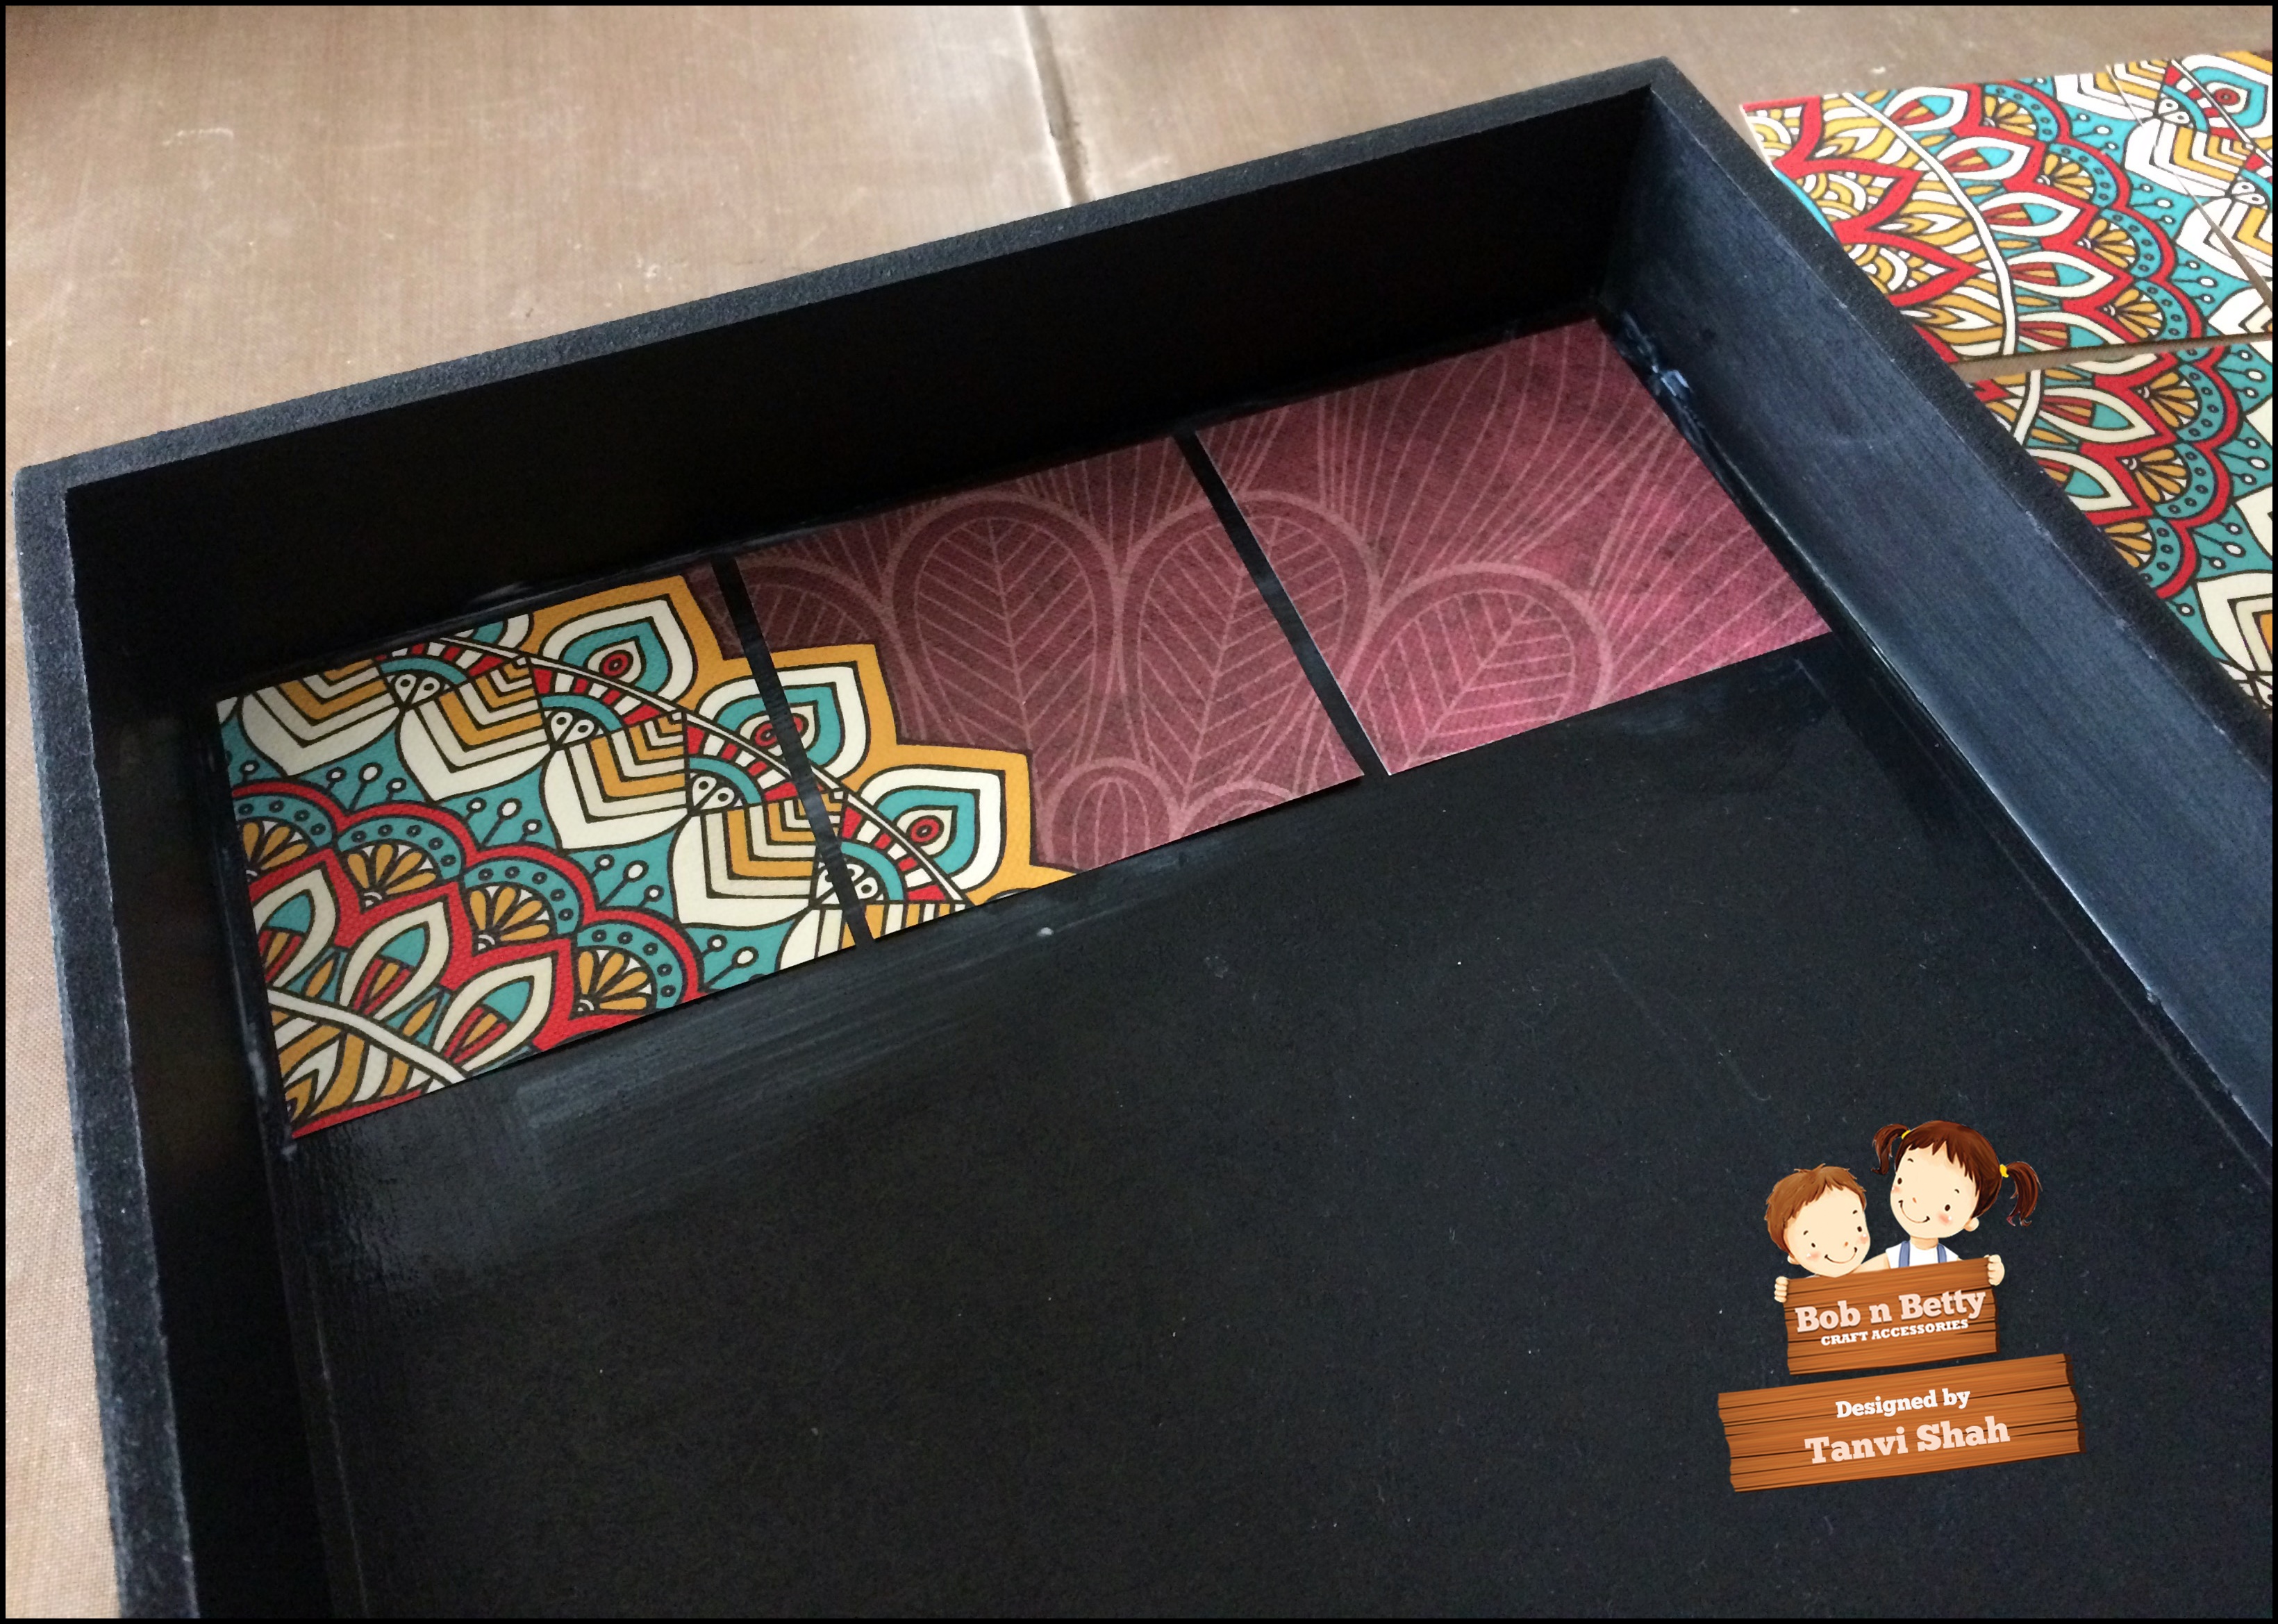
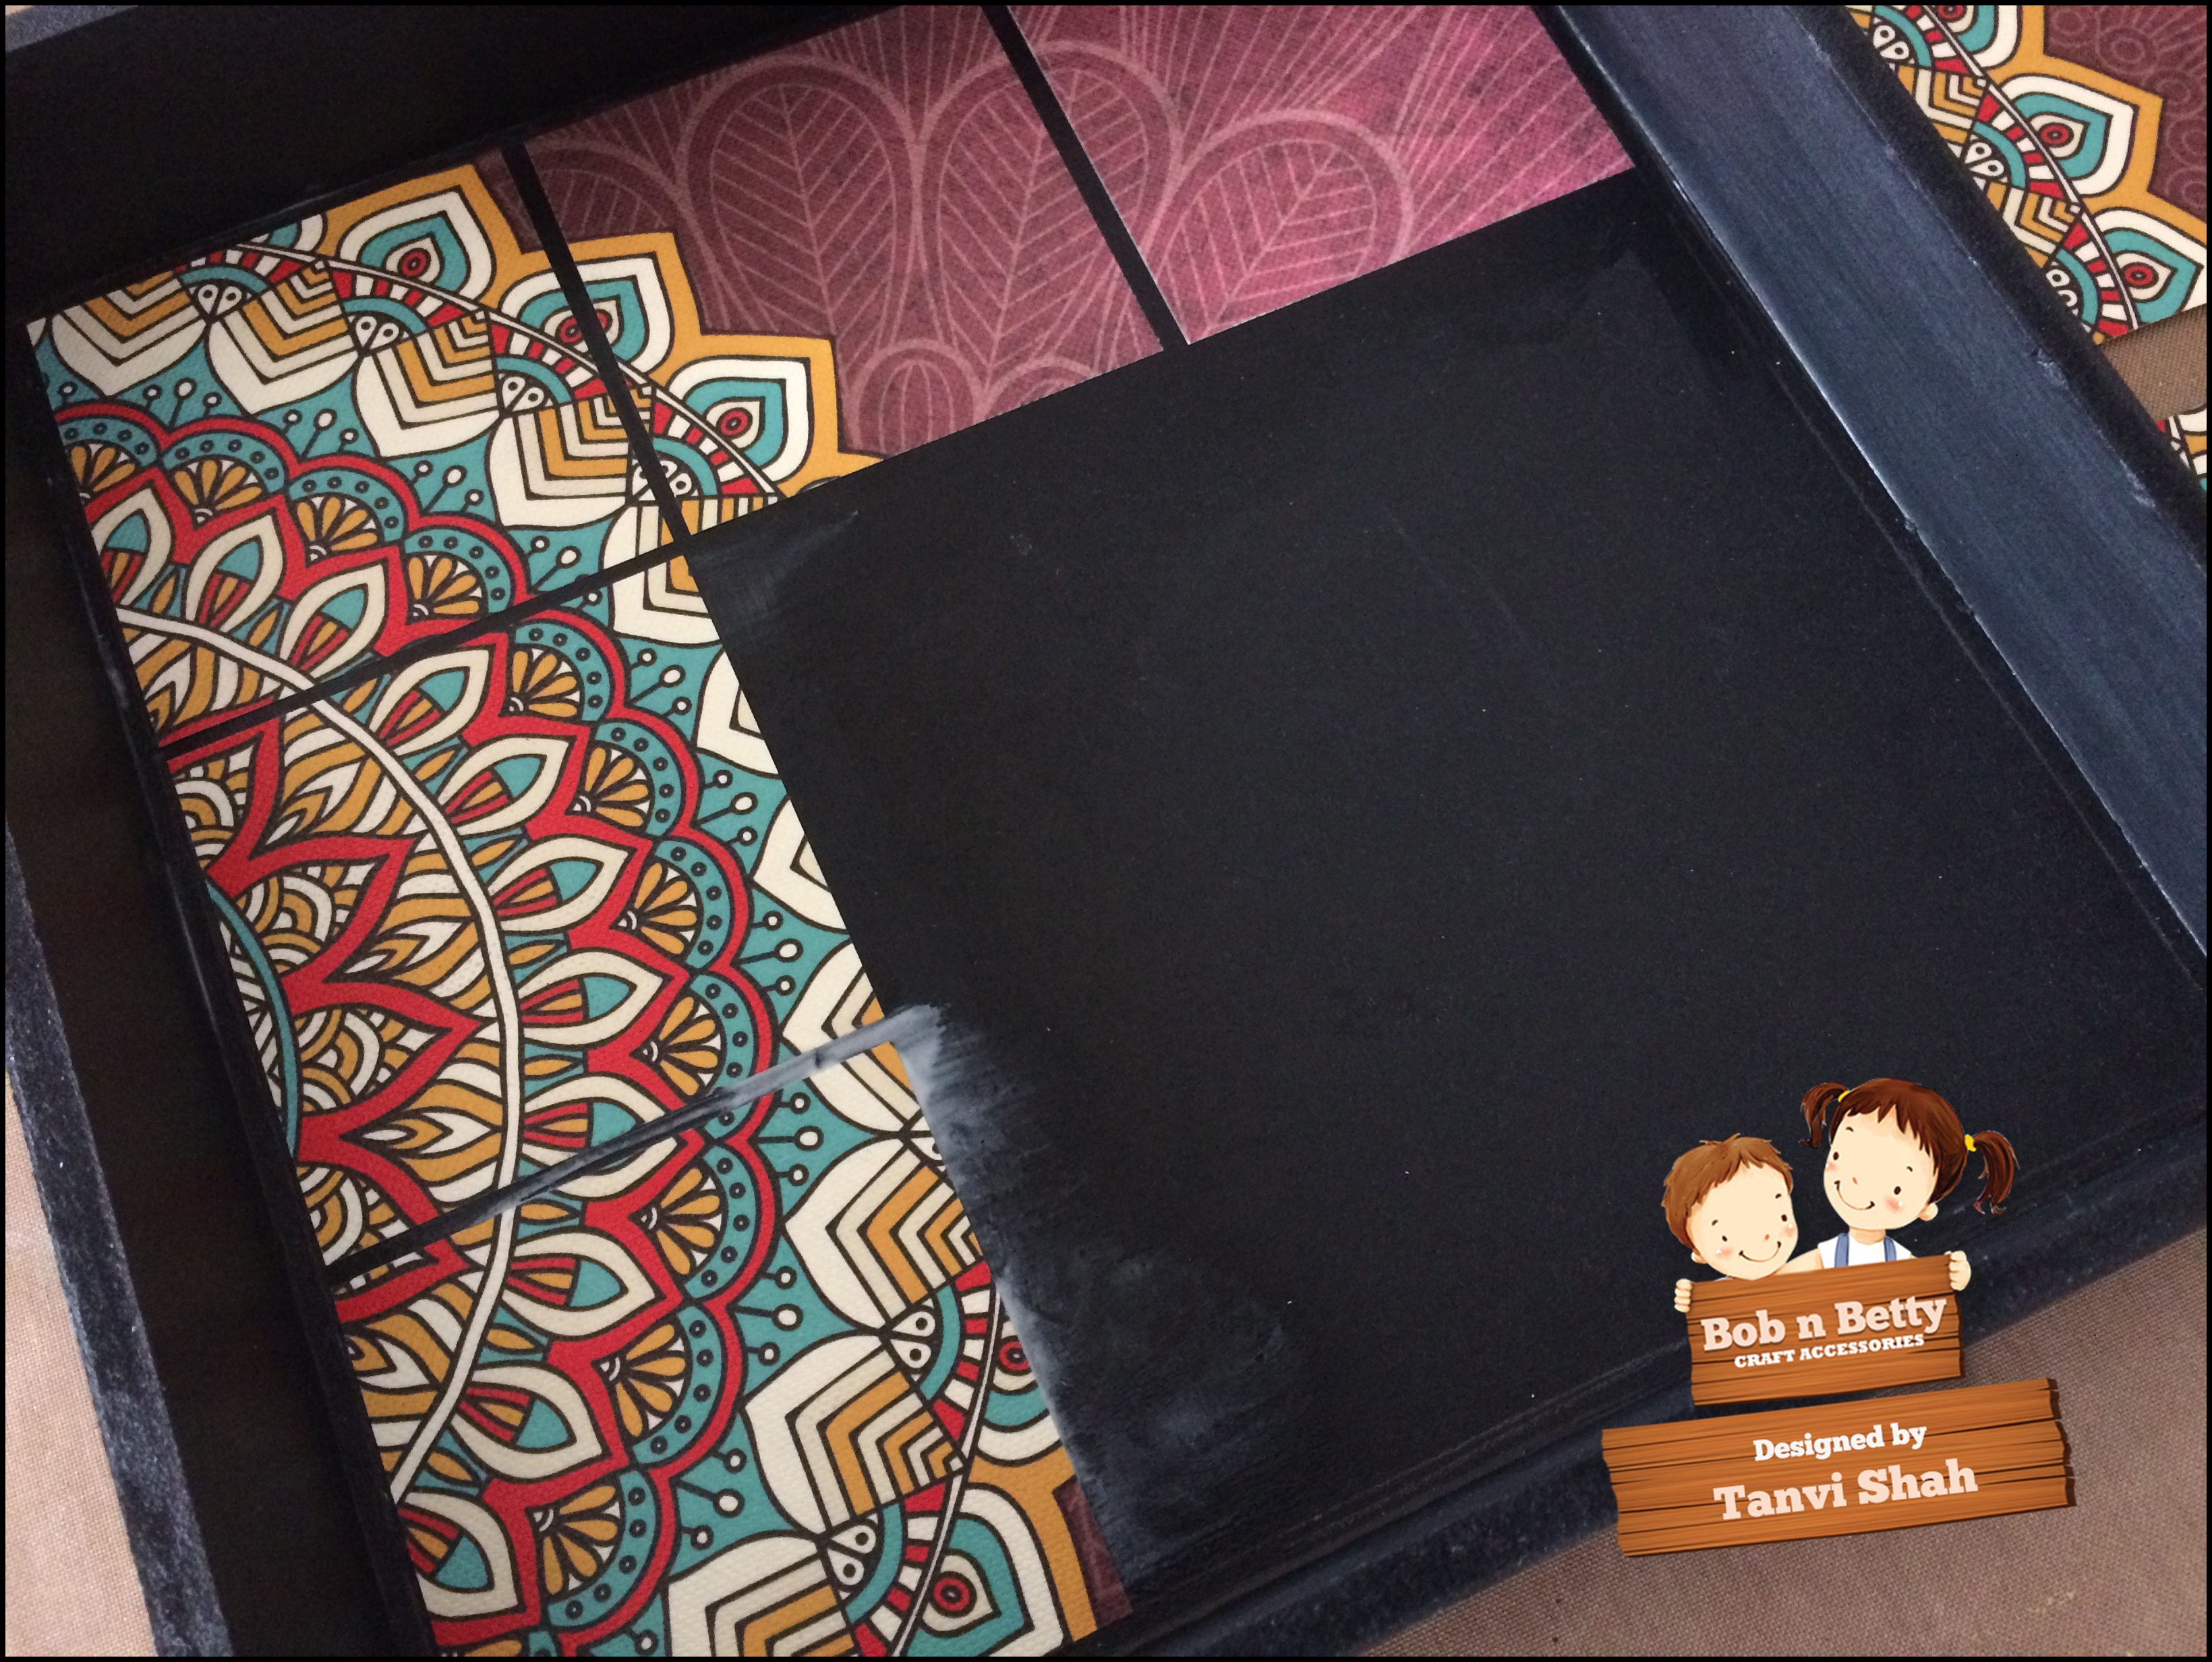
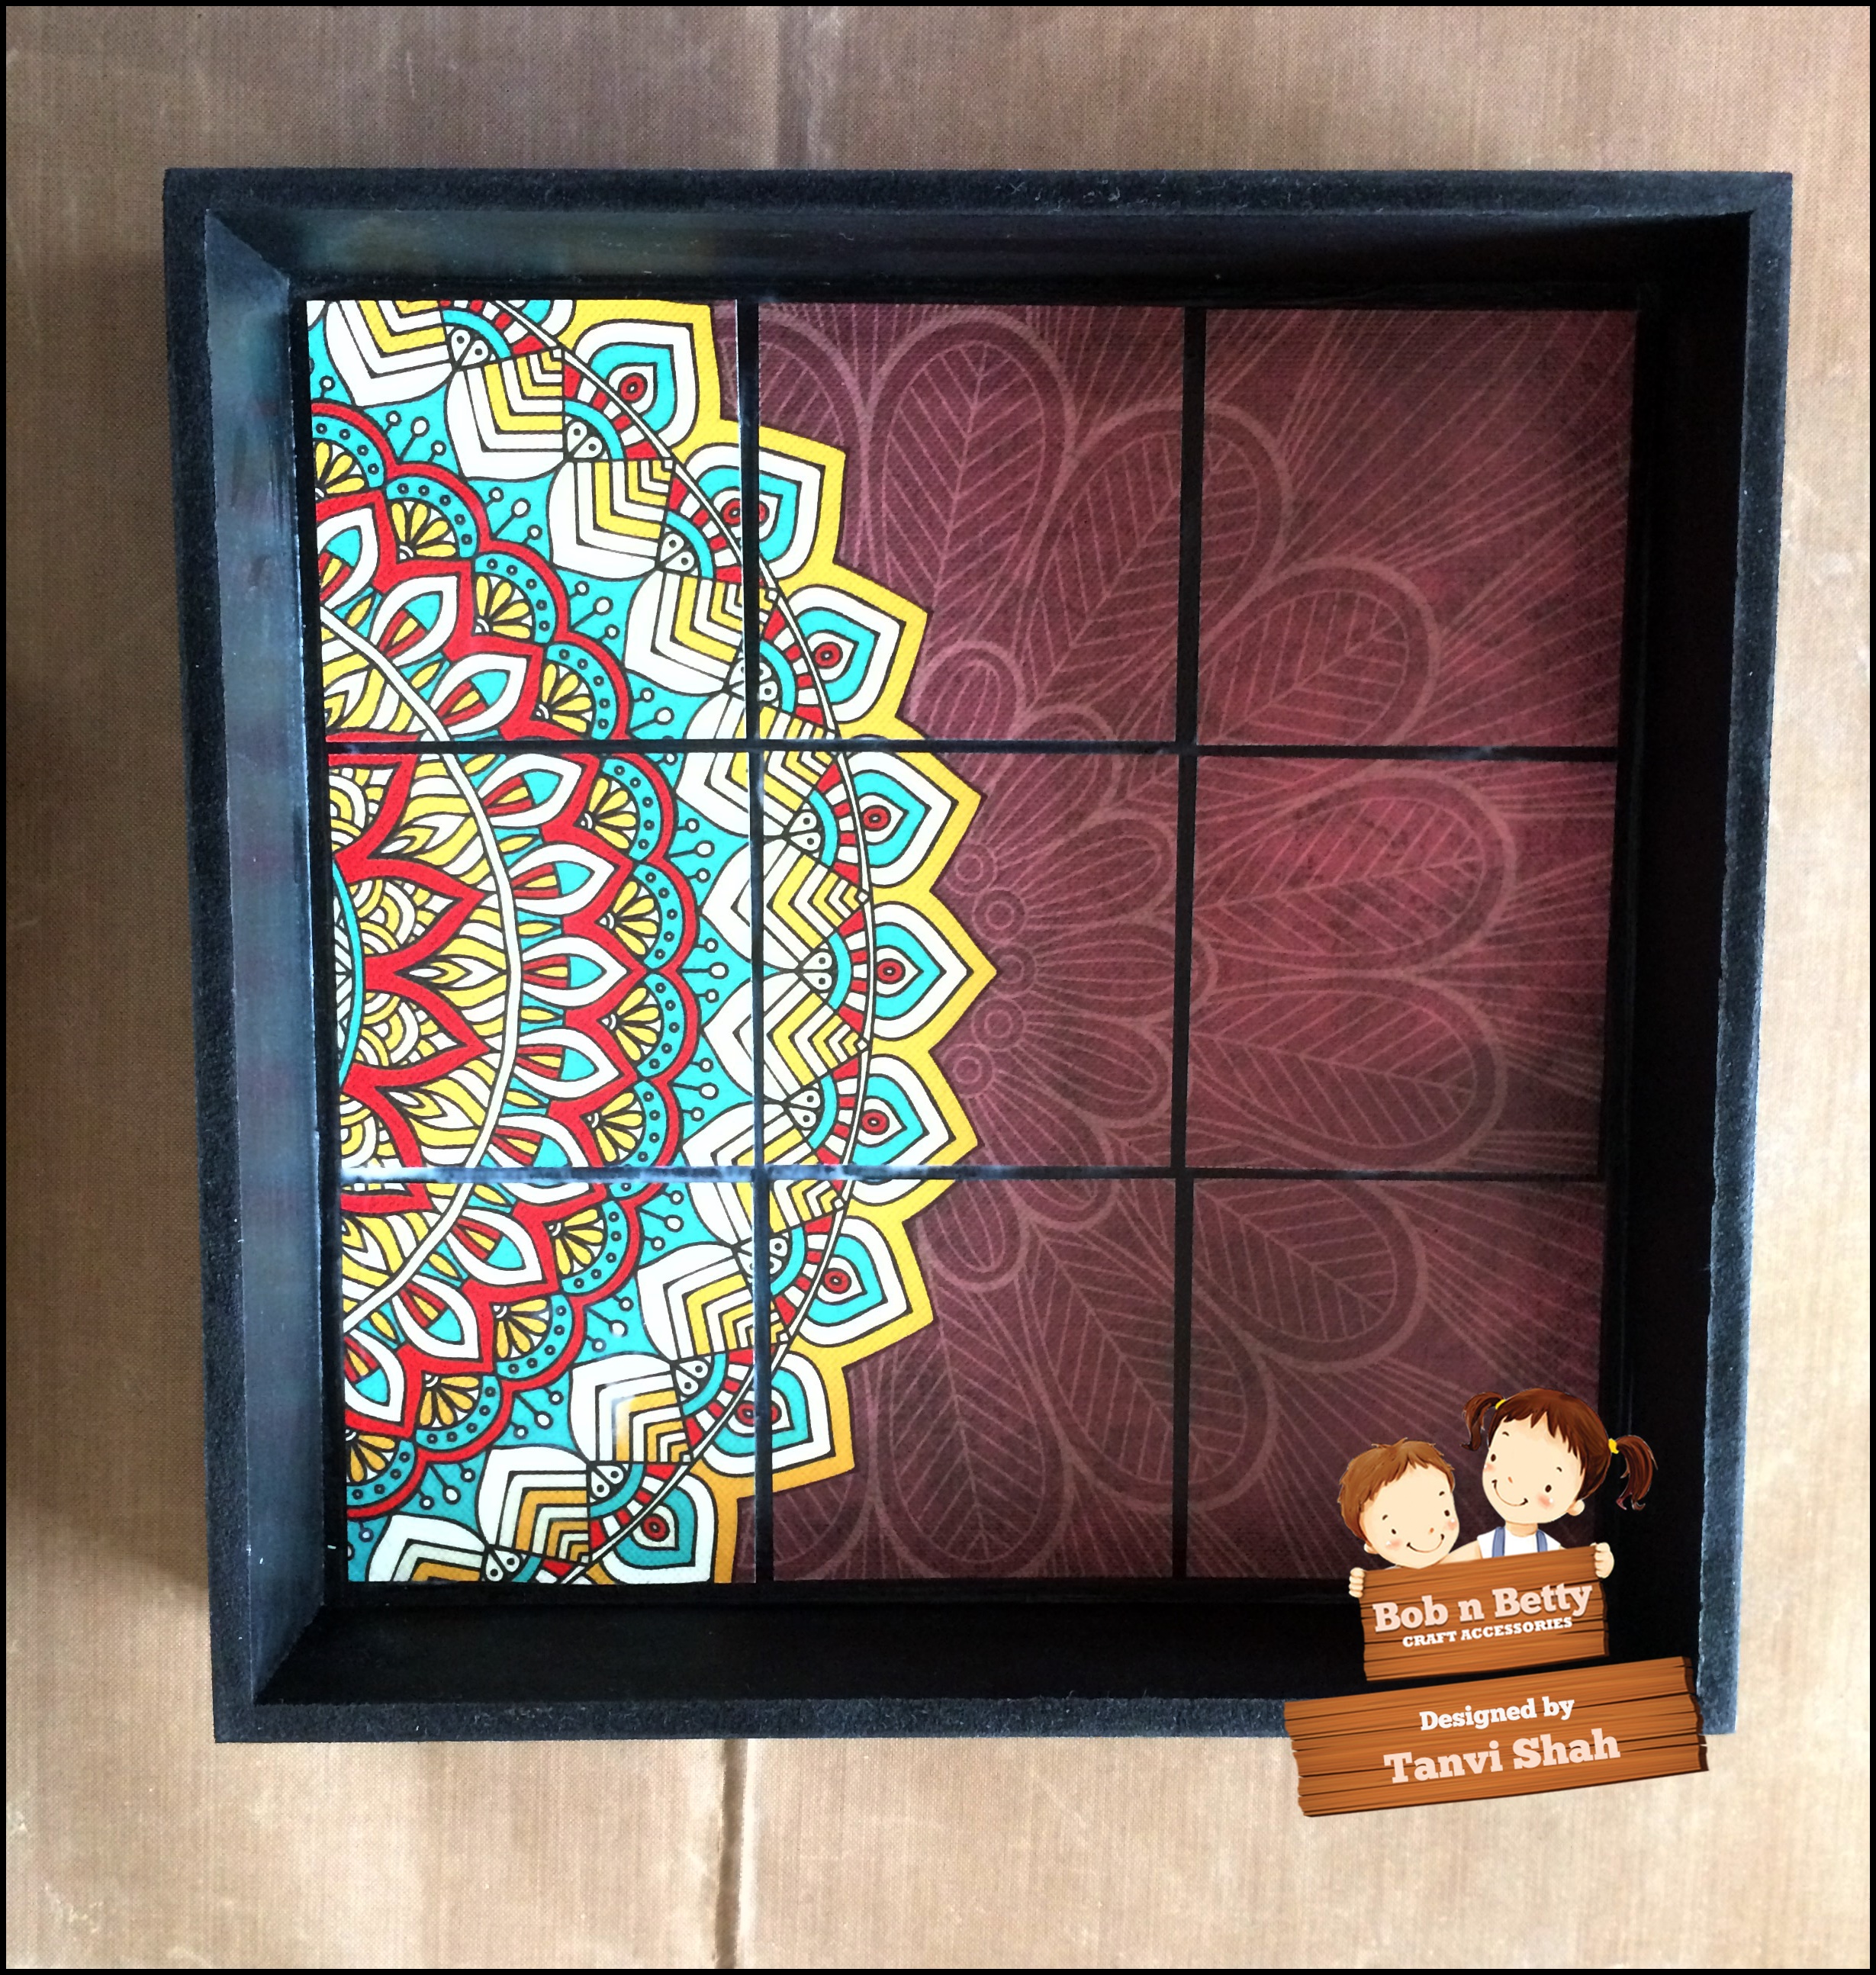
Similarly I prepared the second tray.
Seal the surface with 2-3 coats of mod podge.
Next lets prepare the faux glass surface for which I have used resin. The resin comes in two parts that have to mixed in equal proportions & poured. When dry we get a high gloss almost glass like look. This also makes the decoupage surfaces resistant to heat & water.
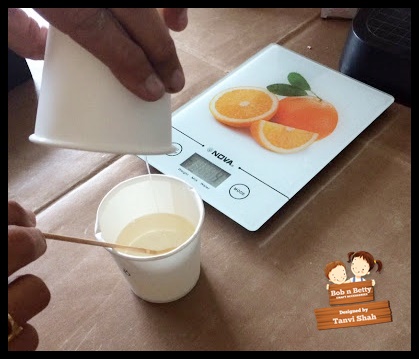
Weigh equal amounts of Part A & Part B of the resin. One is the resin & the other the hardener.
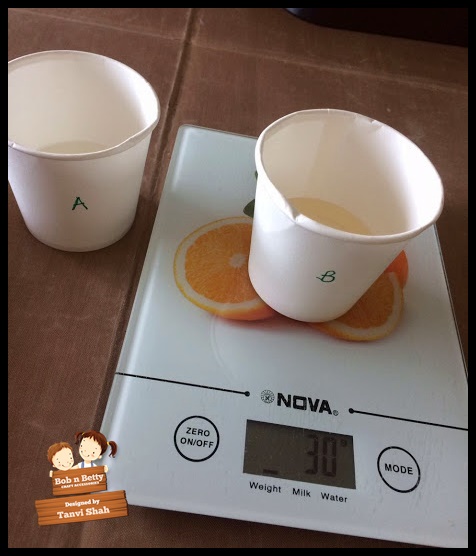
Stir & mix very thoroughly for a few minutes.
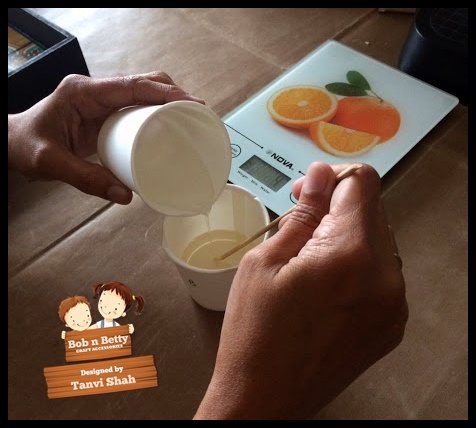
Then pour it in the tray , using a skewer to move the liquid to the corners.
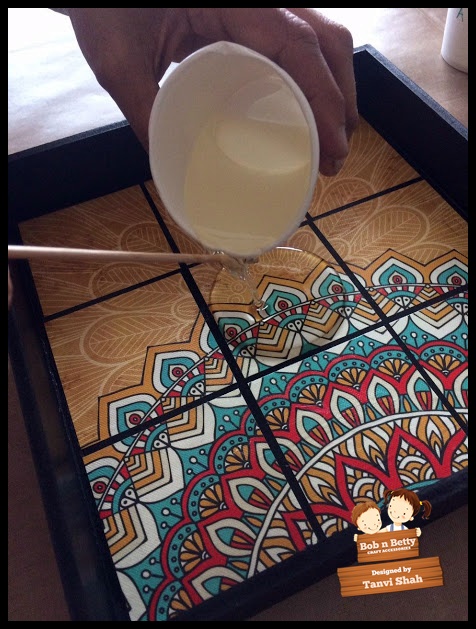
Remove all the air bubbles that appear by blowing through a straw. Keep the trays on a flat surface.
The resin is self leveling & you will get a smooth even layer. After 10 minutes look out for air bubbles & if any blow over them to remove.
Let the trays dry for 24h, once dry the surface will be smooth & shiny like glass!
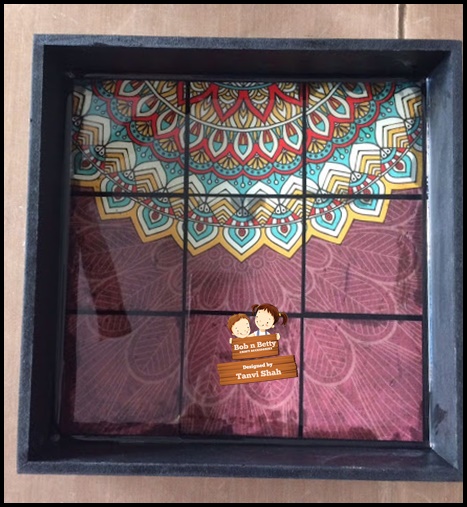
Aren't these beautiful!
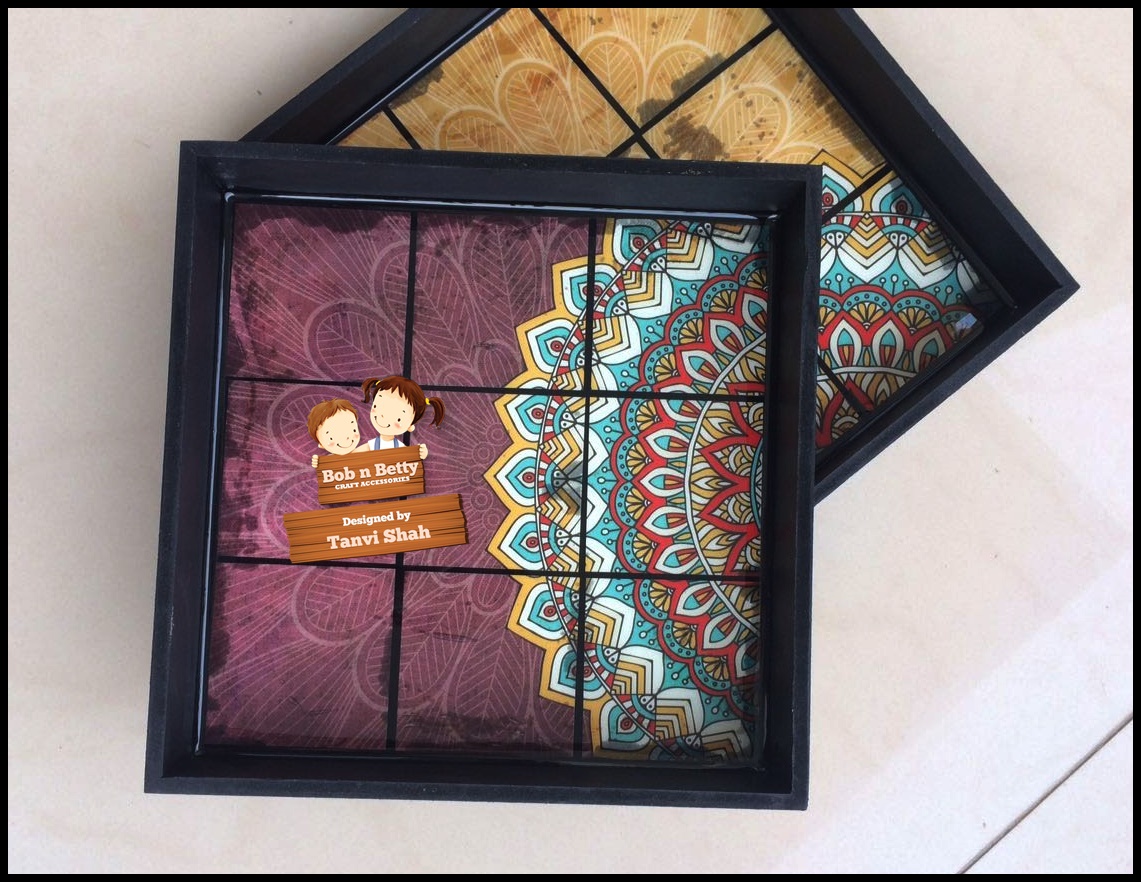
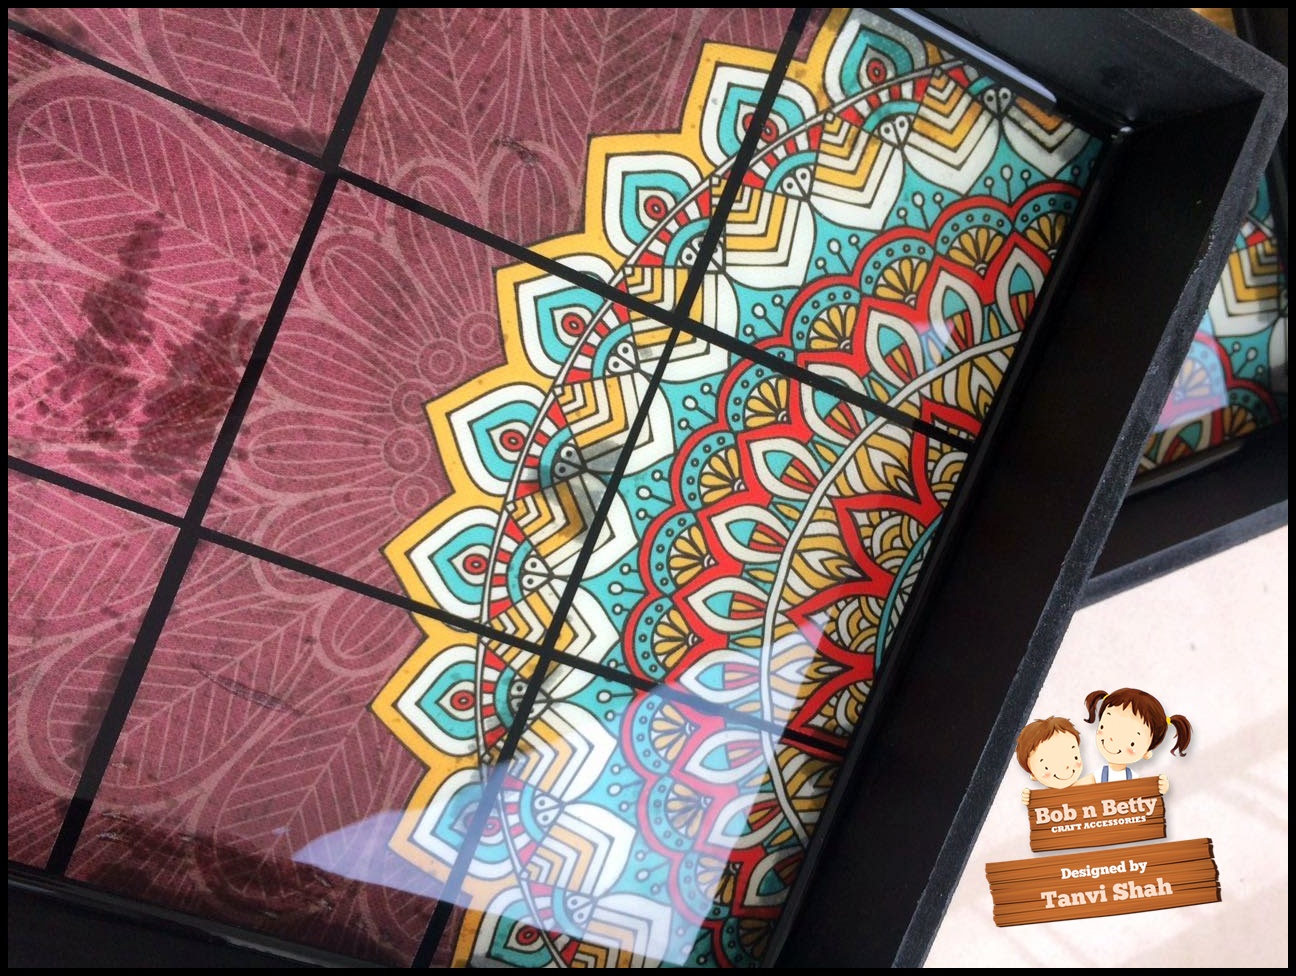
Seal the painted sides & bottom of the trays with several coats of varnish. Sand between layers to get a smooth finish.
Some useful tips while using the resin -
- Read the instructions that come in the resin kit.
- Seal the decoupage surface with a few layers of mod podge. If there are any bubbles or cracks, the resin will leak under the paper.
- Make sure to mix enough resin for your project.
- Leave the resin to set overnight on a flat surface, leave it undisturbed. If required cover it, you do not want dust particles settling on the resin.
Please share your creations with this release in our facebook group - Bob N Betty Buddies
Happy Crafting!
Thank you so much for visiting & taking the time to comment on my blog. I love to hear from you & truly appreciate your feedback. Have a crafty day!


