Showing posts with label mod melts. Show all posts

Sunday, 24 August 2014

Scrapbook Layout

A very good Sunday morning to all.
As promised I am sharing a scrapbook layout, made once again for the swap group in our city. You can view the swap card I posted yesterday here. Thank you so much for your encouraging comments on this. And yes indeed I am lucky to have crafty friends to meet!
In this round of swap hosted by Sharada we had to make LO in bright colors. So here I go.........
Lots of stenciling, distress inks, pattern paper scraps used here.


The birdie MDF colored with markers & a dash of wink of stella.


And here are the pictures of the meet - 


L to R - first row - Rupa, Anuja, Me, Prisha (Dr.Sonia's little one)
second row - Sharada, Dr.Sonia, Shilpa, Juhi

This time we had Dr.Sonia & Juhi joining us & Mary Antonia a regular at our meets could not make it this time. We missed you dear.

The awesome layouts made by this talented group.


You will find this in the following challenges - 

Thank you so much for visiting & taking the time to comment on my blog. I love to hear from you & truly appreciate your feedback. Have a crafty day!!

Sunday, 27 July 2014

Shadow Box Frame

Welcome friends!!!!
Thank you so much to all who commented & my FB page on the previous post KNOWING ME.
A DIY luminary withTim Holtz caged bird die cuts is what I share today. I loved the outcome...................beautiful!


I started by inking the die cuts with distress inks (squeezed lemonade, spiced marmalade, picked raspberry). I then stamped the newsprint over it with black archival ink followed by a medium coat of clear rock candy crackle paint. Vellum was then glued on the inner side of the cages. All the four die cuts were then glued to a chipboard base. Finally embellishments.............and I had this wonder, a luminary!

The chipboard bird colored with distress inks & coated with clear UTEE. Don't miss the HOME resin embellie & the cute charm.


Do you see the LSG shimmer over the pink flowers?


Look at that crackled effect!!!


And here it is with a tea light.............now won't this be a unique home decor item?


Supplies used - 
Dies - Tim Holtz alterations  caged bird, Cheery Lynn designs
Stamps - Impression Obsession CAC newsprint
LSG - Cotton candy pink
Distress crackle paint - clear rock candy
Distress inks - squeezed lemonade, spiced marmalade, picked raspberry, vintage photo & black soot
Vellum - locally purchased
All other embellishments -  stash

Linking this to - 

Thank you so much for visiting & taking the time to comment on my blog. I love to hear from you & truly appreciate your feedback. Have a crafty day!!

Monday, 24 March 2014

Glitter-Fly

A very good morning to you all!

Sharing the tutorial I did for Color Conceptions Challenge Blog as a DT.

 Let me take you through the pictorial to make flower stamens with glitter.
Gather your supplies - Glue gun, glue stick, floral stems, loose glitter. 


Once the glue gun is ready to use evenly spread the glue on the tips of the floral stem.


Quickly dip this into the glitter & viola your stamen is ready! Easy, didn't I tell you?


I used all the glitter colors I had & used these to make calla lilies which I'll show you in a bit.


Another quick & easy glitter technique to add dimension to your embellishment.
I first die cut  a MB pippi butterfly in the corner of a CS (will be used later) to create a negative space. Then the CS was embossed & distressed with a blend of these colors squeezed lemonade, peeled paint & salty ocean. After which I stamped a script over it (hope you can see it!) with distress paint (picket fence)


Next glue a cellophane tape on the backside as shown here,


Now sprinkle some glitter over & spread it evenly into negative of the die cut & tap off the excess. This is what it will look like - 


I also die cut the same butterfly in acetate & used the Wink of Stella clear brush marker to add a bit of shimmer to it. The die cut was distressed & both these were layered over the glitter one. This really looks fantastic in real with the glitter peeking from under the butterfly.


Here is the finished card...........hope you like the handmade calla lilies too!


Linking this to - 
http://lulupu.blogspot.in/2014/03/challenge-27-lulupu-2nd-birthday-special.html (L-layers, leaves, lilies, T-tag, P - picker fence distress paint, peeled paint distress ink, pippi butterfly MB die) - Top 3

Thank you so much for visiting & taking the time to comment on my blog. I love to hear from you & truly appreciate your feedback. Have a crafty day!!

Wednesday, 29 January 2014

Bookmarks


Good Morning!!
Like many of you I have been hoarding even the smallest piece of card stock & pattern paper scraps forever. Before things get out of hand I decided to use some of these & made lots of bookmarks. 


The next lot in my fav combo black & white are my absolute favorites!


Did you notice I have even used the mod podge melts embellishments & some die cuts covered with UTEE!


This is a fun way to use all the scraps, die cuts, stickers & embellishments. Well I know I went a little over board decorating the bookmarks, but who cares, don't they look pretty! These will make such pretty gifts.

Thank you so much for visiting & taking the time to comment on my blog. I love to hear from you & truly appreciate your feedback. Have a crafty day!!

Tuesday, 15 October 2013

Mod Podge Mod Melts

Hello friends! Hope you are all enjoying the festive season.
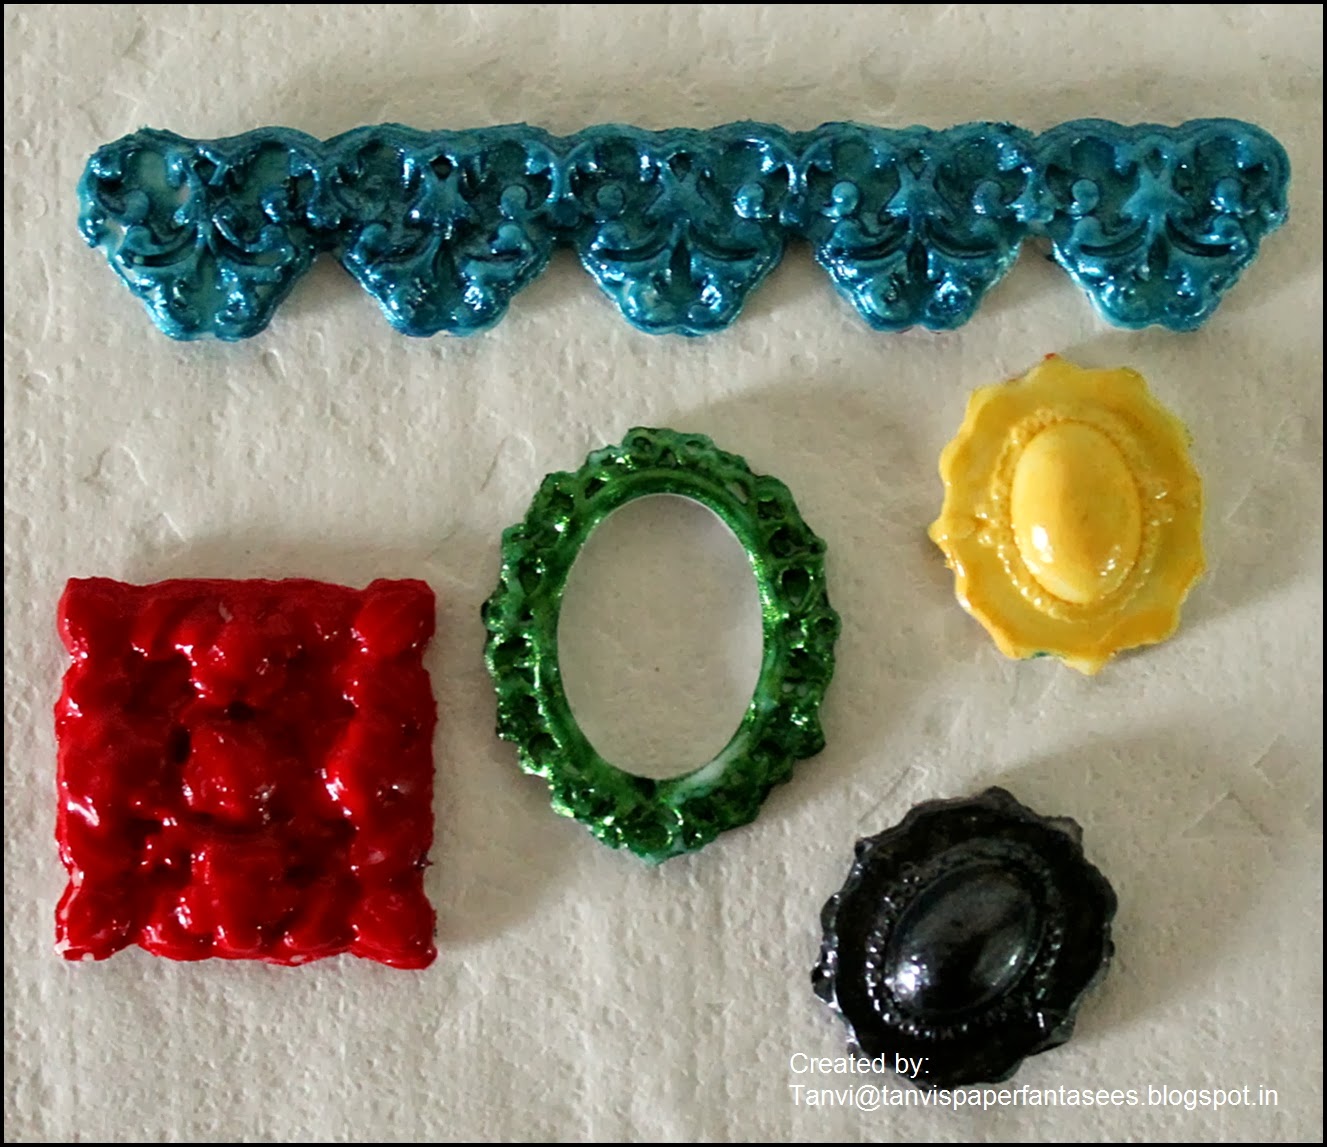
A quick note from me to share some mod podge mod melt embellishments I made a while ago but was too lazy to post. Have you tried using these? Its a fun way to make n color embellies to coordinate with any color scheme.


Here is a super quick book mark I made - 


And another magnetic one - 


Aren't these cute!!

Thank you so much for visiting & taking the time to comment on my blog. I love to hear from you & truly appreciate your feedback. Have a crafty day!!
Related Posts Plugin for WordPress, Blogger...