Showing posts with label Rinea. Show all posts

Tuesday, 17 April 2018

Bridal Shower Banner

Here today with a bridal shower banner.
Rinea foil papers are available in a variety of packs & colors, however, for this banner, I have used only the silver/gold glossy foil paper & yet absolutely love the simple & classy outcome. I have layered several die cuts on a chipboard base to make it sturdy. 

The glossy banner was extremely difficult to capture on camera, hope the pictures do justice to this beauty!


Thank you so much for visiting & taking the time to comment on my blog. I love to hear from you & truly appreciate your feedback. Have a crafty day!

Wednesday, 4 April 2018

Easter Home Dcor

Hello! 
Today, I am here with an Easter inspired decor idea. 


For this hanging Easter egg, I drew an egg template & cut 4 of these eggs from  Pastels Foiled Paper Variety Pack from Rinea & glued them from edge to edge to form a 3D egg.
Used some embellishments from my stash & fussy cut images from the Sweet Sentiments paper pack by G45 to decorate this lovely hanging Easter egg. Here are some close-ups....

Thank you so much for visiting & taking the time to comment on my blog. I love to hear from you & truly appreciate your feedback. Have a crafty day!

Bag Charm using Rine Foil paper

Hello & Welcome back!
Rinea foil papers are very versatile & I love the ease with which they can be used in many paper craft projects. 
Today I have a quick pictorial to make a carrot favor box for Easter.
This cute favor box was perfect for the bag accessory I made using some charms & die cuts from Rinea foil paper.
For my post today I have used the following foil papers - 
Thank you so much for visiting & taking the time to comment on my blog. I love to hear from you & truly appreciate your feedback. Have a crafty day!

Thursday, 1 March 2018

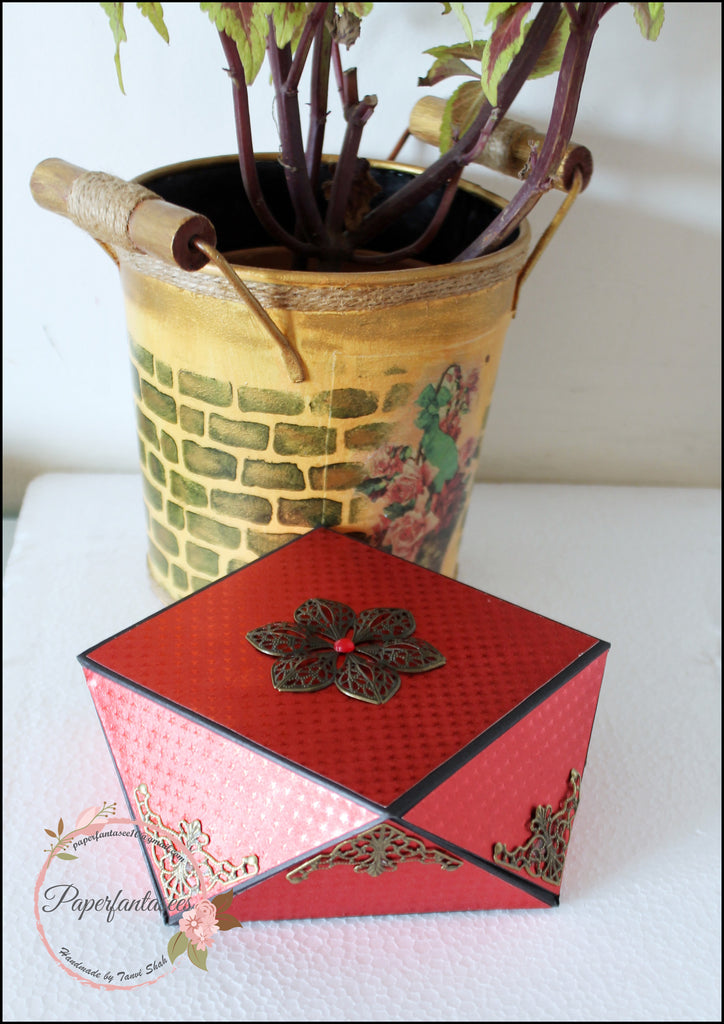
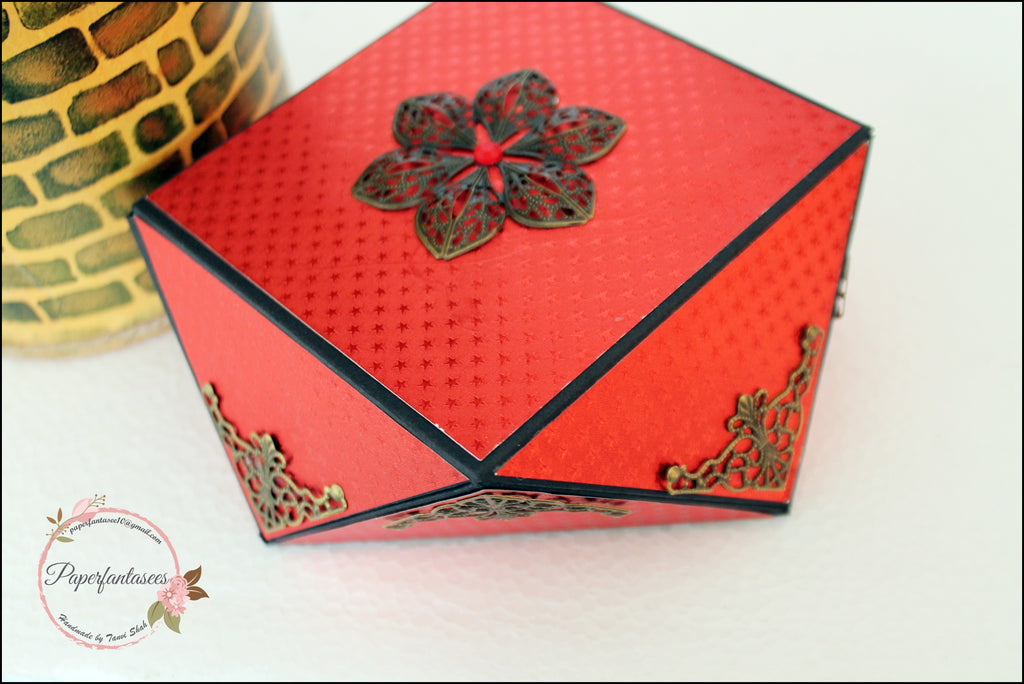
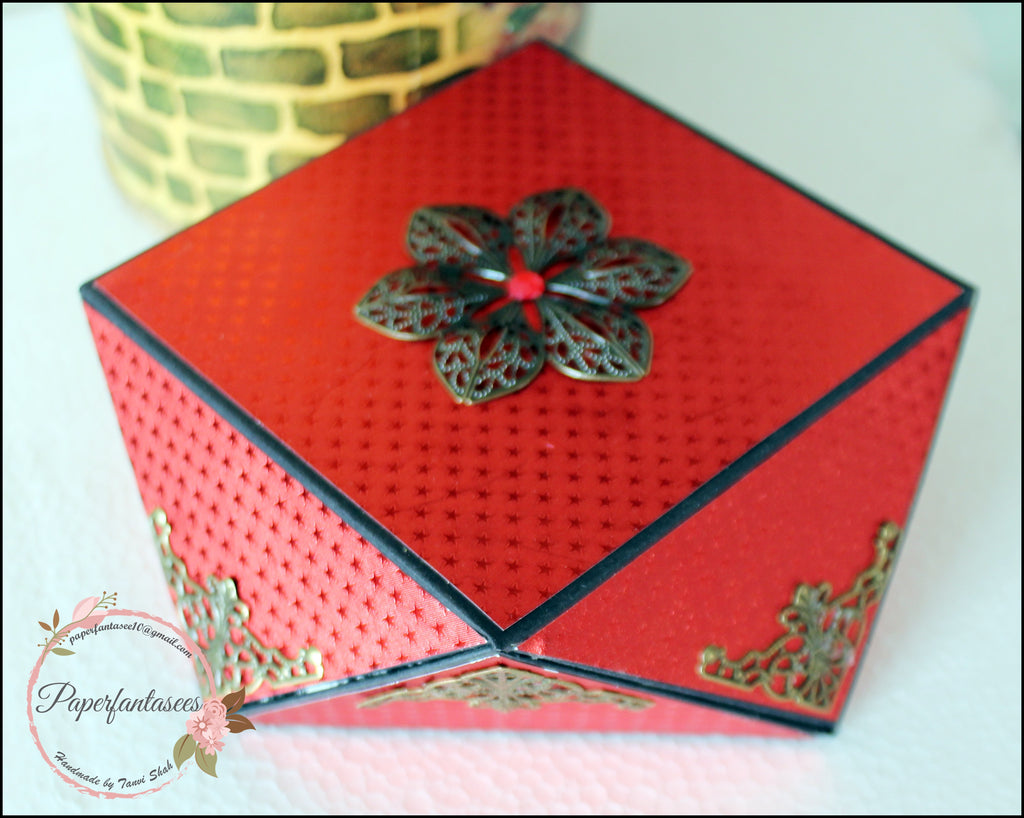
Faceted Box

 Sharing  a faceted box I made for my DT post for Rinea.


While this may look a bit complicated to make, it is super easy using the envelope punch board. Also by varyinhg the size of the card stock, various sizes can be made in a jiffy.


I am amazed how easily you can put this together with just a little of burnishing & folding. I used the Rinea star struck foiled papers from the Love Foiled Paper Variety Pack & I love the black & red colors. 
This makes a perfect favor box for all occasions & I'm sure will be making many more of these soon.


Thank you so much for visiting & taking the time to comment on my blog. I love to hear from you & truly appreciate your feedback. Have a crafty day!

Wednesday, 14 February 2018

Valentine Card with Gift Card Holder


Hello!

Valentine Day is round the corner & for my post today I have a super easy card with a gift card holder.


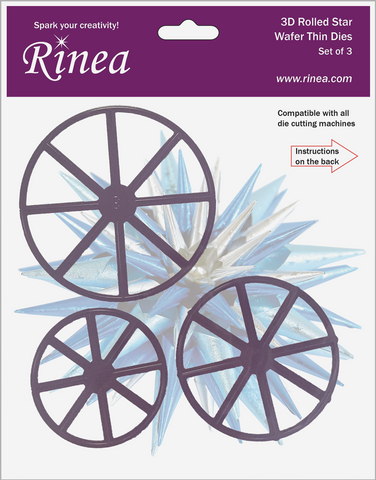
Supplies needed are - card stock, pattern paper, Love Foiled Paper variety pack, 3D Rolled Star Die Set, stamps, stamp block, double sided tape, foam squares, rhinestones 


Let me take you through the steps - 

Trim the red card stock to  41/4x11"


 Score at 2 1/4" & 5 1/2" on the 11" side


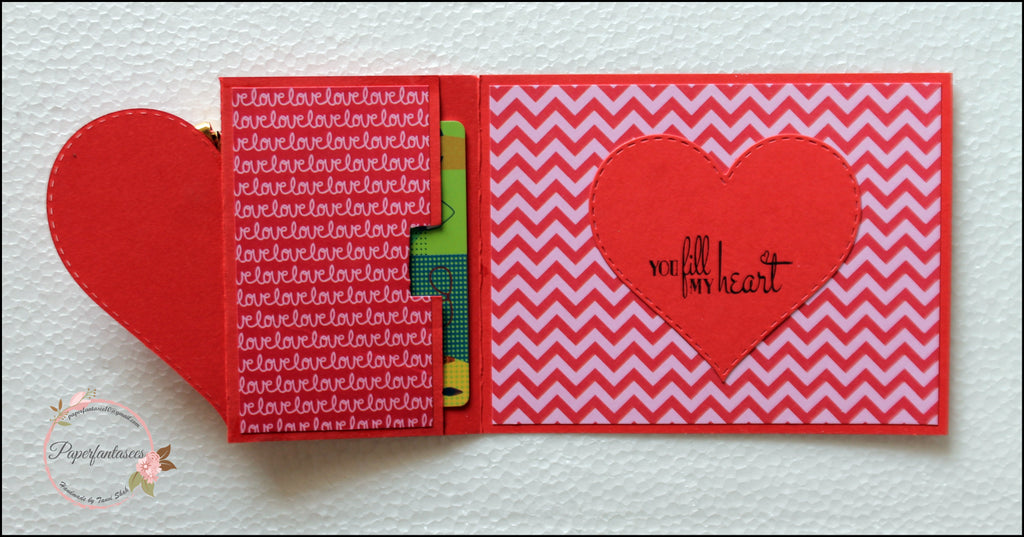
Fold as shown in the picture. Trim coordinating pattern paper for the inside & folded sides. Fold at the 2 1/4" score line to form a pocket on the inside. Use double sided tape on two sides to form the insert for the gift card.


Next we move on to make the front flap of the card. Die cut a large heart from red card stock & the next smaller size from pattern paper to layer over it. 


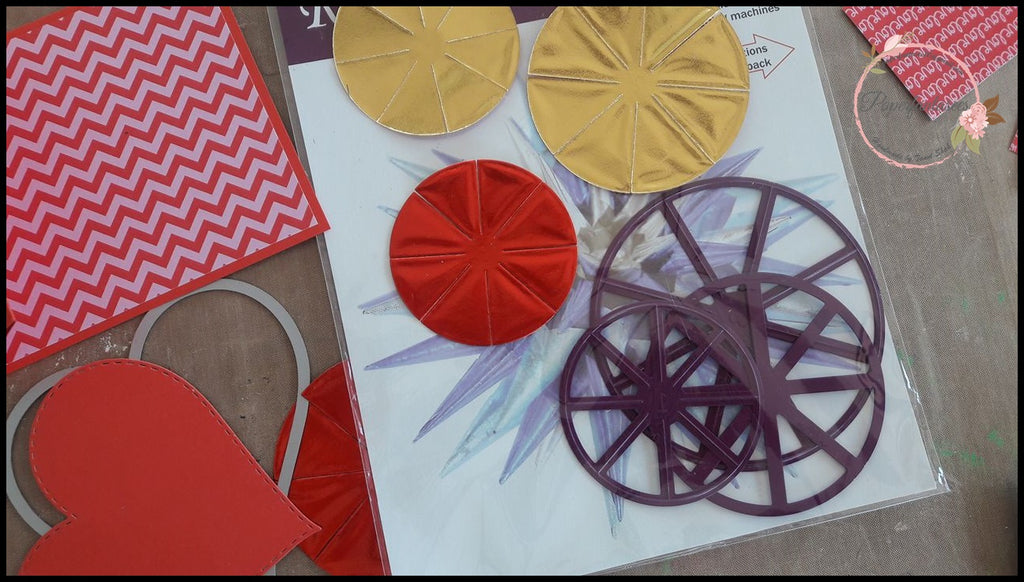
I have used the Love foiled Paper Variety pack to make a beautiful bow embellishment for my card. Die cut a couple of star templates using Rinea Foiled paper. Next trim off the sides of each segment as shown to form an asterisk like shape. 


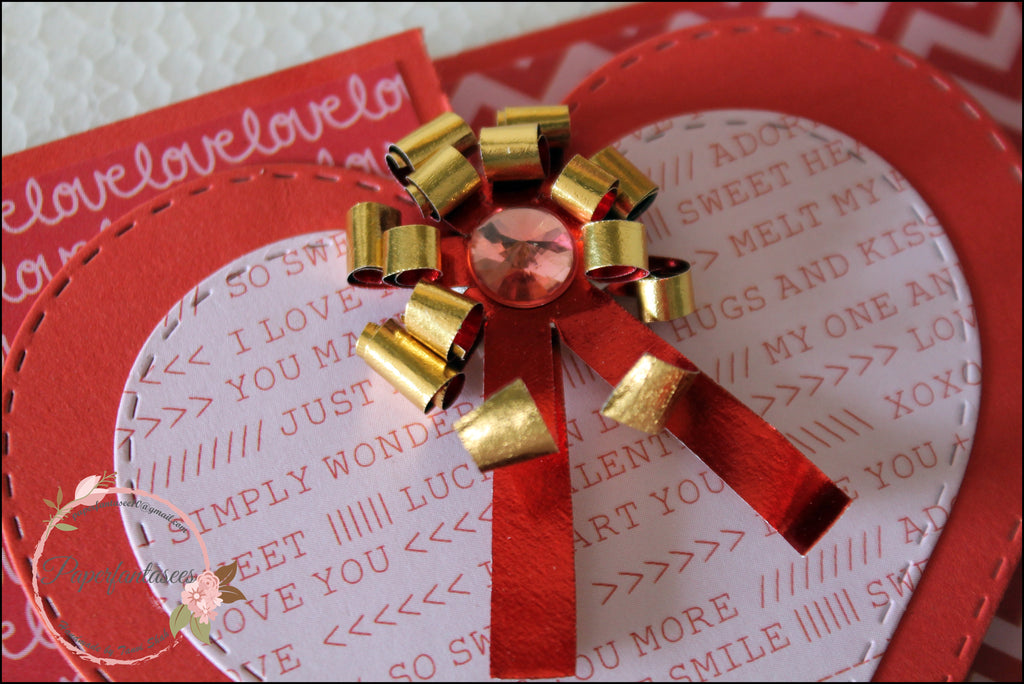
 Roll the sides of the asterisk, layer them & add a rhinestone in the centre to make beautiful accent for the card front. 


Here are some more close ups of the card - 


The sentiment is from the Love Quotes stamp set by Joy Clair.


Thank you so much for visiting & taking the time to comment on my blog. I love to hear from you & truly appreciate your feedback. Have a crafty day!
Monday, 29 January 2018

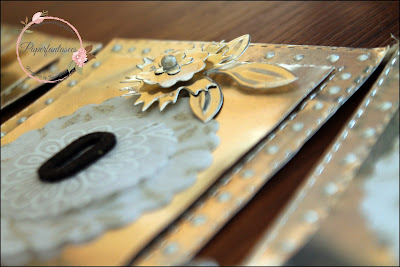
Accordion Tag Mini Album

Hello Friends!
Welcome back.....sharing my inspirational post for the Rinea blog this month.
I am amazed everytime I work with Rinea foiled paper be it die cutting, SVG files, stamping, 3D projects, bags, boxes, banners.......this unique foiled paper never fails.
Look at the magic created by combining the foiled paper with pattern paper in this mini album. 
Here is how I made this accordion pocket mini album.
Gather your supplies -  For this mini album, I am using Rinea foiled paper Jewel Variety Pack & Peacock Variety pack, pattern papers, chipboard, standard envelopes (10x4.5"), trimmer, scale, glue, tacky tape, embellishments.
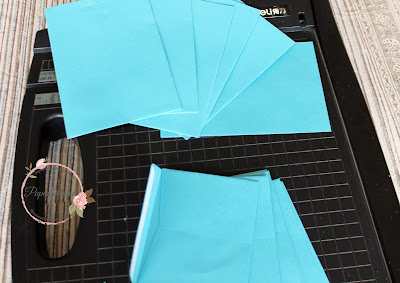
Trim off the flaps of the envelopes to measure 6.25". I am using six envelopes. You can seal the trimmed flaps with double sided tape & make another smaller album.
Next trim the -
card stock - 4 1/4x6.5" - 6 pieces
Pattern paper - 4x6.25 - 6 pieces
Chipboard - 5x7.5" - 2 pieces, 1.5x5" - 2 pieces, 2x5" - 1 piece

Now we prepare the album covers. This is how we place the chipboard & make the cover with cardstock. 

Using red tacky tape to glue the cardstock to the chipboard

To make the accordion pockets glue the trimmed envelopes as shown here - 

Glue the first & the last envelopes to the insides of the album covers & the accordion pockets are ready. To make the tags, decorate with pattern paper & embellies as desired.

Here are images of the finished album - 


 have made a magnetic closure for this tag album.


Love the combination of the foiled paper with pattern paper, classy & elegant!

Thank you so much for visiting & taking the time to comment on my blog. I love to hear from you & truly appreciate your feedback. Have a crafty day!
Related Posts Plugin for WordPress, Blogger...