Showing posts with label card making. Show all posts

Wednesday, 12 May 2021

Whisking you a Happy Birthday

Hello! Hello! Hello!
This month at Splashy Mix Challenges we have yet another beautiful moodboard. 


For my card using Newton's Nook stamps, I first created a watercolor background with Beyond Inks water color inks. Stamped, fussy cut & colored the images with the same inks.


To participate in the challenge, please click here

All you friends STAY SAFE & wishing you all good health.

Sharing this at the following challenges - 


Thank you so much for visiting & taking the time to comment on my blog. I love to hear from you & truly appreciate your feedback. Have a crafty day!

Friday, 9 April 2021

Splashy Mix April Challenge

Hello everyone!
Today I am sharing my inspiration for the SPLASHY MIX CHALLENGES - Papercraft Challenge.
The color palette for my card is inspired by this months mood board.


Though challenging, I loved the outcome of the colors I chose.
Please visit the challenge blog here for amazing inspirations from my teamies & all the rules to play along the challenge. 
For this card, I first created a background with 2 colors of distress inks - blueprint sketch & salty ocean on Neenah White card stock & added some splatters. The gold heat embossed image is from I Craft stamps, which is fussy cut.


Sharing this at the following challenges - 


Thank you so much for visiting & taking the time to comment on my blog. I love to hear from you & truly appreciate your feedback. Have a crafty day!

Thursday, 9 May 2019

Coffee Lovers Spring Summer Bloghop - Card 1


Hello Friends!
A quick card share today to participate in the Spring Summer Coffee Lovers Bloghop.

For this card, I first used alcohol inks to make a background on Yupo paper. Next, I die cut the coffee cup & stamp the sentiment (Newton's Nook) with alcohol lift ink. Stamped a few coffee stains on a pattern paper & mounted the coffee cup with foam squares.


Sharing this at - 
Die Cut Divas - 31.5

Thank you so much for visiting & taking the time to comment on my blog. I love to hear from you & truly appreciate your feedback. Have a crafty day!

Saturday, 21 July 2018

Itsy Bitsy Thincuts - Watering Can

Hello folks!
Itsy Bitsy has recently launched 15 new designs to add to their Thin Cut Dies collection. Each one of these is beautiful & I was sent this adorable Watering Can Set. 
I love plants & am blessed to have my studio adjacent to my terrace garden.
As soon as I received this die I knew I wanted to make plant markers.
Out comes my DREAM CUT & within minutes I have them ready, using the watering can die.


Isn't it cute! 


Next I have a couple of cards. For the first one I created a garden scene with the die cuts & rub ons. The bricked wall is a pattern paper from the "Texture Brew" pack. Colored the flowers black & leaves green with Alcohol Splash and the can with distress ink.


The next card is in the classic never fail black & white combination - 


I have layered a panel of corrugated white card stock over a white card base. The chevron pattern of the watering can is the only pop of color in this elegant card. The flowers too are die cut from the same corrugated paper. 
Here is a closer look at the texture of these flowers - 


The last one is my favorite!
Here I created a distress ink background & some splatters with water & Alcohol splash. Inlaid the watering can diecut in the background & used some gorgeous Little Birdies handmade flowers


You can grab these affordable dies from the nearest Itsy Bitsy store or place an online order here. 

Thank you so much for visiting & taking the time to comment on my blog. I love to hear from you & truly appreciate your feedback. Have a crafty day!

Wednesday, 14 February 2018

Valentine Card with Gift Card Holder


Hello!

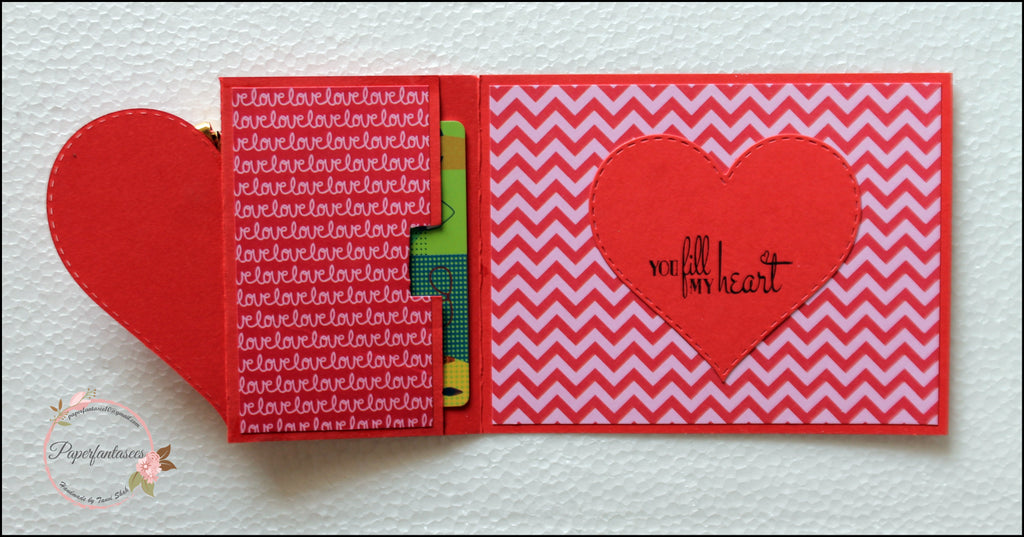
Valentine Day is round the corner & for my post today I have a super easy card with a gift card holder.


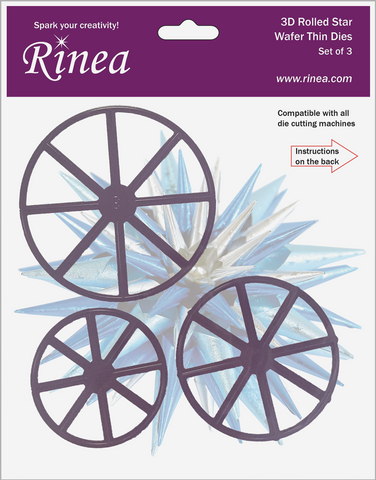
Supplies needed are - card stock, pattern paper, Love Foiled Paper variety pack, 3D Rolled Star Die Set, stamps, stamp block, double sided tape, foam squares, rhinestones 


Let me take you through the steps - 

Trim the red card stock to  41/4x11"


 Score at 2 1/4" & 5 1/2" on the 11" side


Fold as shown in the picture. Trim coordinating pattern paper for the inside & folded sides. Fold at the 2 1/4" score line to form a pocket on the inside. Use double sided tape on two sides to form the insert for the gift card.


Next we move on to make the front flap of the card. Die cut a large heart from red card stock & the next smaller size from pattern paper to layer over it. 


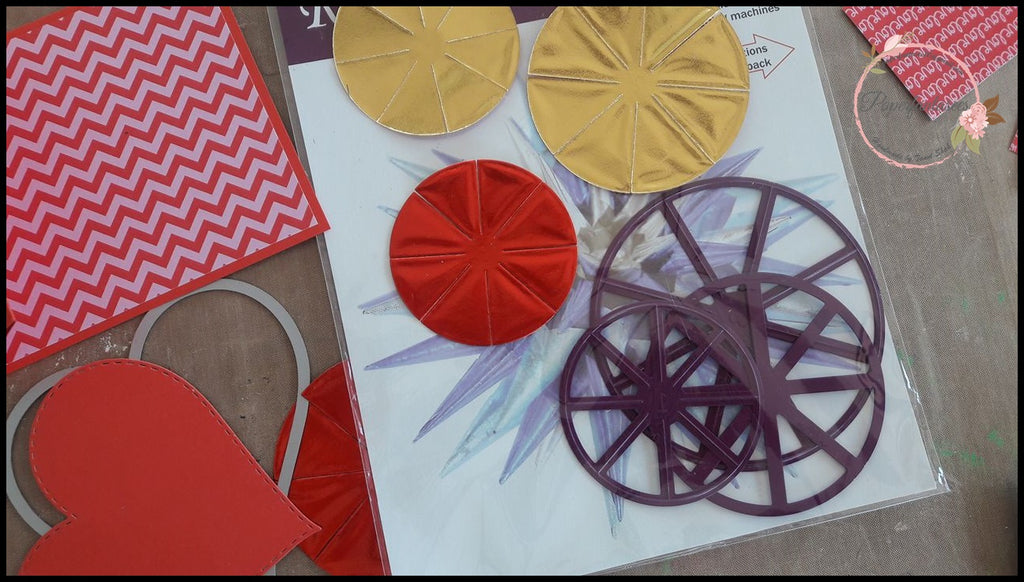
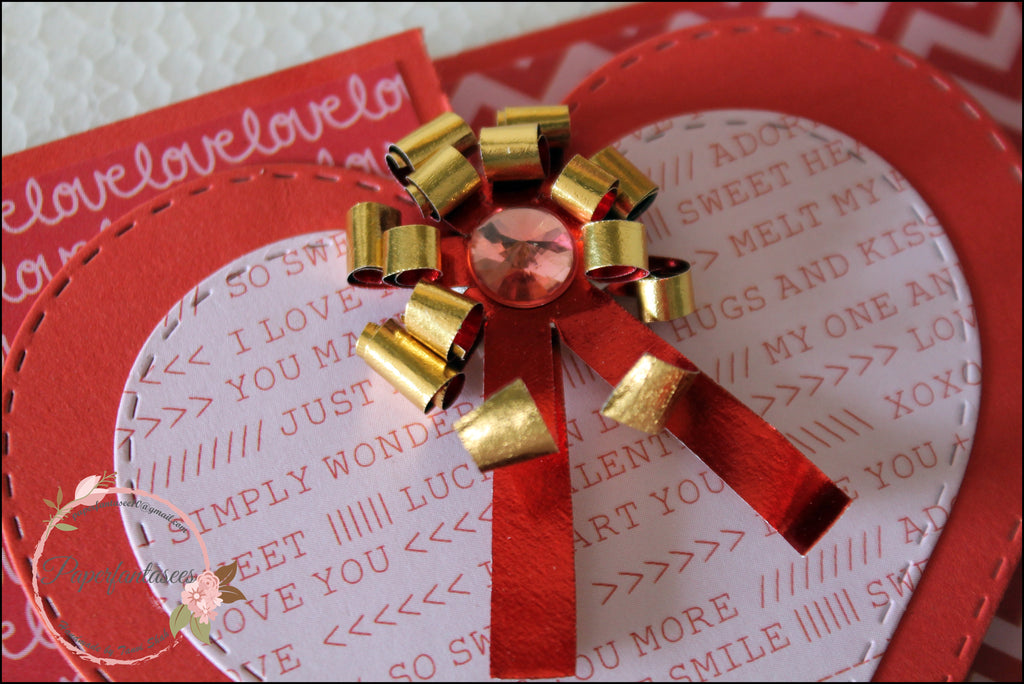
I have used the Love foiled Paper Variety pack to make a beautiful bow embellishment for my card. Die cut a couple of star templates using Rinea Foiled paper. Next trim off the sides of each segment as shown to form an asterisk like shape. 


 Roll the sides of the asterisk, layer them & add a rhinestone in the centre to make beautiful accent for the card front. 


Here are some more close ups of the card - 


The sentiment is from the Love Quotes stamp set by Joy Clair.


Thank you so much for visiting & taking the time to comment on my blog. I love to hear from you & truly appreciate your feedback. Have a crafty day!

Thursday, 25 January 2018

Z fold Spinner Cards

Hello Friends!
I am at the Bob N Betty blog today. Hope you are enjoying the “Little Wonderland” inspiration posts by my teamies. This is such a balanced & well coordinated set designed for all sorts of creations - mini albums, cards, layout & such.
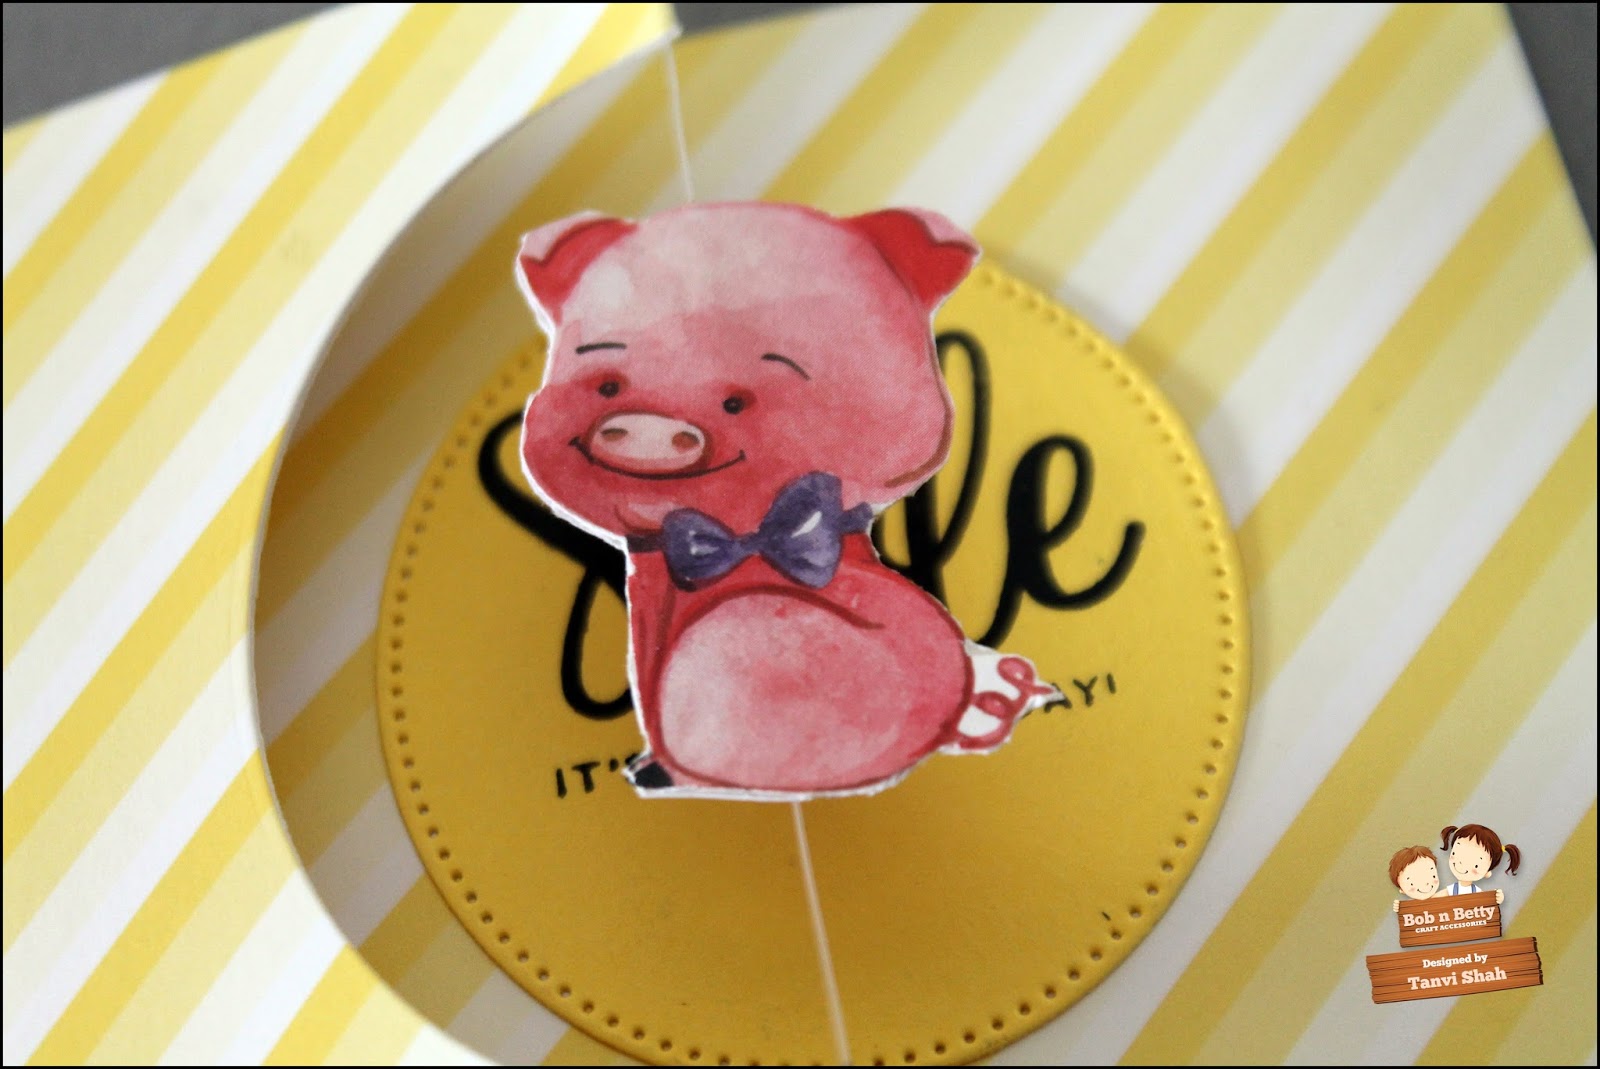
I particularly love the critter collage sheet in this pack & noticed some critters are mirror images. I fussy cut these to use them as floating critters in Z fold spinner cards.


These are side folding cards measuring 4 1/4x5 1/2". I have glued the pattern paper with an oval window panel to the card stock base, each in a color coordinating to the design paper. The sentiment was stamped on a die cut oval, a size smaller than the window.


For the spinning element, I glued the mirror image pairs back to back with the string between them. The critters spin when you open the card. Aren't these fun!


That’s it for today.

Remember you can purchase all the beautiful Bob n Betty products from our  Sales Buddies and  share your gorgeous creations on our Facebook group Bob n Betty Buddies.

Thank you so much for visiting & taking the time to comment on my blog. I love to hear from you & truly appreciate your feedback. Have a crafty day!


Tuesday, 16 January 2018

TWISTED POP UP CARD

Hope you all are having a great start to 2018!
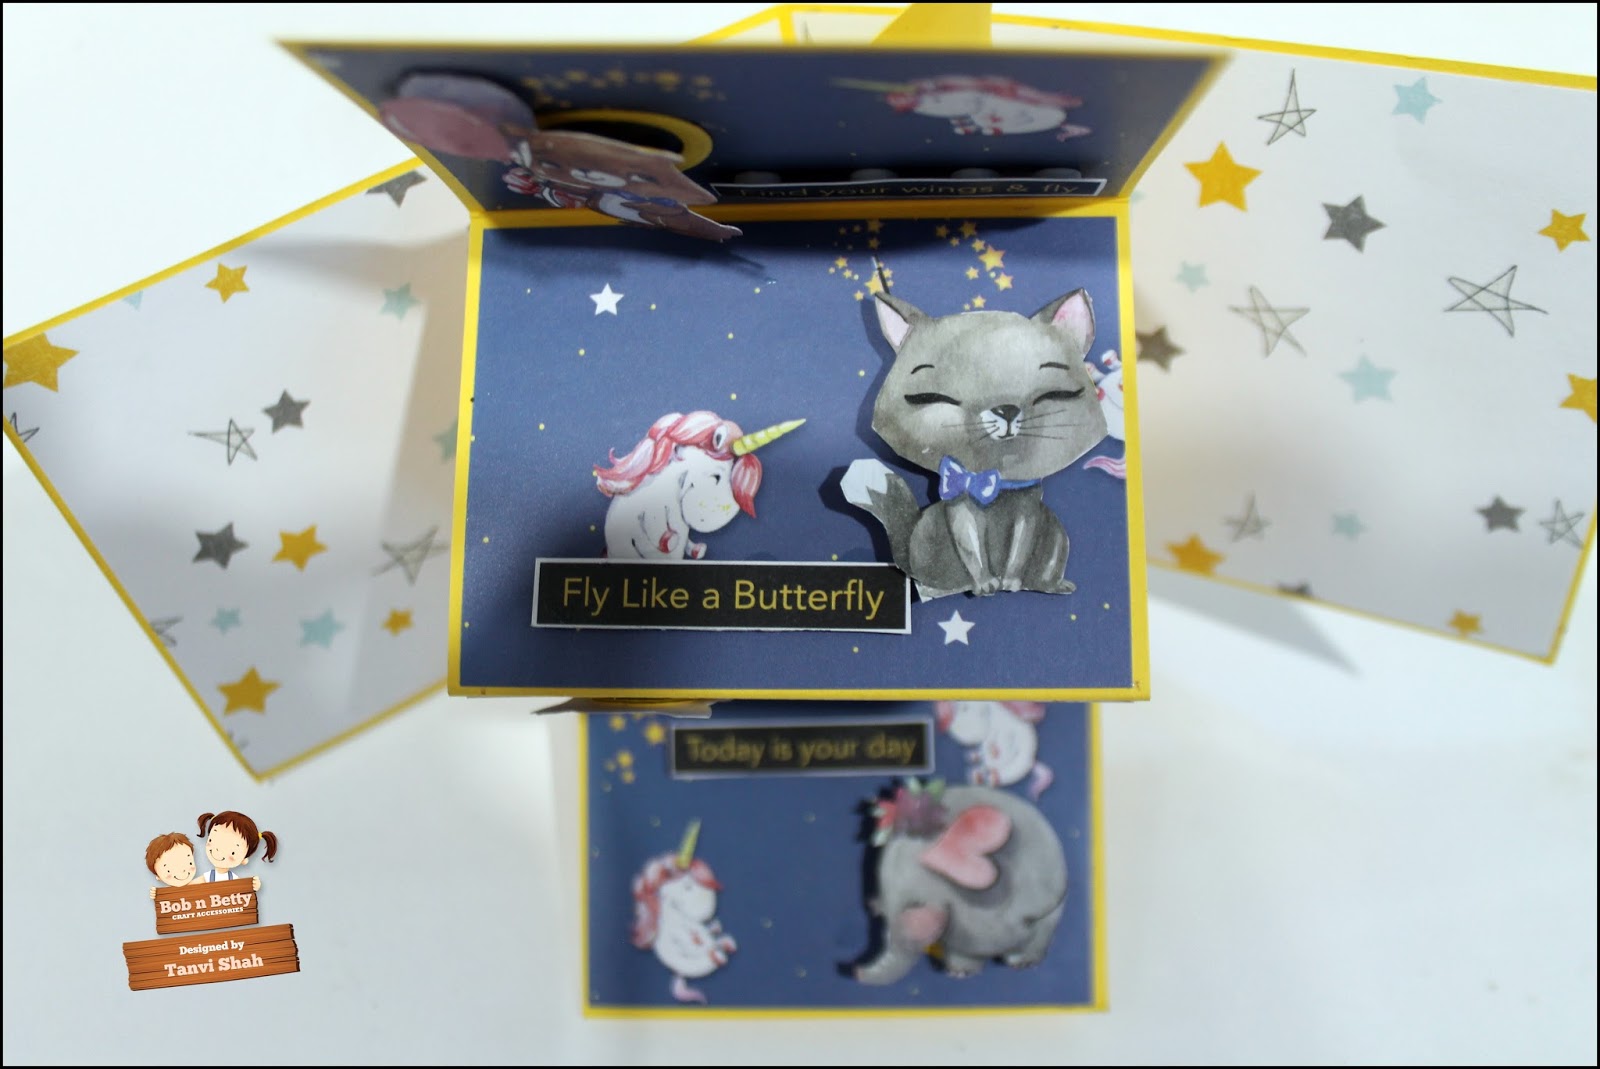
Today’s inspiration post is using the stinking cute new launch “Little Wonderland”. I have made a twisted pop up card with another twist – this is also a shaker card with wobbling elements.
The front of the card is a shaker, I have fussy some adorable critters from the collage sheet in the pack & used them in the card.
Here is a look at the card –


This cute elephant  in the corner also wobbles!


When the card opens the accordion fold panel with all the wobbling critters pop up !


This is such a cute & interactive card. I loved how I could use all the elements from the paper pack itself to make this one! Kids are surely going to love this card!
That’s it for today. Hope you like the ‘twist’ in my twisted card  ðŸ™‚
Remember you can always purchase all the beautiful Bob n Betty products from our wonderful Sale Buddies and also share your gorgeous creations on our Facebook group Bob n Betty Buddies.
Thank you so much for visiting & taking the time to comment on my blog. I love to hear from you & truly appreciate your feedback. Have a crafty day!
Related Posts Plugin for WordPress, Blogger...