Showing posts with label charm. Show all posts

Friday, 16 January 2015

Shadow Box with Cutting Dies

Hello Friends & welcome here again.
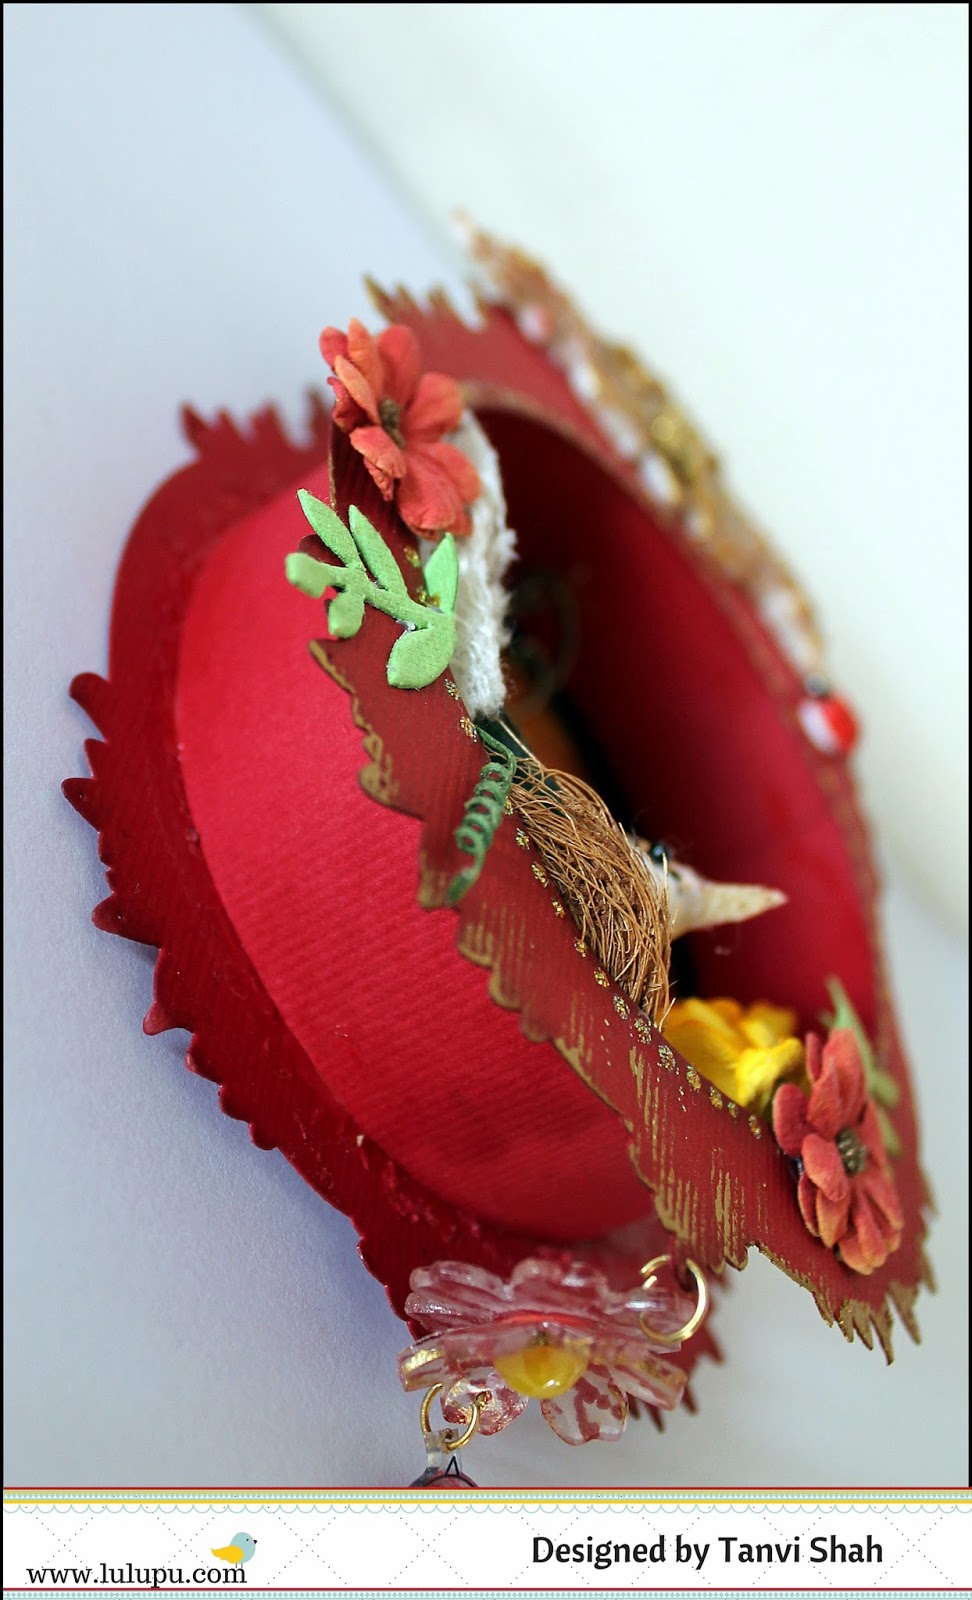
This fortnight we have a fun challenge at Lulupu - 3D with Cutting Dies & I am here to share my inspiration for this theme - a shadow box with Spellbinders Nestabilities - Gold Majesty Circles. You can visit the challenge blog for details & a tutorial for this.


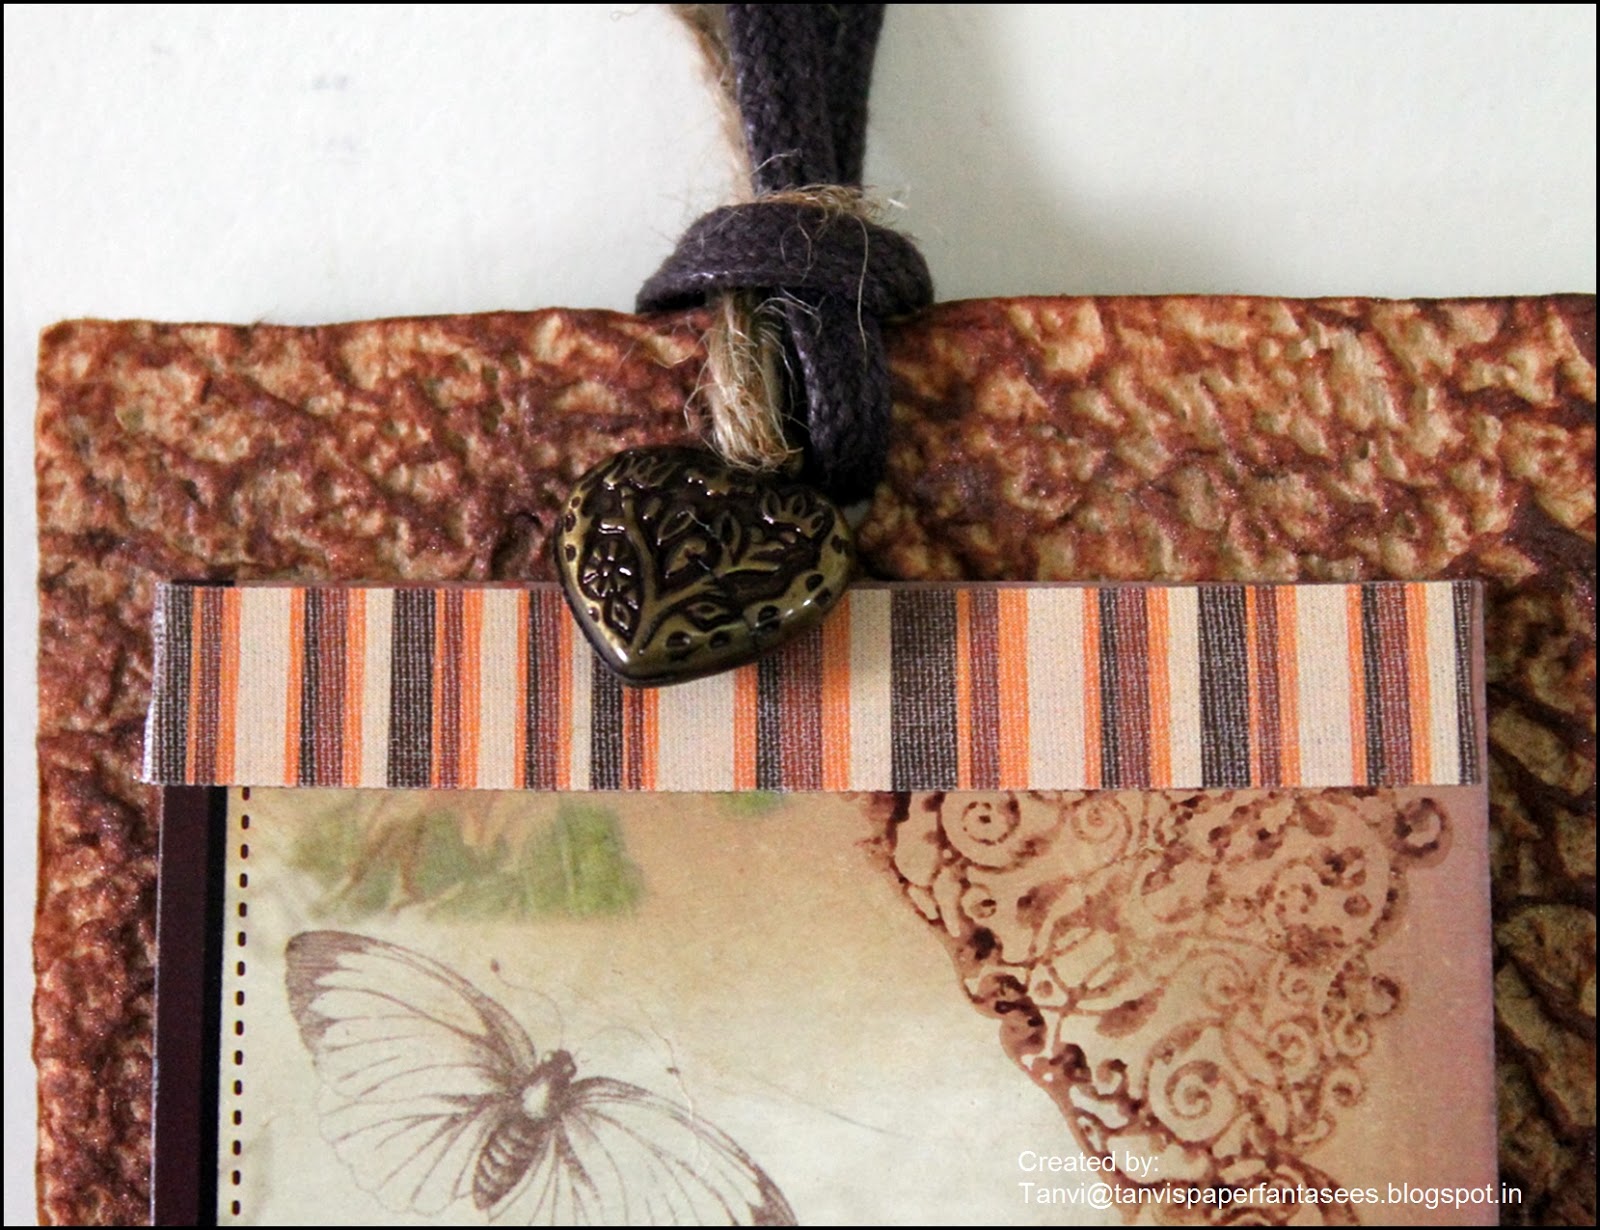
These little dangling charm is made from shrink plastic!


Sharing this at -
Noordesign#2 - 31/1- LOVE charm on the resin embellishment 
Thank you so much for visiting & taking the time to comment on my blog. I love to hear from you & truly appreciate your feedback. Have a crafty day!!

Friday, 26 September 2014

Altered Chest of Drawers

Hello friends!
I am here with a gorgeous girly altered project I made for my niece.
The 9 drawer chest is from Craftslane. Had a lot of fun with pattern papers  (co-ordinated papers from two packs here - Prima Fairy Rhyme & American Crafts - Lucky Charm).


The little frame here is a Kaisercraft embellishment colored with markers. The vintage image is fussy cut from the Prima - divine collection pack & covered with mod podge dimensional magic to give a faux glass effect.


The glass bottle have a cute lock & key charm set.
 

The MDF laser cuts on the side panels are colored with markers & heat embossed with clear EP for glossy finish. The key-charms are pretend pulls for the drawers.


Linking this to -
BGC#59 (30/9) - TOP 3

LTSCB#38(28/9)

Tuesday, 9 September 2014

Monochromatic tag


 Good Morning friends.........as promised yesterday here am with another tag. This one is almost entirely done in blue. 
Let me briefly take you through the steps -
  • To begin I used TCW - birds of a feather stencil with texture paste (homemade)
    to create the base layer, let it dry & then colored over with salty ocean distress paint. 
  • Then stamped the script (stampaddicts - pot pourii) in archival black.  Added some crackle paint (rock candy) to the branches. A dash of brown & green highlights the branches.
  • Next to tone down the color I added a layer of watery gesso.............


Look at the awesome texture! Added a bit of shimmer to all the birds with my favorite Wink of Stella glitter brush pen. 

The little black butterfly is from shrink plastic! 

And the bird charm compliments the theme of the tag, don't you agree? 


The cages were highlighted using vintage photo DI.

The maroon bird escaping from the cage is a rub on & I think is perfect to break the monotony of blue in the tag. 
Next I splattered run down gesso randomly over the tag.


Thank you so much for visiting & taking the time to comment on my blog. I love to hear from you & truly appreciate your feedback. Have a crafty day!!

Monday, 8 September 2014

Tag in a tag


Good Evening!
The current challenge at Beyond Grey Challenges is to make a tag with textures. I surely wanted to play along because I just love textures.

Enjoyed playing along with texture paste (homemade) & Tim Holtz layering stencil (rays) to create the base. Blended distress inks (mustard seed, spiced marmalade, rusty hinge & fired brick) over this several times. I then placed the stencil over the tag again.............this time I placed the design between the textured rays & then misted water to create some more rays! Take a closer look between the textured rays & you will know what I mean. The script was stamped over this diagonally as if emerging from the rays & the sentiment stamped on another cardstock & glued with foam dots. A beach chair charm dangling over the awesome trim coordinates so well with the sentiment. The bottom of the tag with metal corners has a little vellum pocket for another tag which is made from shrink plastic!  You have to see this tag in person to admire the super shimmer of the wink of stella over the textured rays.


I enjoyed making this so much that I have already started with another tag & writing this post while the background dries! So please do stop by again tomorrow.

Also linking this to - 
 
Thank you so much for visiting & taking the time to comment on my blog. I love to hear from you & truly appreciate your feedback. Have a crafty day!!

Saturday, 26 July 2014

Bird Cage Luminary

Welcome friends!!!!
Thank you so much to all who commented & my FB page on the previous post KNOWING ME.
A DIY luminary withTim Holtz caged bird die cuts is what I share today. I loved the outcome...................beautiful!


I started by inking the die cuts with distress inks (squeezed lemonade, spiced marmalade, picked raspberry). I then stamped the newsprint over it with black archival ink followed by a medium coat of clear rock candy crackle paint. Vellum was then glued on the inner side of the cages. All the four die cuts were then glued to a chipboard base. Finally embellishments.............and I had this wonder, a luminary!

The chipboard bird colored with distress inks & coated with clear UTEE. Don't miss the HOME resin embellie & the cute charm.


Do you see the LSG shimmer over the pink flowers?


Look at that crackled effect!!!


And here it is with a tea light.............now won't this be a unique home decor item?


Supplies used - 
Dies - Tim Holtz alterations  caged bird, Cheery Lynn designs
Stamps - Impression Obsession CAC newsprint
LSG - Cotton candy pink
Distress crackle paint - clear rock candy
Distress inks - squeezed lemonade, spiced marmalade, picked raspberry, vintage photo & black soot
Vellum - locally purchased
All other embellishments -  stash

Linking this to - 

Thank you so much for visiting & taking the time to comment on my blog. I love to hear from you & truly appreciate your feedback. Have a crafty day!!

Tuesday, 18 March 2014

Creative Colors Challenge #6

Hello Friends....................its time for another challenge at Creative Colors & this time Archana has selected a rather bold color combo - Fuschia + Yellow Gold + Royal Blue PLUS use Die-Cuts.


This is a cards-only challenge & it was rather difficult to make a card with these colors, but who wants to give up!! Here is what I came up with - 


The cute digi is by the sponsors Bugaboo Digi Stamps which I have colored with distress inks.


This is a double pocket card having these two tags. 


Created many layers on the tags with stencils & stamps. 


Do hop over to the challenge blog for more inspiration by my teamies. We also have a second sponsor this time - SuhaFuha so move on to the blog for details.

Linking this to - 
Make Something Monday#1(stencils used in the tags)

Thank you so much for visiting & taking the time to comment on my blog. I love to hear from you & truly appreciate your feedback. Have a crafty day!!

Thursday, 19 December 2013

Twisted Easel Card

Hi Friends!
Sharing with you my first twisted easel card. I have added a lot of details in this one but before I come to that let me show you the card............


I began with a scored red card base which was then layered with a Spellbinders Romantic rectangles die cut distressed with fired brick distress ink. The Tim Holtz  alterations tick-tock die cut was then painted distress paint (black soot). Added clear distress crackle paint over this die cut (unfortunately I have not been able to capture the fine cracks in the pic). I had a clock MDF laser cut & the size was just perfect to fit into the die cut. So there it is!! Isn't the red glitter embossed MDF just made for this color combo! Don't miss the antique chain with dangling charms.


A few embellishments, blooms to finish the front................


This is the inside of the card. Once again to my delight the Kaisercraft stamp was perfect for the distressed die cut I used here. "Love you always" is hand written with a red embossing pen & heat embossed in clear powder. The red daisy die cuts were sprayed with Mistries & the shimmer is from LSG mist (crows nest copper)


The card looks like this when closed.....


Linking this to the following challenges - 

Emergency Crafters Challenge - Third position
Lulupu Challenge#22 (pattern paper, embellishments, die cuts, mists/sprays) - Honorable Mention
Do check out the LULUPU BLOG HOP to stand a chance to win some amazing prizes.


Thank you so much for visiting & taking the time to comment on my blog. I love to hear from you & truly appreciate your feedback. Have a crafty day!!

Friday, 22 November 2013

Create A Scene Cards

A super quick post to share two cards I made this month for the Color Conceptions Challenge Blog.
Hop over to the blog for details.


Thank you so much for visiting & taking the time to comment on my blog. I love to hear from you & truly appreciate your feedback. Have a crafty day!!

Tuesday, 5 November 2013

Ornate Tags


Hello lovely friends........hope you all had a great Diwali.
Sometime back I had participated is the swap organised by Swap Central India, where we were required to make three ornate tags. Sharing all these with you today.
In the first one I have created many layers using stamps, PP, diecuts..............


The second one is monochromatic & I created a pocket using vellum which holds a small bookmark......


Attempted a bit of parchment in this too.


The last one too has loads of layers & the pattern paper that you see is actually the packing of some Itsy Bitsy embellishments........


Used the CW template & texture paste for the birds


Pallavi was my partner in this swap & I hope she liked them.

Thank you so much for visiting & taking the time to comment on my blog. I love to hear from you & truly appreciate your feedback. Have a crafty day!!
Related Posts Plugin for WordPress, Blogger...