Showing posts with label chalk paints. Show all posts

Thursday, 24 January 2019

Doily effect on Chopping board


Hello Friends & welcome here! 
I am sorry, though I have been neglecting my blog 😒 I am creating loads of projects especially decoupage & share them regularly on my facebook page & Instagram, feel free to follow me there for regular updates!
Today’s project is a chopping board wall décor piece that also serves as a post it holder.
A simple technique to add some drama to a project is to combine a shabby chic print with bright chalk paints. For this base I used papers some shabby prints.
Using a large doily as a stencil, I created a pattern on the decoupaged paper with chalk paint.
I loved the contrasting colors of the the paper & paints. To add some more texture, I have also used 1 step crackle medium on the board around the doily stencil.
Some random newsprint stamping with archival ink, further built on layers to this project.
Thank you so much for visiting & taking the time to comment on my blog. I love to hear from you & truly appreciate your feedback. Have a crafty day!

Monday, 22 October 2018

Guest Post 1 for HNDMD

Hello Everyone!
This is Tanvi from Paperfantasees & its such a pleasure to be guesting for HNDMD. Thank you Khyati 😊
So here is my first post using the gorgeous decoupage papers & chalk paints Khyati sent across - a coordinating set of tray & coasters.


I selected the Aged Beauty designs for this set. While these designs have a vintage feel, I wanted a brighter look. The chalk paints (lemon drop & tomato red) were ideal. I painted the inside of the tray with lemon drop chalk paint. Once dry I dabbed tomato red paint using a sea sponge. The resulting texture was now perfect to brighten the tray. Painted the outside of the tray with pale daffodil. Random stenciling with copper paint for a subtle metallic sheen & I had a gorgeous set waiting to adorn my table!


Thank you so much for visiting & taking the time to comment on my blog. I love to hear from you & truly appreciate your feedback. Have a crafty day!

Friday, 15 June 2018

Decoupage Serviette Holder

Hello Friends!

Decoupage is a very versatile craft & the possibilities it offers is endless. I enjoy giving a makeover to old objects as much as turning new decoupage blanks into unique home decor items.
This is the serviette holder that I have in my post today -


To create the texture I have used FolkArt Home Decor Squeegee/Comb
Let me take you through the steps briefly -
  1. Lightly sand the tissue box. This gives the paint and glue some teething.
  2. Paint the sides with Papericious - Duck Egg chalk paint & the top of the box with white acrylic paint using a sponge brush.
  3. Next add a layer of red acrylic paint on the sides & carefully run the squeegee through it while still wet & you get a beautiful striped texture. Let dry.
  4. Tear the select tissue to size & glue it on the top of the box with Mod Podge Matte. Seal with another layer of Mod Podge.
  5. Follow this with 2-3 layers of varnish. Sand between layers for a smooth finish.


Thank you so much for visiting & taking the time to comment on my blog. I love to hear from you & truly appreciate your feedback. Have a crafty day!

Thursday, 28 December 2017

Decoupage Name Plate

Hello Friends!
Sharing today a name plate I recently commissioned. This is a hanging name plate perfect for an apartment/house or villa. I particularly love this design since there's so much opportunity to play around with techniques - different looks on the same name board. 

On this side is a bright floral finish with lots of blending & stenciling.  


 A stencil design very similar to the tissue background made it so easy to bring it all together.


On the other side is a vintage design in contrast to the brights on the other.


This is a close up of the shimmery first names of the Rabadi family against the vintage crackle background. 


For the intricate pattern of the hanging frame I tried a faux wrought iron look


Thank you so much for visiting & taking the time to comment on my blog. I love to hear from you & truly appreciate your feedback. Have a crafty day!

Monday, 16 October 2017

Fun with New shades of Chalk paints - 2

Hello All!
Continuing my inspiration for the Itsy Bitsy blog, today I have some more projects using the new shades of chalk paints.


First up is an old tray I refurbished.
1. To begin clean & sand the tray.


2. I intend to retain the distressed look of the tray but with the new chalk paint shade - muted teal. For this paint the tray in black. 


3. Once dry rub a candle randomly at places you want to distress. 


4. Next paint the tray with muted teal chalk paint. Let dry.
5. Gently sand the tray. At places where the wax is, the top paint peels very easily revealing the base black coat.

6. To finish the tray I did an image transfer on the inside & sealed the paint with several coats of varnish.

Here is the final look.


The next project is a decoupage bottle using the same color - muted teal.


Some stamping & color splatters over the decoupage.


Wild wasabi is another shade from the new release that I love. I have decoupage a cutlery caddy to share - 


The contrast between the white of the doily & the green is the highlight of this caddy. 


Hope you are inspired by my projects. You can grab these chalk paints from the online store here.

Thank you so much for visiting & taking the time to comment on my blog. I love to hear from you & truly appreciate your feedback. Have a crafty day!

Wednesday, 11 October 2017

Fun with New shades of Chalk paints - 1

Hello Friends!


This is Tanvi here & its a pleasure to be back with some decoupage inspiration using the new shades of chalk paint. In all there are 24 shades, perfectly selected for a decoupage lover like me to make shabby & distressed projects. Thank you Itsy Bitsy for introducing the first Made in India chalk paints.

These were the 14 shades launched earlier this year - 


The10 new additions to the matt chalk paint range are -


When it comes to decoupage these paints score over acrylics because
  • they give very good coverage
  • are easy to blend & sand to give a super smooth finish
  • Consistency is just right for use with a roller, sponge or brush
  • they work on glass, wood, metal, mdf & acrylic too
  • being lead free they are also eco friendly
    I have a few projects to share today using these 4 shades in my post - sand stone, whipped seafoam, wild wasabi & muted teal.


    Lets begin with a quick reverse decoupage tutorial on an acrylic coaster.

    1.Select the tissue & tear the design you want to use.
    2. Decoupage the tissue on the backside of the coaster (right side facing the coaster). Remove any air bubbles/wrinkles & let dry.
    3. Apply another coat of decoupage glue to seal the tissue. Let dry completely.
    4. Next, stencil a pattern over the tissue, using a sponge blender.


    5. Paint the coaster (whipped seafoam). This is the final layer of paint. Once it is dry, seal with several coats of varnish. Sanding in between layers for a smoother finish.


    6. Now the coaster is finished & this is how it looks.


    I was not able the capture the subtle stencilling on camera but I loved the muted pattern.


     I love the ease with which I can paint over a metal surface with chalk paints. Sharing a metal planter, in which have used sand stone, this shade was so close to the tissue background.


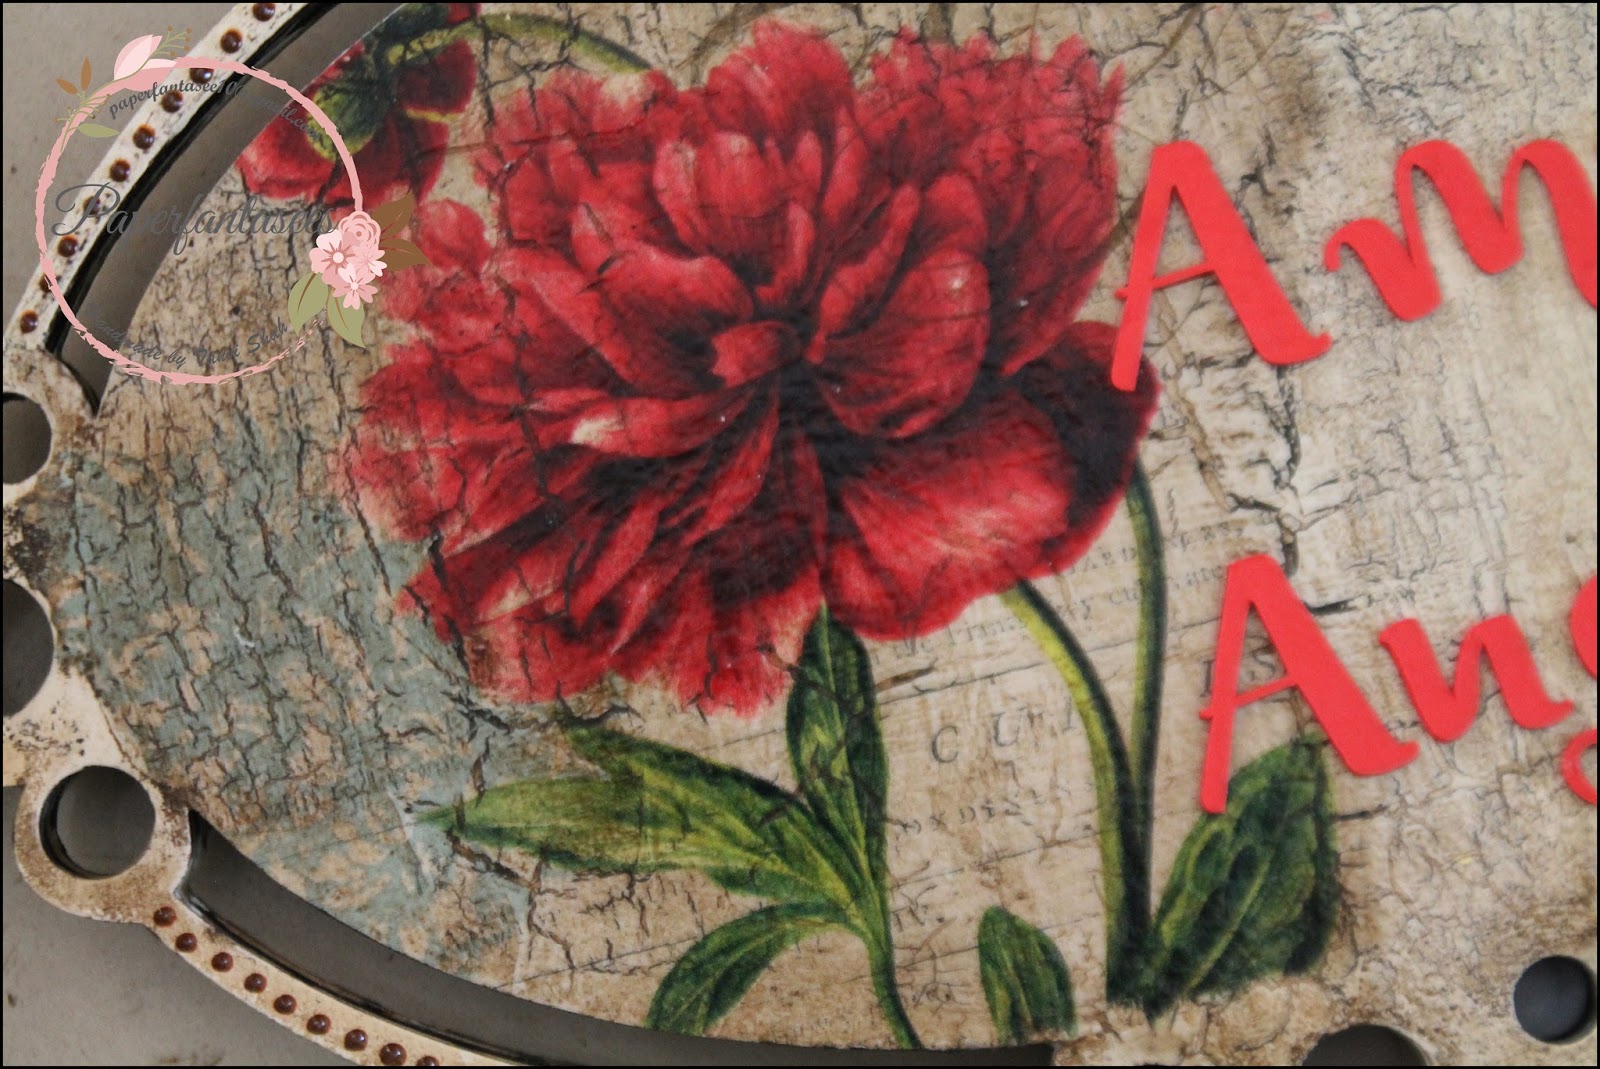
    Next I have a tray with a distress finish. in which I have used fortune cookies, not from the recent release but nevertheless my favorite shade.


    Distressed base of the tray.


    Stay tuned for my next post where I share an easy tutorial to get this distressed look.

    Thank you so much for visiting & taking the time to comment on my blog. I love to hear from you & truly appreciate your feedback. Have a crafty day!
    Related Posts Plugin for WordPress, Blogger...