Showing posts with label stencils. Show all posts

Thursday, 23 January 2020

Distressed Book Box

Hello Crafty Souls!
Wishing you all a very HAPPY & CREATIVE 2020!
Though I have been creating regularly I missed sharing the post here on my blog & participating in challenges. 
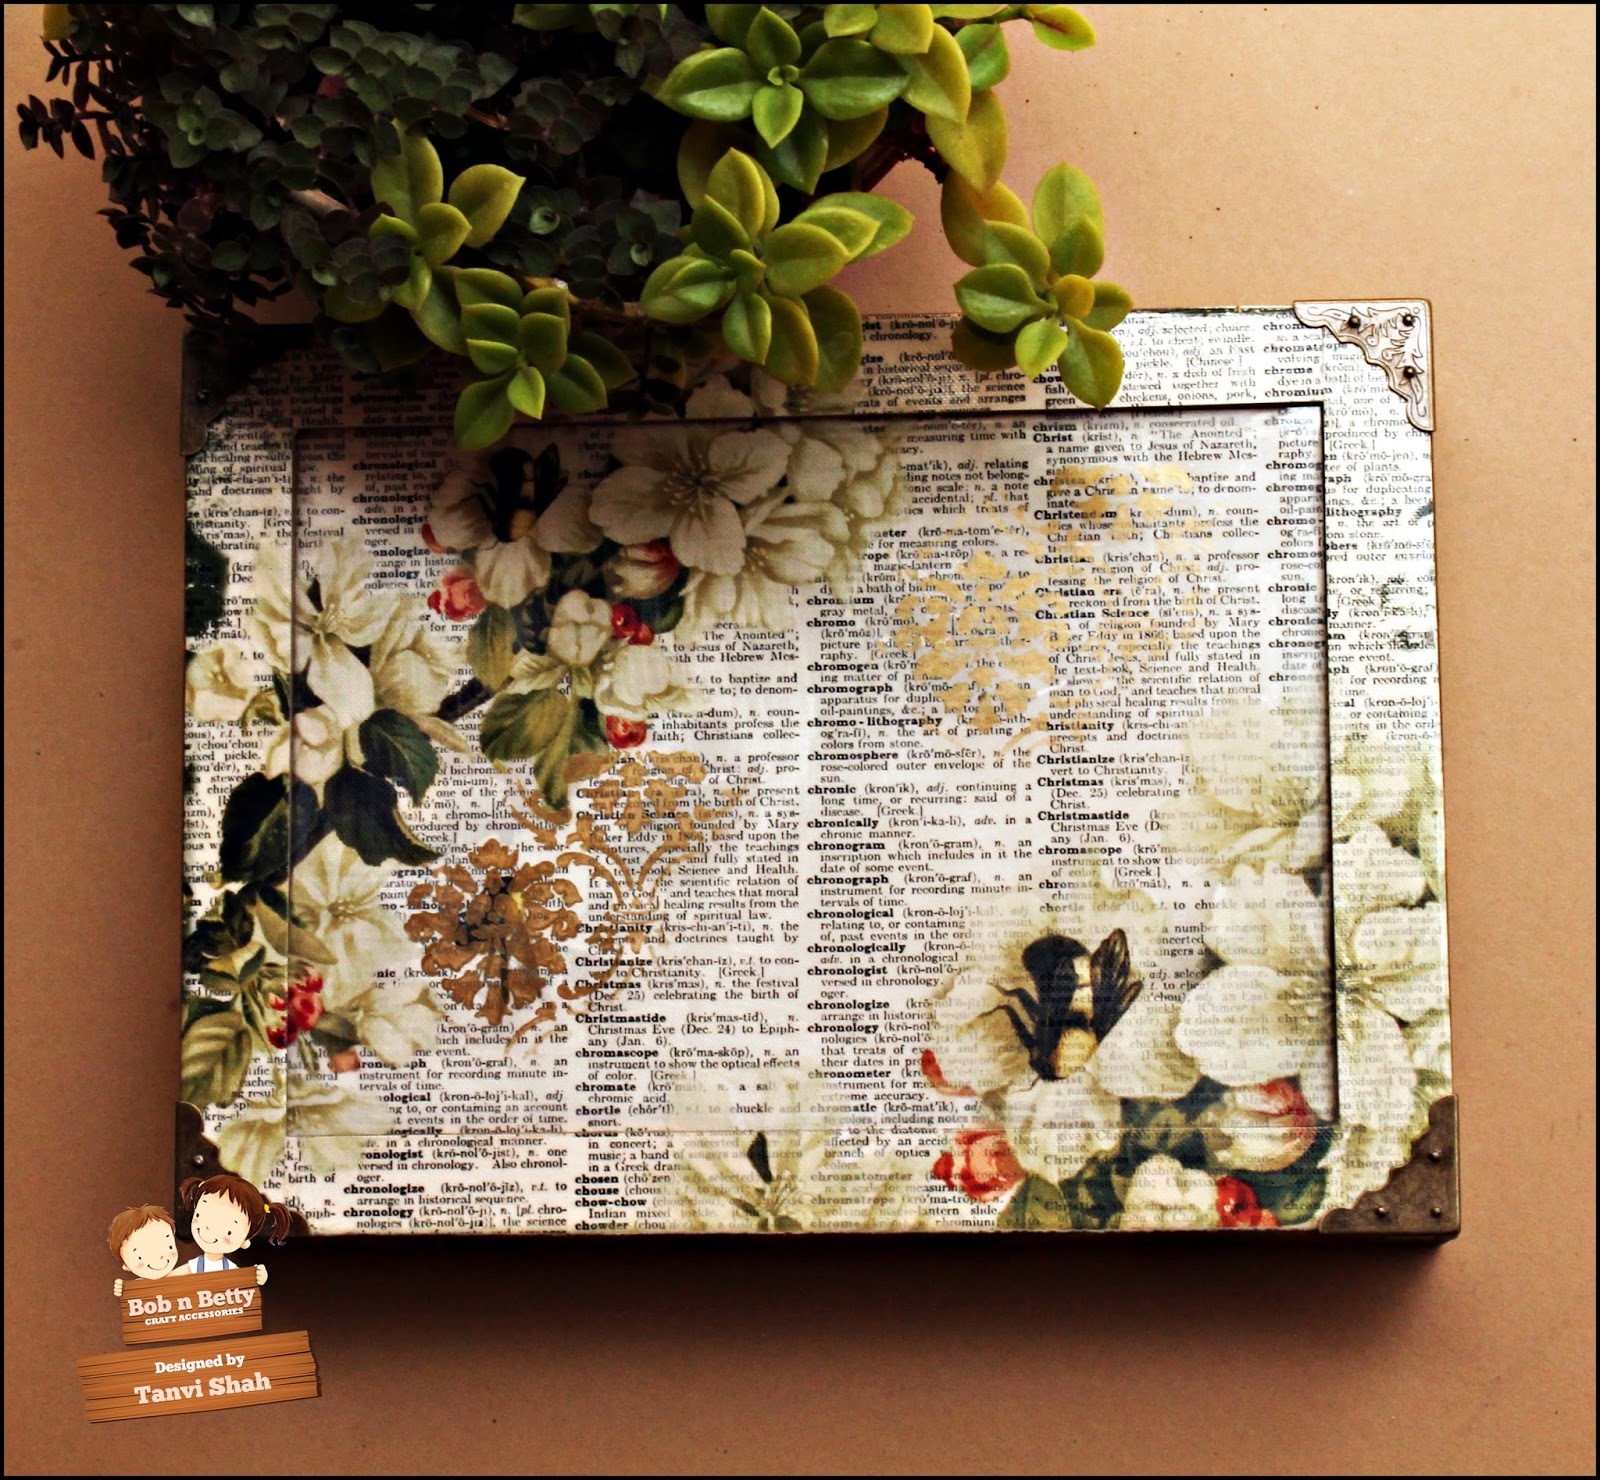
So here I go with my first blogpost of 2020, a book box I have decoupaged using the newly launched rice papers by DRESS MY CRAFT. I wanted the distressed door to be the focal image for the box & recreate all the textures of the beautiful printed paper using my mixed media stash. Hang in there as I reveal all the details -
I carefully tore the door image & pasted it using Mod Podge Matte on the box, built on the background with chalk paints. 
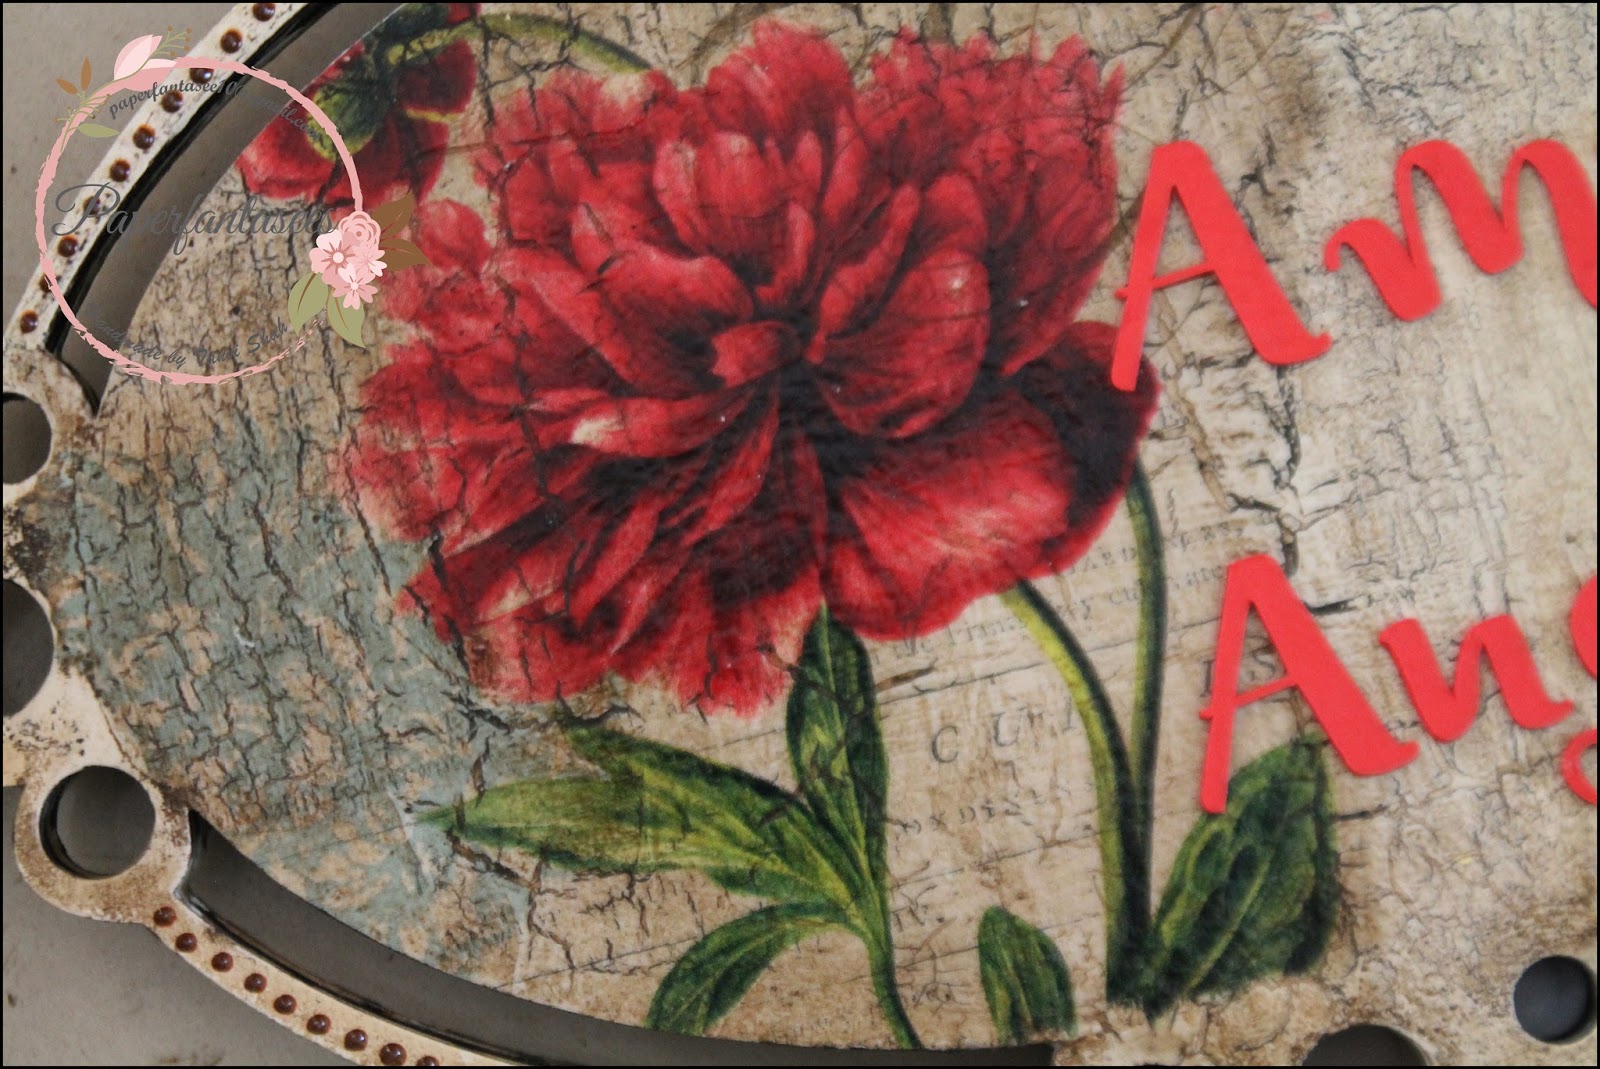
The first texture I created around the arched door was concrete (Folkart Painted fnishes - Concrete)

Next I used Itsy Bitsy 2 step crackle medium, this added to the aged look I wanted.
Also used images from the rice paper for the inside of the box & continued to build on textures using sea sponge, stencils & stamps. Finally enhanced the aged look using antique wax.
For the box spine & back I chose a distressed look to coordinate with the focal image of the door & some random stamping with a crackle stamp.
This was a rather satisfying outcome, loaded with techniques to create textures for a complete aged distressed look.
Sharing this at the following challenges - 

Thank you so much for visiting & taking the time to comment on my blog. I love to hear from you & truly appreciate your feedback. Have a crafty day!

Monday, 22 October 2018

Guest Post 1 for HNDMD

Hello Everyone!
This is Tanvi from Paperfantasees & its such a pleasure to be guesting for HNDMD. Thank you Khyati 😊
So here is my first post using the gorgeous decoupage papers & chalk paints Khyati sent across - a coordinating set of tray & coasters.


I selected the Aged Beauty designs for this set. While these designs have a vintage feel, I wanted a brighter look. The chalk paints (lemon drop & tomato red) were ideal. I painted the inside of the tray with lemon drop chalk paint. Once dry I dabbed tomato red paint using a sea sponge. The resulting texture was now perfect to brighten the tray. Painted the outside of the tray with pale daffodil. Random stenciling with copper paint for a subtle metallic sheen & I had a gorgeous set waiting to adorn my table!


Thank you so much for visiting & taking the time to comment on my blog. I love to hear from you & truly appreciate your feedback. Have a crafty day!

Saturday, 19 May 2018

Mixed Media Journal Cover

                                                                       Hello Friends!
I am currently enjoying mixed media, thanks to the Finnabair products that came in my LetzCRaft DT kit. The combination of black & metallic colors always enthuse me & the Metallique wax pastes are just perfect for popping the hidden textures in Mixed Media.
Here is the mini journal cover which got a face lift for my post –

The cover base is MDF & the background texture is stenciled (Craftangles – Medieval Mosaic) with Decoart sand paste. I built on the layers & textures & embellished as desired, priming with black gesso at every stage & using Ranger Multimedium to glue the embellishments. The Finnabair Metallique pastes used are – Amethyst Magic & Mystic Turquoise


Here are some close up images -


Playing along the following challenges - 


Hope you enjoyed the post today & are inspired to create some Mixed Media magic!
Thank you so much for visiting & taking the time to comment on my blog. I love to hear from you & truly appreciate your feedback. Have a crafty day!

Tuesday, 3 April 2018

Decoupage Box using Bob N Betty "Meadows"

Hello, am here to feature another awesome release MEADOWS, a set of eight delicate floral designs with a vintage touch in our range of decoupage specialty papers. This is a perfect collection for someone like me who loves vintage but always looks out for a dash of happy colors in vintage too! Each design is gorgeous!

bnb1.jpg

I will be sharing a decoupage box using my favorite print from the collection in which I have combined decoupage with reverse decoupage for the glass lid of this box.


Let me explain briefly -
  1.  First I did some stenciling with gold acrylic paint on the backside of the glass lid.
  2. Next I trimmed the specialty decoupage paper to the size of the lid & cut off a rectangle the size of the glass piece from this.
box
3. Glue this piece on the backside of the glass right side facing down  (reverse decoupage) & the left over to the frame of the lid. Seal with decoupage glue.
4. The base of the box was painted in antique gold acrylic paint. Once dry used masking tape to create bands & stenciled over the open bands with gold paint. Loved the stenciled bands.
5. Varnished & sanded the box to finish.
Here are some close ups of the box -


Hope you like this "twist" of combining both decoupage techniques in one project.
We are also having a MEGA CONTEST for our third anniversary. Do check our FB page for details.
Thats all for today!

Thank you so much for visiting & taking the time to comment on my blog. I love to hear from you & truly appreciate your feedback. Have a crafty day!

Monday, 5 March 2018

Decoupage trays - Birds series

Hello Everyone!
A quick post today to share a few decoupage trays - the bird series as I call them.

For the first one I have used decoupage papers from BobNBetty - Exotic Birds.
I loved the beautiful print, so many layers & textures to it!


The second tray also uses a design from the Exotic Birds collection. Used chalk paints & the conventional decoupage technique on the sides of the tray for the band/striped look to enhance the shabby pattern.


For the last one in the series I have used rice paper. The pattern had a gorgeous doily print & I tried to extend the same by stenciling & totally loved the effect. To add some more texture, splattered some acrylic paint randomly in the background. 


Close up of the doily stenciling - 


Here is a look at the splattering - 


Thank you so much for visiting & taking the time to comment on my blog. I love to hear from you & truly appreciate your feedback. Have a crafty day!

Thursday, 15 February 2018

Mixed Media - Door Hanger

Hello & welcome here!
Sharing a mixed media altered door hanger today.
Had started work on this a couple of weeks back & it was sitting on my table all this while, screaming to be finished. I totally loved the outcome - black & copper, a combination which always mesmerizes me!


The base textures are using tissue (the white ply left after all my decoupage projects!) & modelling paste. I used black soot chalk paint from Itsy Bitsy & the copper is metallic paste from Art C


The dream catcher is a chippie from Papericious. The flowers, butterfly & die cuts are from my stash. 


Some more mixed media projects are here, here & here. 

Sharing this at - 


Thank you so much for visiting & taking the time to comment on my blog. I love to hear from you & truly appreciate your feedback. Have a crafty day!

Thursday, 28 December 2017

Decoupage Name Plate

Hello Friends!
Sharing today a name plate I recently commissioned. This is a hanging name plate perfect for an apartment/house or villa. I particularly love this design since there's so much opportunity to play around with techniques - different looks on the same name board. 

On this side is a bright floral finish with lots of blending & stenciling.  


 A stencil design very similar to the tissue background made it so easy to bring it all together.


On the other side is a vintage design in contrast to the brights on the other.


This is a close up of the shimmery first names of the Rabadi family against the vintage crackle background. 


For the intricate pattern of the hanging frame I tried a faux wrought iron look


Thank you so much for visiting & taking the time to comment on my blog. I love to hear from you & truly appreciate your feedback. Have a crafty day!
Related Posts Plugin for WordPress, Blogger...