Showing posts with label flowers. Show all posts

Saturday, 23 February 2019

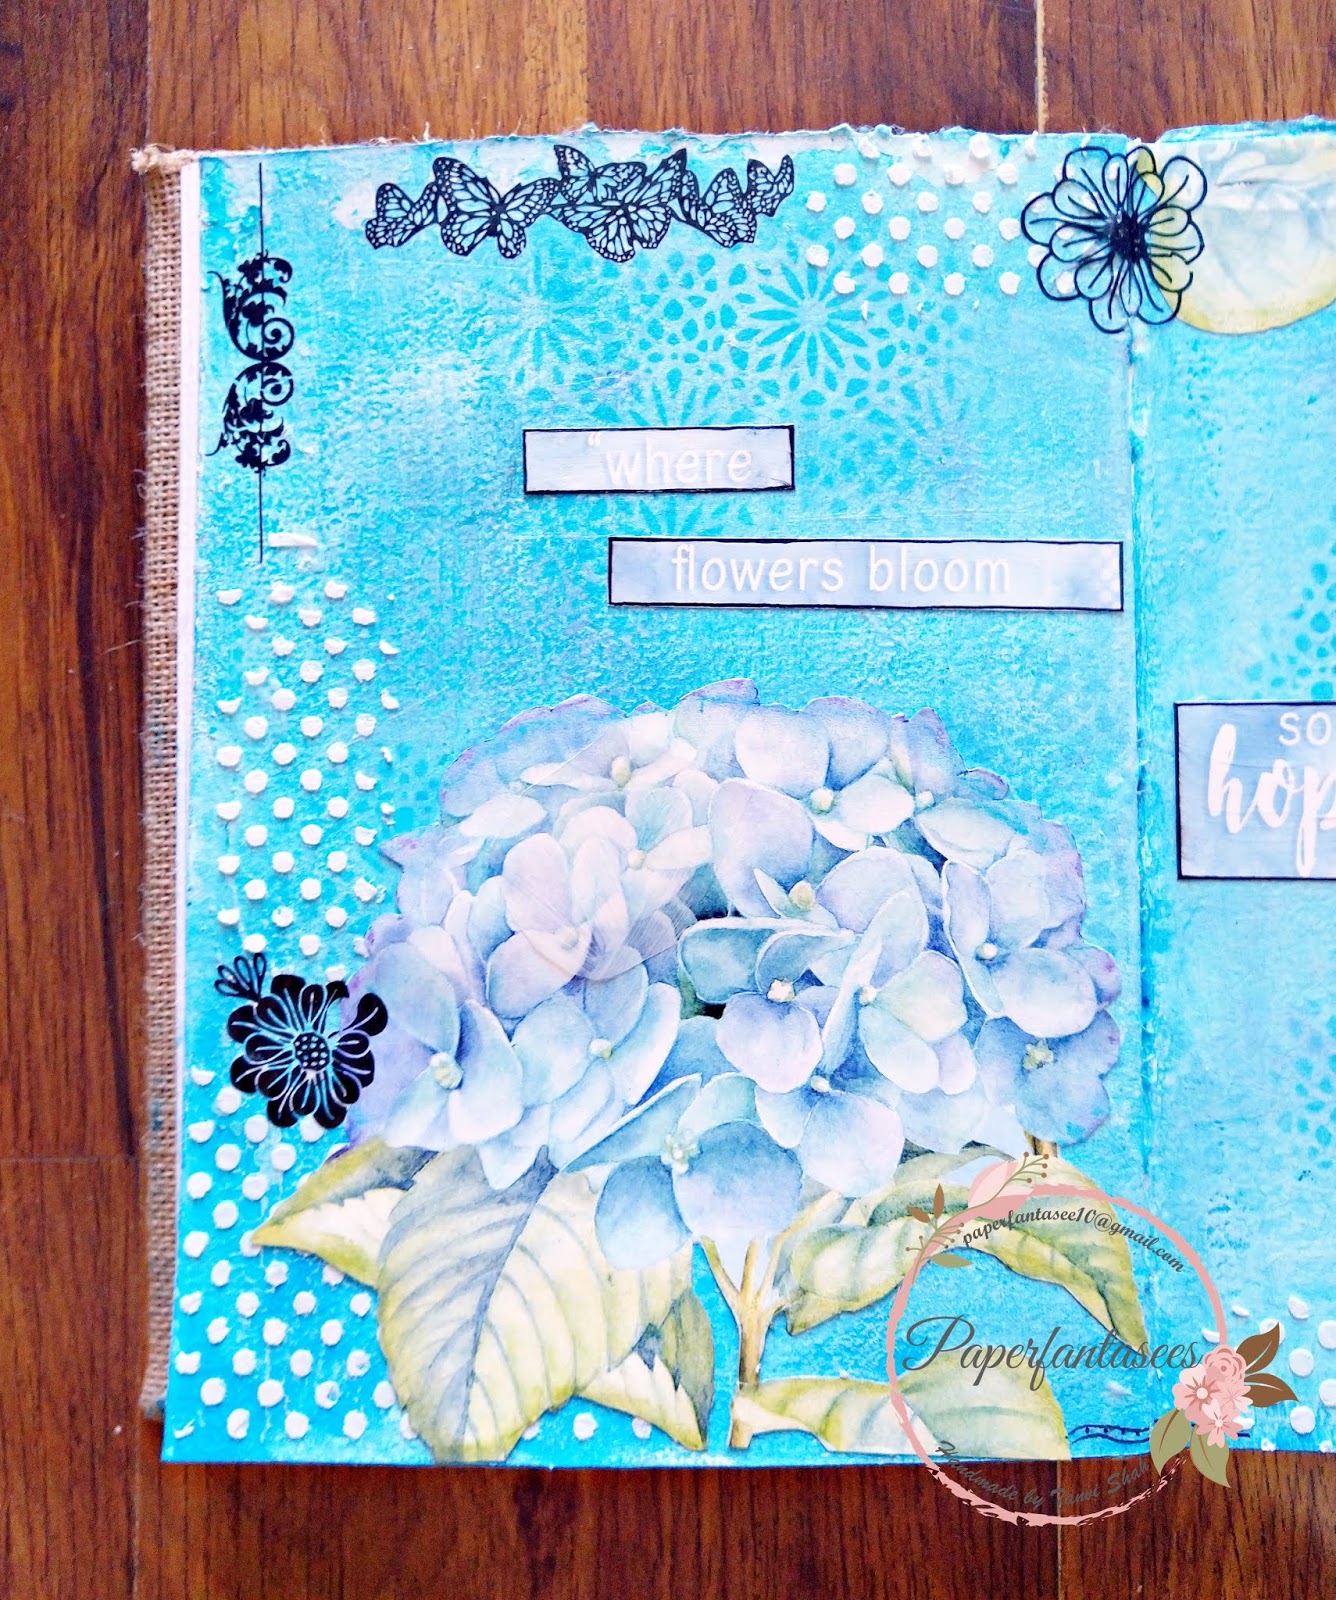
Art Journal Page - HOPE

Hello!
The Simon Says Stamp Wednesday Challenge is a very interesting one this week - No Stamps Allowed.
For my journal page I created the background using gelatos, lots of stenciling with modelling paste & archival inks. The hydrangeas are fussy cut from pattern papers & so is the quote. The black  flowers & motifs are rub ons.

Sharing this at the following challenges - 
Art playground - 28/2 (flower & leaf shapes)
Thank you so much for visiting & taking the time to comment on my blog. I love to hear from you & truly appreciate your feedback. Have a crafty day!

Saturday, 21 July 2018

Itsy Bitsy Thincuts - Watering Can

Hello folks!
Itsy Bitsy has recently launched 15 new designs to add to their Thin Cut Dies collection. Each one of these is beautiful & I was sent this adorable Watering Can Set. 
I love plants & am blessed to have my studio adjacent to my terrace garden.
As soon as I received this die I knew I wanted to make plant markers.
Out comes my DREAM CUT & within minutes I have them ready, using the watering can die.


Isn't it cute! 


Next I have a couple of cards. For the first one I created a garden scene with the die cuts & rub ons. The bricked wall is a pattern paper from the "Texture Brew" pack. Colored the flowers black & leaves green with Alcohol Splash and the can with distress ink.


The next card is in the classic never fail black & white combination - 


I have layered a panel of corrugated white card stock over a white card base. The chevron pattern of the watering can is the only pop of color in this elegant card. The flowers too are die cut from the same corrugated paper. 
Here is a closer look at the texture of these flowers - 


The last one is my favorite!
Here I created a distress ink background & some splatters with water & Alcohol splash. Inlaid the watering can diecut in the background & used some gorgeous Little Birdies handmade flowers


You can grab these affordable dies from the nearest Itsy Bitsy store or place an online order here. 

Thank you so much for visiting & taking the time to comment on my blog. I love to hear from you & truly appreciate your feedback. Have a crafty day!

Tuesday, 17 April 2018

Bridal Shower Banner

Here today with a bridal shower banner.
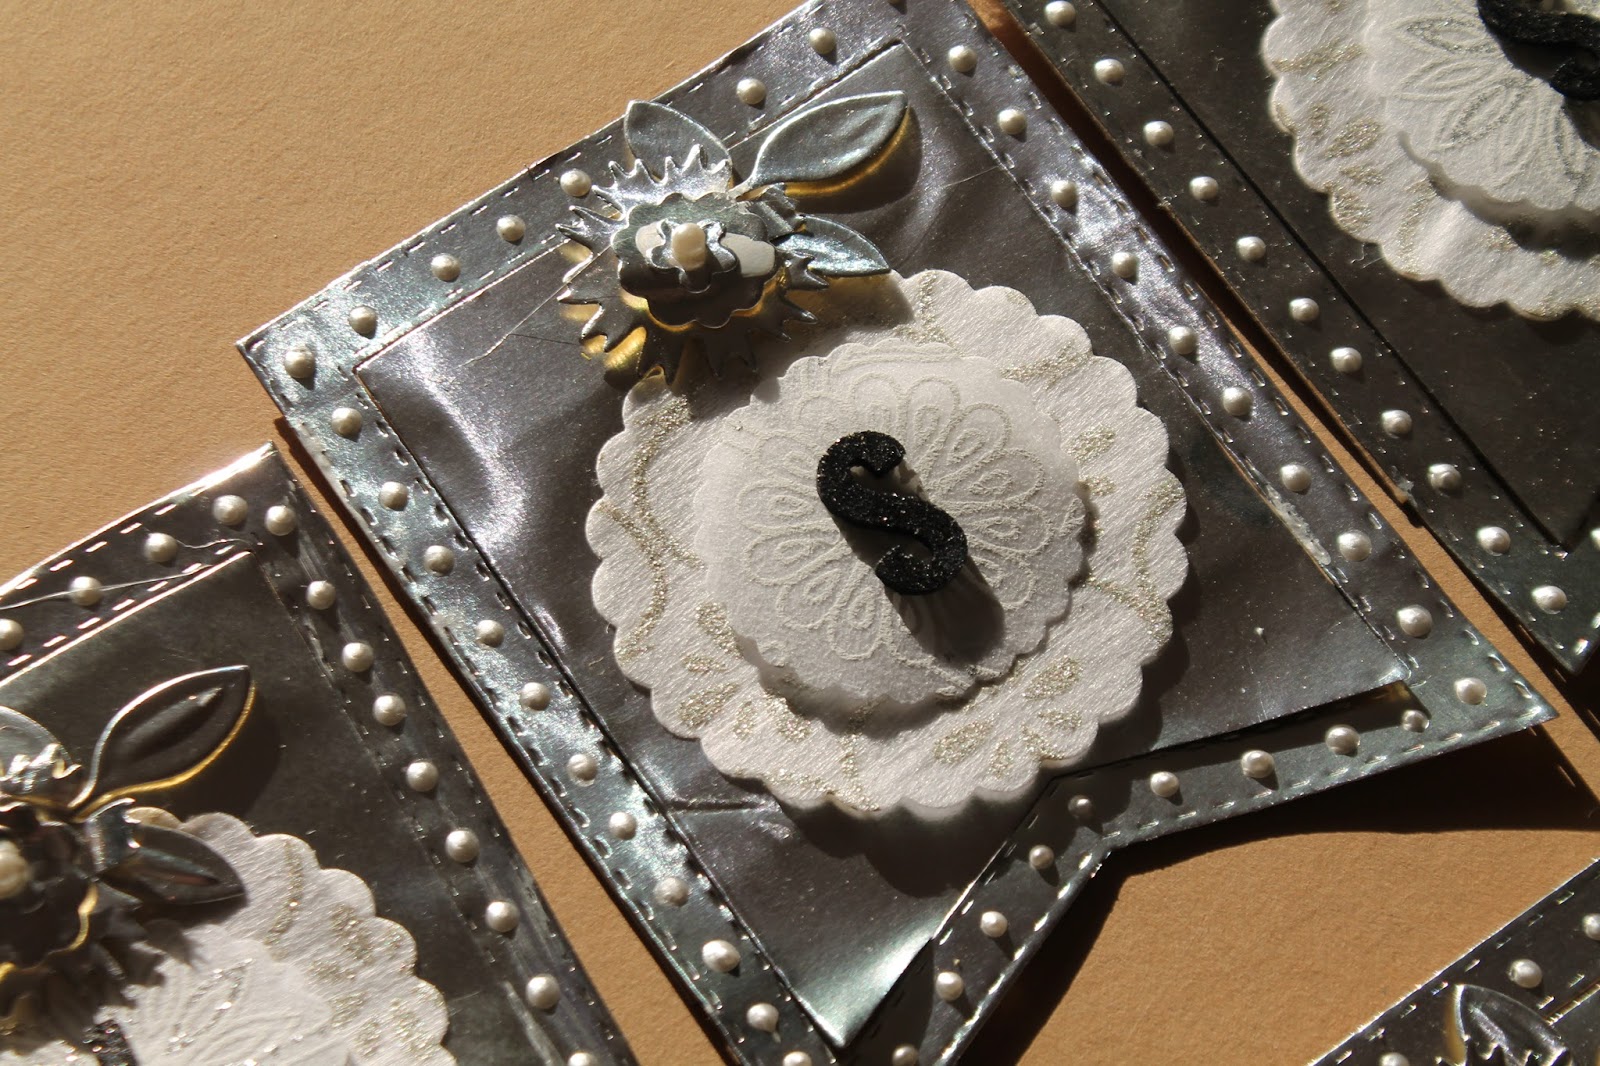
Rinea foil papers are available in a variety of packs & colors, however, for this banner, I have used only the silver/gold glossy foil paper & yet absolutely love the simple & classy outcome. I have layered several die cuts on a chipboard base to make it sturdy. 

The glossy banner was extremely difficult to capture on camera, hope the pictures do justice to this beauty!


Thank you so much for visiting & taking the time to comment on my blog. I love to hear from you & truly appreciate your feedback. Have a crafty day!

Wednesday, 4 April 2018

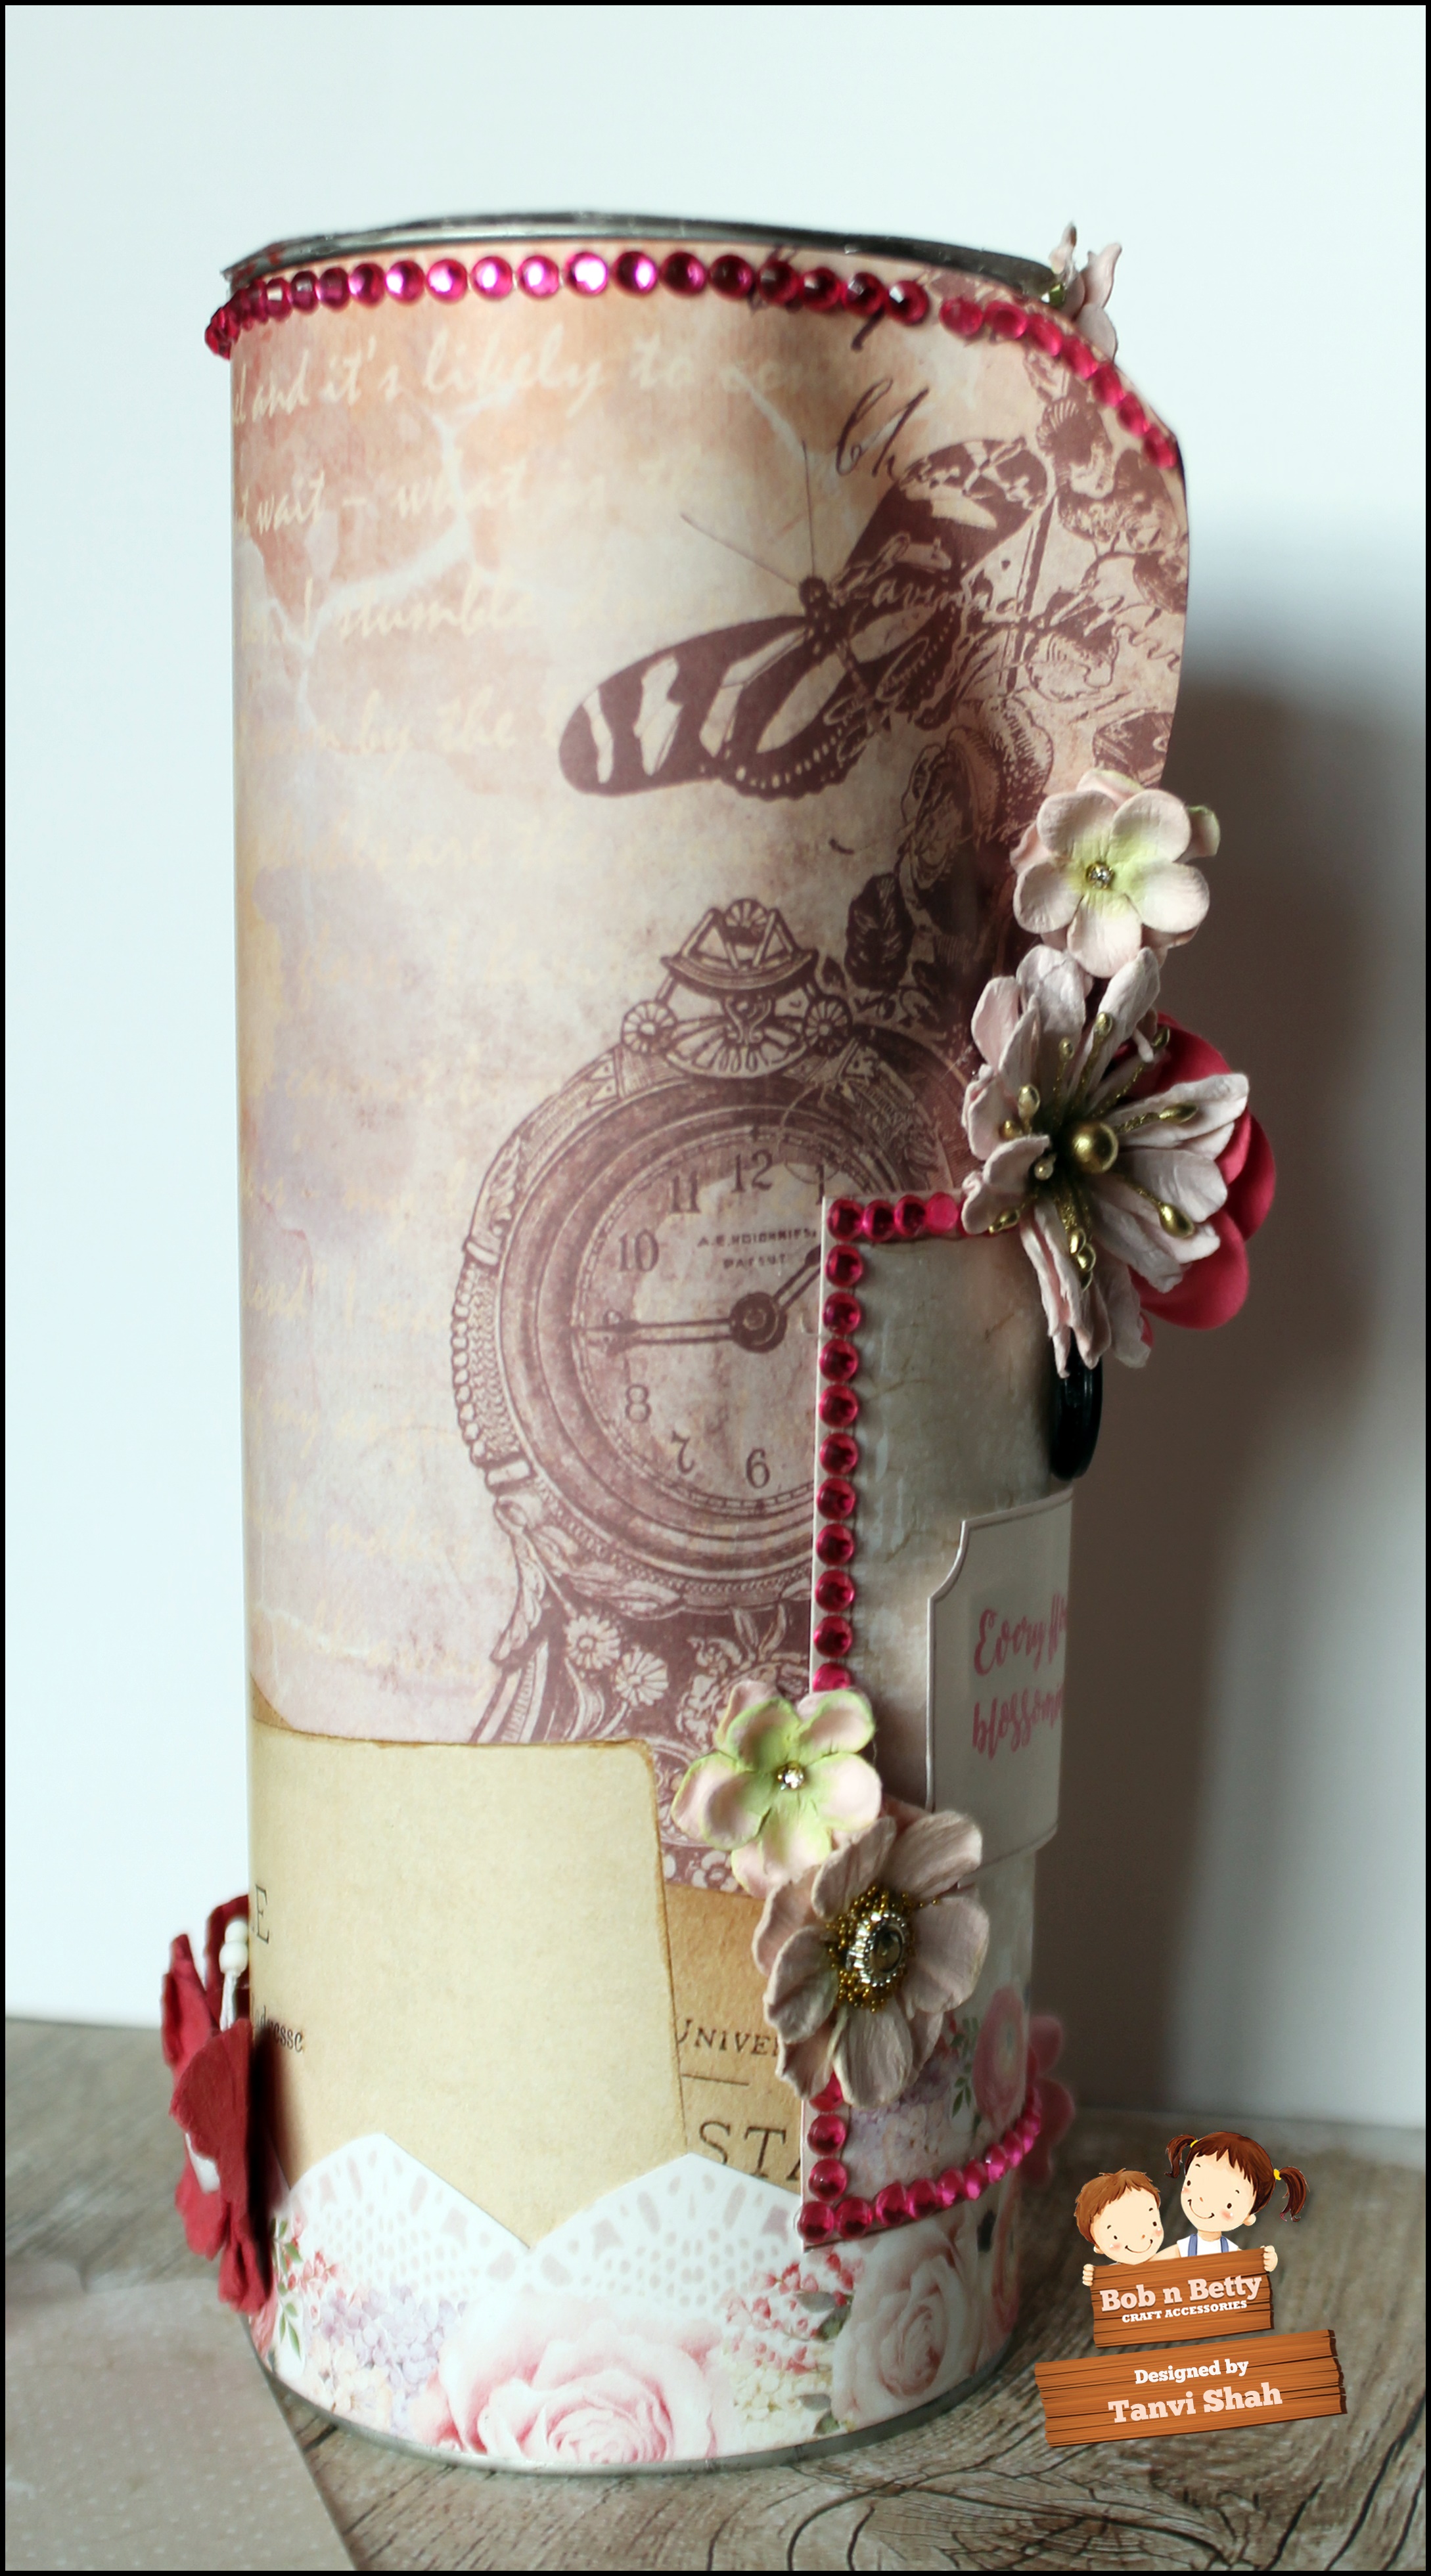
Altered Cookie Can


Hello & I am here with my inspiration for Bob N Betty.
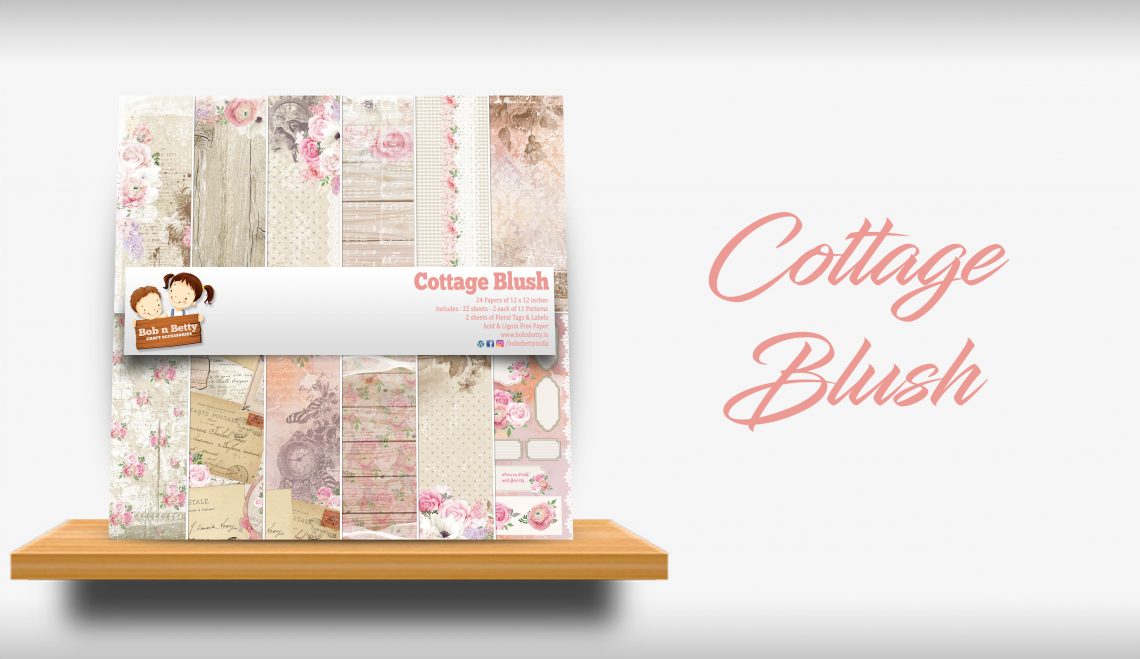
For my project today the inspiration was the "Cottage Blush" collection so floral & so shabby.

cottage-blush-1140x6591

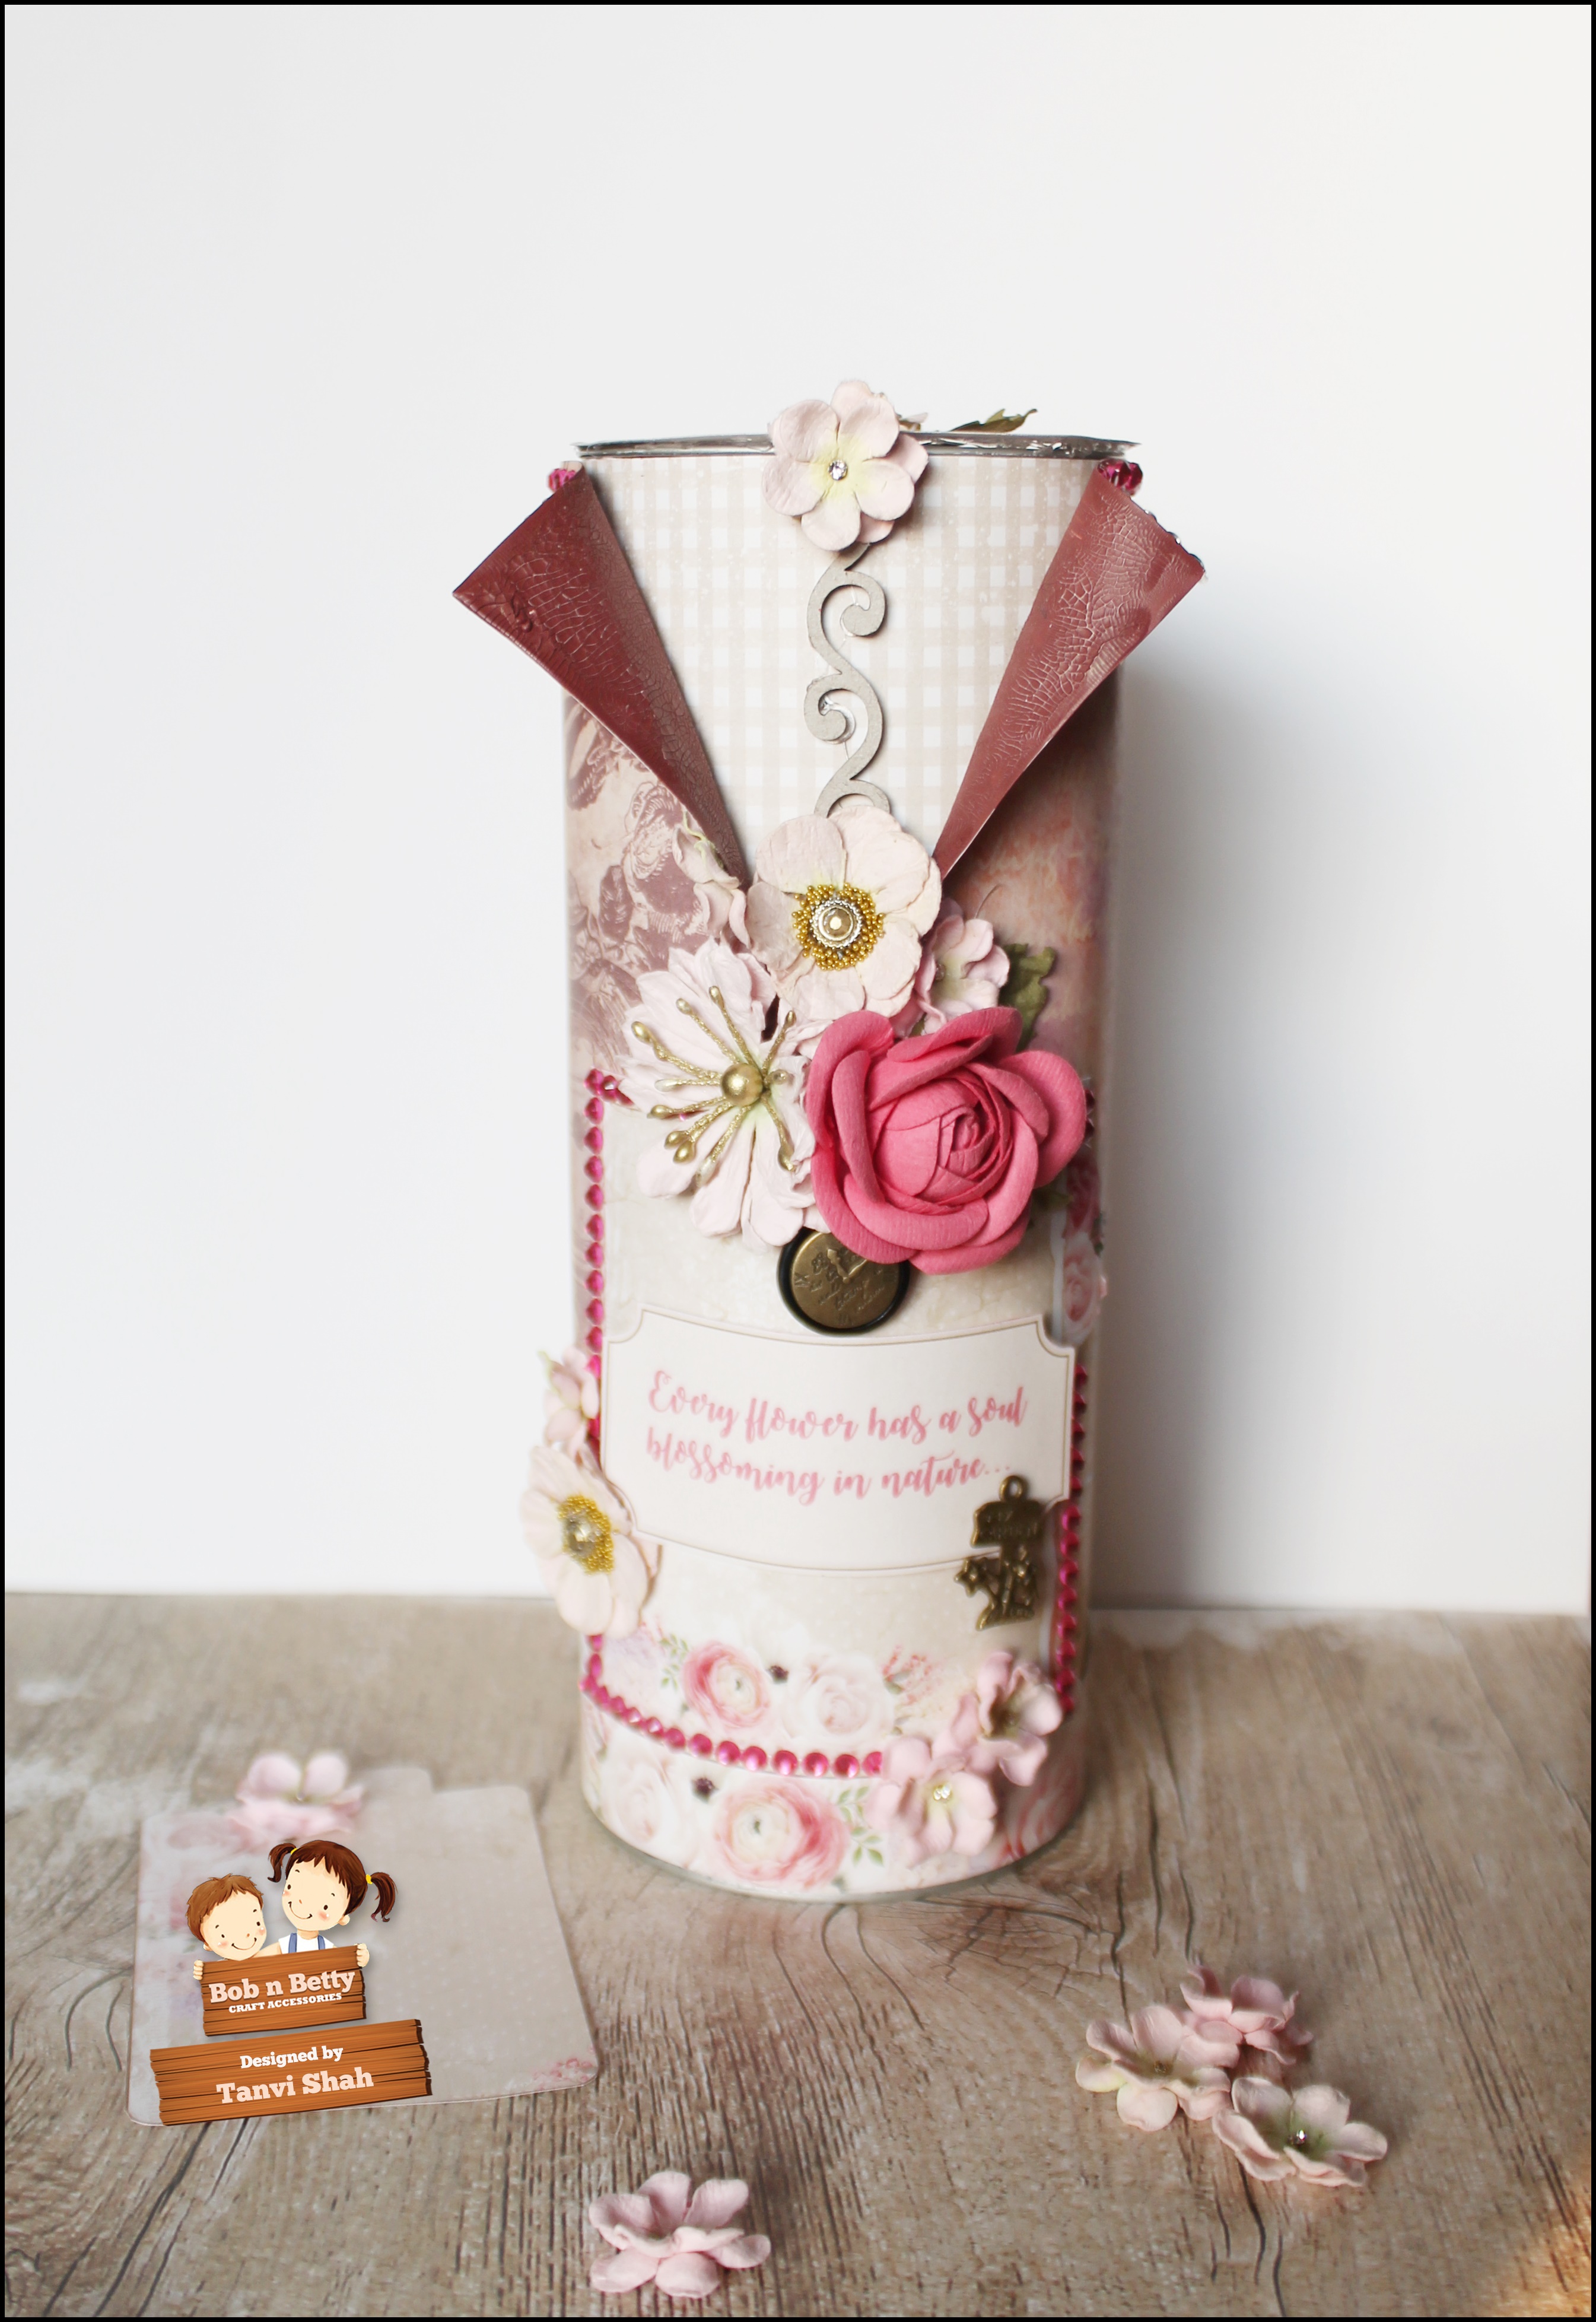
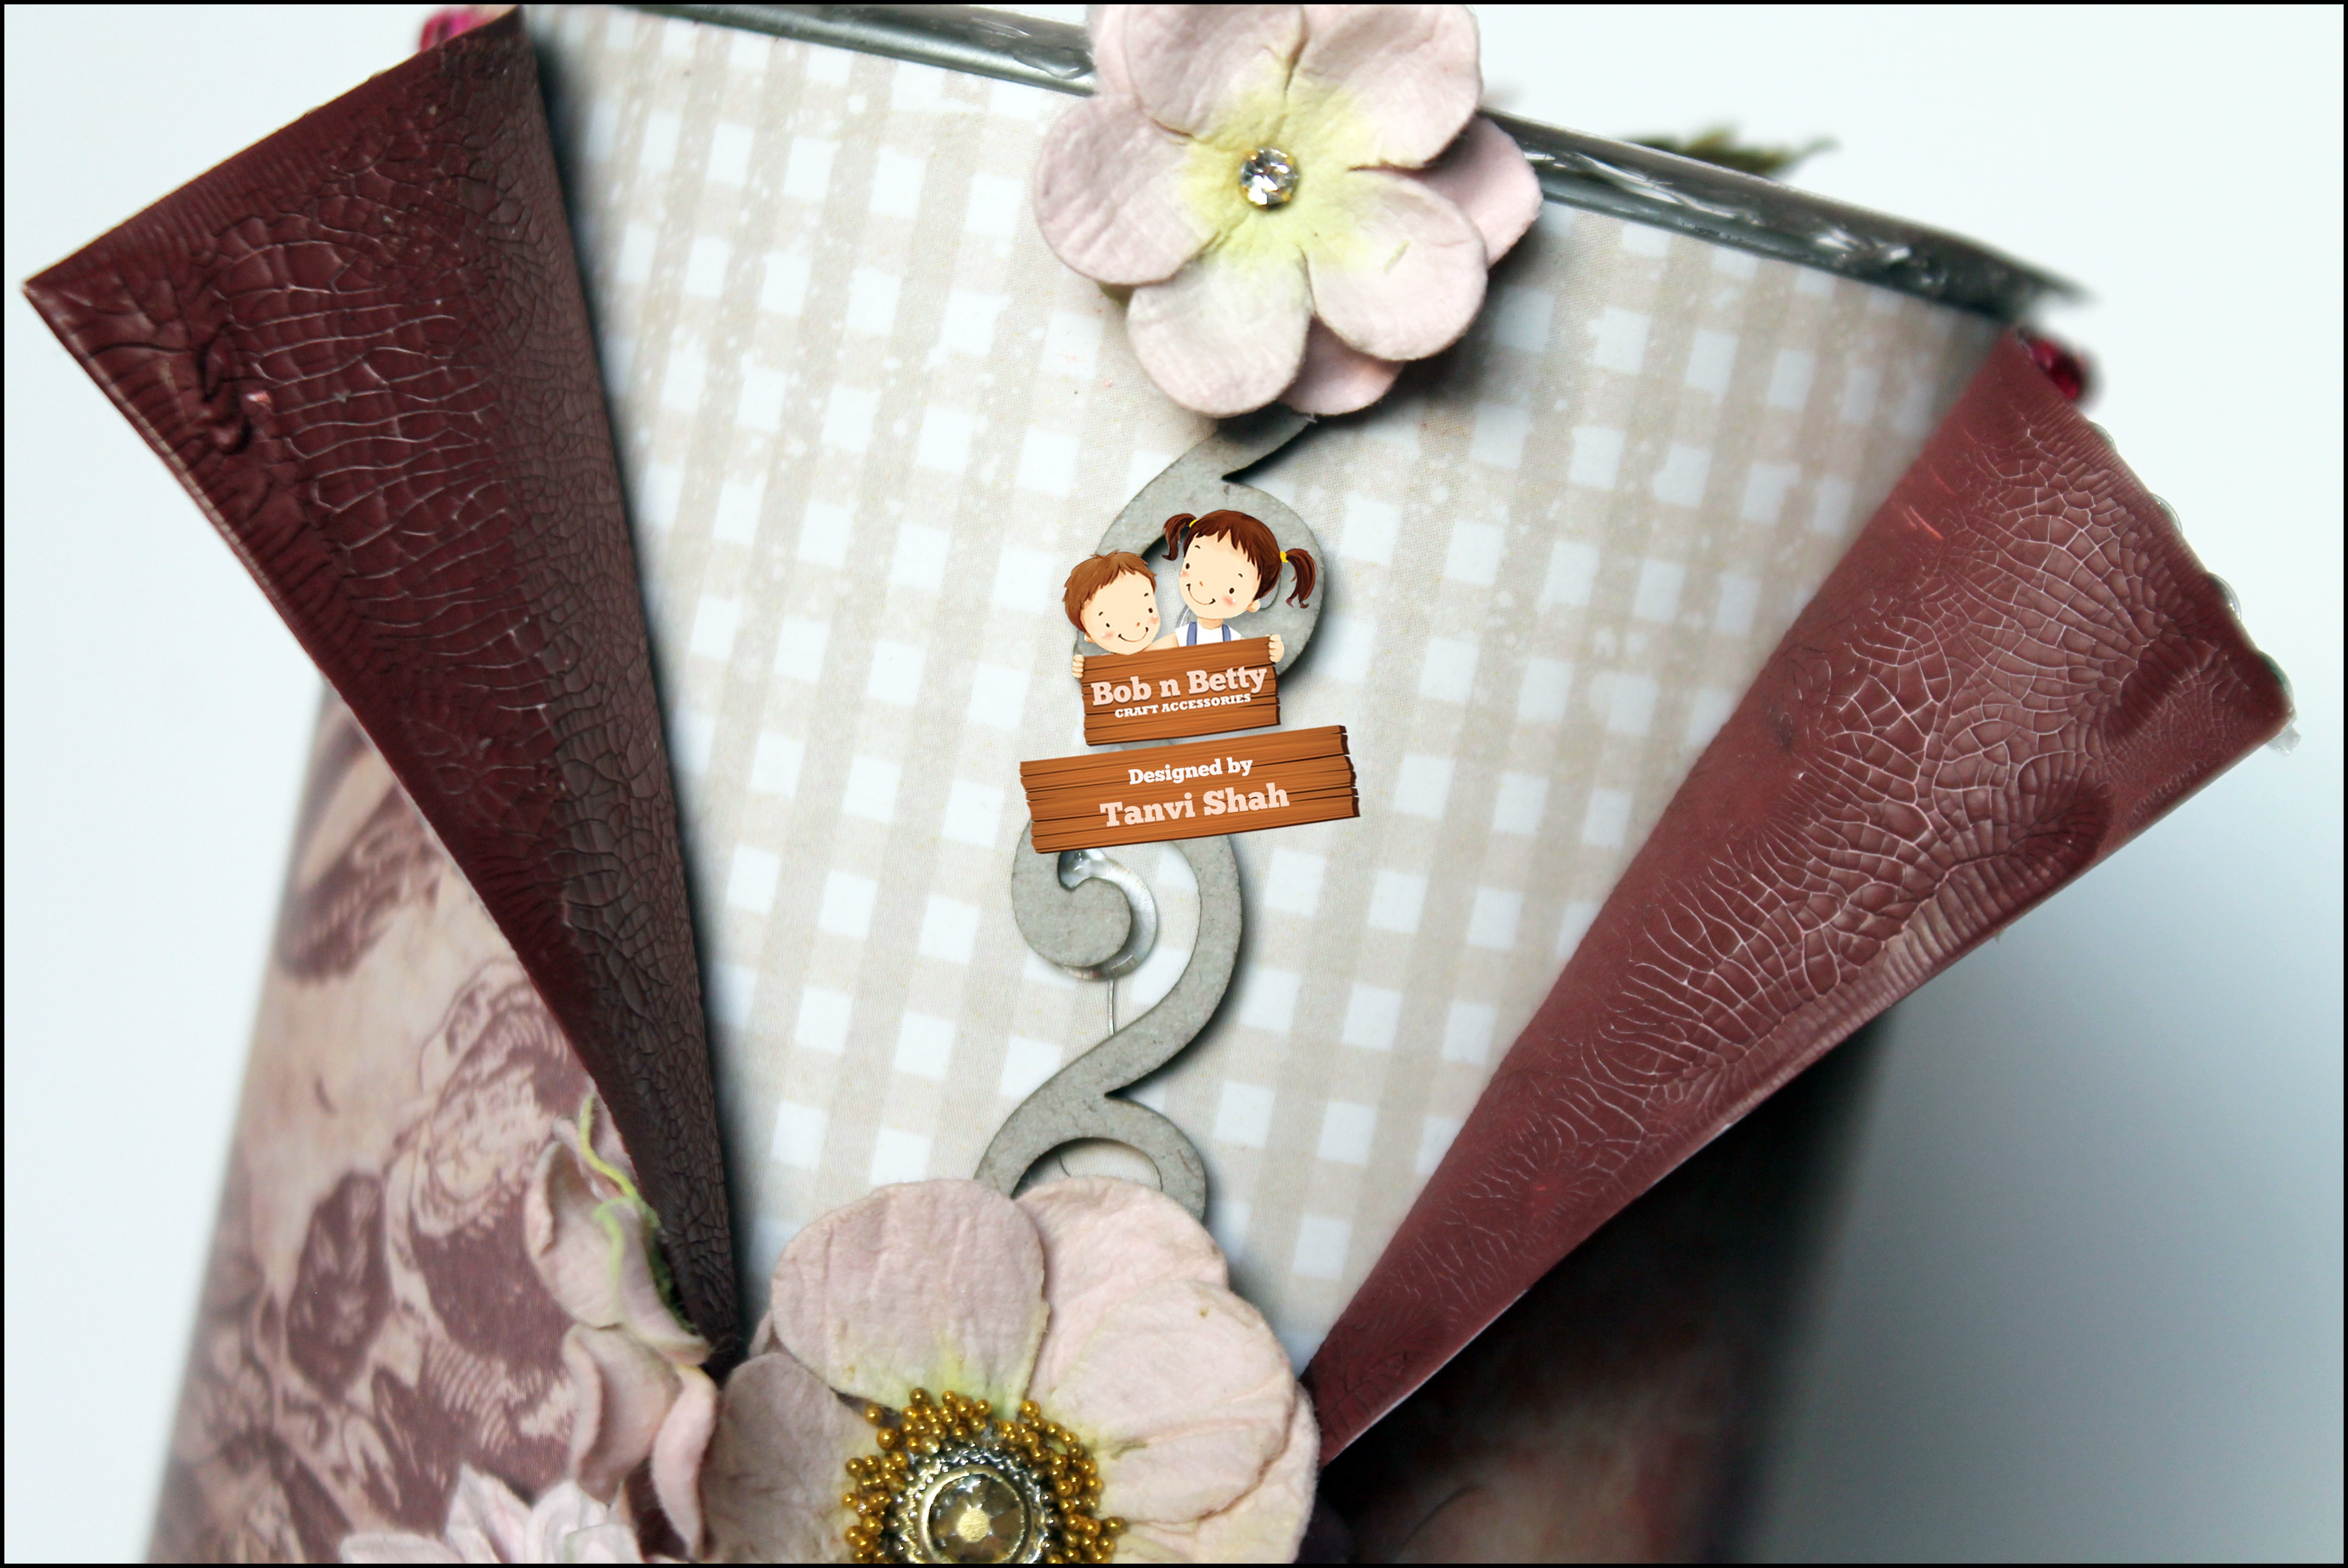
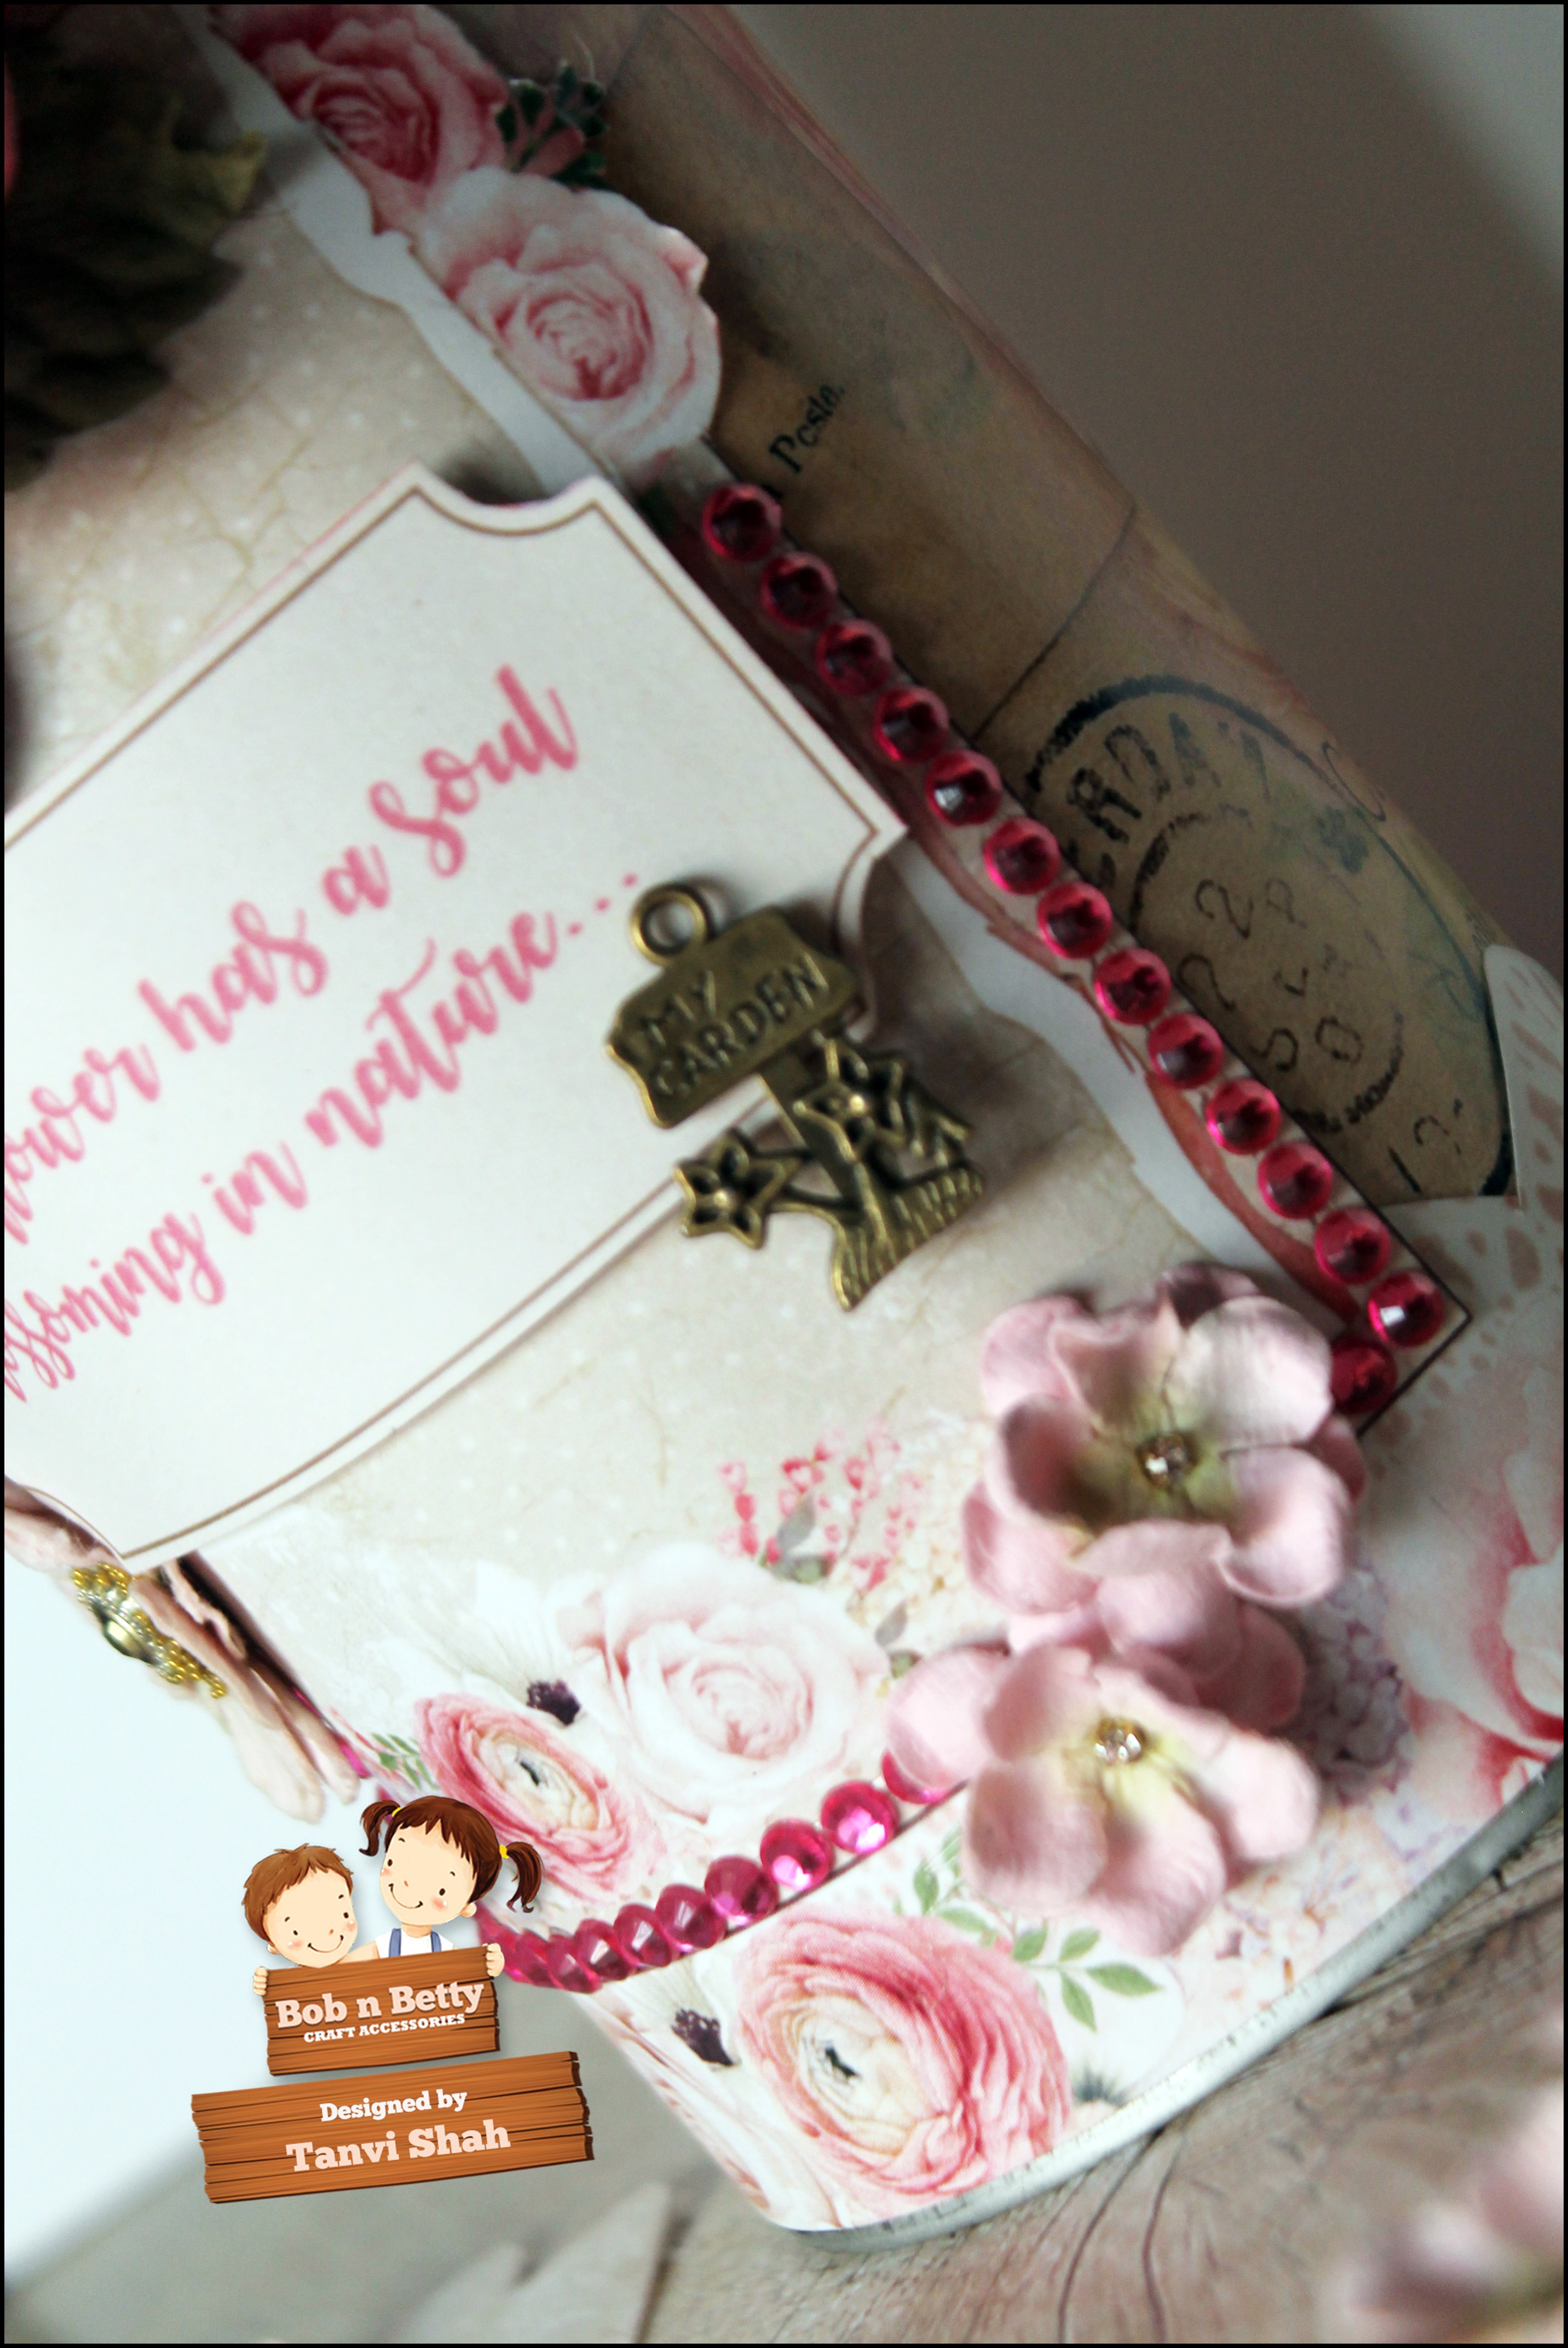
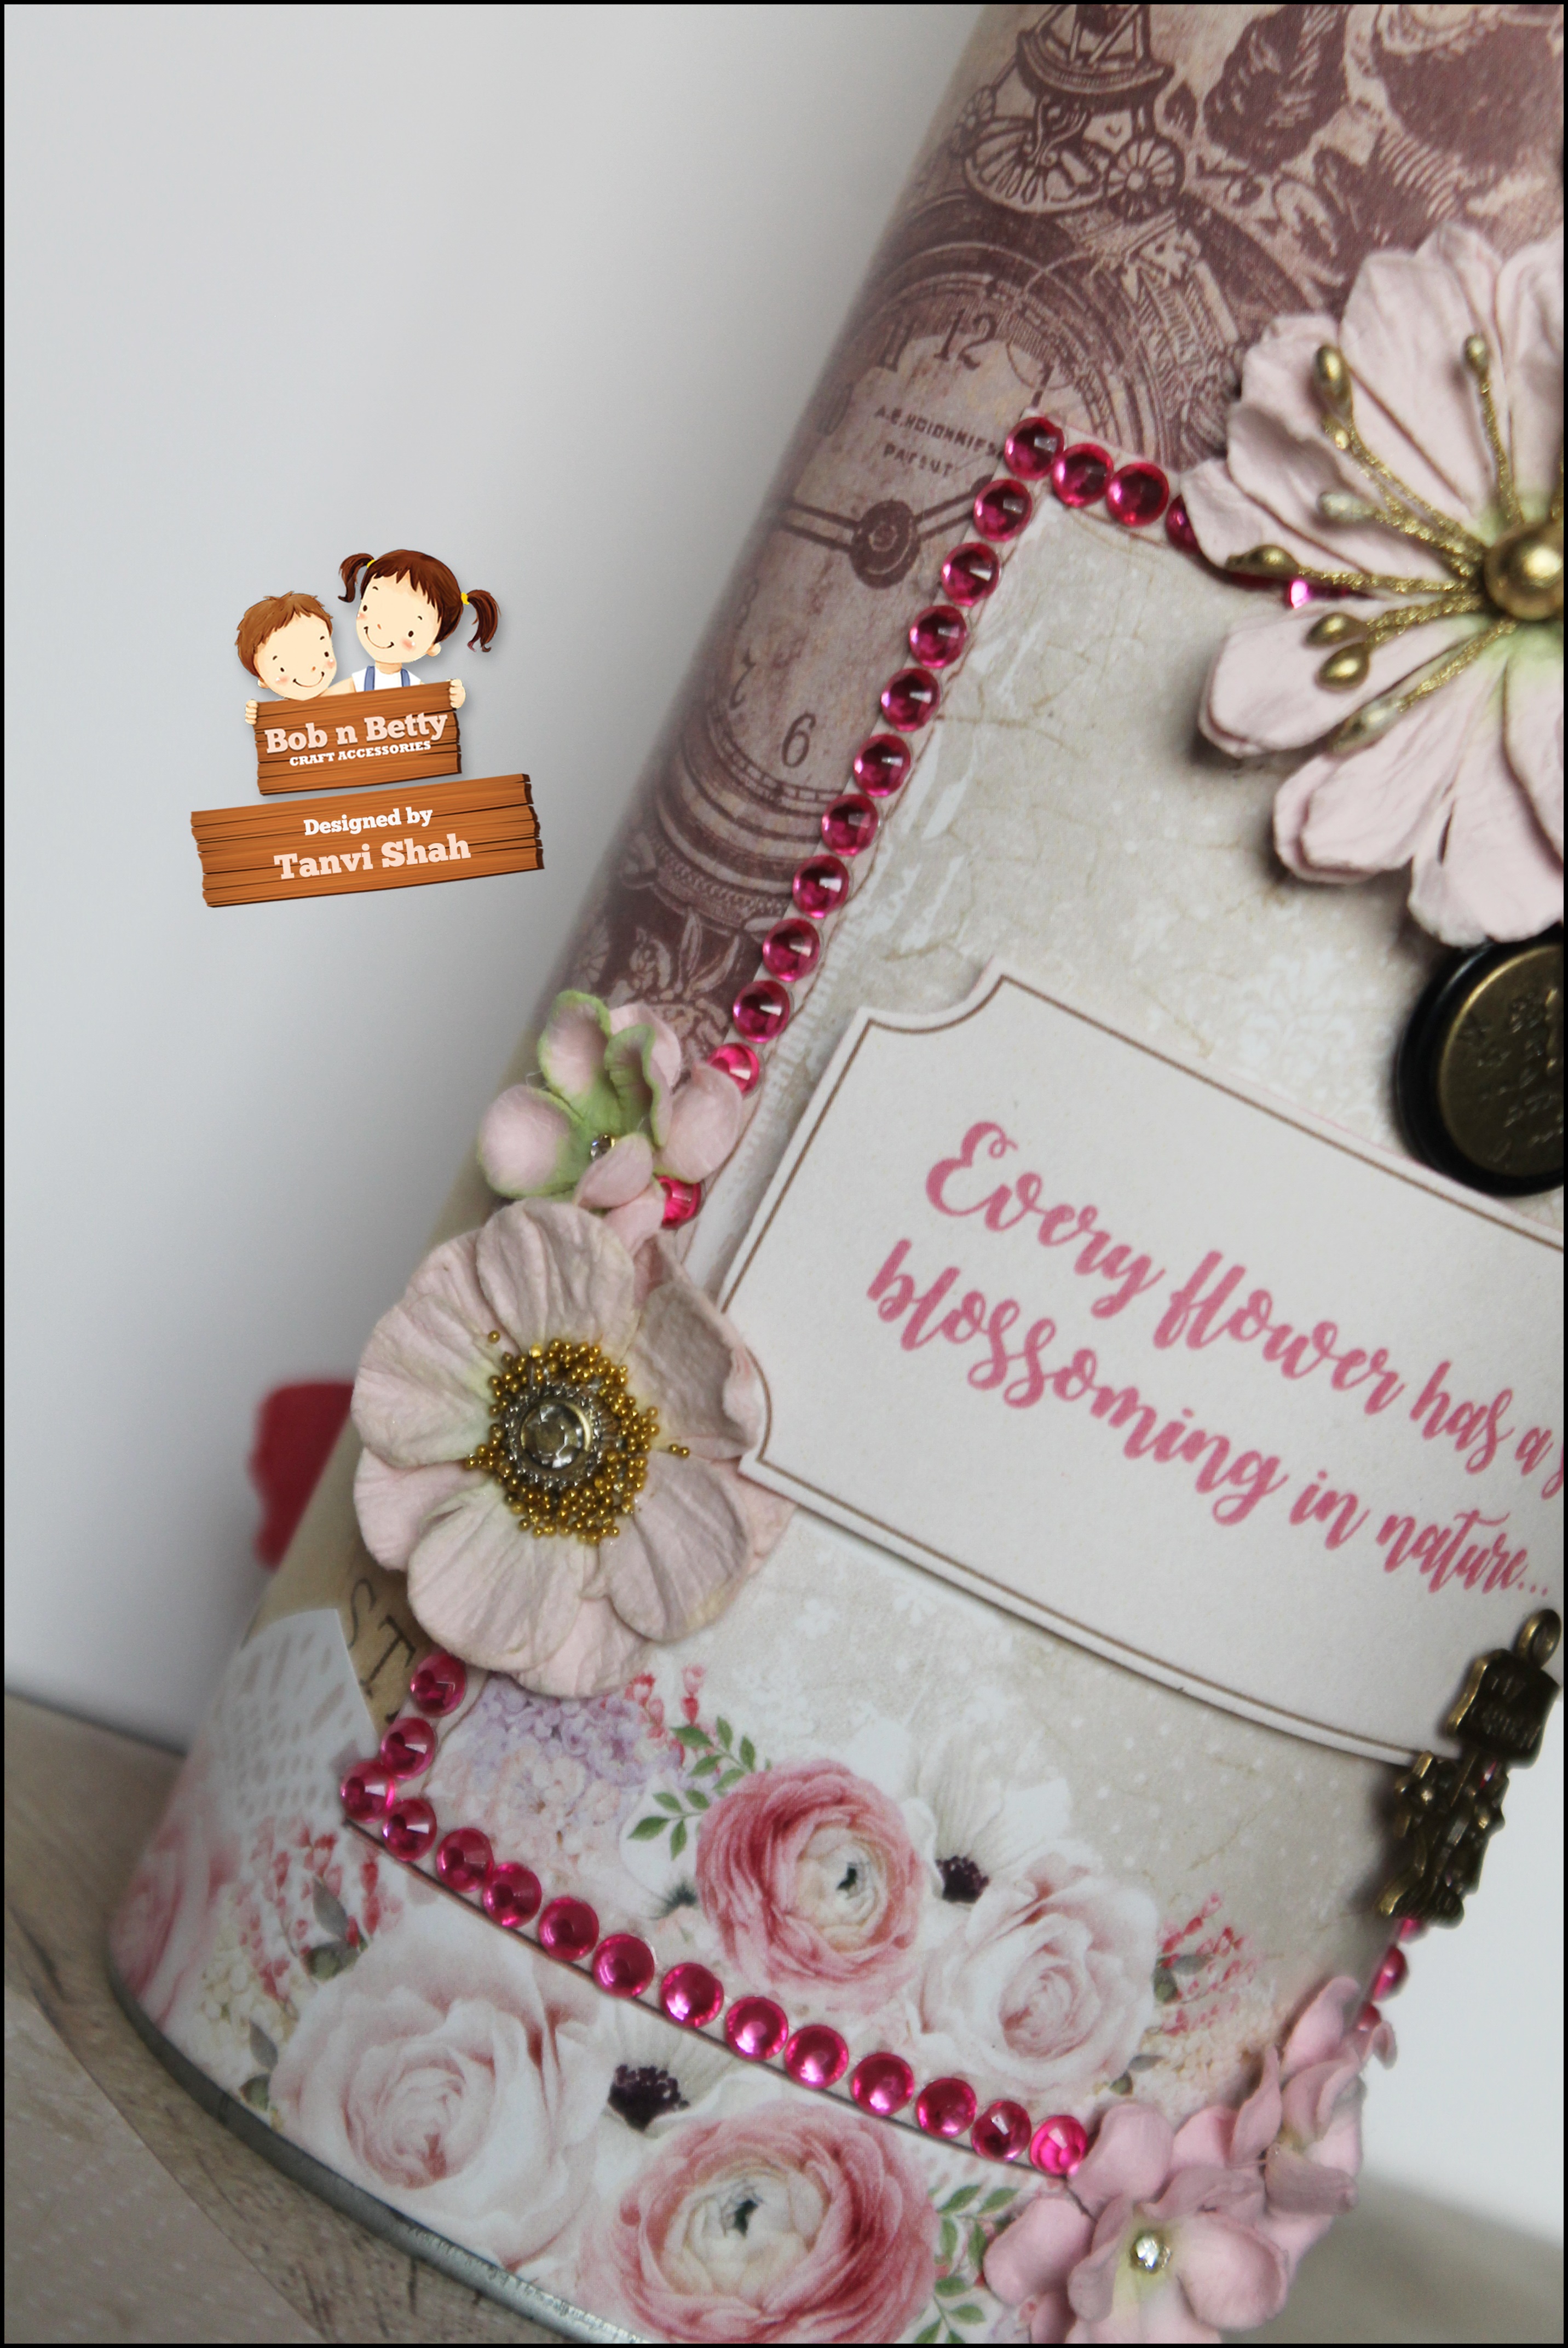
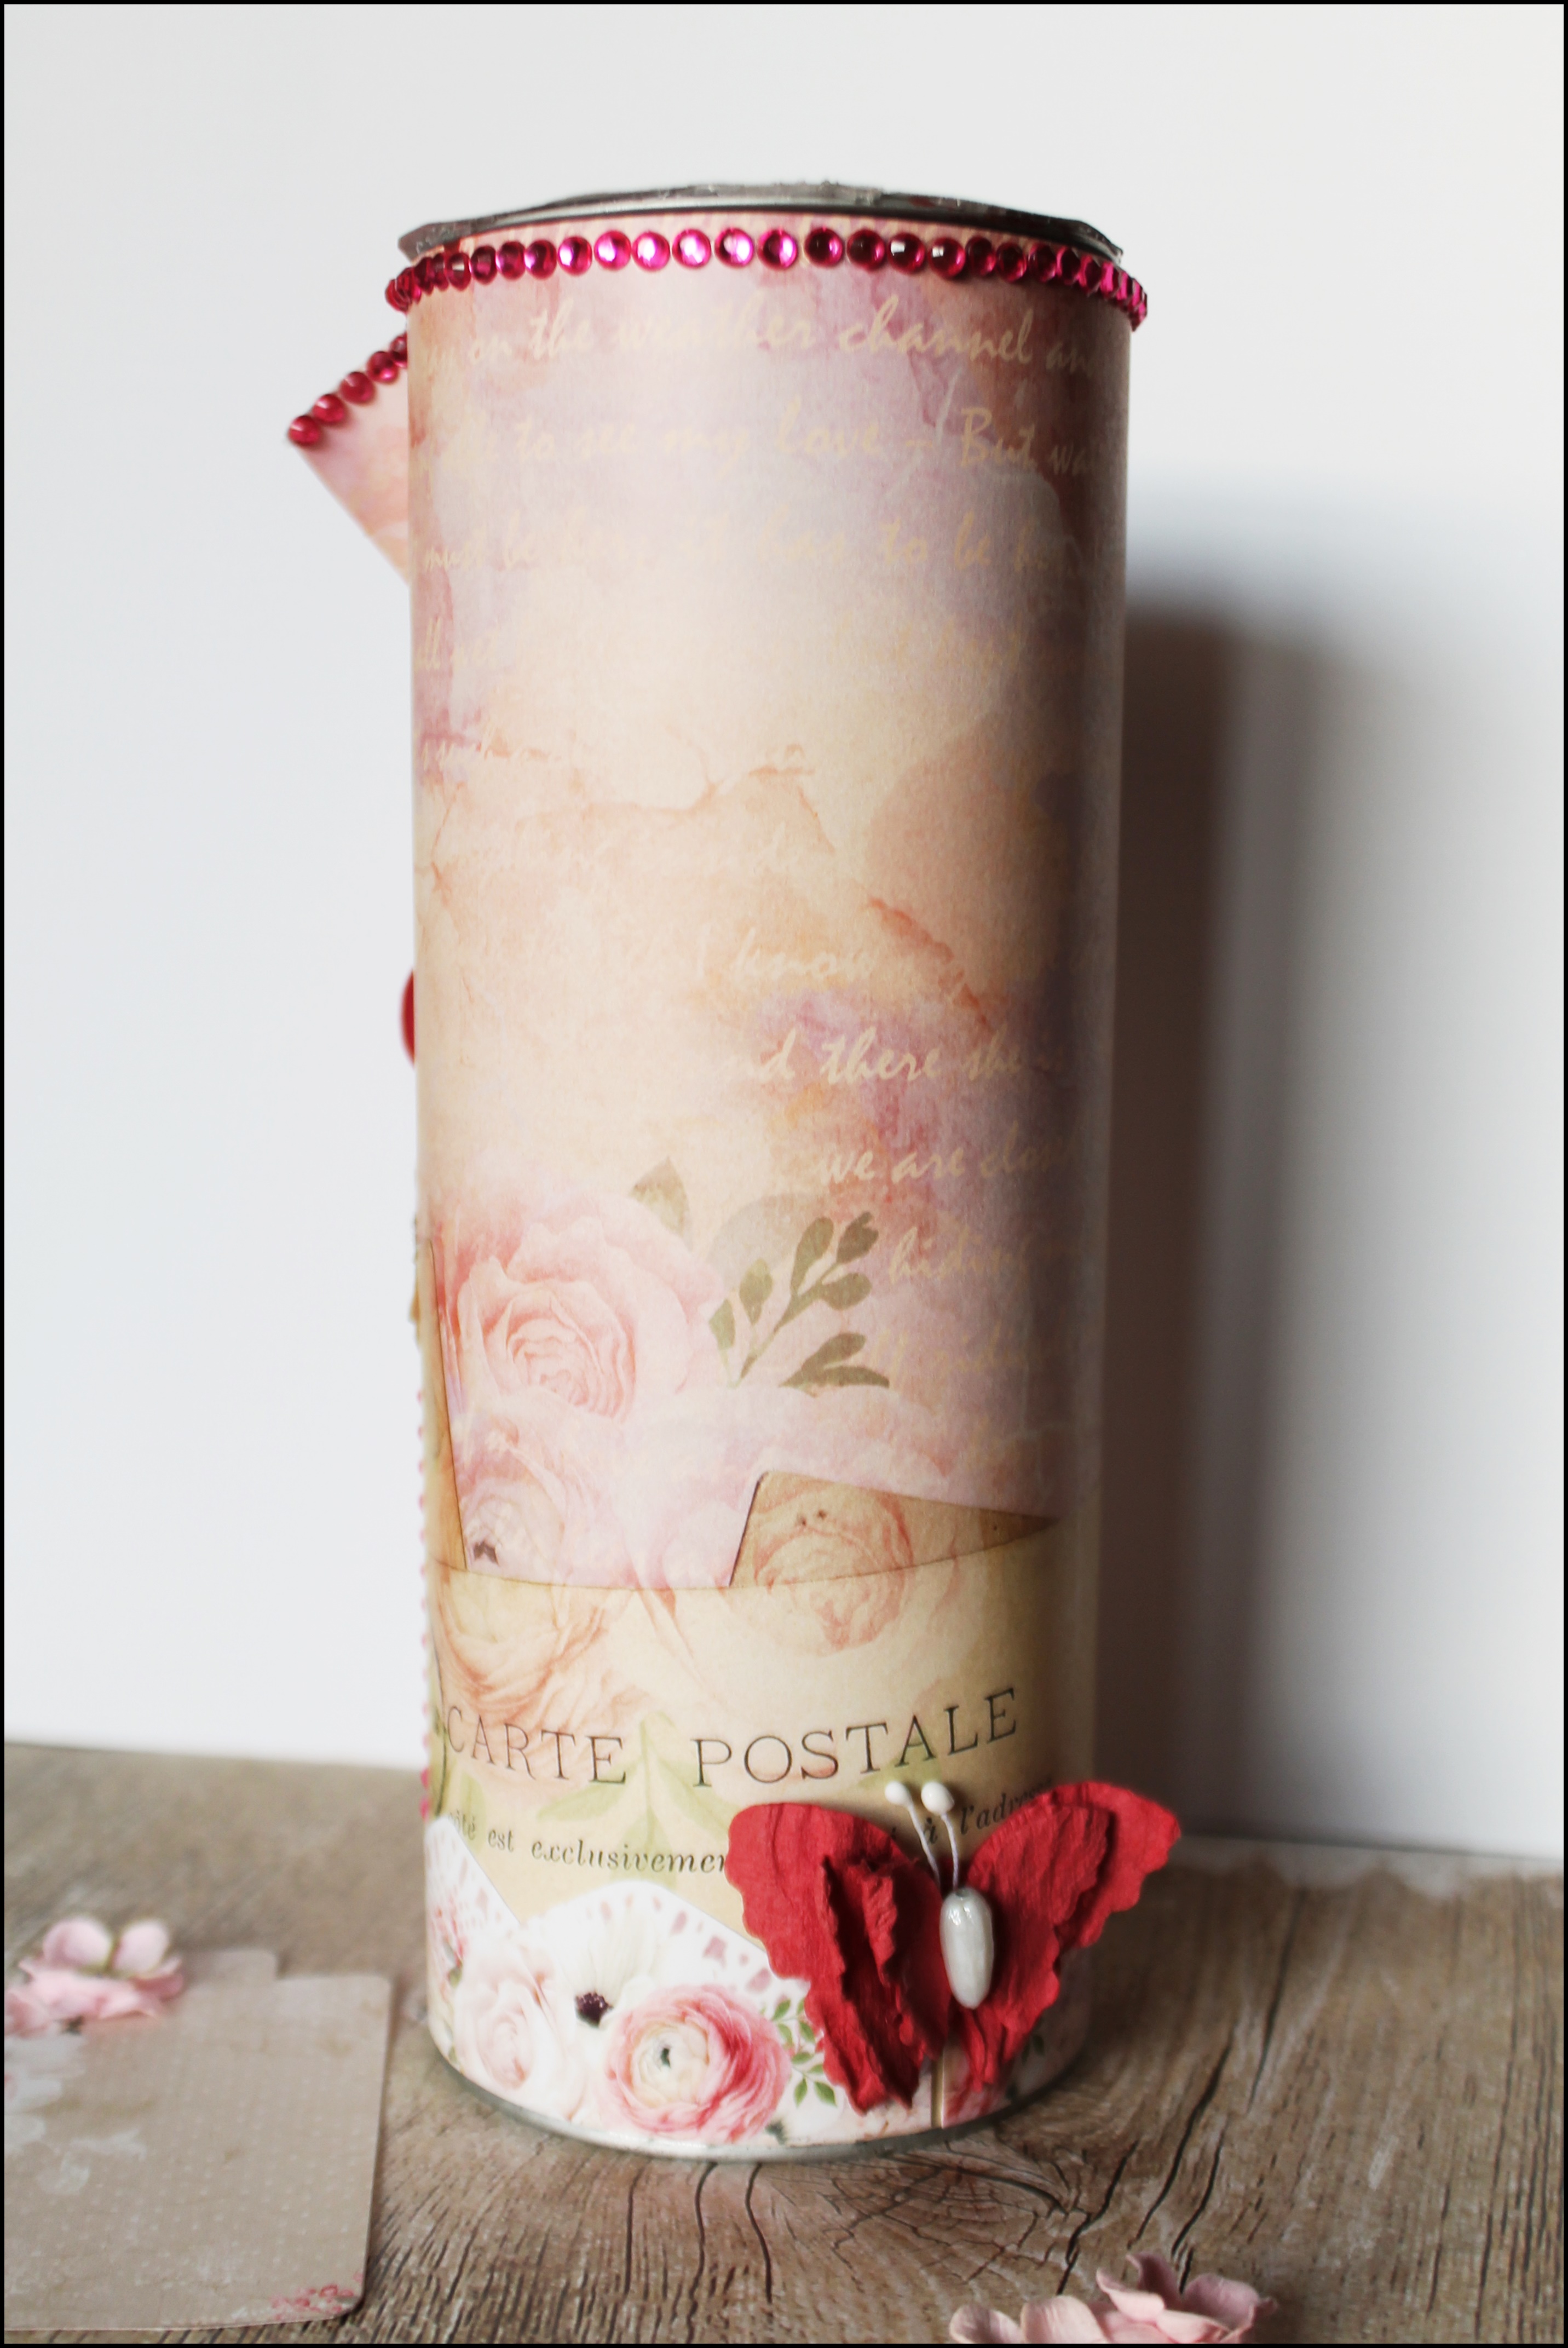
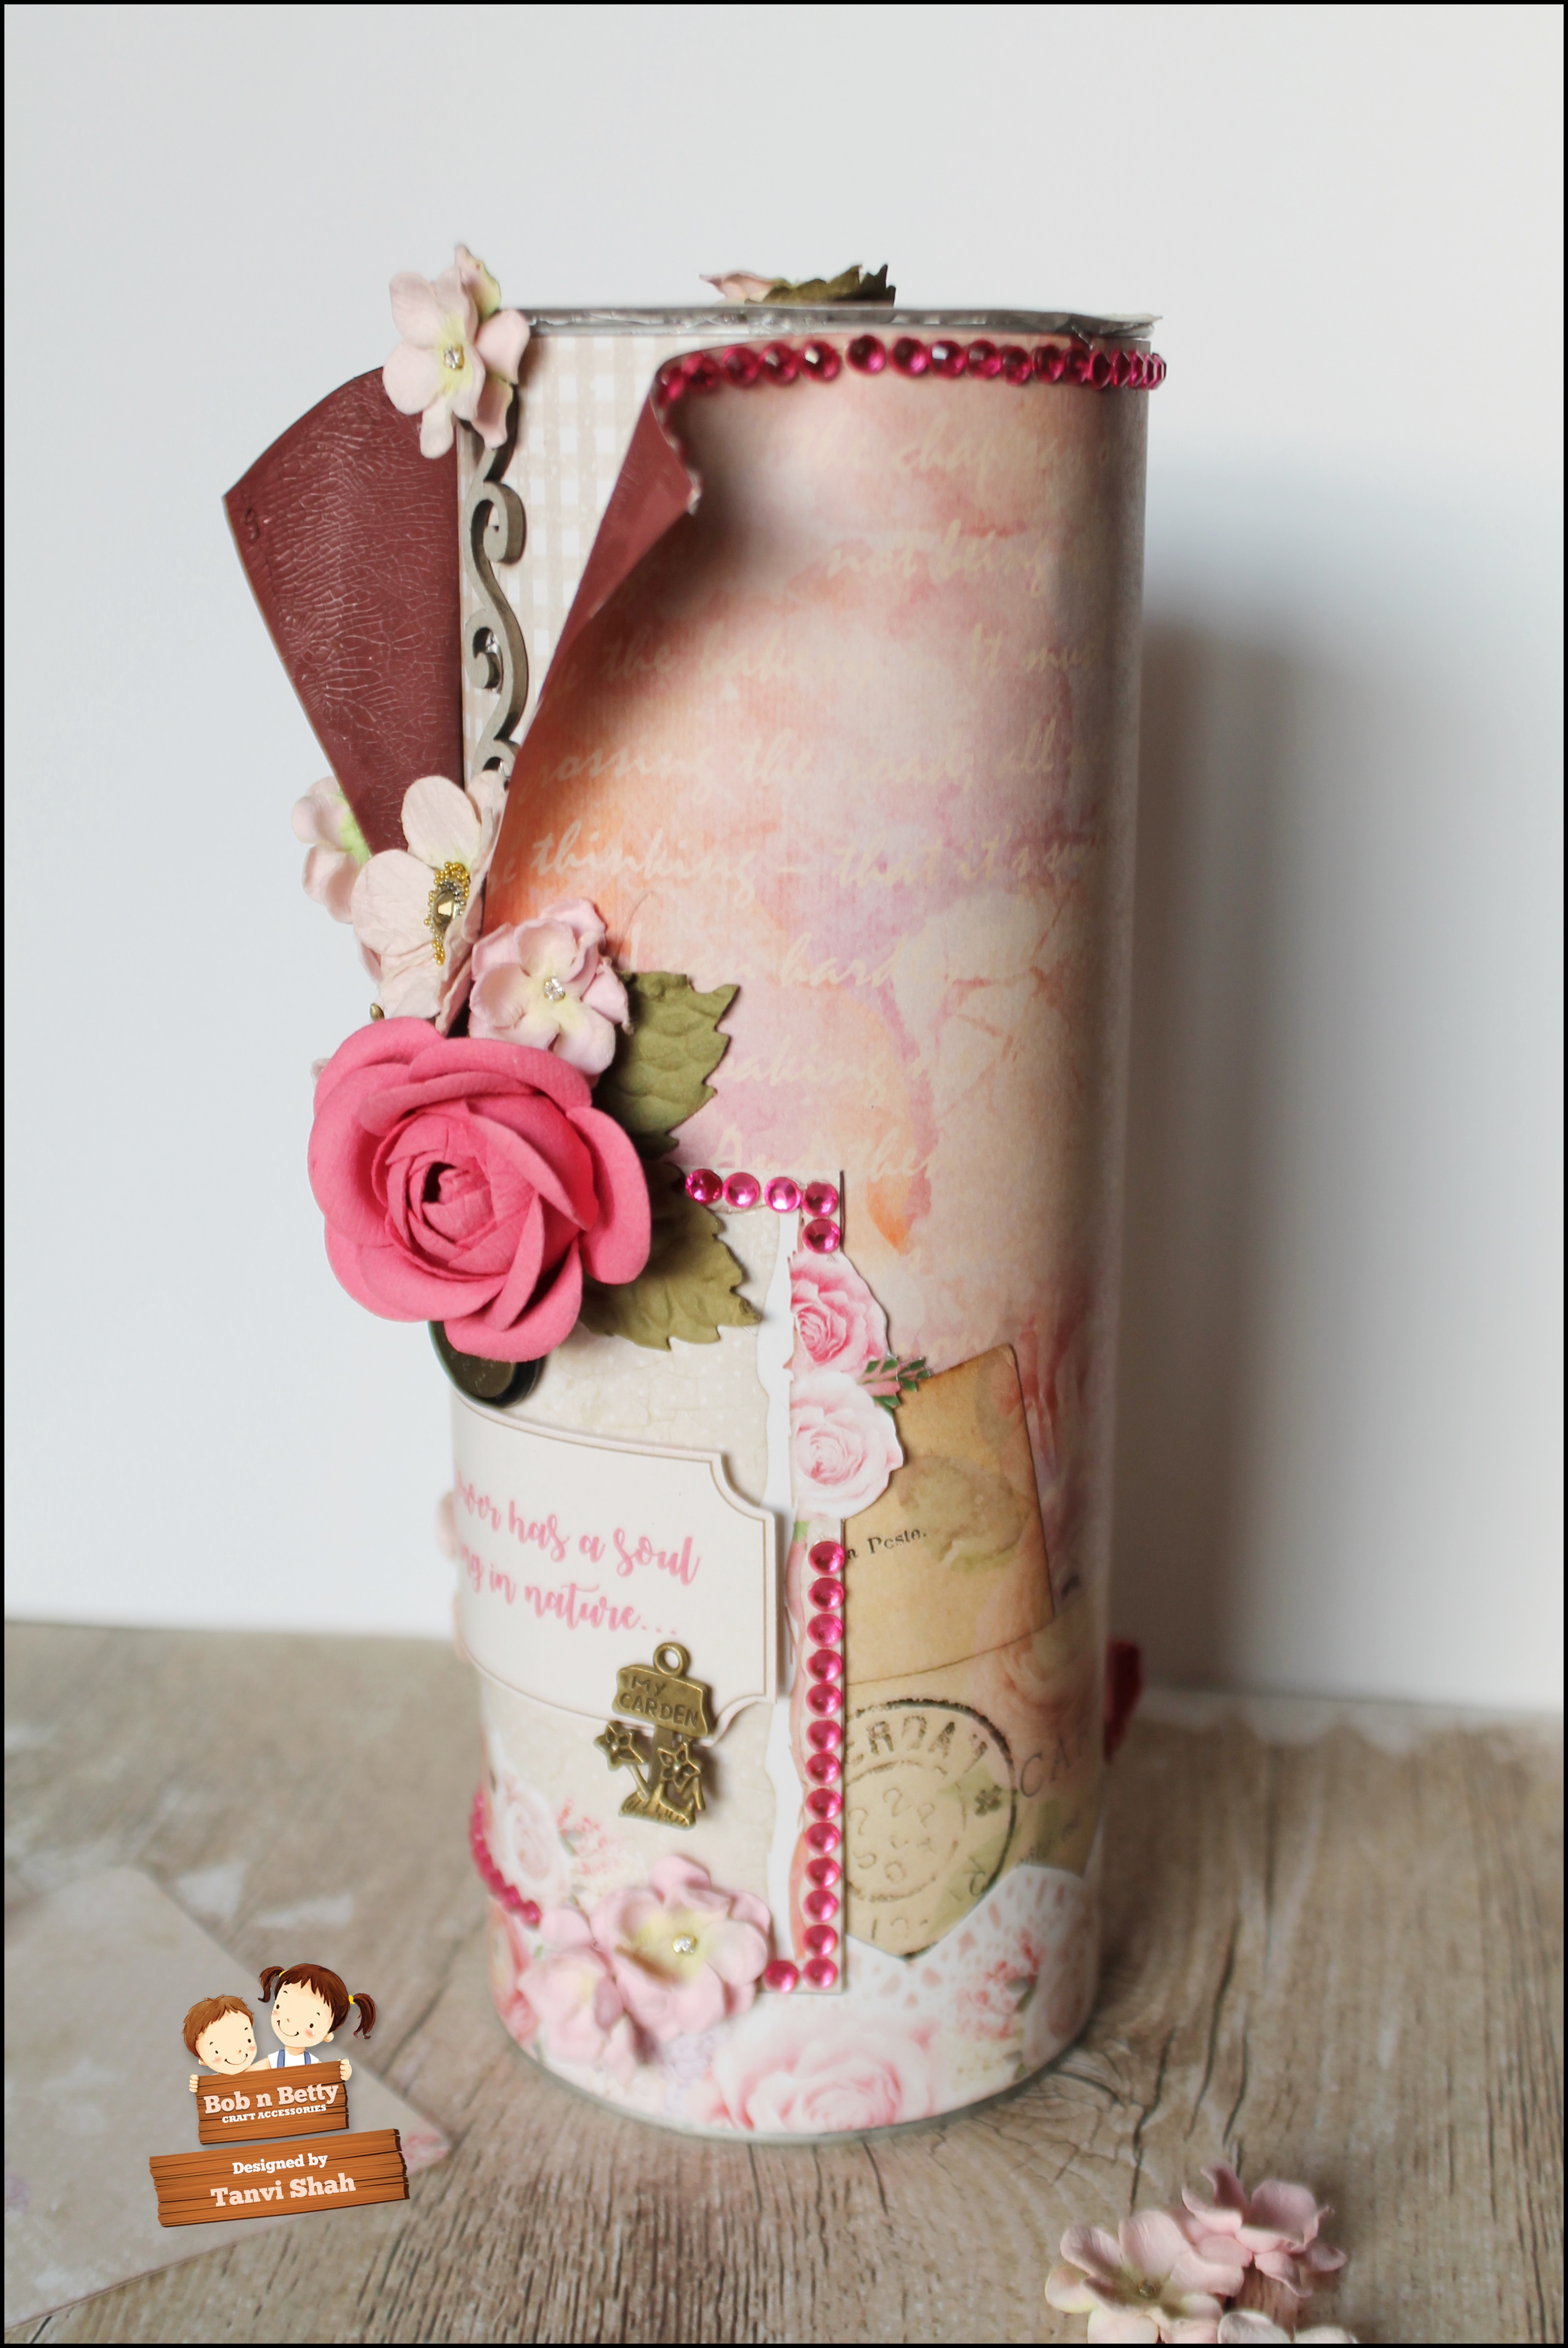
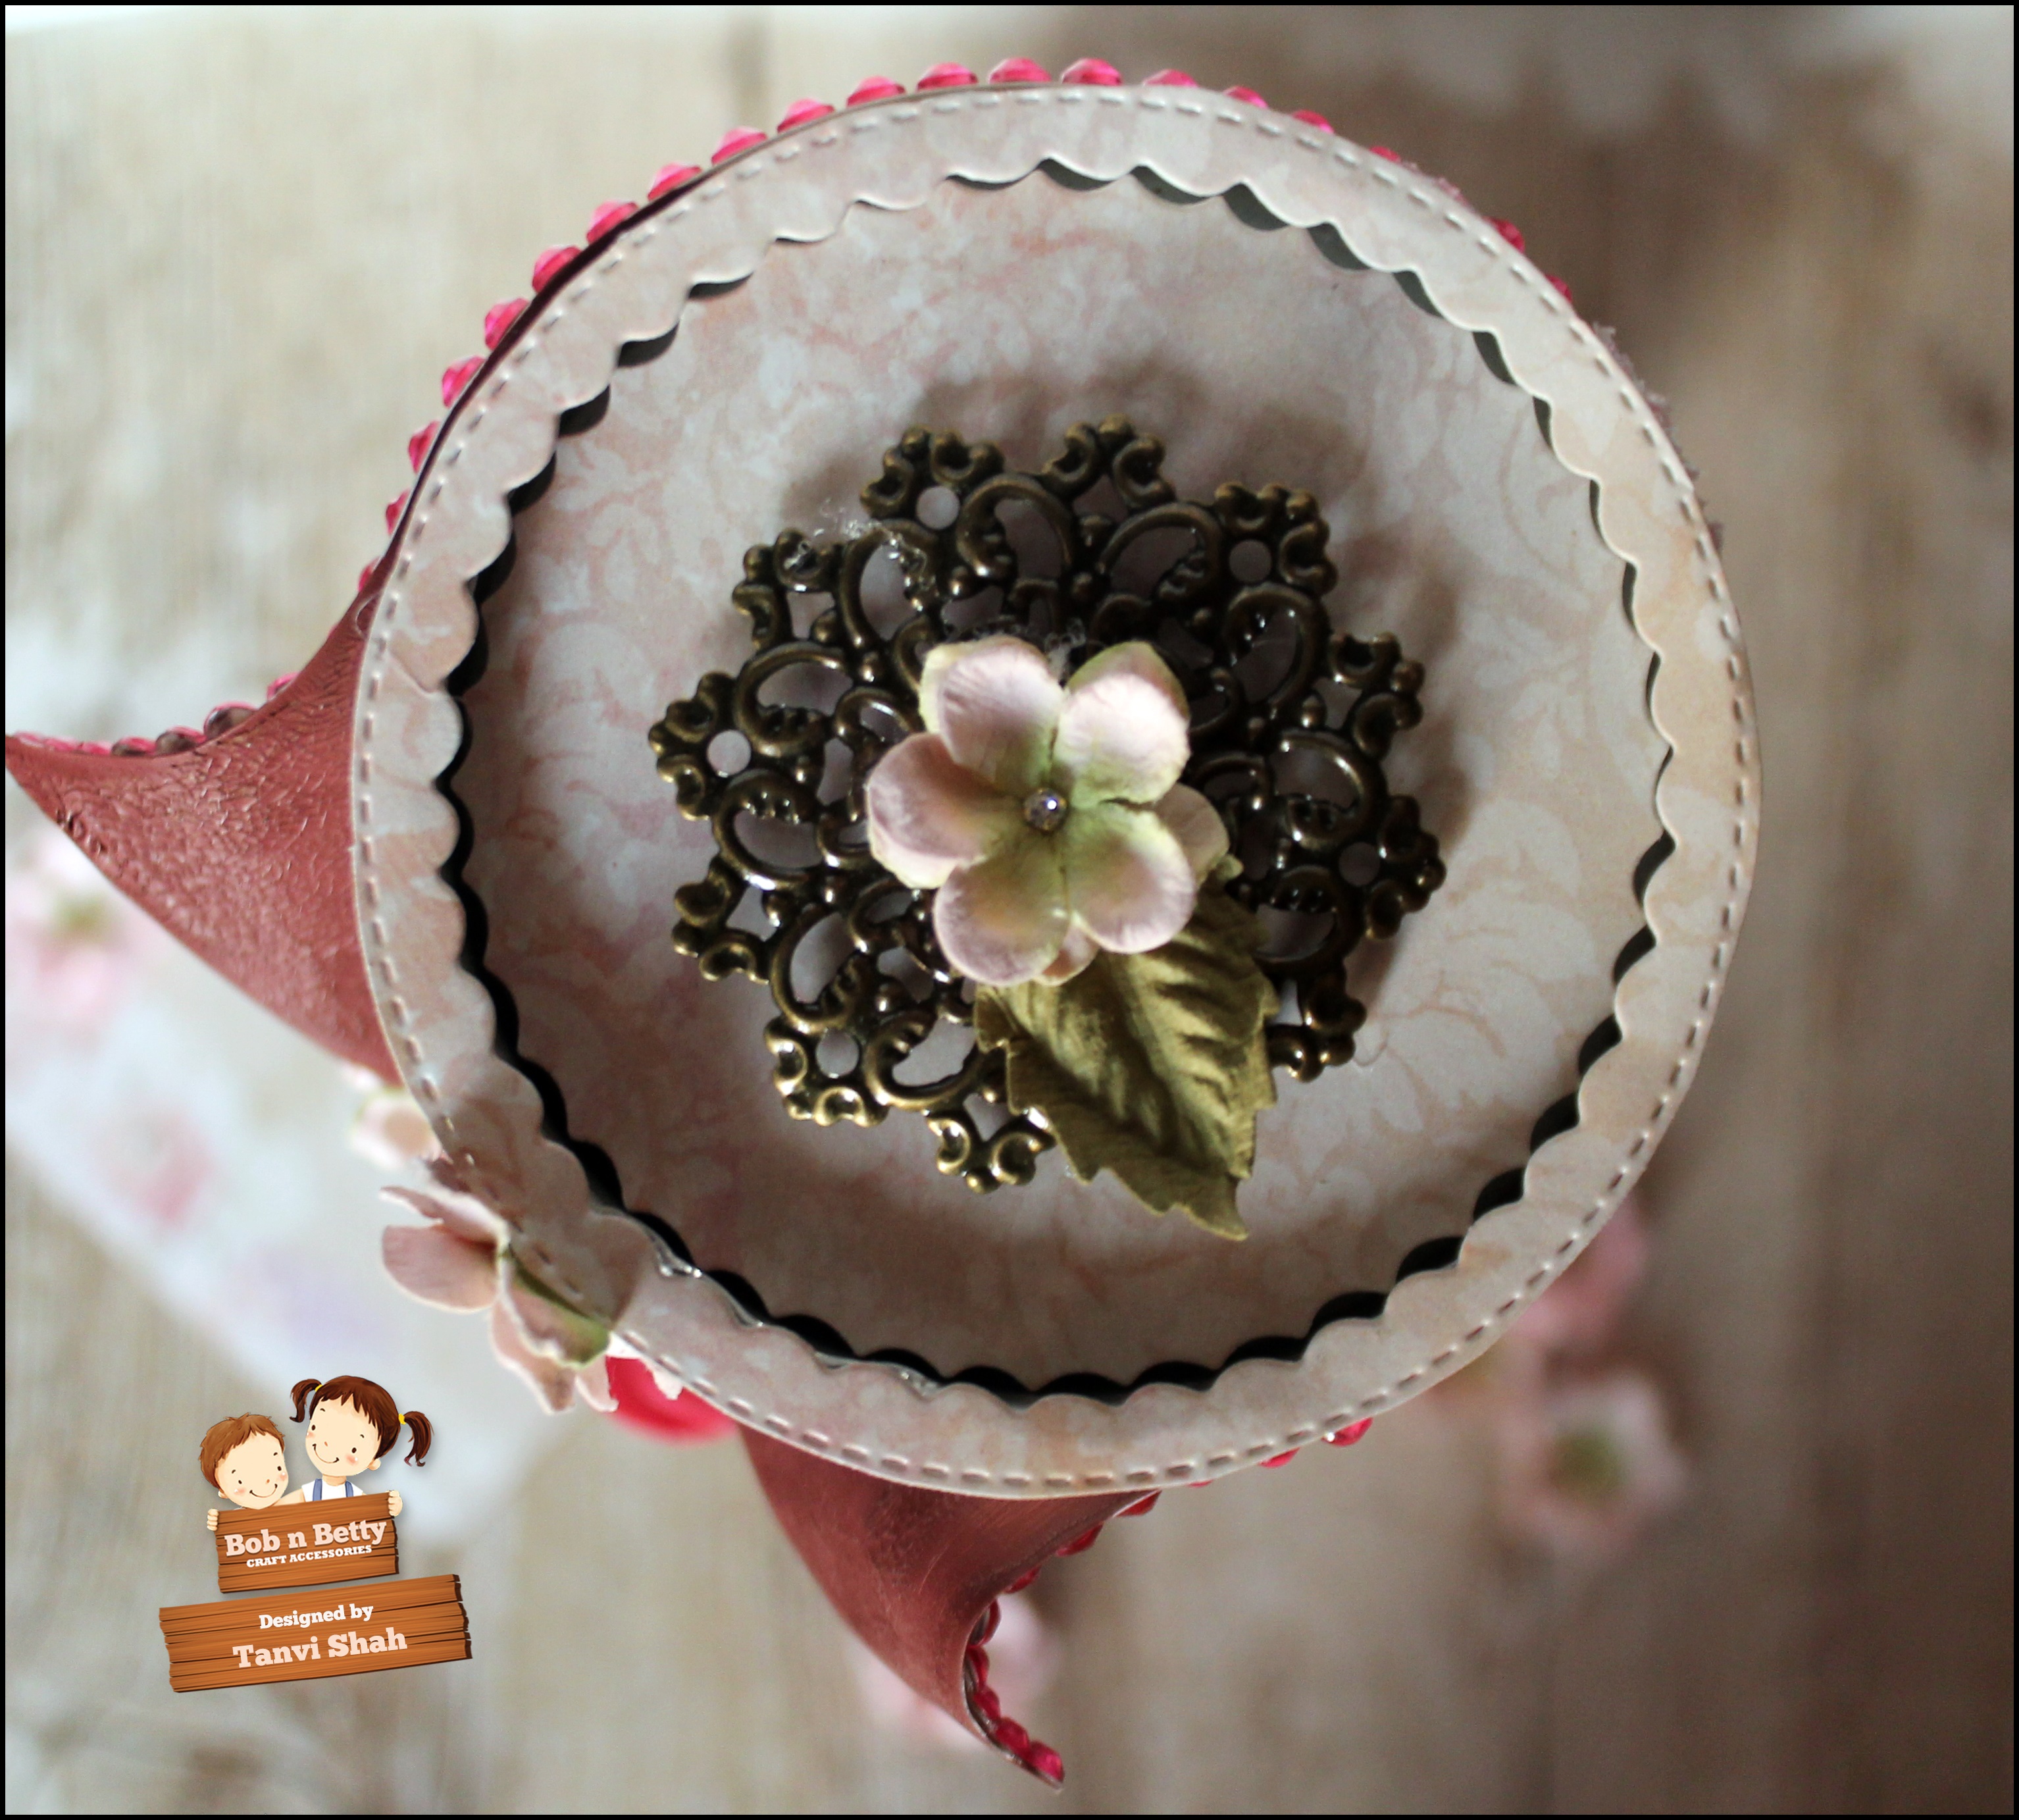
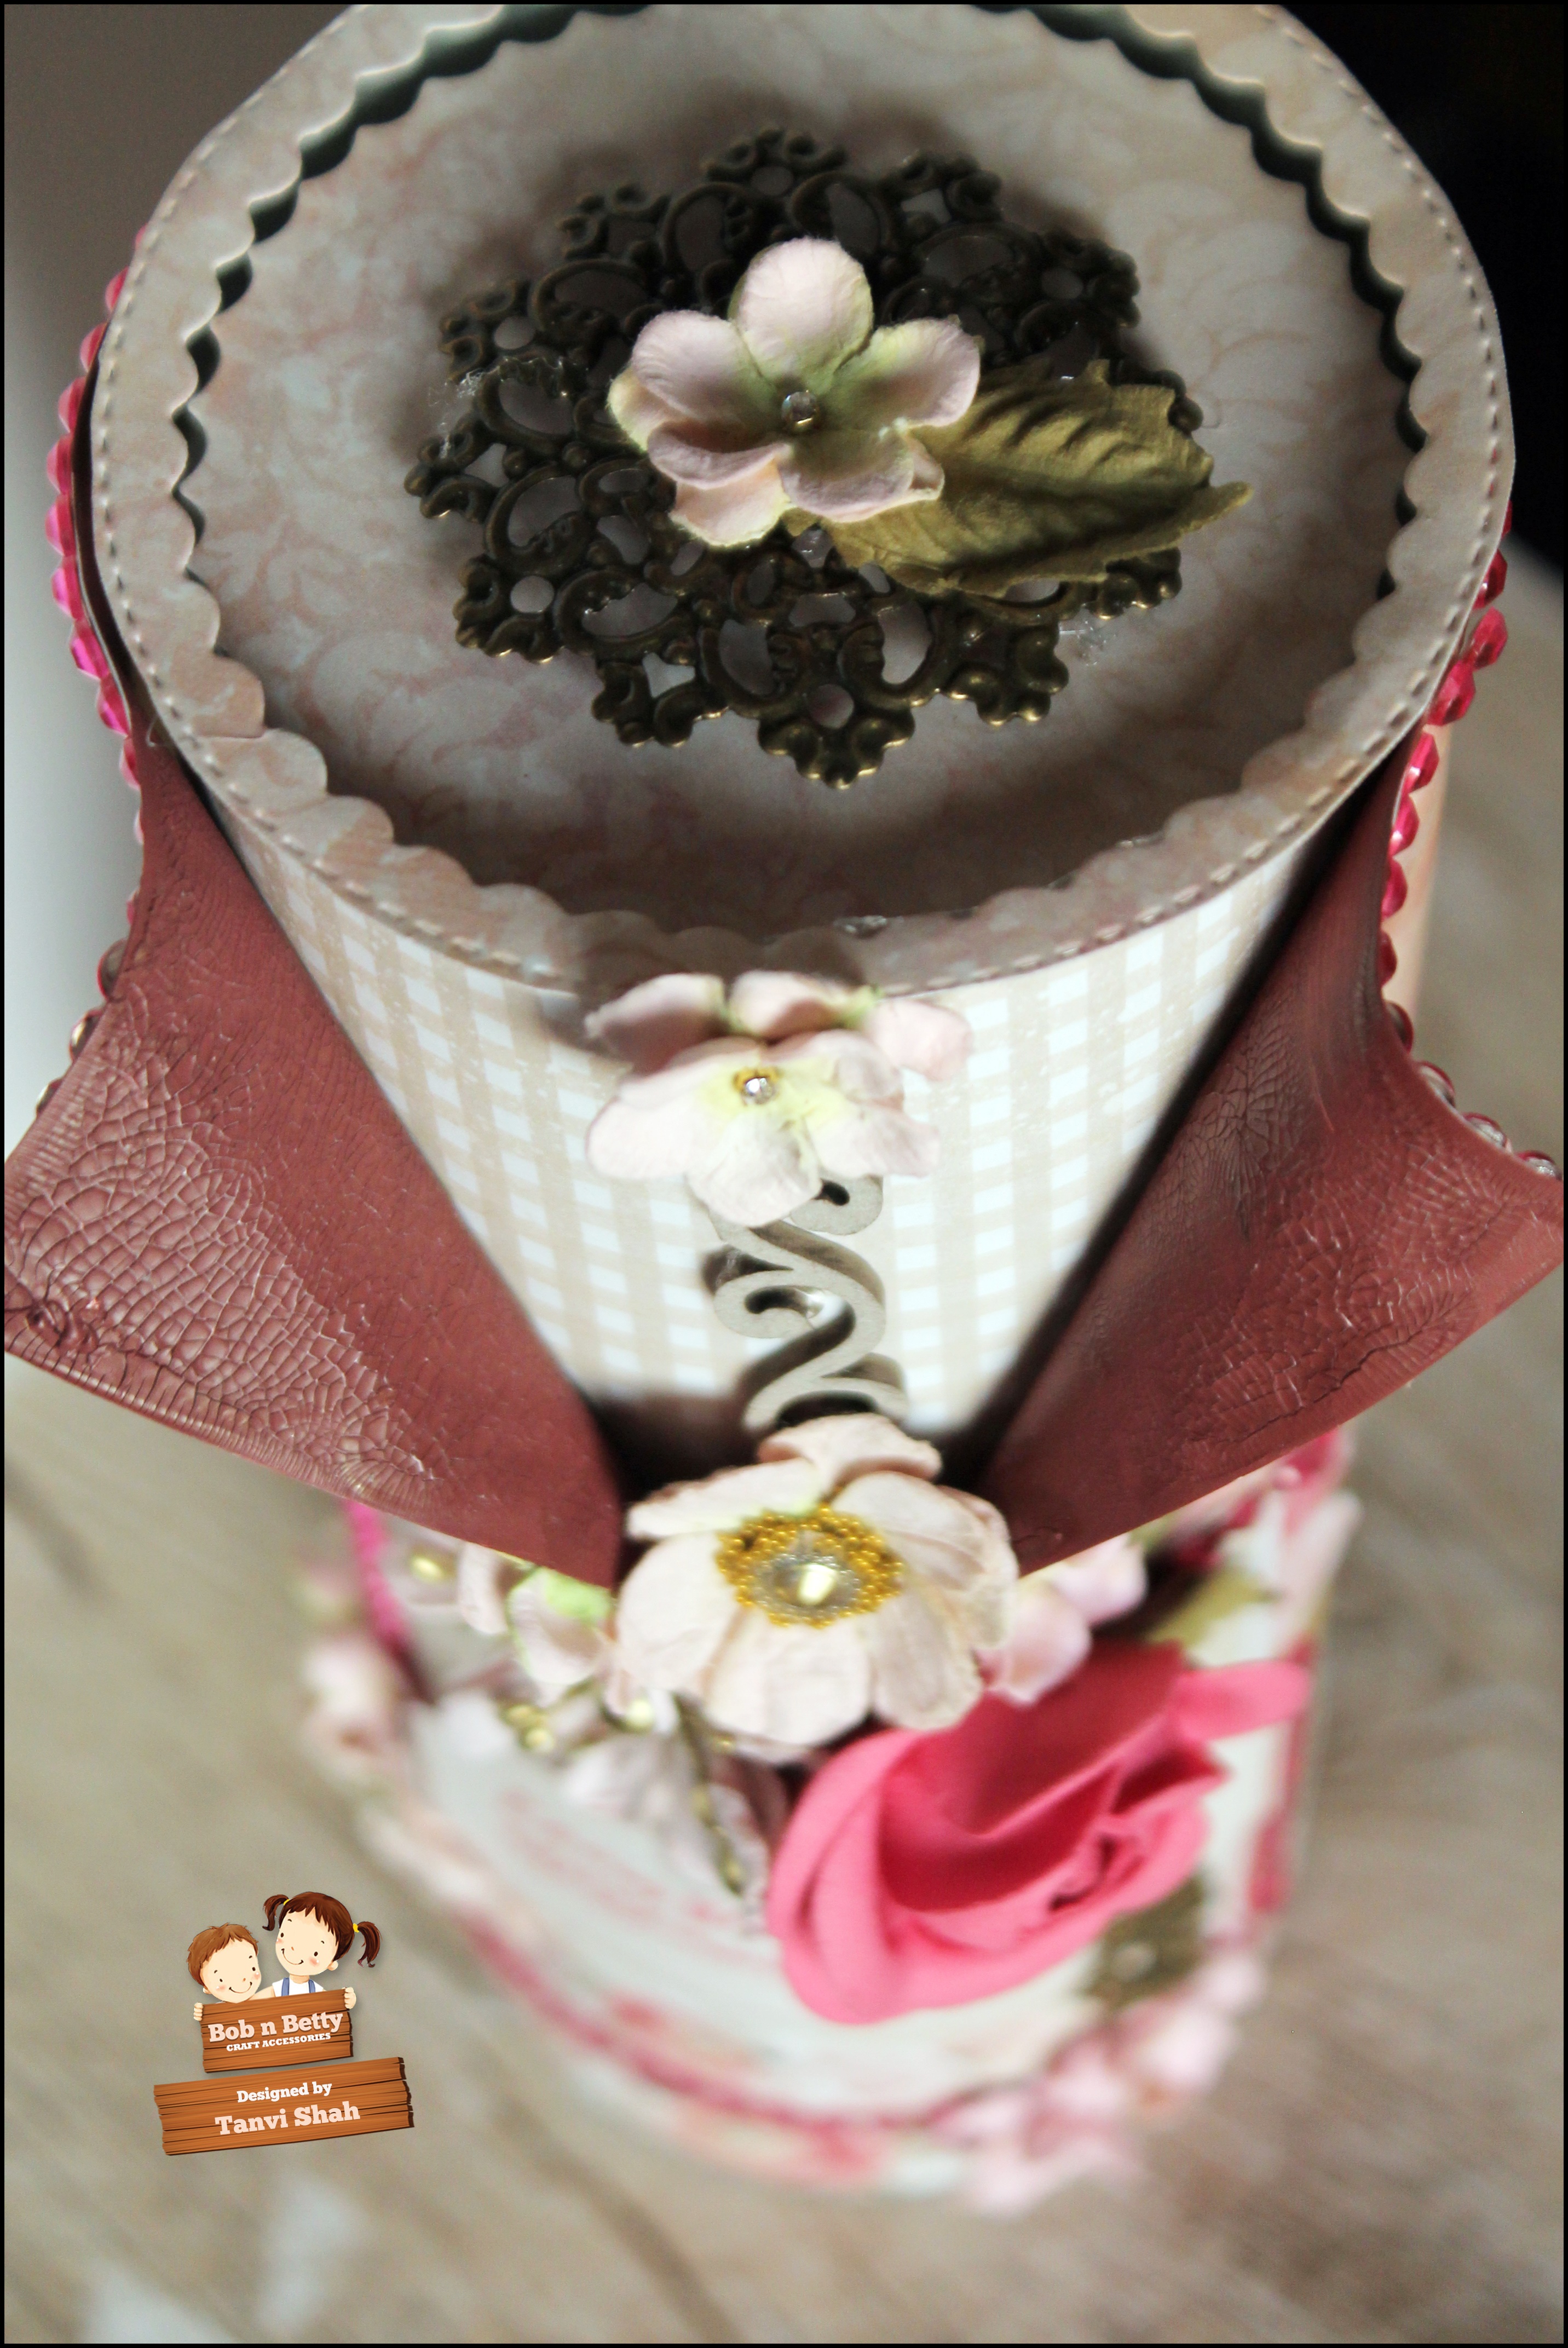
I worked my way to making a flip album using these gorgeous papers,  half way through & I realized it looked very similar to the wallet mini I made earlier! So while that incomplete project sits on my table an alternative 3D project came to life & am so glad it did! That's the story of the altered cookie can I share today. 
Here are some close ups of the cannister - 

F18036

I used distress crackle paint for some textures over the distressed folds here - 

F18037

Flowers & charms from my stash added much to the shabby look - 

F18038      F18039   


F18040          F18041  

    F18043  

                           F18044                                

F18045

The gorgeous altered can makes a unique box to hold a gift, an invite or even a letter or simply fill it up goodies & candies! 


Thanks for visiting today & have a wonderful week!


Thank you so much for visiting & taking the time to comment on my blog. I love to hear from you & truly appreciate your feedback. Have a crafty day!

Monday, 7 August 2017

Mason Jar Shaped Chalkboard


Hello!

Welcome to another post in which I have used Rinea Foiled Paper to make a mason jar shaped chalkboard for the kitchen. Here are the pictures  -

Mason Jar Chalkboard with Rinea Foiled Paper

To decorate this piece I embossed some Glossy Ruby/Gold Foiled Paper using an embossing folder & loved the result............ isn't the texture amazing!!! Added some flowers & burlap lace to bring it all together, and this chalkboard is perfect for daily reminders!


Happy Crafting!

Thank you so much for visiting & taking the time to comment on my blog. I love to hear from you & truly appreciate your feedback. Have a crafty day!

Friday, 6 January 2017

Monogram T

Good Morning!
Welcome to my first post of 2017 & wishing you all a very HAPPY NEW YEAR!
Sharing an altered MDF mixed media monogram letter today. 
Once again its a subtle delightful blue.


Let me share the details in the following pictures. After a generous coat of gesso & chalk paint, I added some textures by stencilling texture paste using a Tim Holtz stencil (flourish).


Love the distressed resin frame which actually "created magic" in this project! The handmade flowers are from ITSY BITSY


The coordinating tassel dangles on a pendant & do notice the floating charms in the dome there! Used liquid pearls from Ranger randomly to add some bling.


Some more stenciling using white acrylic paint. 


Linking this to the following challenges - 


SSS - Wednesday Challenge (new pack of floating charms) 11.1
SSS - Monday Challenge  (new pack of floating charms)  10.1

Thank you so much for visiting & taking the time to comment on my blog. I love to hear from you & truly appreciate your feedback. Have a crafty day!


Thursday, 24 November 2016

Be Thankful


I am back this morning to share a "thank you" card using one of my favorite stamps (Hydrangea Justrite) & my favorite flower too!  
Here is a pic of the gorgeous flower from my own garden - 


Here is how the pic inspired me!

I embossed the cardstock with a frame die from Avery Elle & splattered run down gesso in the background. Added the fussy cut bloom over the panel & finished off the card with a die cut sentiment & some clear drops. Colored the image with Chameleon pens.


Sharing this at - 


Pile it On Challenge#121 - 26.11 - TOP 3
Die-cut-divas - 30.11


The Paper Shelter#274  (flowers, sentiment, clear drops - gems) - 1.12


Thank you so much for visiting & taking the time to comment on my blog. I love to hear from you & truly appreciate your feedback. Have a crafty day!
Related Posts Plugin for WordPress, Blogger...