Showing posts with label tutorial. Show all posts

Friday, 1 December 2017

Shadow Box Frame


Hello!
I am on the Rinea blog with a tutorial to make a shadow box frame with Rinea foil papers.

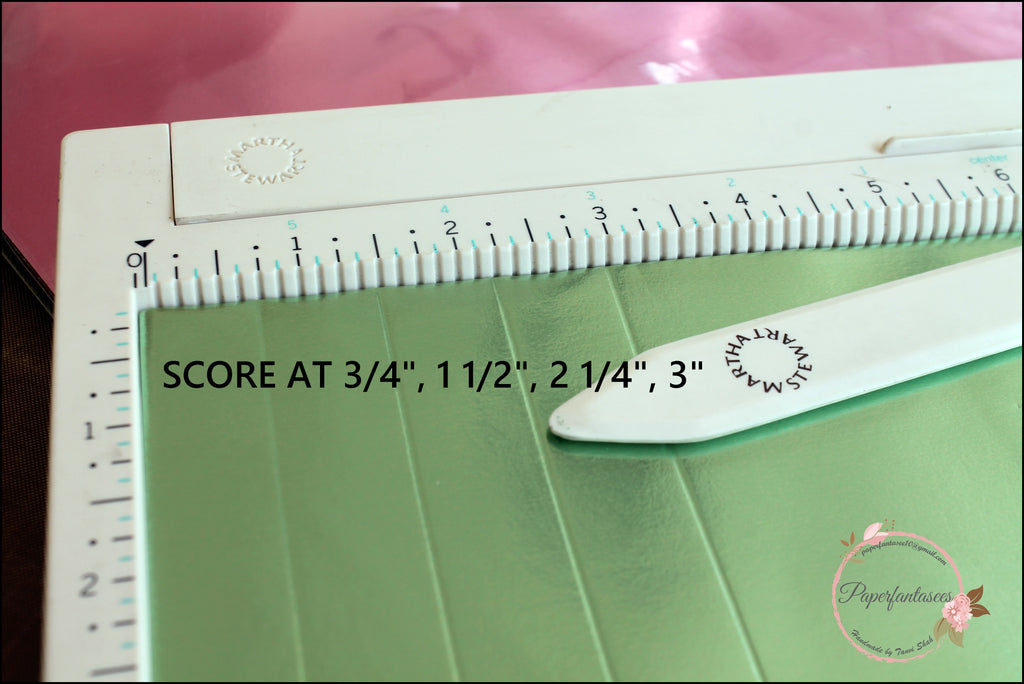
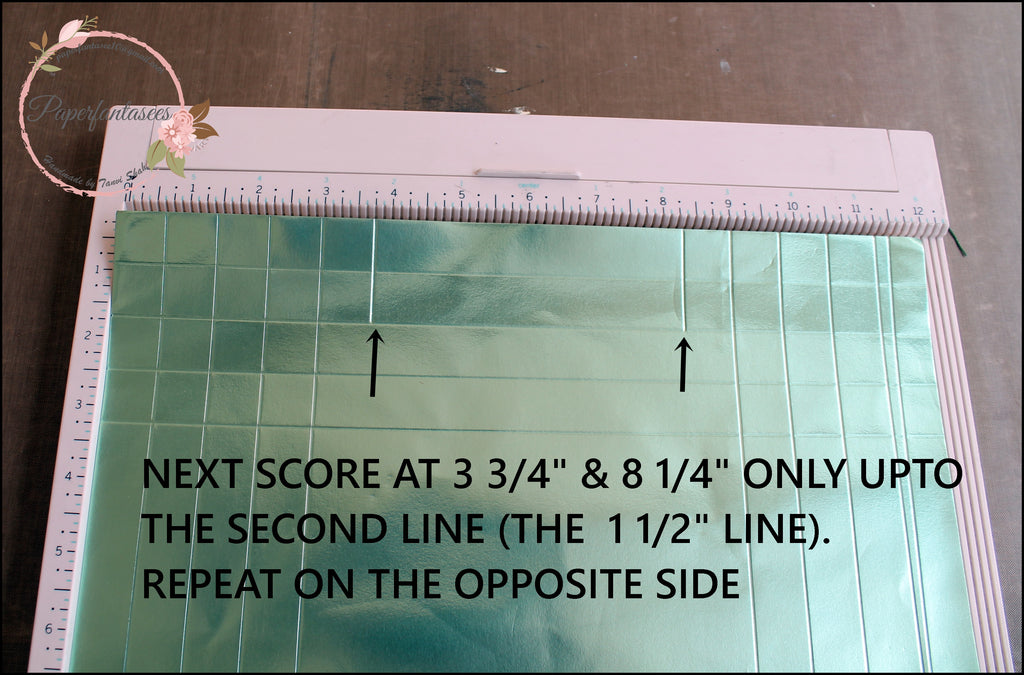
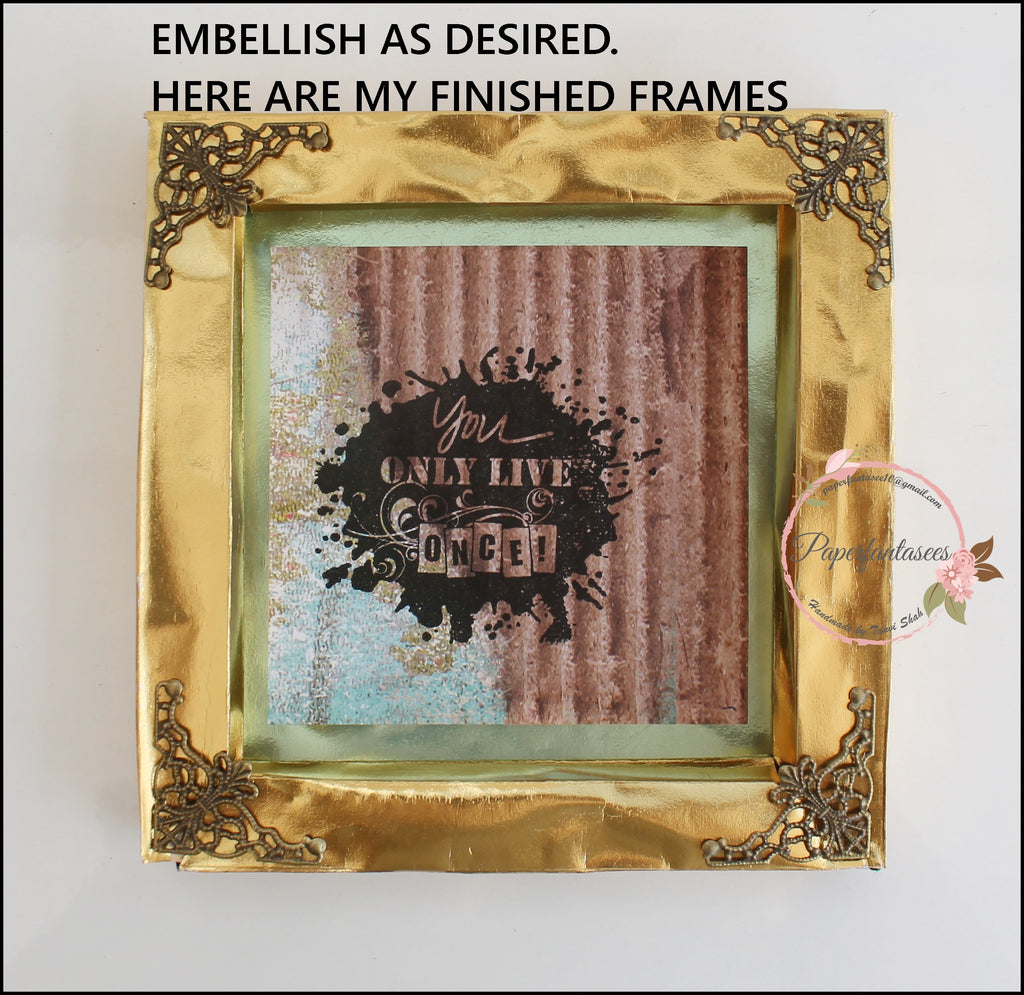
Here is a pictorial for the frame - 


 Aren't these frames are easy peasy to make! 

Thank you so much for visiting & taking the time to comment on my blog. I love to hear from you & truly appreciate your feedback. Have a crafty day!

Sunday, 29 October 2017

Twisted Card Tutorial

Hello & Welcome back!
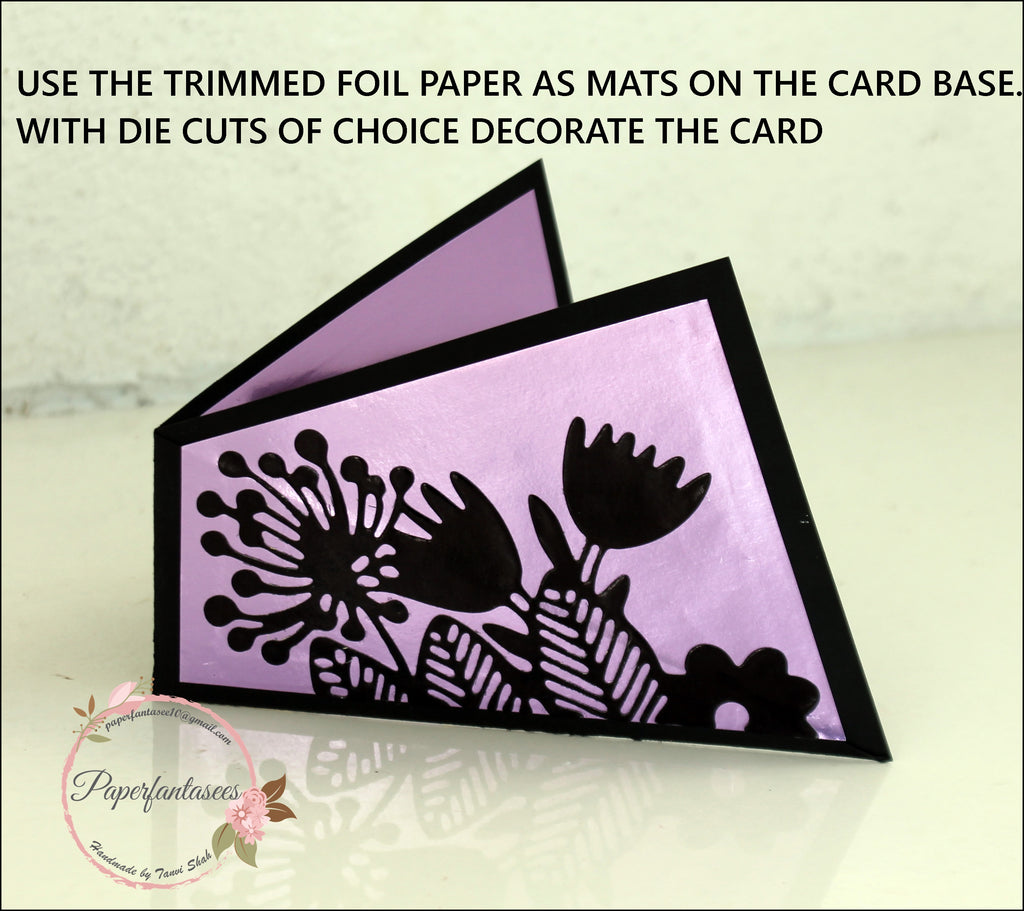
I am back with a card share using Rinea Foils - Ebony/Gold, Lavender/GoldGhost Ink, and the Starburst Sentiments. I used these to make a twisted card. Here is a pictorial of the steps -


That's it from me today! Stay tuned for loads of inspiration here!

Wednesday, 11 October 2017

Fun with New shades of Chalk paints - 1

Hello Friends!


This is Tanvi here & its a pleasure to be back with some decoupage inspiration using the new shades of chalk paint. In all there are 24 shades, perfectly selected for a decoupage lover like me to make shabby & distressed projects. Thank you Itsy Bitsy for introducing the first Made in India chalk paints.

These were the 14 shades launched earlier this year - 


The10 new additions to the matt chalk paint range are -


When it comes to decoupage these paints score over acrylics because
  • they give very good coverage
  • are easy to blend & sand to give a super smooth finish
  • Consistency is just right for use with a roller, sponge or brush
  • they work on glass, wood, metal, mdf & acrylic too
  • being lead free they are also eco friendly
    I have a few projects to share today using these 4 shades in my post - sand stone, whipped seafoam, wild wasabi & muted teal.


    Lets begin with a quick reverse decoupage tutorial on an acrylic coaster.

    1.Select the tissue & tear the design you want to use.
    2. Decoupage the tissue on the backside of the coaster (right side facing the coaster). Remove any air bubbles/wrinkles & let dry.
    3. Apply another coat of decoupage glue to seal the tissue. Let dry completely.
    4. Next, stencil a pattern over the tissue, using a sponge blender.


    5. Paint the coaster (whipped seafoam). This is the final layer of paint. Once it is dry, seal with several coats of varnish. Sanding in between layers for a smoother finish.


    6. Now the coaster is finished & this is how it looks.


    I was not able the capture the subtle stencilling on camera but I loved the muted pattern.


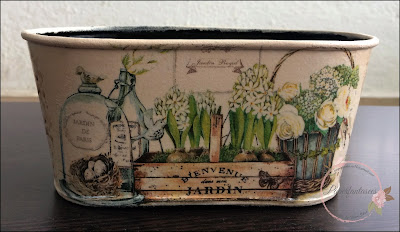
     I love the ease with which I can paint over a metal surface with chalk paints. Sharing a metal planter, in which have used sand stone, this shade was so close to the tissue background.


    Next I have a tray with a distress finish. in which I have used fortune cookies, not from the recent release but nevertheless my favorite shade.


    Distressed base of the tray.


    Stay tuned for my next post where I share an easy tutorial to get this distressed look.

    Thank you so much for visiting & taking the time to comment on my blog. I love to hear from you & truly appreciate your feedback. Have a crafty day!

    Thursday, 20 April 2017

    T-light holder with Wood grain texture

    Hi Friends!
    Decoupage never ceases to amaze me it is such a versatile technique. it also gives the opportunity to play with colors & papers while experimenting with techniques. Today's vintage project - a set of three pillar T light holders  is the result of my first attempt at using the wood grain texture tool.


    Let me take you through the steps - 

    1. For the base coat I have used Moda acrylic paint - tempest grey. Loved the absolute matt finish & even coverage (note - I have not primed the base). This shade was perfect for the papers I wanted to use (Divya Thallaps - Once Upon a Time)


    2. Now is where the fun begins. Mix charcoal chalk paint from Itsy Bitsy with acrylic retarder & paint it over the painted candle holder.


    3. Next slide the texture tool over the black paint (the retarder increases the drying time) controlling the pressure as required & also rolling it.

     Look at the wood grain texture appear!


    4. Repeat this on all the holders 2 sides each.
    5. The other two sides I have decoupaged. Was thrilled at the coordination of the wood grain texture & the papers!


    Different looks of the set - a vintage decoupage look


    Wood grain textured look


    Sharing this at - 

    Thank you so much for visiting & taking the time to comment on my blog. I love to hear from you & truly appreciate your feedback. Have a crafty day!
    Related Posts Plugin for WordPress, Blogger...