Showing posts with label calendar. Show all posts

Saturday, 3 December 2016

ITSY BITSY CHALLENGE#3 2016

Hello Crafters!
Good morning & welcome again!
Sharing some projects I made for my post at Itsy Bitsy. We also have a brand new challenge! Hop over to the blog here for all the details!

In my previous post here I used the Highland Greetings paper pack. My post today too focuses on papers. As crafters we all have different needs wrt the thickness of papers, patterns, colors & so on. A cardmaker may like a print on a decoupage paper & vice versa! Keeping this in mind Itsy Bitsy has introduced the same prints in 3 different qualities to suit the needs of all! Isn't that wonderful???
I will be using all the different Chevron Aquarelle papers in my post today.
 Let me warn you today's post is lengthy & picture heavy with loads of project!

CHEVRON AQUARELLE PAPER PACK (linen papers)

These are 12x12papers  priced at Rs.200 for a pack of 12 sheets This gorgeous paper pack is brought to you by Little Birdie. These fine quality linen papers are exquisite, classy and available in 6 colors. These papers are acid free too, perfect for scrapbooking, card making, banner making, DIY and other creative projects.

We are in the last month of 2016. Each year I make a calendar for my craft studio.  Sharing the 2017 calendar I made using the whitewash alterable photoframe. On the sides of the frame I used the chevron decoupage paper (will talk about this is detail in a while). Splashes & splatters of the berry blast color sprays added some drama to the monochrome colors, Stencils & modelling paste some textures! Embellished the front with pearls, diecuts & flowers.


Some closeups  


Glued a small wooden cloth pin to hold some notes & reminders!


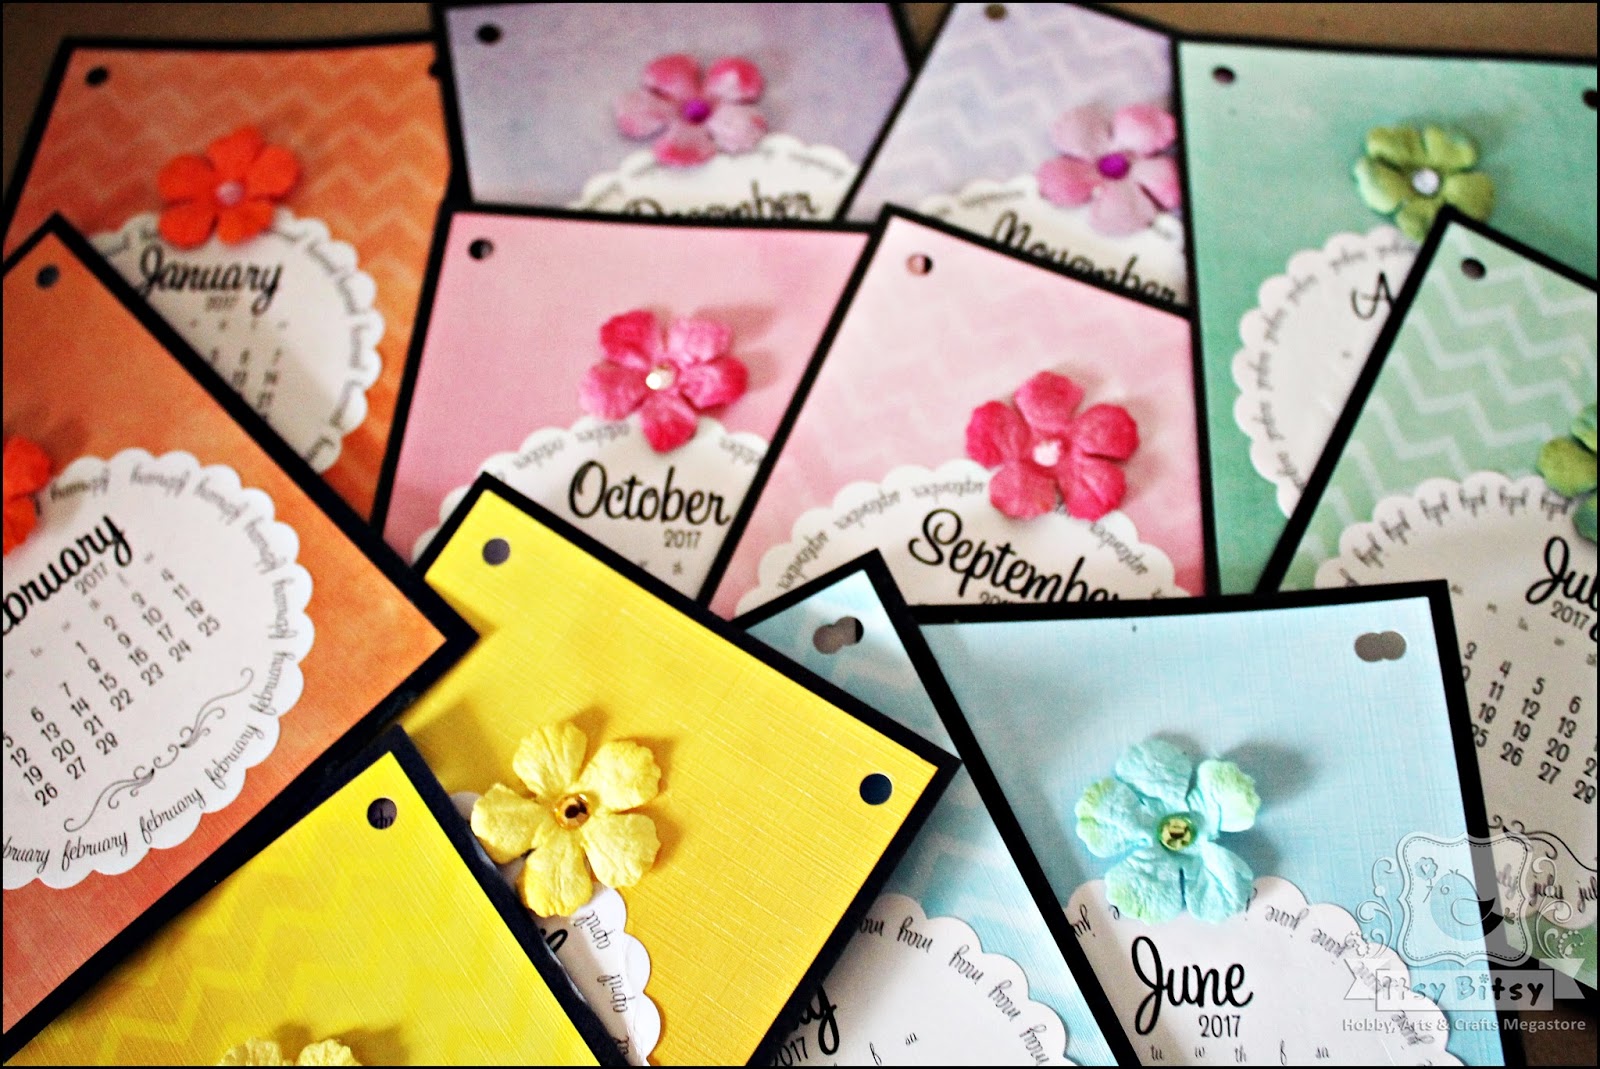
For the calendars months (calendar is a freebie from MaryAnne, thank you!!!) I have used all the 12 papers in the pack!  A new look every month!


DECOUPAGE PAPERS 

My next project uses decoupage papers from the Chevron Aquarelle Range. This paper is available in all the 12 prints I have used in the calendar. Sold as individual sheets at Rs.20, this 60 gsm paper is perfect & a must have for decoupage lovers! Wait until I share my decoupage project!

I first prepared my decoupage base by priming it with two coats of gesso, followed by dabbing several shades of acrylic colors to match uneven shades in the paper print.  I was very happy with the outcome! Later I trimmed the paper to size & decoupaged it on the base.


Added some stenciling in a darker shade for some added texture & layers!


CARD STOCK  CHEVRON AQUARELLE

Finally I am sharing a few cards I made using the card stock range of Chevron Aquarelle papers. Once again sold as single sheets of 12x12 in all the 12 designs, these are 250gsm papers, so perfect to use as a card base!

What I like about the cheron aquarelle range is the prints are so busy & colors so soothing & subtle creating a faux layered & textured look. 


This set of cards is simple & yet has so many details  die cuts, frame, stencil texture & don't miss the heat embossing on acetate!


This brings us to the end of this lengthy post. 

Thank you so much for visiting & taking the time to comment on my blog. I love to hear from you & truly appreciate your feedback. Have a crafty day!

Saturday, 3 May 2014

An Altered Clipboard

A very happy weekend to you all.
Schools shut here for a summer break, exams over & time for a good break for all. 
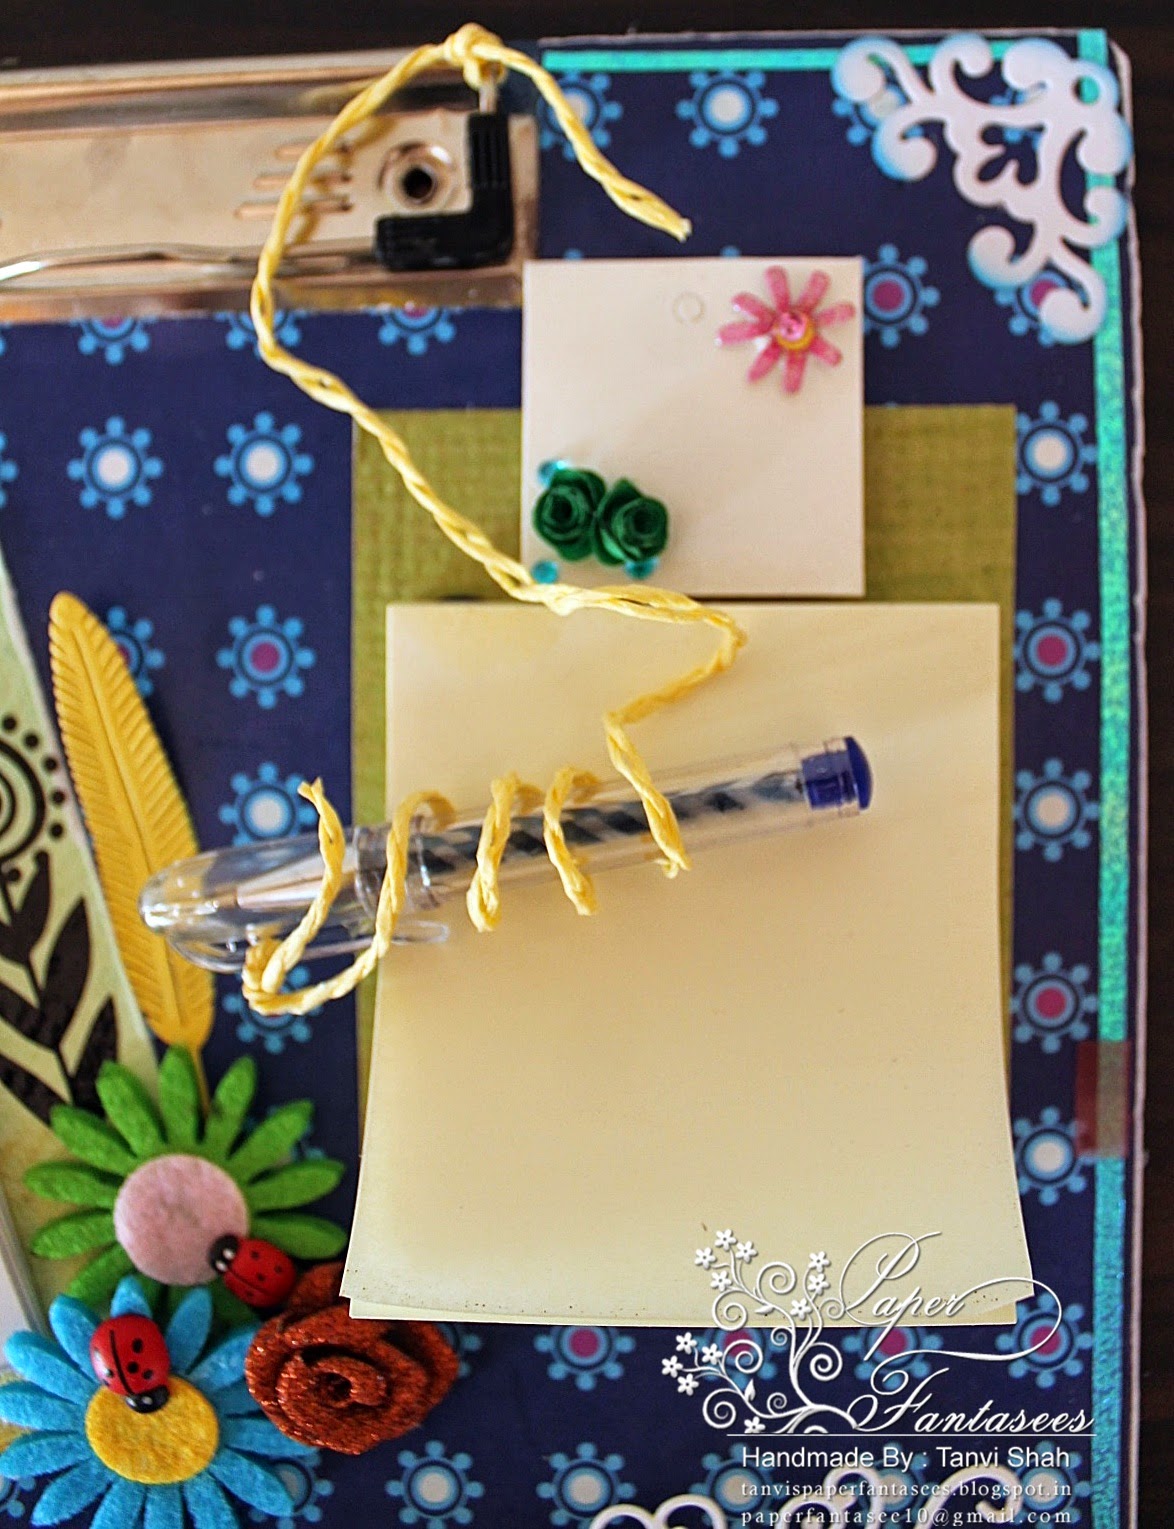
I altered an old clipboard from my daughters school stash & re purposed it into handy utility item.
For this project I stared off with a used clipboard, with mod podge I covered the board with pattern paper (this is from a stack designed by Divya Thallap).


 I have provided a pocket at the bottom to hold tags (die cuts from cereal boxes) for birthdays, reminders, paper clips, etc.


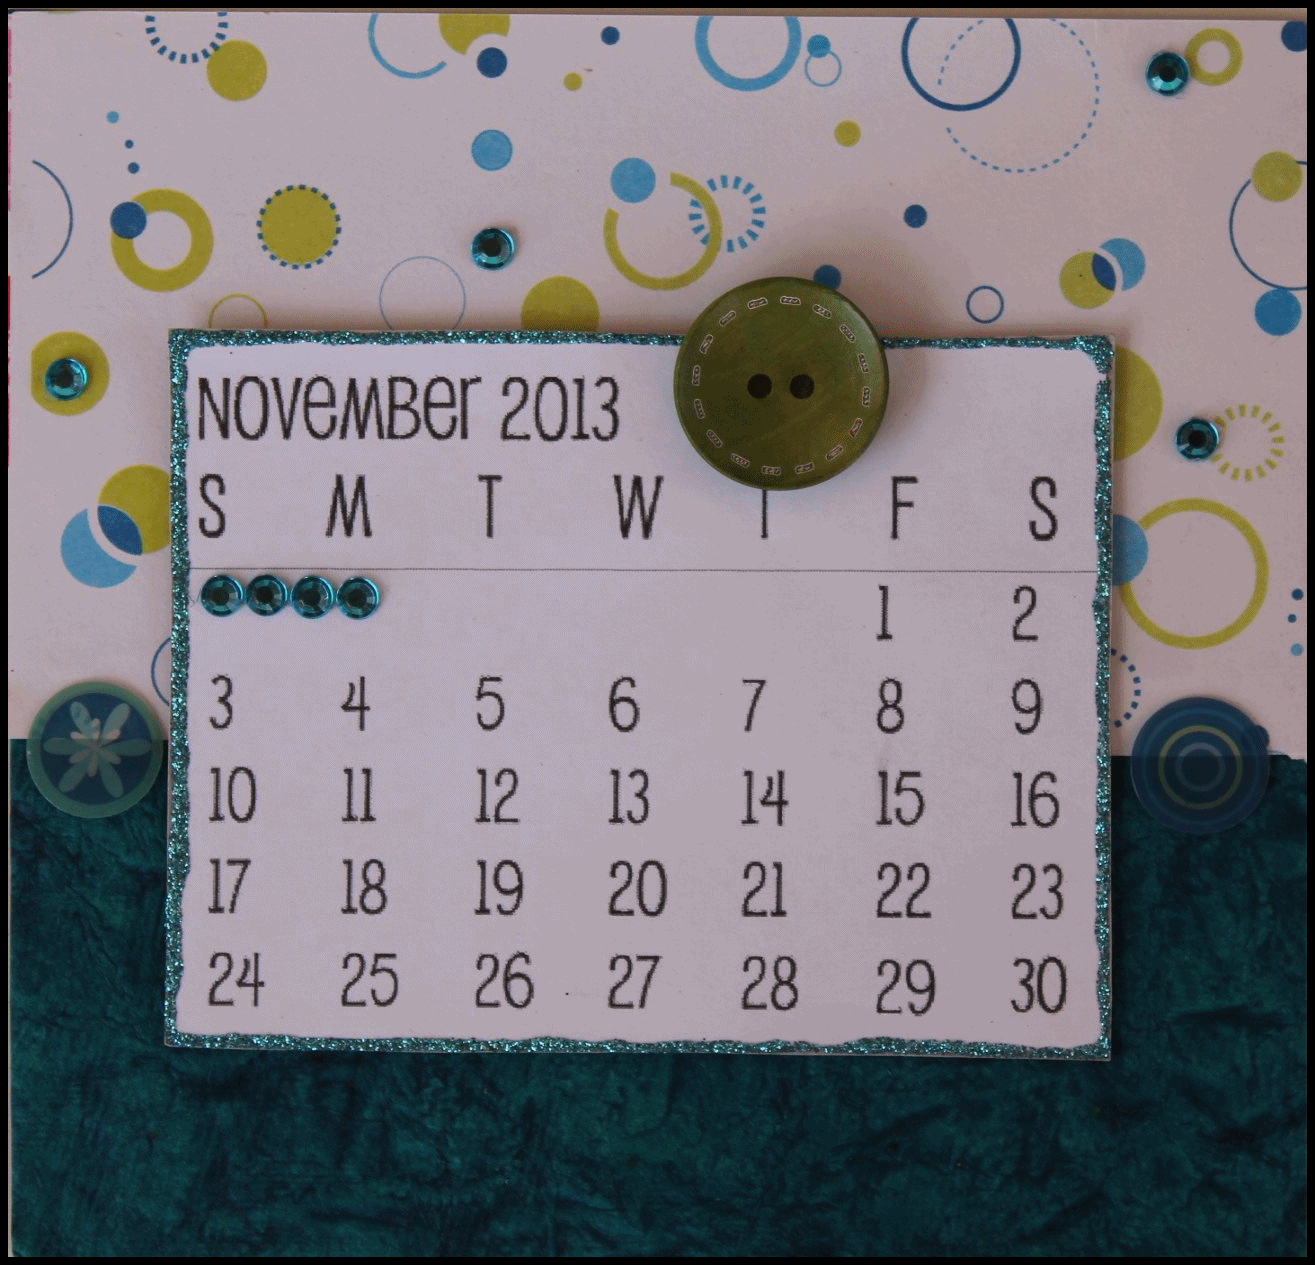
The clipboard also holds a post it pad & a mini calender. 
Tie a small pen to the clip & no more looking out for a pen when you need it the most! To match the pen with the colors of the PP I have cover the cartridge with washi tape.


Have you used the mini misters from the Craft Shop? I love them! Look at the amazing misting effect you can create – 


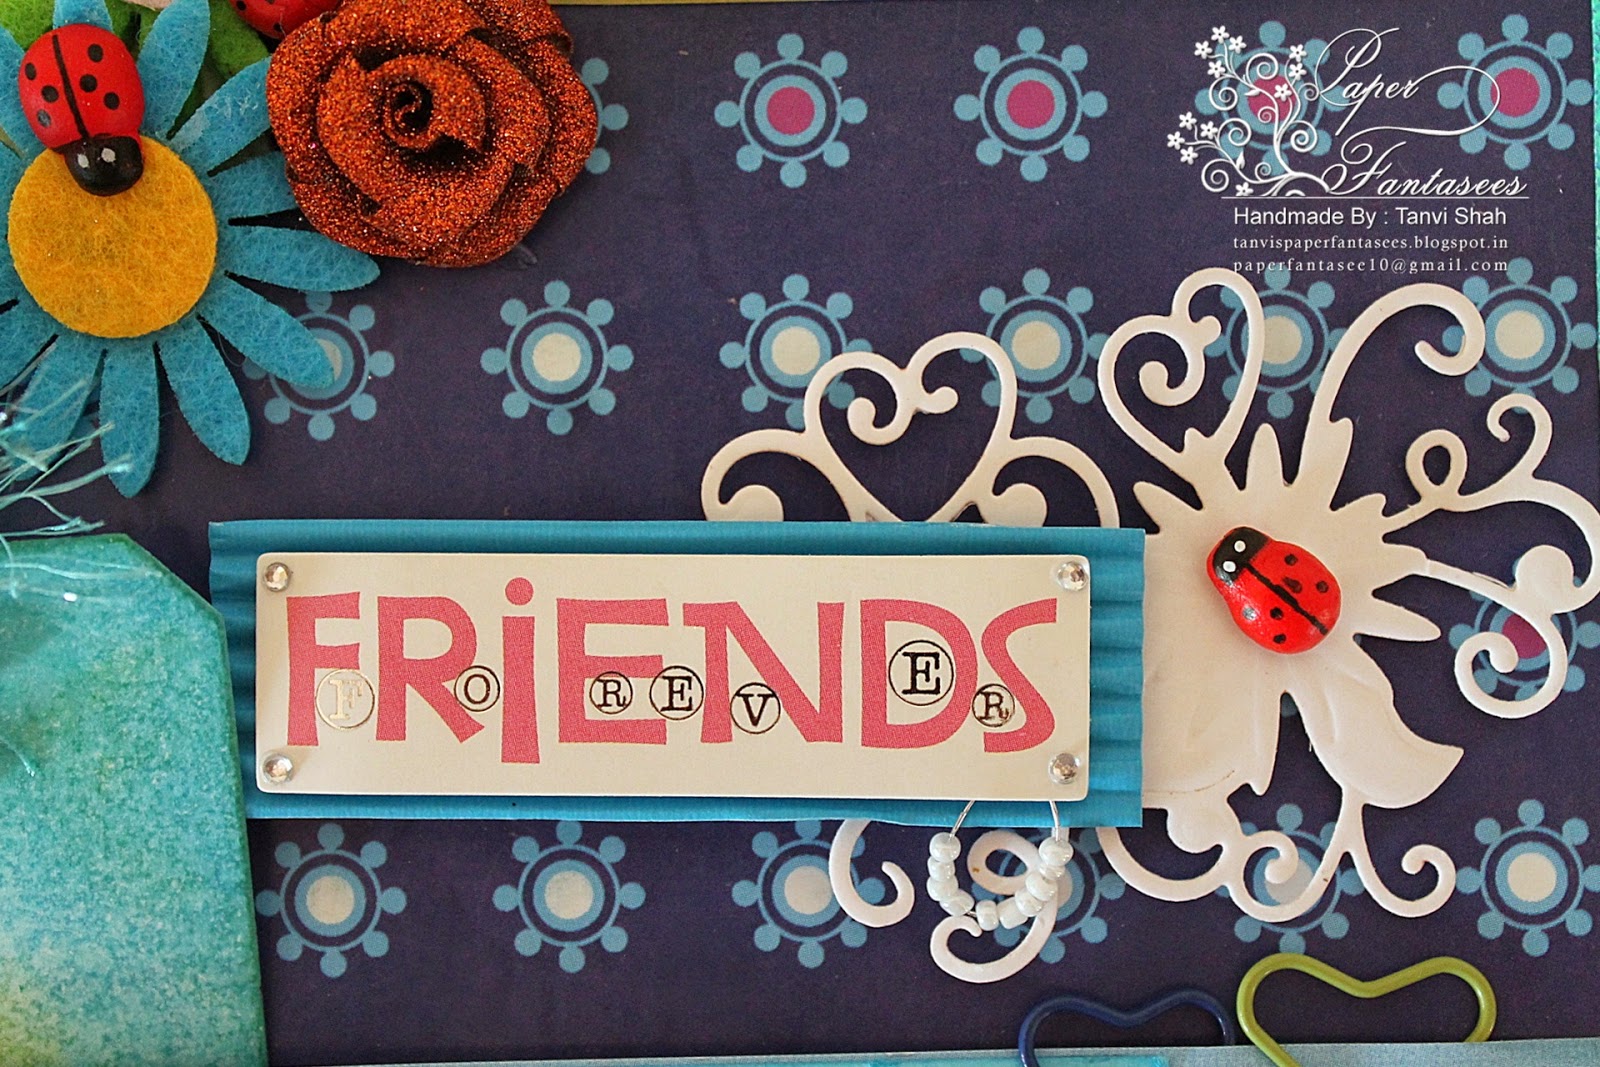
Some more snap shots of the altered clipboard, plenty of die cuts & embellies used here - 


Sharing this at - 

Thank you so much for visiting & taking the time to comment on my blog. I love to hear from you & truly appreciate your feedback. Have a crafty week!!

Tuesday, 28 January 2014

Calendar - 2014

A very Good Morning to all!!
Today I am sharing the calendar I made for round 4 of the Friendship Swap by Riti. This swap required us to following a Lawn Fawn tutorial here for the base.  

This is the front flap of the one I made - 


Used a lot of pattern papers, distress inks, embellies to make the pages for each month. Basically I have four different layouts (January, May, September are the same & so on..........).
All the pages were stamped with a coordinating pattern & embossed in clear embossing powder. To get the resist look I then distressed over the embossed images. 
Inserted a doily (painted with distress paint & edges inked with distress ink) on one side between the card stock layer & the design paper.


The emboss resist pattern is clearly seen here (unlike the above pages :-(.................wish I had pics of all the months to show).

The fence die cut is embossed with red embossing glitter powder & the birdie painted in black distress paint & layered with distress crackle paint (clear) to add some dimension.


Playing this along in the following challenges - 


Thank you so much for visiting & taking the time to comment on my blog. I love to hear from you & truly appreciate your feedback. Have a crafty day!!

Tuesday, 22 January 2013

Handmade Calendar 2013


Hi all,
Am ready to share with you the calendar I made for this month's ICRC25 - New Year (2013) Calendar + Recycle/Upcycle Something.
I have recycled an envelope to create a hanging calendar with the look of a handbag!!
How???…..you will soon see!!!!

This was the envelope used

Changed its appearance by adding handmade paper & chipboard die cut (Itsy Bitsy)

The front - look of a handbag


The other side - a calendar                               
                                                                                     

Each month page can be mounted at a time in the adhesive photo corners. Have also provided a small clip to hold mini to do notes/reminders.


 The pocket behind can hold the pages for the remaining months....................


I enjoyed using so many PP & handmade papers in a single project. Have a insatiable weakness for handmade papers............……the colors & textures are just so appealing......................hope you noticed the embossed handmade paper used in the handbag.

All the colorful months -


A closer look at some embellishments


Thanks for taking the time to visit & do let me what you think about this calendar.
Have a wonderful day.

Also linking this to - 


Related Posts Plugin for WordPress, Blogger...