Monday, 29 January 2018

Accordion Tag Mini Album

Hello Friends!
Welcome back.....sharing my inspirational post for the Rinea blog this month.
I am amazed everytime I work with Rinea foiled paper be it die cutting, SVG files, stamping, 3D projects, bags, boxes, banners.......this unique foiled paper never fails.
Look at the magic created by combining the foiled paper with pattern paper in this mini album. 
Here is how I made this accordion pocket mini album.
Gather your supplies -  For this mini album, I am using Rinea foiled paper Jewel Variety Pack & Peacock Variety pack, pattern papers, chipboard, standard envelopes (10x4.5"), trimmer, scale, glue, tacky tape, embellishments.
Trim off the flaps of the envelopes to measure 6.25". I am using six envelopes. You can seal the trimmed flaps with double sided tape & make another smaller album.
Next trim the -
card stock - 4 1/4x6.5" - 6 pieces
Pattern paper - 4x6.25 - 6 pieces
Chipboard - 5x7.5" - 2 pieces, 1.5x5" - 2 pieces, 2x5" - 1 piece

Now we prepare the album covers. This is how we place the chipboard & make the cover with cardstock. 

Using red tacky tape to glue the cardstock to the chipboard

To make the accordion pockets glue the trimmed envelopes as shown here - 

Glue the first & the last envelopes to the insides of the album covers & the accordion pockets are ready. To make the tags, decorate with pattern paper & embellies as desired.

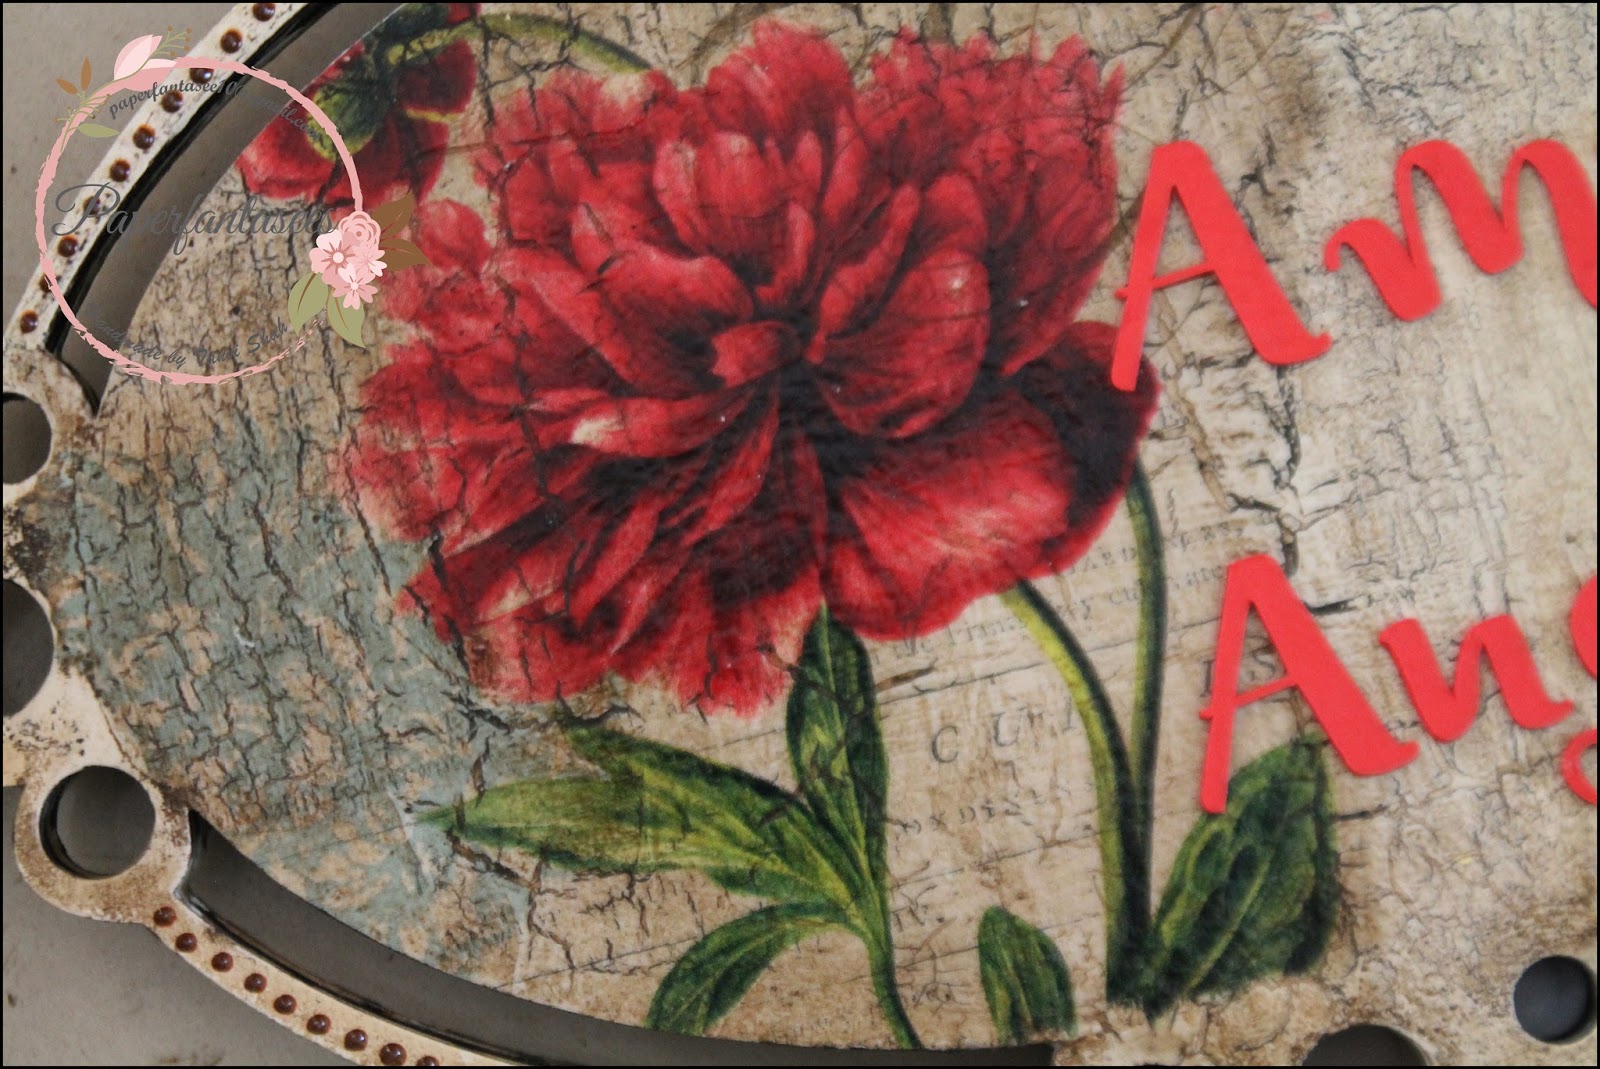
Here are images of the finished album - 


 have made a magnetic closure for this tag album.


Love the combination of the foiled paper with pattern paper, classy & elegant!

Thank you so much for visiting & taking the time to comment on my blog. I love to hear from you & truly appreciate your feedback. Have a crafty day!

Thursday, 25 January 2018

Z fold Spinner Cards

Hello Friends!
I am at the Bob N Betty blog today. Hope you are enjoying the “Little Wonderland” inspiration posts by my teamies. This is such a balanced & well coordinated set designed for all sorts of creations - mini albums, cards, layout & such.
I particularly love the critter collage sheet in this pack & noticed some critters are mirror images. I fussy cut these to use them as floating critters in Z fold spinner cards.


These are side folding cards measuring 4 1/4x5 1/2". I have glued the pattern paper with an oval window panel to the card stock base, each in a color coordinating to the design paper. The sentiment was stamped on a die cut oval, a size smaller than the window.


For the spinning element, I glued the mirror image pairs back to back with the string between them. The critters spin when you open the card. Aren't these fun!


That’s it for today.

Remember you can purchase all the beautiful Bob n Betty products from our  Sales Buddies and  share your gorgeous creations on our Facebook group Bob n Betty Buddies.

Thank you so much for visiting & taking the time to comment on my blog. I love to hear from you & truly appreciate your feedback. Have a crafty day!


Tuesday, 16 January 2018

TWISTED POP UP CARD

Hope you all are having a great start to 2018!
Today’s inspiration post is using the stinking cute new launch “Little Wonderland”. I have made a twisted pop up card with another twist – this is also a shaker card with wobbling elements.
The front of the card is a shaker, I have fussy some adorable critters from the collage sheet in the pack & used them in the card.
Here is a look at the card –


This cute elephant  in the corner also wobbles!


When the card opens the accordion fold panel with all the wobbling critters pop up !


This is such a cute & interactive card. I loved how I could use all the elements from the paper pack itself to make this one! Kids are surely going to love this card!
That’s it for today. Hope you like the ‘twist’ in my twisted card  ðŸ™‚
Remember you can always purchase all the beautiful Bob n Betty products from our wonderful Sale Buddies and also share your gorgeous creations on our Facebook group Bob n Betty Buddies.
Thank you so much for visiting & taking the time to comment on my blog. I love to hear from you & truly appreciate your feedback. Have a crafty day!

Sunday, 14 January 2018

BLOCK CARD

Hello Friends!

Sharing a 3D card which looks difficult to make but is really quick & easy to put together. 


For the card base, I have used a kraft colored cardstock & Fuchsia/Fuchsia Starstruck foiled paper. I love this hot pink shade of the foiled paper with stars embossed on both sides. 


Though this card looks like blocks put together, it can fold flat & this size easily fits in our standard envelopes when pushed flat. If it is embellished, one can make an envelope box, like the one I made.


Hope I have inspired you to try out this amazingly unique foiled paper. 

Thank you so much for visiting & taking the time to comment on my blog. I love to hear from you & truly appreciate your feedback. Have a crafty day!

Friday, 29 December 2017

Accordion Fold Card

Hello!

Hope you all had a wonderful Christmas. I have a card share in this post today. In my previous posts, I have used Rinea specialty foiled paper to stamp, die cut & for 3D projects. Did you know that the Rinea foil paper can also be used with the Silhouette Cameo/Cricut?

These are the cards I made using a cutting file from the Silhouette store - 

Cards using Rinea Foiled Paper

This is an adorable 2.25" X 3.25" card that folds into a four-page layered card & can be easily mailed. I have two versions of this card - 
For the first one, I used Sapphire Gold Glossy Foiled paper.


The Fuchsia/Gold Glossy foiled paper 
against black cardstock looks absolutely stunning in the second card, don't you agree?


Thank you so much for visiting and happy crafting!


Thank you so much for visiting & taking the time to comment on my blog. I love to hear from you & truly appreciate your feedback. Have a crafty day!

Thursday, 28 December 2017

Decoupage Name Plate

Hello Friends!
Sharing today a name plate I recently commissioned. This is a hanging name plate perfect for an apartment/house or villa. I particularly love this design since there's so much opportunity to play around with techniques - different looks on the same name board. 

On this side is a bright floral finish with lots of blending & stenciling.  


 A stencil design very similar to the tissue background made it so easy to bring it all together.


On the other side is a vintage design in contrast to the brights on the other.


This is a close up of the shimmery first names of the Rabadi family against the vintage crackle background. 


For the intricate pattern of the hanging frame I tried a faux wrought iron look


Thank you so much for visiting & taking the time to comment on my blog. I love to hear from you & truly appreciate your feedback. Have a crafty day!

Tuesday, 19 December 2017

Cards with Rinea Foil paper & Joy Clair Stamps

Today I have two card shares, as part of my DT projects for Rinea blog.  
For my first card - a very simple & elegant one I have used Ruby/Gold Glossy Foiled paper to die cut the puzzle pieces, yes Rinea foil paper can be easily die cut.


Using foam squares I popped the die cut pieces to add some dimension. The sentiment is from the Love Quotes stamp set by Joy Clair.


For my second card, I used Turquoise/Gold Glossy Foiled paper, also available in the Frosted Foiled Paper variety pack. The background was created by repeated stamping using ghost ink. Again the sentiment is from the Love Quotes stamp set by Joy Clair.


It was a challenge to capture this classy background on camera. Here is a closeup -


Thank you so much for visiting & taking the time to comment on my blog. I love to hear from you & truly appreciate your feedback. Have a crafty day!
x
Related Posts Plugin for WordPress, Blogger...