Tuesday, 30 April 2019

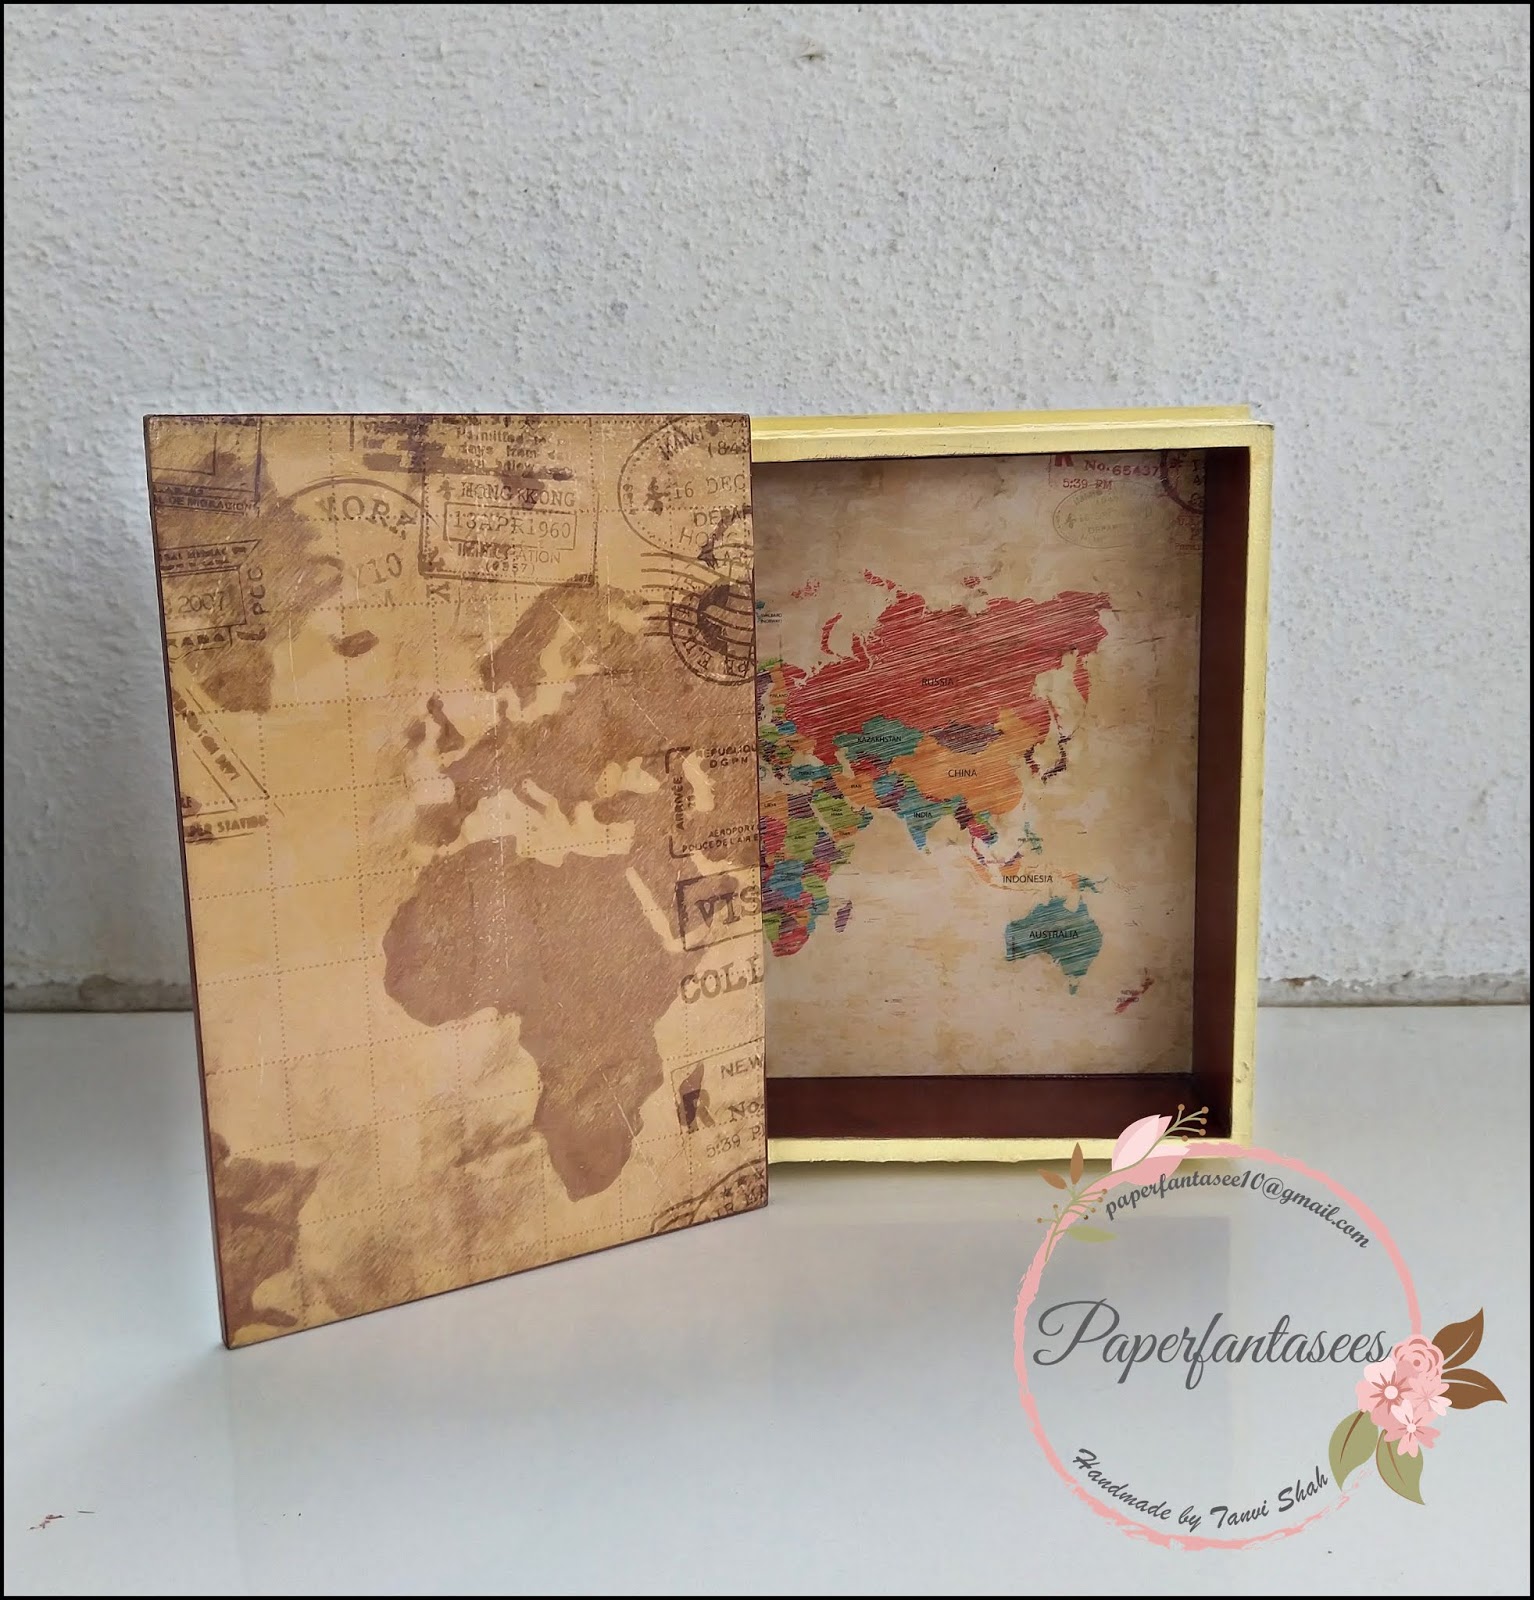
Vintage Travel Book Box

Hello & welcome to another post!
If you love to travel & collect ephemeras or simply document every boarding pass, ticket or postcard from your travels, I have a keepsake box to store your travel memorabilia.
The I travel the world & Vintage letters decoupage papers were perfect for this theme.
To create a faux textblock I used texture paste & ran a comb tool through to make pages.

For a vintage look on the spine & back I used 1 step crackle medium over brown acrylic paint. The top coat is Pale daffodil chalk paint.
 For the inside I selected some coordinating map papers.


This vintage travel box is perfect not only store your travel treasures, pictures, etc but will make a great addition as home décor pieces too!
Thank you so much for visiting & taking the time to comment on my blog. I love to hear from you & truly appreciate your feedback. Have a crafty day!

Saturday, 23 February 2019

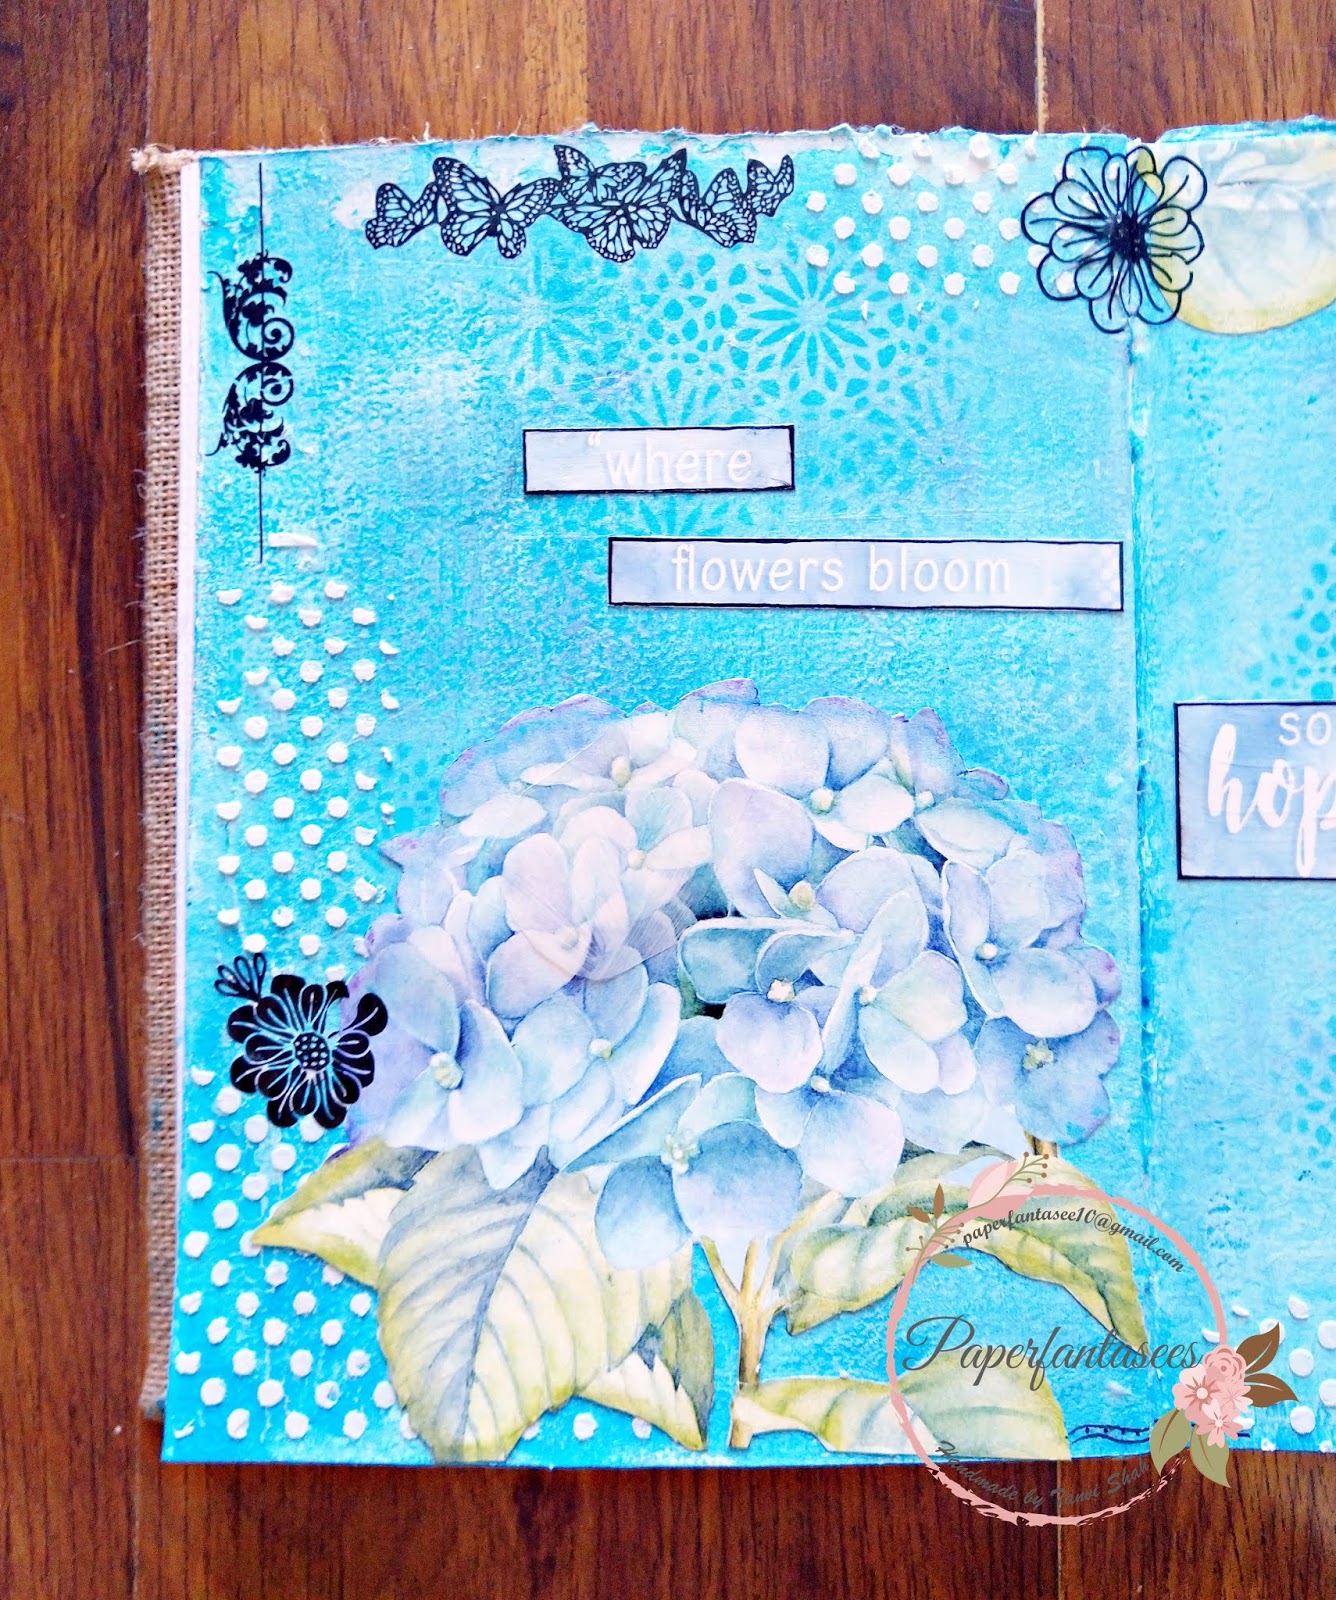
Art Journal Page - HOPE

Hello!
The Simon Says Stamp Wednesday Challenge is a very interesting one this week - No Stamps Allowed.
For my journal page I created the background using gelatos, lots of stenciling with modelling paste & archival inks. The hydrangeas are fussy cut from pattern papers & so is the quote. The black  flowers & motifs are rub ons.

Sharing this at the following challenges - 
Art playground - 28/2 (flower & leaf shapes)
Thank you so much for visiting & taking the time to comment on my blog. I love to hear from you & truly appreciate your feedback. Have a crafty day!

Thursday, 24 January 2019

Doily effect on Chopping board


Hello Friends & welcome here! 
I am sorry, though I have been neglecting my blog 😒 I am creating loads of projects especially decoupage & share them regularly on my facebook page & Instagram, feel free to follow me there for regular updates!
Today’s project is a chopping board wall décor piece that also serves as a post it holder.
A simple technique to add some drama to a project is to combine a shabby chic print with bright chalk paints. For this base I used papers some shabby prints.
Using a large doily as a stencil, I created a pattern on the decoupaged paper with chalk paint.
I loved the contrasting colors of the the paper & paints. To add some more texture, I have also used 1 step crackle medium on the board around the doily stencil.
Some random newsprint stamping with archival ink, further built on layers to this project.
Thank you so much for visiting & taking the time to comment on my blog. I love to hear from you & truly appreciate your feedback. Have a crafty day!
Monday, 22 October 2018

Guest Post 1 for HNDMD

Hello Everyone!
This is Tanvi from Paperfantasees & its such a pleasure to be guesting for HNDMD. Thank you Khyati 😊
So here is my first post using the gorgeous decoupage papers & chalk paints Khyati sent across - a coordinating set of tray & coasters.


I selected the Aged Beauty designs for this set. While these designs have a vintage feel, I wanted a brighter look. The chalk paints (lemon drop & tomato red) were ideal. I painted the inside of the tray with lemon drop chalk paint. Once dry I dabbed tomato red paint using a sea sponge. The resulting texture was now perfect to brighten the tray. Painted the outside of the tray with pale daffodil. Random stenciling with copper paint for a subtle metallic sheen & I had a gorgeous set waiting to adorn my table!


Thank you so much for visiting & taking the time to comment on my blog. I love to hear from you & truly appreciate your feedback. Have a crafty day!

Tuesday, 9 October 2018

Patina Effect Paste

Hello Al!
If you love the look of patina & would like to effortlessly AGE your artifacts in a few hours hang in here as I share how! This was my inspiration post for the LetzCraft Blog.


For the patina I used CrafTangles Patina effect paste which is a thick matte textured paste that gives results on  almost any surface like canvas, wood, paper, metal etc. & Finnabair metallique wax.

This is the lantern BEFORE ageing 😉


To begin I carefully removed the glass pieces on the lantern & cleaned it thoroughly with a wet wipe. For the faux patina  sponge all the four patina shades in the set till you get the desired effect, simple isn’t it! Such an amazing effect, with layers of blue & green over the metal.


Thank you so much for visiting & taking the time to comment on my blog. I love to hear from you & truly appreciate your feedback. Have a crafty day!

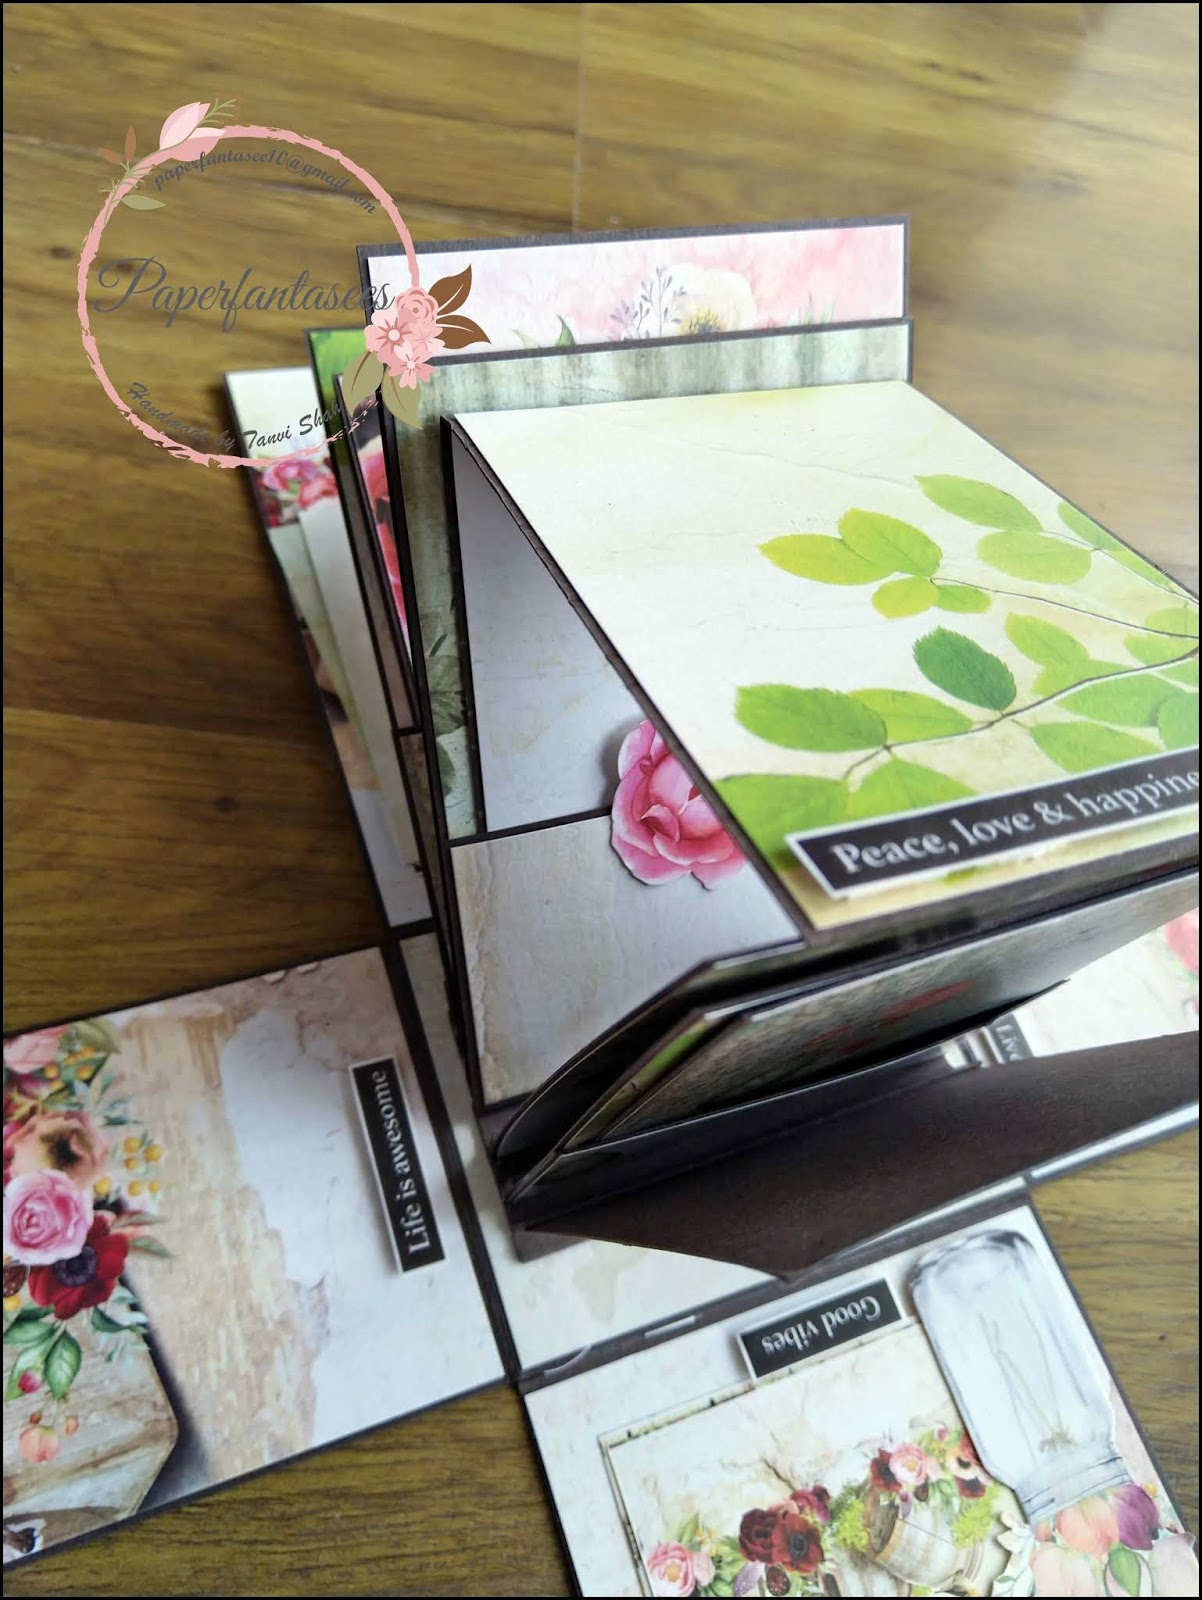
Explosion Box Album

Hello & welcome back!
When I received the gorgeous Roseate Pack pack in my DT kit, I was sure it would remain in my stash forever,my heart aches to cut papers I love!
I have made an explosion box mini album using this paper pack, the base of the album is Beirut Black card stock


Some elements from the collage sheet were fussy cut for embellishing the lid.


This is a tall box measuring  5x7", three of the 6 pages have pockets for additional inserts & tags.


 I have also fussy cut the floral motifs & used these are pockets on the inside of the box.


Thank you so much for visiting & taking the time to comment on my blog. I love to hear from you & truly appreciate your feedback. Have a crafty day!

Saturday, 8 September 2018

Rust Effect Wall Decor

Hello everyone, am so glad to see you here again.
Its a Mixed Media wall decor for my LETZCRAFT DT post today, using CrafTangles Rust paste. This set contains thick matte textured paste which creates rust like effect which dries permanent. These water based pastes can be applied to almost any surface like canvas, wood, paper, metal etc. making it very versatile.

I started with a MDF base which I layered with black gesso. Assembled a few embellishments from my stash & covered them with gesso too. The dream catcher is the focus here to coordinate with LIVE YOUR DREAM. Added some more texture on one side using sand paste
All the embellies were glued to the base with Glossy Accents.
For the rust effect I started with the dark brown paste, dabbing it all over with a sponge dabber.
Next random layering with the rust colored paste, leaving some brown showing beneath. While creating the effect, using the other shades of yellow as required to get the faux rust look.


The dark brown paste creates a very gritty texture


Here are some close ups, I am loving the effect!


I am totally loving this effect & my hands are itching to work with the patina pastes now!

Thank you so much for visiting & taking the time to comment on my blog. I love to hear from you & truly appreciate your feedback. Have a crafty day!
Related Posts Plugin for WordPress, Blogger...